Introduction
Welcome to our guide on how to exit screen test mode on a Sharp LED TV. If you’ve ever encountered the frustrating situation of being stuck in screen test mode, you’re in the right place. In this article, we will provide you with step-by-step instructions on how to safely exit screen test mode and get back to enjoying your TV viewing experience.
Screen test mode is a feature found in many Sharp LED TVs that allows users to test and calibrate various display settings, such as color, brightness, and contrast. It is typically accessed through a specific combination of buttons or remote control commands. While screen test mode can be useful for technicians or those looking to fine-tune their TV settings, it is not meant for regular everyday use by the average consumer.
Being stuck in screen test mode can be frustrating and limit your TV’s functionality. The TV may continuously display test patterns or be locked out of regular features and settings. Fortunately, there are several methods you can try to exit screen test mode and restore your TV to its normal operation.
In the following sections, we will outline a variety of methods to exit screen test mode on your Sharp LED TV. These methods range from using the remote control to power cycling the TV, performing a factory reset, or contacting Sharp customer support for assistance. Keep in mind that different TV models may have slight variations in the steps required to exit screen test mode, so it’s important to refer to your specific TV’s manual for accurate instructions.
Now that you understand the basics of screen test mode and why it’s important to exit it, let’s dive into the various methods you can use to regain control of your Sharp LED TV.
Understand What Screen Test Mode Is
Before we delve into how to exit screen test mode on your Sharp LED TV, it’s essential to have a good understanding of what screen test mode actually is. Screen test mode is a built-in feature found in many Sharp LED TVs that allows users to test and calibrate various display settings. It is primarily used by technicians or advanced users who want to fine-tune their TV’s picture quality.
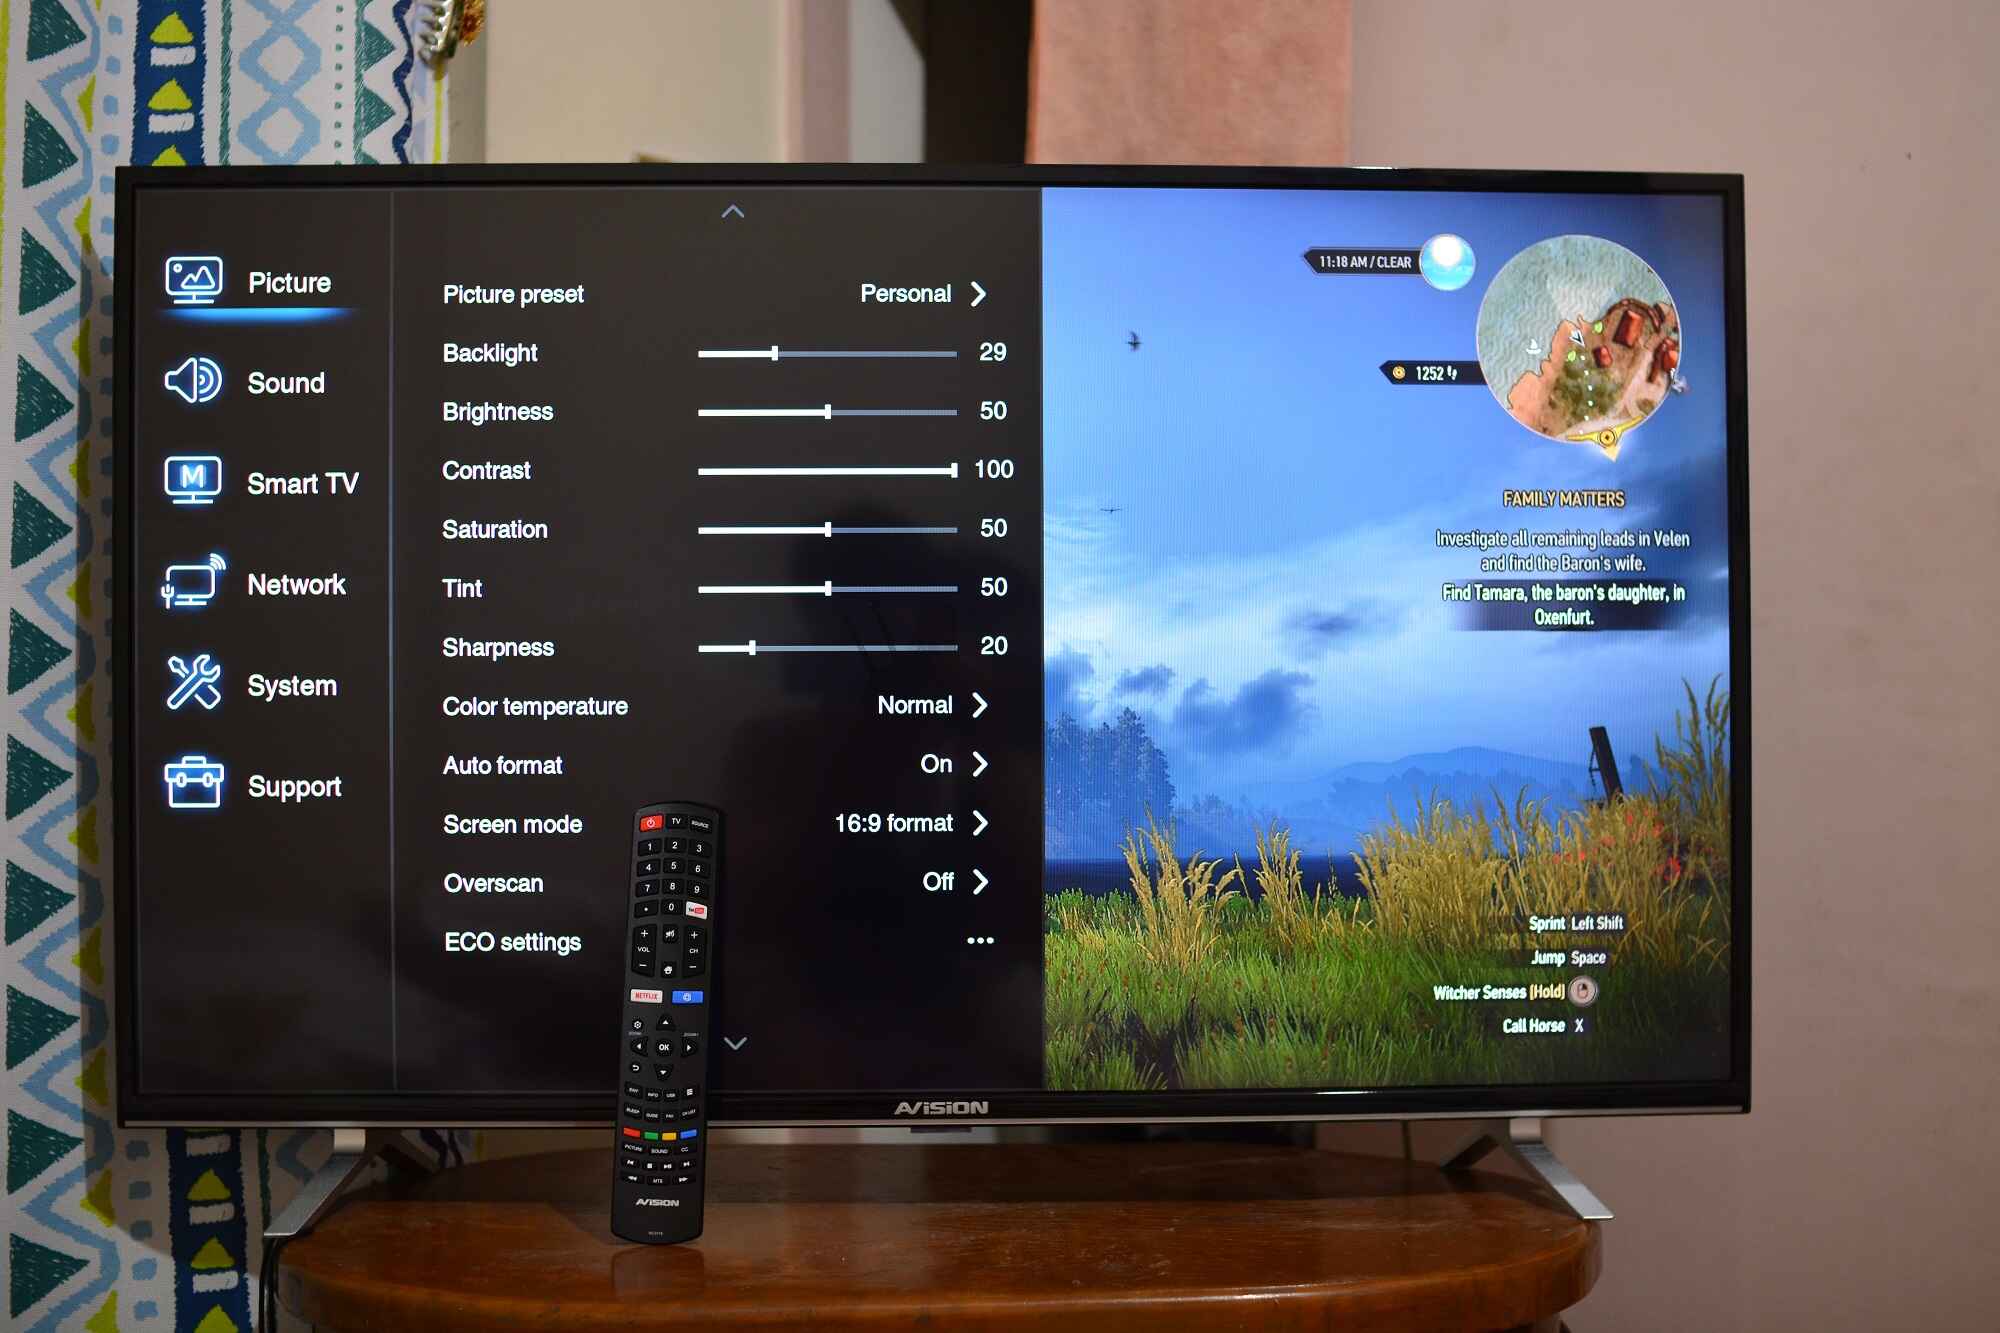
In screen test mode, your TV will display a series of test patterns and images that help assess and adjust different aspects of the display. These test patterns can include color bars, grayscale images, geometric shapes, and other visual patterns. By accessing screen test mode, you gain the ability to adjust settings such as brightness, contrast, color saturation, gamma, and more.
Screen test mode can be accessed through a specific combination of buttons on the TV’s control panel or via commands on the remote control. Once activated, the TV enters screen test mode, and you can navigate through the menu options to make adjustments to the display settings. It’s important to note that screen test mode is not intended for regular everyday use by the average consumer.
While screen test mode can be a useful tool for technicians and advanced users, getting stuck in this mode can be frustrating and limiting. Your TV may continuously display test patterns, preventing you from accessing regular features and settings. Additionally, attempting to exit screen test mode without proper knowledge can lead to accidental changes in critical TV settings.
By understanding what screen test mode is, you can better comprehend the steps needed to exit this mode successfully. In the following sections, we will outline various methods that you can use to exit screen test mode and regain control of your Sharp LED TV.
Reasons to Exit Screen Test Mode
While screen test mode can be a useful feature for technicians and advanced users, there are several reasons why you may want to exit this mode and return your Sharp LED TV to its normal operation.
1. Limited Functionality: When your TV is stuck in screen test mode, it may have limited functionality. You may not be able to access regular features, settings, or even change channels. Exiting screen test mode allows you to regain access to the full range of features and enjoy your TV as intended.
2. Interruption of Viewing Experience: Screen test mode can be visually disruptive, as it continuously displays test patterns and images. This can be distracting and detract from your overall TV viewing experience. By exiting screen test mode, you can eliminate the interruption and enjoy your favorite shows and movies without the presence of test patterns on the screen.
3. Accidental Changes to TV Settings: It’s important to note that when in screen test mode, making changes to your TV’s settings can have unintended consequences. Without proper knowledge and understanding of the settings, you may accidentally make changes that significantly impact the picture quality or other aspects of your TV’s performance. Exiting screen test mode ensures that you won’t inadvertently modify critical settings that could negatively affect your viewing experience.
4. Inability to Reset or Power Off: In some instances, being stuck in screen test mode can prevent you from powering off or resetting your TV. This can be particularly frustrating if you’re trying to troubleshoot an issue or perform a basic reset to resolve minor problems. Exiting screen test mode allows you to regain control over your TV’s power functions and perform necessary troubleshooting steps.
5. Restoring Default Settings: If you previously made changes to your TV’s settings while in screen test mode and want to revert back to the default settings, exiting screen test mode is necessary. By exiting this mode, you can ensure that your TV is back to its original factory settings and start fresh with a clean slate.
In summary, there are several reasons why you may want to exit screen test mode on your Sharp LED TV, including limited functionality, interruption of the viewing experience, accidental changes to TV settings, inability to reset or power off, and the need to restore default settings. Now that you understand why it’s important to exit this mode, let’s explore the different methods you can use to successfully accomplish this.
Method 1: Using the Remote Control
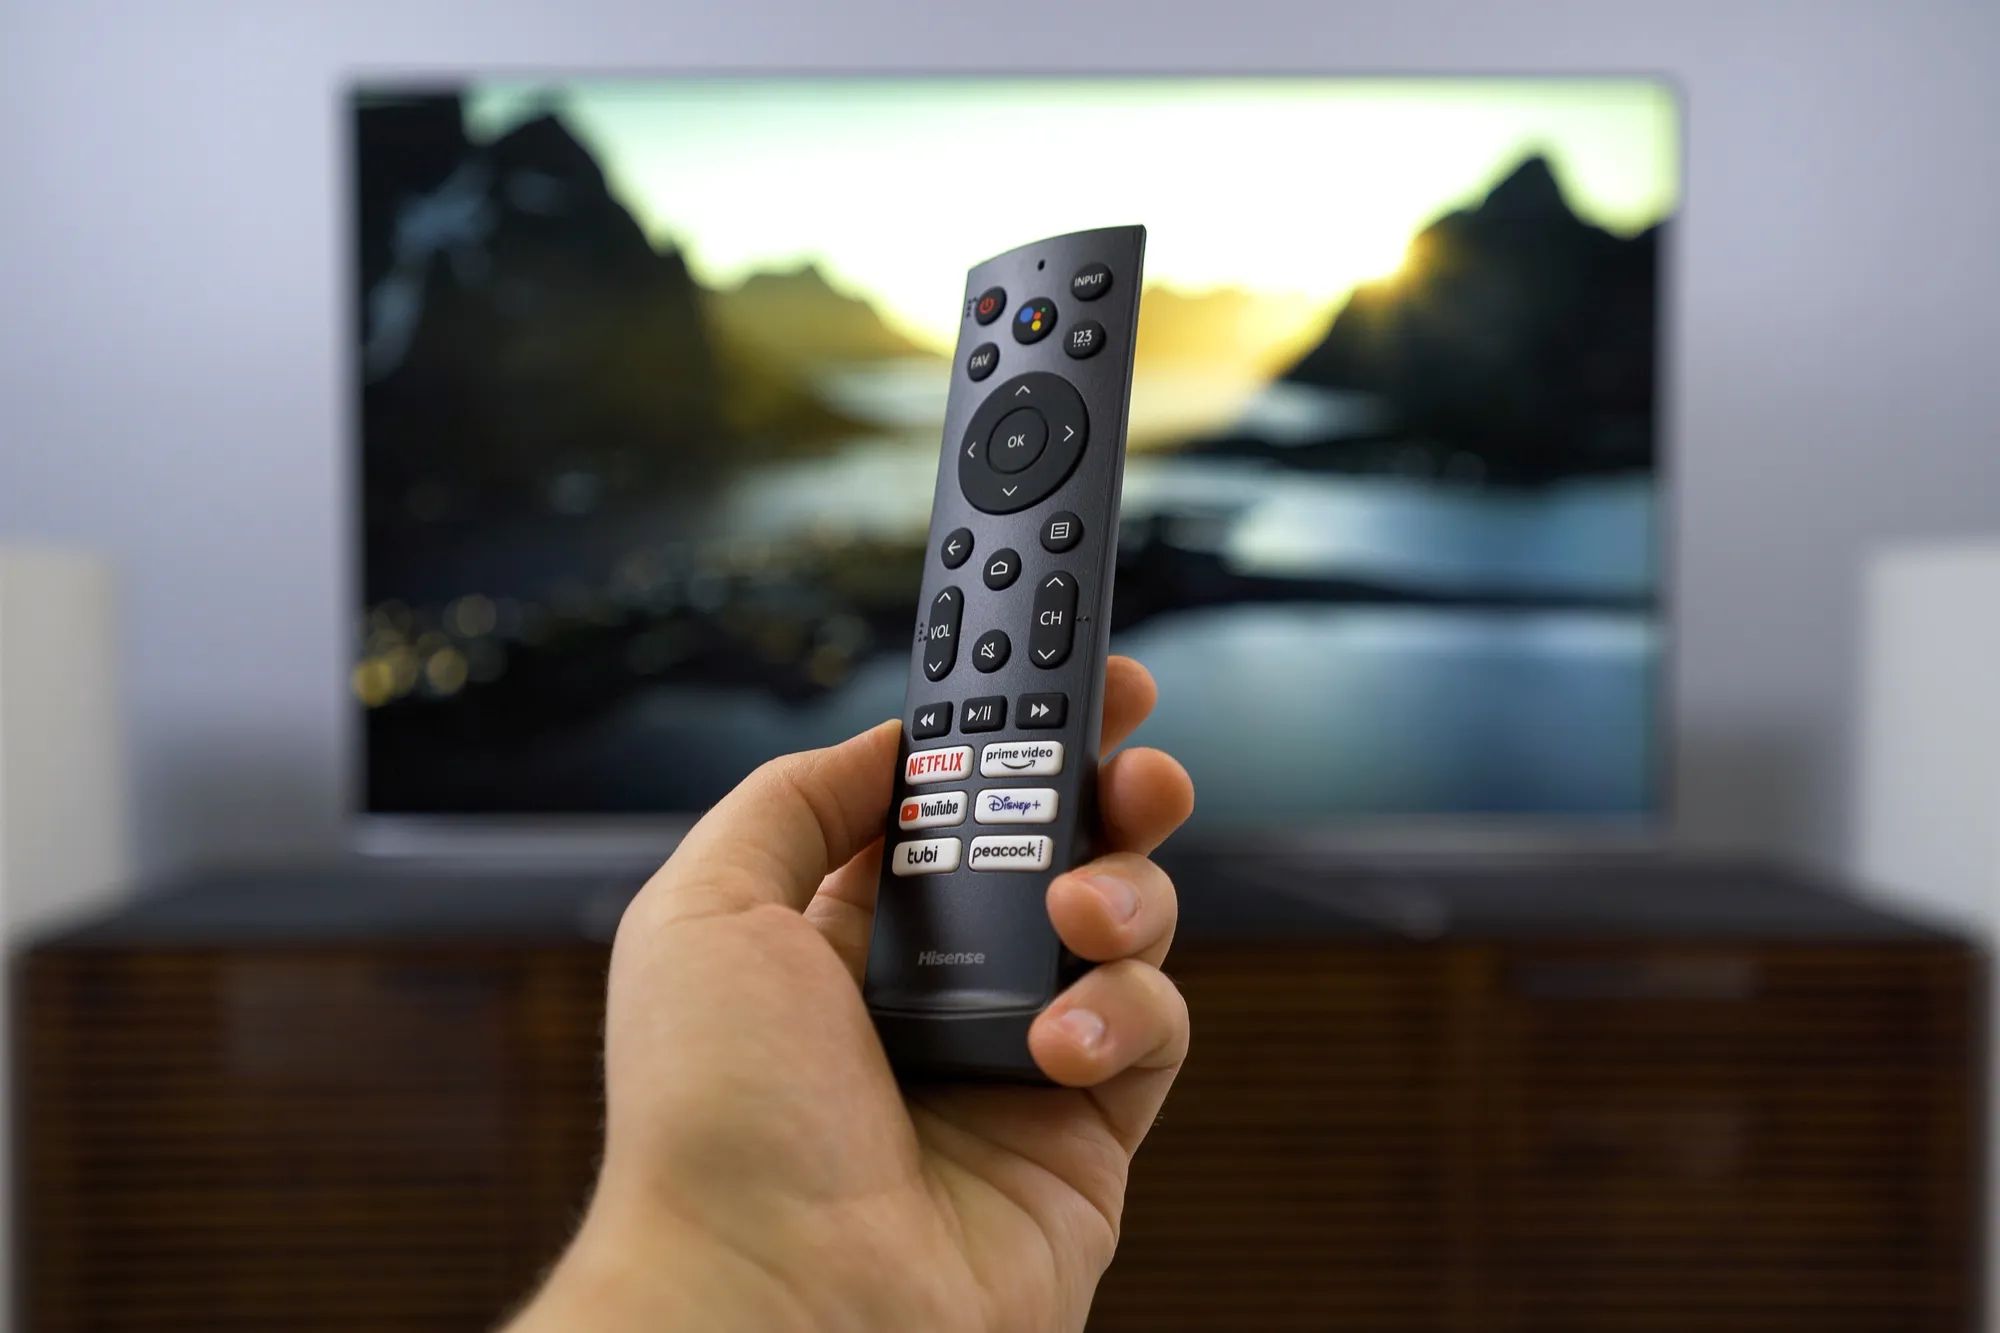
One of the simplest and most common methods to exit screen test mode on a Sharp LED TV is by using the remote control that came with your TV. Here are the steps to follow:
1. Press the “Menu” button on your remote control. This will bring up the TV’s main menu on the screen.
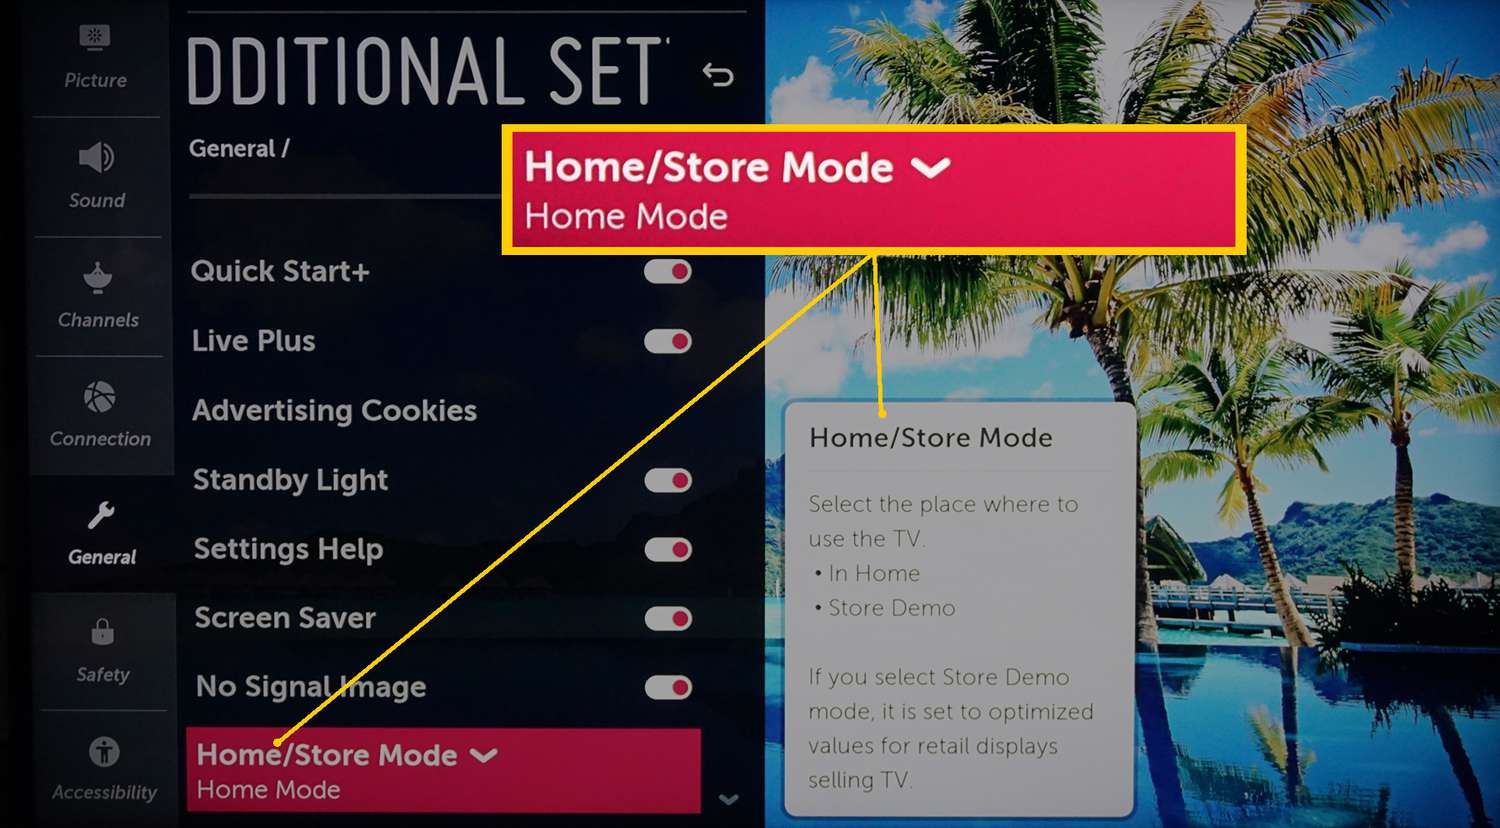
2. Navigate through the menu options using the arrow keys on the remote until you find the “Settings” or “Setup” menu.
3. Once in the “Settings” or “Setup” menu, look for an option related to “Factory Reset” or “Exit Test Mode”. The specific wording may vary depending on your TV model.
4. Select the option to exit screen test mode and confirm your selection by pressing the “OK” or “Enter” button on the remote.
5. Your TV will then proceed to exit screen test mode and return to its normal operation. It may take a few moments for the changes to take effect.
If the above steps don’t work, you can also try pressing the “Exit” or “Back” button on your remote control. This button is commonly used to exit menus and return to the previous screen. Pressing it multiple times may help you exit screen test mode and return to regular TV viewing mode.
It’s important to note that the exact steps and wording may vary depending on your specific Sharp LED TV model. If you’re unsure about the exact location of the necessary menu options, refer to your TV’s user manual or consult the manufacturer’s support website for detailed instructions.
Using the remote control to exit screen test mode is typically the easiest and most straightforward method. However, if this method doesn’t work for your TV model, don’t worry. There are alternative methods you can try, which we will explore in the following sections.
Method 2: Power Cycling the TV
If using the remote control doesn’t successfully exit screen test mode on your Sharp LED TV, another method you can try is power cycling the TV. Power cycling essentially involves turning off the TV and then turning it back on again, which can help reset any temporary software issues. Follow these steps to power cycle your TV:
1. Locate the power button on your TV or the power button on your remote control. If your TV doesn’t have a physical power button, it may have a touch-sensitive or capacitive power button located on the front or side of the TV.
2. Press and hold the power button for about 10 to 20 seconds. This ensures that the TV is completely powered off.
3. Once the TV is powered off, unplug the TV’s power cord from the electrical outlet. Leave it unplugged for at least 30 seconds to allow any residual power to dissipate.
4. After 30 seconds or more, plug the power cord back into the electrical outlet.
5. Now, press the power button again to turn on your TV. Once the TV powers on, it should be out of screen test mode and back to its normal operation.
If you have multiple power outlets or surge protectors, you can also try plugging the TV into a different power source to ensure a clean power supply during the power cycle.
Power cycling can help resolve temporary software glitches or issues that may be causing the TV to be stuck in screen test mode. This method is often effective and is worth trying before exploring more advanced troubleshooting steps.
If power cycling doesn’t resolve the issue and your TV remains in screen test mode, don’t worry. There are additional methods you can try, which we will explore in the following sections.
Method 3: Performing a Factory Reset
If the previous methods haven’t been successful in exiting screen test mode on your Sharp LED TV, performing a factory reset can often resolve the issue. However, please note that a factory reset will erase all personalized settings and stored data on your TV, so make sure to backup any important data before proceeding. Here’s how you can perform a factory reset:
1. Press the “Menu” button on your remote control to access the TV’s main menu.
2. Navigate through the menu options using the arrow keys on the remote until you find the “Settings” or “Setup” menu.
3. Look for an option that says “Factory Reset” or “Reset TV”. The exact wording may vary depending on your TV model.
4. Select the factory reset option and confirm your selection by pressing the “OK” or “Enter” button on the remote.
5. A warning message will appear on the screen, informing you that all settings and data will be erased. Read the message carefully and if you’re certain about proceeding with the factory reset, confirm your choice. This may involve inputting a password or a confirmation code, depending on your TV model.
6. After confirming, the TV will proceed with the factory reset process. This usually takes a few minutes, during which the TV may turn off and on or display a progress bar on the screen.
7. Once the factory reset is complete, the TV will restart and return to its original factory settings. This should also exit screen test mode.
Keep in mind that the location and wording of the factory reset option may vary depending on your specific Sharp LED TV model. If you’re unsure, consult your TV’s user manual or visit the manufacturer’s support website for detailed instructions.
Performing a factory reset is a more advanced troubleshooting step and should only be done if the other methods haven’t been successful. However, it can often resolve stubborn screen test mode issues and return your TV to its normal operation.
Method 4: Contacting Sharp Customer Support
If you have tried the previous methods and are still unable to exit screen test mode on your Sharp LED TV, it may be time to seek assistance from Sharp’s customer support. Their dedicated team of experts can provide you with further guidance and troubleshooting steps specific to your TV model. Here’s how you can contact Sharp customer support:
1. Locate the customer support contact information for your region. This can usually be found on the Sharp website or through a quick internet search. Look for the official contact details for your country or region.
2. Note down the customer support phone number or email address provided. Make sure to have your TV model number and serial number readily available, as you may need to provide this information during the support interaction.
3. Call the customer support phone number or send an email detailing your issue. Explain that your TV is stuck in screen test mode and outline the troubleshooting steps you have already tried.
4. Follow any additional instructions or troubleshooting steps provided by the customer support representative. They may have specific knowledge about your TV model or be able to remotely assist you in resolving the issue.
5. Be patient and follow the guidance given by the customer support team. They are trained professionals with experience in troubleshooting Sharp TVs, and they will do their best to help you resolve the screen test mode issue.
Keep in mind that customer support availability and response times may vary depending on your location and the volume of inquiries they receive. Be prepared to wait for a response or to possibly schedule a service appointment if necessary.
Contacting Sharp customer support is a helpful option when all other methods have been exhausted. Their expertise and knowledge of their products can often provide you with the specific guidance needed to resolve the screen test mode issue and bring your TV back to its normal functioning.
Conclusion
Being stuck in screen test mode on your Sharp LED TV can be frustrating, but with the methods outlined in this guide, you now have several options to exit this mode and regain control of your TV. Whether you try using the remote control, power cycling the TV, performing a factory reset, or reaching out to Sharp customer support, there is a solution that should work for you.
Remember to refer to your specific TV’s user manual or consult the manufacturer’s support website for accurate instructions, as the steps may vary slightly depending on your TV model.
If you’re unsuccessful in exiting screen test mode using these methods, it may indicate a deeper issue with your TV. In such cases, it’s recommended to contact the manufacturer’s customer support for further assistance or consider seeking professional help from a qualified technician.
By following the steps outlined in this guide and utilizing the appropriate method, you can successfully exit screen test mode and experience your Sharp LED TV as it was intended. Enjoy your TV viewing without the distraction of test patterns and make the most out of your television’s features and functions.
We hope this guide has been helpful in resolving your screen test mode issue and that you can now enjoy your Sharp LED TV to its fullest potential.