Introduction
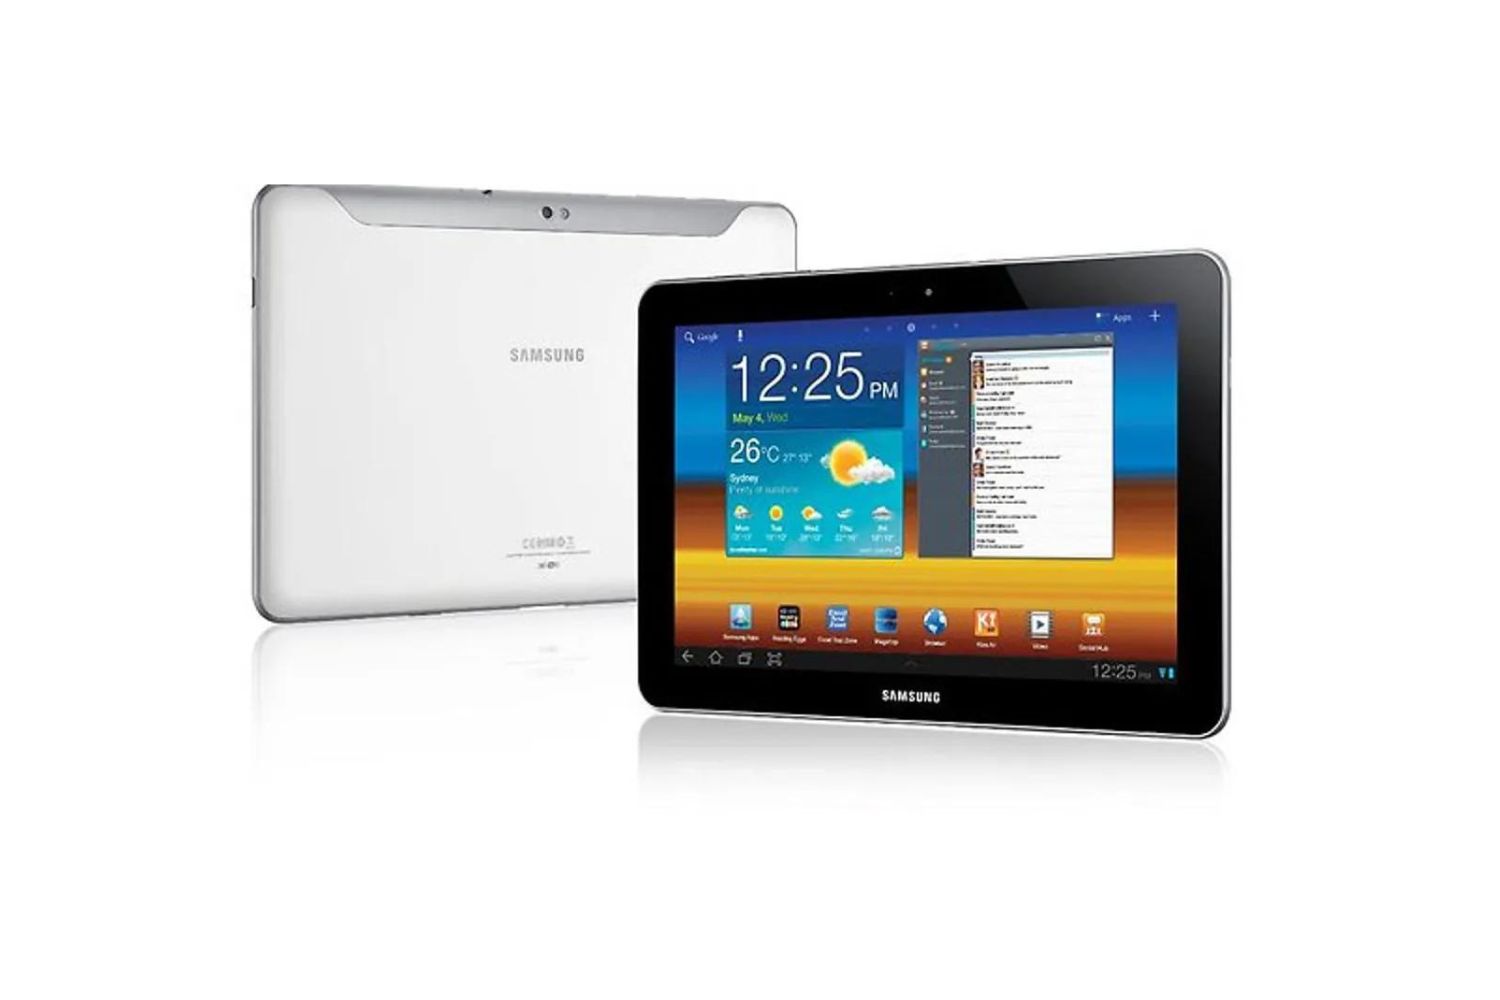
Do you have a Samsung Tablet 10.1 that’s been acting up lately? Is it sluggish, freezing, or experiencing software glitches? Performing a factory reset can often resolve these issues and restore your tablet to its original state. A factory reset, also known as a hard reset, erases all data and settings on your device, giving it a fresh start.
Before we dive into the step-by-step guide on how to do a factory reset on a Samsung Tablet 10.1, it’s important to note that this process will erase all data on your tablet. It’s crucial to back up any important files or data before proceeding. Additionally, make sure your tablet is fully charged to avoid any disruptions during the reset process.
In this article, we will walk you through the process of preparing for a factory reset, accessing the recovery mode, navigating the recovery menu, and performing the reset. We will also guide you on setting up your tablet again after the reset is complete. Let’s get started on rejuvenating your Samsung Tablet 10.1!
Preparing for a Factory Reset
Performing a factory reset on a Samsung Tablet 10.1 requires some preparation to ensure a smooth and successful reset process. The following steps will guide you in getting ready for the reset:
- Step 1: Back up Your Data: Before initiating a factory reset, it’s crucial to back up any important data on your tablet. This includes photos, videos, documents, contacts, and any other files you want to keep. You can use cloud storage services, such as Google Drive or Dropbox, or connect your tablet to a computer to transfer the data. This will prevent any irreversible data loss during the reset.
- Step 2: Charge the Tablet: It’s important to ensure that your tablet has enough charge before starting the reset process. Connect your tablet to a power source and let it charge until it reaches at least 50% battery level. This will help avoid any interruptions or power-related issues during the reset.
- Step 3: Turn off the Device: Before proceeding with the factory reset, turn off your tablet completely. Press and hold the power button until the power options menu appears. Then, select “Power off” or “Turn off” to shut down the device. This step ensures a clean start to the reset process.
By following these preparation steps, you’ll be ready to move forward with the factory reset process without any worry of data loss or power issues. Now that you’ve taken the necessary precautions, let’s proceed to the next steps of performing a factory reset on your Samsung Tablet 10.1.
Step 1: Back up Your Data
Before initiating a factory reset on your Samsung Tablet 10.1, it’s crucial to back up all of your important data. This step ensures that you won’t lose any valuable information during the reset process. Follow these steps to back up your data:
- Cloud Storage: One of the easiest ways to back up your data is by using cloud storage services like Google Drive, Dropbox, or Samsung Cloud. These platforms allow you to upload and store your files securely in the cloud. Install the respective app on your tablet and sign in with your account. Then, select the files you want to back up and upload them to the cloud. This way, you can access them later after the factory reset.
- Connect to a Computer: Another option is to connect your tablet to a computer using a USB cable. Once connected, you can access your tablet’s storage through your computer’s File Explorer or Finder. Simply copy and paste the files you want to back up from your tablet to your computer’s hard drive. Make sure to create a new folder on your computer to organize the backed-up files.
- Transfer to an External Storage Device: If you have an external storage device such as a USB flash drive or an external hard drive, you can also back up your data there. Connect the storage device to your tablet using an appropriate cable or adapter. Then, use a file manager app on your tablet to transfer the files you want to back up directly to the external storage device.
It’s important to be thorough when backing up your data to avoid losing any important files. Make a checklist of the files you want to back up and ensure they are safely stored before proceeding with the factory reset. By taking the time to back up your data, you can have peace of mind knowing that your important information is protected and can be easily restored after the reset process is complete.
Step 2: Charge the Tablet
Before proceeding with the factory reset, it’s crucial to ensure that your Samsung Tablet 10.1 has a sufficient battery charge. This will prevent any interruptions or power-related issues during the reset process. Follow these steps to charge your tablet:
- Connect to a Power Source: Locate the charging port on your tablet and plug in the charger. Ensure that the charger is properly inserted into the charging port to establish a secure connection. Connect the other end of the charger to a power source, such as a wall outlet or a USB port on your computer.
- Monitor the Charging Progress: Once the tablet is connected to the power source, you should see a charging indicator on the screen. It may be in the form of a battery icon with a lightning bolt or a percentage indicating the level of charge. Allow the tablet to charge until it reaches at least 50% battery level. This will provide enough power to complete the reset process without any issues.
- Ensure a Stable Power Connection: It’s important to make sure that the charger remains securely connected to both the tablet and the power source throughout the charging process. A loose connection can result in slower charging speeds or even interruptions. Avoid using a damaged or frayed charger cable, as it may not provide a stable charge.
By ensuring that your Samsung Tablet 10.1 has a sufficient battery charge, you minimize the risk of the reset process getting interrupted due to low power. A fully charged tablet will allow you to complete the factory reset smoothly and without any unexpected disruptions. Once your tablet is adequately charged, you’re ready to move on to the next step of the reset process.
Step 3: Turn off the Device
In the third step of performing a factory reset on your Samsung Tablet 10.1, you’ll need to ensure that the device is completely turned off. This step ensures a clean start to the reset process. Follow these steps to turn off your tablet:
- Press and Hold the Power Button: Locate the power button on your tablet. It is typically found on the side or top of the device. Press and hold the power button until the power options menu appears on the screen.
- Select “Power Off” or “Turn Off”: In the power options menu, you’ll find different options such as “Power Off,” “Restart,” or “Sleep.” Choose the “Power Off” or “Turn Off” option to shut down the tablet completely.
- Confirm the Power Off: After selecting the “Power Off” option, you may be prompted to confirm the action. This is to prevent accidental shutdowns. Confirm the power off by tapping on “OK” or a similar confirmation button.
- Wait for the Tablet to Turn Off: Once you’ve confirmed the power off, wait for a few moments for the tablet to completely shut down. You may notice a screen dimming or the device’s indicator light turning off, indicating that the tablet is powered off.
Ensuring that your tablet is turned off before proceeding with the factory reset is important to start the process on a clean slate. This step avoids any potential conflicts or issues that may arise from a partially powered-on device. Once your tablet is powered off, you’re ready to move forward with accessing the recovery mode and initiating the factory reset process.
Performing a Factory Reset
Now that you have prepared your Samsung Tablet 10.1 for a factory reset by backing up your data, charging the device, and turning it off, it’s time to dive into the steps of performing the actual reset. Follow the steps below to initiate the factory reset process:
- Step 4: Access the Recovery Mode: Press and hold the power button and the volume up button simultaneously. Keep holding them until you see the Samsung logo appear, then release the power button while still holding the volume up button. This will take you to the recovery mode.
- Step 5: Navigate the Recovery Menu: In the recovery mode, you can navigate the menu using the volume up and down buttons. Use the volume down button to highlight the “Wipe data/factory reset” or “Factory reset” option and use the volume up button to select it.
- Step 6: Select the Factory Reset Option: On the confirmation screen, use the volume down button again to highlight the “Yes” or “Confirm” option to proceed with the factory reset. Use the volume up button to select it.
- Step 7: Confirm the Reset: You may encounter another confirmation screen asking you to confirm the factory reset. Once again, use the volume down button to highlight the “Yes” or “Confirm” option and use the volume up button to select it.
- Step 8: Wait for the Reset Process to Complete: The factory reset process will now begin. Wait patiently for the process to complete. This may take a few minutes, and your tablet may reboot several times during the process.
- Step 9: Set up the Tablet Again: Once the factory reset is complete, your tablet will restart in its original settings. Follow the on-screen instructions to set up your tablet again, including language preferences, Wi-Fi connection, and account setup.
Performing a factory reset on your Samsung Tablet 10.1 can resolve software issues and improve performance. However, keep in mind that all your data will be erased during this process. Make sure to have a backup of your important files before proceeding. Once you complete the factory reset, your tablet will be refreshed and ready for a fresh start.
Step 4: Access the Recovery Mode
To initiate a factory reset on your Samsung Tablet 10.1, you need to access the recovery mode. The recovery mode is a dedicated bootable partition on your device that allows you to perform various system-related tasks, including a factory reset. Follow the steps below to access the recovery mode:
- Power Off Your Tablet: Make sure your tablet is turned off. If it’s still powered on, press and hold the power button until the power options menu appears, then select “Power off” or “Turn off” to shut down the device completely.
- Press and Hold the Correct Buttons: Once your tablet is turned off, press and hold the power button and the volume up button simultaneously. Keep holding both buttons until the Samsung logo appears on the screen.
- Release the Power Button: When the Samsung logo appears, release the power button while still holding the volume up button. This will prevent your tablet from booting up normally and instead take you to the recovery mode.
After following these steps, you should find yourself in the recovery mode of your Samsung Tablet 10.1. On the recovery mode screen, you will see various options and navigation instructions that you can control using the volume up and down buttons. In the following steps, we’ll guide you through using the recovery mode menu to perform a factory reset on your tablet.
It’s important to note that the exact button combinations to access the recovery mode may vary slightly depending on the model of your Samsung Tablet 10.1. If the above-mentioned button combination doesn’t work, refer to the user manual or search for specific instructions for your tablet model online. Once you successfully access the recovery mode, you can proceed to the next steps of the factory reset process.
Step 5: Navigate the Recovery Menu
Once you have successfully entered the recovery mode on your Samsung Tablet 10.1, you will be presented with a menu of options to navigate. This menu allows you to select the desired action, including the factory reset. Follow the steps below to navigate the recovery menu:
- Use Volume Buttons: To navigate the recovery menu, you will use the volume up and volume down buttons on your tablet. These buttons allow you to scroll through the options within the recovery menu.
- Highlight the Factory Reset Option: Scroll through the menu using the volume down button until you come across the “Wipe data/factory reset” or “Factory reset” option. Once you have highlighted the factory reset option, it will be indicated by a selected or highlighted outline.
- Select the Factory Reset Option: When you have the factory reset option highlighted, use the power button to select it. Press the power button once to select the highlighted option. This will instruct your tablet to proceed with the factory reset process.
It’s important to note that the exact wording and layout of the recovery menu may vary slightly depending on the specific model of your Samsung Tablet 10.1. However, the general concept of navigating the menu using the volume buttons and selecting options with the power button will remain the same.
Once you have successfully selected the factory reset option, you will move on to the next steps of confirming the reset and initiating the process. It’s crucial to double-check your selection before proceeding to avoid any unintended data loss. In the following steps, we will guide you through confirming the factory reset and completing the reset process on your Samsung Tablet 10.1.
Step 6: Select the Factory Reset Option
After navigating to the factory reset option in the recovery menu of your Samsung Tablet 10.1, the next step is to select and confirm the factory reset. This action will permanently erase all data and settings on your tablet. Follow the steps below to select the factory reset option:
- Confirm your Choice: Using the volume down button, scroll to the “Wipe data/factory reset” or “Factory reset” option in the recovery menu. Once the factory reset option is highlighted, use the power button to select it. Press the power button once to confirm your choice.
- Double-Check your Selection: Before initiating the factory reset, it’s essential to double-check your selection. Make sure that the factory reset option is indeed the one highlighted and confirmed. This step ensures that you don’t accidentally choose another option.
- Proceed to the Confirmation Screen: Once you have selected the factory reset option, your tablet will display a confirmation screen. This screen typically provides details about the consequences of the reset and prompts you to confirm your choice.
- Confirm the Factory Reset: On the confirmation screen, use the volume down button to highlight the “Yes” or “Confirm” option. Press the power button to select it and proceed with the factory reset. This action will initiate the process of erasing all data and settings on your tablet.
It’s crucial to note that performing a factory reset will erase all data on your tablet. Make sure to have a backup of any important files or data before proceeding. Once you confirm the factory reset, the reset process will begin. Depending on the amount of data on your tablet, this process may take several minutes to complete. Stay patient and avoid interrupting the process to ensure a successful factory reset.
In the upcoming steps, we will guide you through waiting for the reset process to complete and setting up your Samsung Tablet 10.1 again after the factory reset.
Step 7: Confirm the Reset
After selecting the factory reset option on your Samsung Tablet 10.1, the next step is to confirm that you want to proceed with the reset. This step acts as an extra precaution to ensure that you intentionally want to erase all data and settings on your tablet. Follow the steps below to confirm the reset:
- Review the Confirmation Screen: Once you’ve selected the factory reset option, your tablet will display a confirmation screen. Take a moment to carefully read the information provided on this screen. It may include a warning about data loss and the irreversible nature of the reset process.
- Highlight the “Yes” or “Confirm” Option: On the confirmation screen, use the volume down button to scroll and highlight the “Yes” or “Confirm” option. This option indicates that you want to proceed with the factory reset. Take your time to ensure that you are selecting the correct choice.
- Select the Confirmation Option: Once you have the “Yes” or “Confirm” option highlighted, use the power button to select it. Press the power button once to confirm your decision and proceed with the factory reset process. This action indicates your final confirmation to erase all data and settings on your tablet.
It’s important to carefully review and consider the confirmation screen before proceeding with the reset. This step prevents any accidental selections and ensures that you are intentionally initiating the factory reset. Once you have confirmed the reset, the process will begin, and all data on your tablet will be permanently erased.
In the following step, we will guide you through the wait for the reset process to complete. This step is crucial for allowing the tablet to delete all data and restore it to its original factory settings.
Step 8: Wait for the Reset Process to Complete
Once you have confirmed the factory reset on your Samsung Tablet 10.1, the reset process will begin. It’s essential now to exercise patience and allow the tablet to complete the reset. The duration of this process can vary depending on the amount of data on your tablet. Follow the steps below as you wait for the reset process to complete:
- Observe the Progress Indicator: While the factory reset is in progress, your tablet may display a progress indicator or a spinning wheel. This indicates that the reset process is running and actively erasing data and settings on your tablet. Avoid interrupting the process by turning off your tablet or removing the battery.
- Avoid Touching the Device: It’s important to refrain from interacting with your tablet during the reset process. Touching the screen or pressing any buttons may disrupt the process and potentially lead to incomplete data deletion. Allow the tablet to continue the reset without any interference.
- Wait Patiently: The duration of the reset process can vary depending on several factors such as the amount of data on your tablet and the device’s processing power. It’s best to exercise patience and allow the process to complete fully. The tablet may reboot multiple times during this stage, which is normal.
During the reset process, avoid the temptation to interrupt or force stop the procedure. Interrupting the process can lead to an inconsistent state or potential software issues. It’s crucial to let the tablet complete the reset process entirely to ensure a successful and thorough reset.
In the next step, we will guide you on setting up your Samsung Tablet 10.1 again after the factory reset is complete.
Step 9: Set up the Tablet Again
After the factory reset is completed on your Samsung Tablet 10.1, the device will restart, and you will need to go through the setup process again. This involves configuring various settings and personalizing your tablet. Follow the steps below to set up your tablet once the factory reset is finished:
- Select Your Language: The first prompt after the reset will ask you to select your preferred language. Choose the language that you are comfortable with using the on-screen instructions.
- Connect to Wi-Fi: Next, you’ll need to connect your tablet to a Wi-Fi network. Select your desired network from the available options and enter the network password if prompted. A stable internet connection is essential for setting up your tablet and accessing various services and updates.
- Sign in to Your Google Account: If you previously had a Google account linked to your tablet, you’ll need to sign in to regain access to your Google services, including Play Store, Gmail, and Google Drive. Enter your email address and password to sign in. If you don’t have a Google account, you can create one during this step.
- Restore Data (Optional): If you had previously backed up your data using cloud storage or an external device, you can choose to restore that data now. Select the restore option and follow the on-screen instructions to retrieve your backed-up files and settings.
- Set Up Additional Options: Your tablet may present you with additional setup options, such as enabling location services, setting up fingerprint or PIN security, or enabling voice assistants. Customize these options according to your preferences and needs.
- Install and Update Apps: Once you’ve completed the initial setup, you can begin installing your favorite apps from the Play Store or any other app store you prefer. You may also need to update the pre-installed apps on your tablet to ensure you have the latest versions.
Take your time to go through each step of the setup process, choosing options that suit your preferences and needs. Customizing your tablet to your liking will enhance your user experience and ensure your tablet is set up exactly how you want it.
Congratulations! You have successfully performed a factory reset on your Samsung Tablet 10.1 and completed the setup process. Your tablet is now ready to be used, free from any previous issues or glitches. Enjoy your refreshed tablet experience!
Conclusion
Performing a factory reset on your Samsung Tablet 10.1 can be a powerful solution to resolve software issues, improve performance, and start fresh. However, it’s important to remember that a factory reset will erase all data and settings on your tablet. Therefore, it’s crucial to back up your important files and ensure your tablet is adequately charged before proceeding with the reset.
Through the step-by-step guide provided in this article, you have learned how to prepare for a factory reset by backing up your data, charging your tablet, and turning it off. You have also learned how to navigate the recovery mode, select the factory reset option, and confirm the reset. Furthermore, we guided you through the waiting period for the reset process to complete, and finally, setting up your tablet again after the reset.
By following these instructions carefully, you can confidently perform a factory reset on your Samsung Tablet 10.1, knowing that you have taken the necessary precautions and understood the potential consequences. A factory reset can breathe new life into your tablet, providing a clean slate for you to customize and enjoy once again.
Remember, a factory reset should only be performed when necessary and after considering alternative solutions. If you continue to experience issues with your tablet even after a factory reset, it may be beneficial to seek professional assistance or contact Samsung Support for further guidance.
Thank you for choosing this guide to help you with a factory reset on your Samsung Tablet 10.1. We hope that it has been informative and helpful in guiding you through the reset process. Enjoy your refreshed tablet experience!