Introduction
Windows 10 is known for its regular updates, which aim to improve security, add new features, and enhance overall system performance. While these updates are crucial for the optimal functioning of your computer, some users may prefer to disable them for various reasons. Disabling Windows 10 updates can be useful for those who want to avoid unwanted system changes, prevent potential compatibility issues with certain applications, or simply maintain control over when and how updates are installed.
However, it’s important to note that disabling Windows 10 updates is not recommended for most users, as it can leave your computer vulnerable to security risks and prevent you from accessing new features and bug fixes. It’s crucial to consider the potential consequences before deciding to disable updates.
In this article, we will explore several methods that you can use to disable Windows 10 updates. Each method offers different levels of control and flexibility, allowing you to choose the approach that best fits your needs. Keep in mind that some of these methods may require administrative privileges, so make sure you have the necessary permissions before proceeding.
Method 1: Using the Windows Update Service
The Windows Update Service is a built-in feature of Windows 10 that manages the installation of updates. By disabling this service, you can prevent Windows from automatically downloading and installing updates.
To disable the Windows Update Service, follow these steps:
- Open the Run dialog box by pressing the Windows key + R.
- Type “services.msc” and press Enter.
- In the Services window, scroll down and find the “Windows Update” service.
- Right-click on the service and select “Properties”.
- In the Properties window, go to the “General” tab.
- Under the “Startup type” section, select “Disabled” from the drop-down menu.
- Click on the “Apply” button and then click “OK”.
Once you have disabled the Windows Update Service, Windows will no longer automatically download and install updates. However, it’s important to note that this method does not prevent Windows from checking for updates. Windows will still notify you when updates are available, but they won’t be installed automatically.
If you ever decide to re-enable Windows updates, simply follow the same steps and select “Automatic” or “Manual” as the startup type in the Windows Update Service properties.
Method 2: Using the Local Group Policy Editor
The Local Group Policy Editor is a powerful tool that allows you to customize various settings in Windows, including the ability to disable Windows 10 updates.
To use the Local Group Policy Editor to disable updates, follow these steps:
- Open the Run dialog box by pressing the Windows key + R.
- Type “gpedit.msc” and press Enter.
- In the Local Group Policy Editor, navigate to “Computer Configuration” > “Administrative Templates” > “Windows Components” > “Windows Update”.
- Double-click on the “Configure Automatic Updates” policy.
- In the Policy Properties window, select the “Disabled” option.
- Click on the “Apply” button and then click “OK”.
By disabling the “Configure Automatic Updates” policy, you effectively prevent Windows from automatically downloading and installing updates on your computer.
It’s important to note that the Local Group Policy Editor is only available in certain editions of Windows 10, such as Pro, Enterprise, and Education. If you’re using Windows 10 Home edition, this method won’t be applicable. In that case, you can consider using alternative methods mentioned in this article.
If you ever want to enable Windows updates again, simply follow the same steps and select “Not Configured” or “Enabled” in the “Configure Automatic Updates” policy.
Method 3: Using the Windows Registry Editor
The Windows Registry Editor is a powerful tool that allows you to modify various settings in Windows, including disabling Windows 10 updates. However, it’s important to approach registry editing with caution, as making incorrect changes can cause system instability or other issues.
To use the Windows Registry Editor to disable updates, follow these steps:
- Open the Run dialog box by pressing the Windows key + R.
- Type “regedit” and press Enter.
- In the Registry Editor, navigate to the following path:
HKEY_LOCAL_MACHINE\SOFTWARE\Policies\Microsoft\Windows\WindowsUpdate
- If the “WindowsUpdate” folder doesn’t exist, right-click on the “Windows” folder, select “New”, and then click “Key”. Enter “WindowsUpdate” as the name of the new key.
- In the “WindowsUpdate” folder, right-click on the right pane, select “New”, and then click “DWORD (32-bit) Value”. Name the new value “AUOptions”.
- Double-click on the “AUOptions” value and change its data to one of the following values:
- 0 – Windows update is enabled. (Default)
- 1 – Windows update is disabled.
- 2 – Windows notifies you of available updates, but they won’t be installed automatically.
- Click “OK” to save the changes.
After modifying the “AUOptions” value, Windows will behave according to the selected option. If you choose to disable Windows update, updates will not be installed automatically. If you prefer to receive notifications about available updates, select the appropriate value.
Remember to exercise caution when making changes in the Windows Registry Editor. If you’re not comfortable with this method, it’s advisable to use alternative methods mentioned in this article.
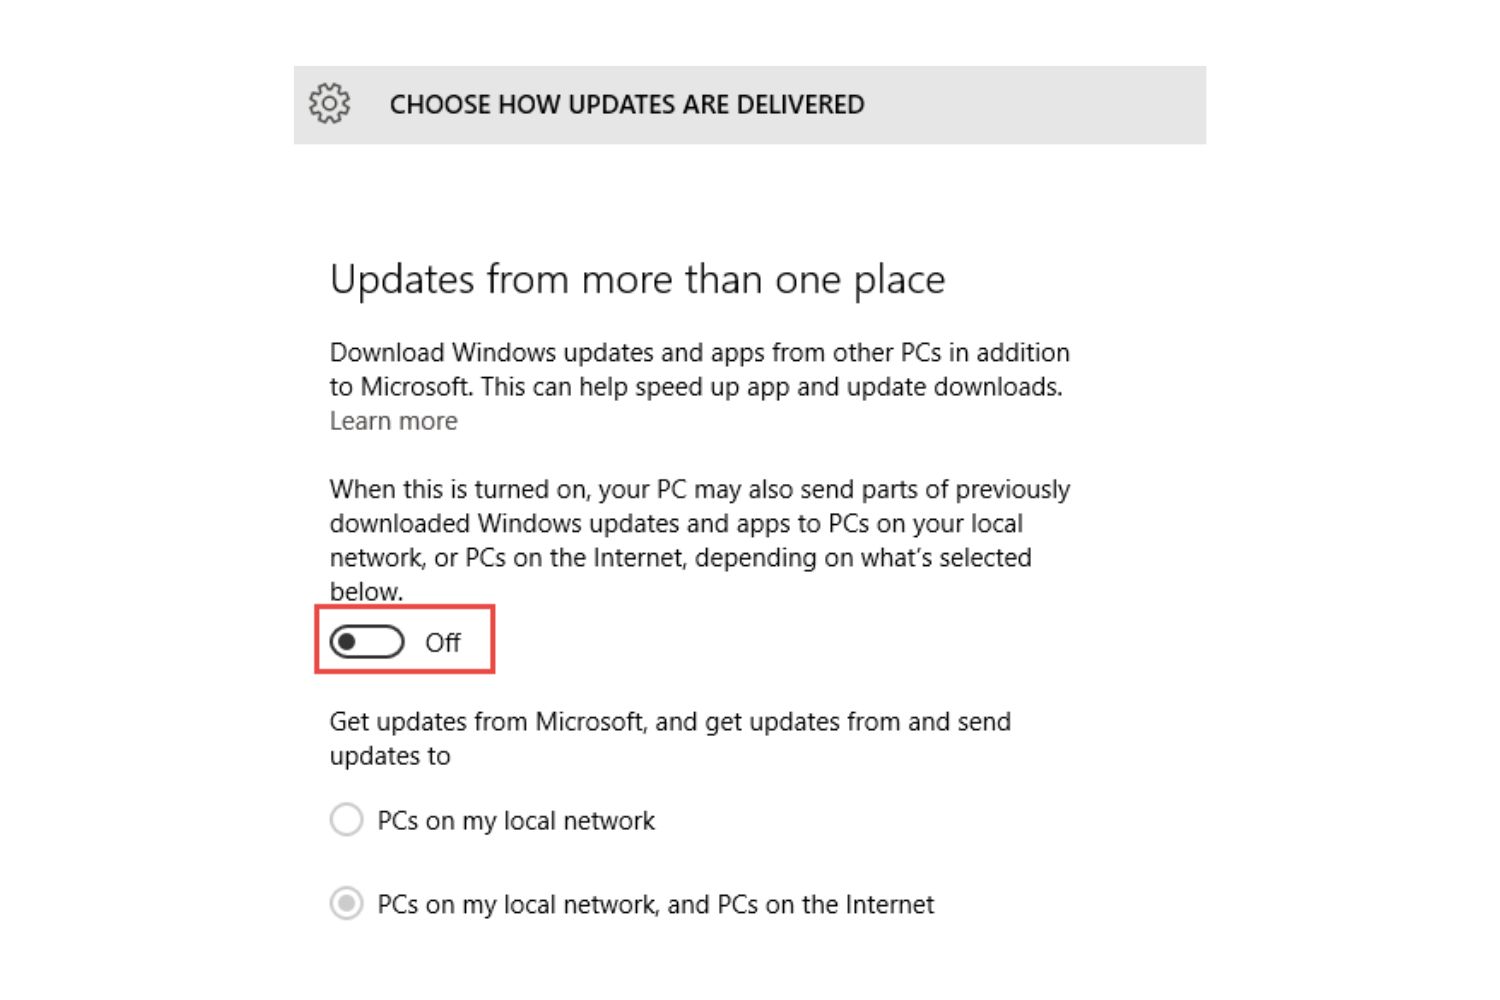
Method 4: Using the Metered Connection Setting
The metered connection setting is a built-in feature in Windows 10 that allows you to control the amount of data used by your computer when connected to certain networks. By setting your connection as metered, you can effectively prevent Windows from automatically downloading and installing updates.
To enable the metered connection setting and disable updates, follow these steps:
- Open the Start menu and click on “Settings”.
- In the Settings window, click on “Network & Internet” and select “Wi-Fi” or “Ethernet” (depending on the type of connection you’re using).
- Click on the network you’re connected to.
- In the network settings, scroll down to the “Metered connection” section.
- Toggle the switch to enable the “Set as metered connection” option.
Once you have set your connection as metered, Windows will treat it as a limited data connection, and automatic updates will be disabled to prevent excessive data consumption.
Keep in mind that enabling the metered connection setting can also affect other aspects of your computer, such as restricting background data usage for certain apps. It’s important to consider the impact on your overall internet usage before enabling this setting.
If you ever want to enable Windows updates again or remove the metered connection setting, simply follow the same steps and toggle the switch to disable the “Set as metered connection” option.
Method 5: Using the Windows Update Troubleshooter
If you want to temporarily disable Windows updates and easily revert back to the default settings, you can use the Windows Update Troubleshooter. This built-in tool can help diagnose and fix common Windows Update issues.
To use the Windows Update Troubleshooter to disable updates, follow these steps:
- Open the Start menu and click on “Settings”.
- In the Settings window, click on “Update & Security”.
- On the left sidebar, click on “Troubleshoot”.
- Scroll down to the “Get up and running” section and click on “Windows Update”.
- Click on the “Run the troubleshooter” button. Windows will start scanning for and resolving any issues related to Windows Update.
- Follow the on-screen prompts and instructions provided by the troubleshooter.
- When the troubleshooter completes its process, you may receive a notification asking if you want to apply the recommended changes. Choose the option that allows you to disable automatic updates.
The Windows Update Troubleshooter will temporarily disable automatic updates and keep your system in the state you specified until you manually enable Windows updates again.
This method is particularly useful if you want to disable updates for a specific period or until you perform further troubleshooting on your system.
If you ever want to enable automatic updates once more, you can rerun the Windows Update Troubleshooter and follow the prompts to restore the default settings for Windows Update.
Conclusion
Disabling Windows 10 updates can be a double-edged sword. While it may offer benefits such as preventing unwanted system changes or compatibility issues with certain applications, it’s important to weigh the potential risks and consequences. Windows updates provide crucial security patches, bug fixes, and new features that contribute to the overall performance and stability of your computer.
In this article, we have explored several methods to disable Windows 10 updates, including using the Windows Update Service, the Local Group Policy Editor, the Windows Registry Editor, the Metered Connection Setting, and the Windows Update Troubleshooter. Each method offers different levels of control and flexibility, depending on your specific needs and circumstances.
It is crucial to note that disabling Windows updates should be approached with caution and should only be done after careful consideration. If you decide to disable updates, ensure that you regularly keep an eye on security updates and manually update your system as necessary to protect against potential security vulnerabilities.
If you encounter any issues or complications after disabling updates, it is recommended to re-enable them and seek assistance from Microsoft support or IT professionals.
Ultimately, the decision to disable Windows updates rests with you, the user. It’s important to strike a balance between maintaining control over your system and ensuring that your computer remains secure and up to date. Consider your specific needs and preferences before choosing to disable or modify Windows update settings.