Introduction
Welcome to the exciting world of Android application development using PHP! In this guide, we will explore how to develop Android applications that leverage the power of PHP to create dynamic and interactive experiences for users.
Android is the most widely used mobile operating system in the world, and PHP is a popular server-side scripting language used for web development. By combining the two, we can create versatile and feature-rich Android applications that communicate with web services, retrieve data from databases, and provide seamless user interactions.
Whether you are an experienced PHP developer venturing into the world of Android or a beginner looking to learn both PHP and Android application development simultaneously, this guide will provide you with a comprehensive overview of the process.
Throughout this guide, we will cover the essential aspects of Android application development using PHP, including setting up the development environment, understanding the basics of Android application architecture, integrating PHP code into Android applications, designing user interfaces, handling user input and events, and accessing web services and databases.
We will also explore testing and debugging techniques to ensure the quality and smooth functioning of our Android applications. Additionally, we will discuss the process of publishing and distributing our Android applications to make them available to users worldwide.
By the end of this guide, you will have a solid understanding of how to develop Android applications using PHP and be ready to embark on your own exciting projects. So, let’s dive in and unleash the potential of PHP in the realm of Android application development!
Setting Up the Development Environment
Before we can start developing Android applications with PHP, we need to set up our development environment. Here are the steps to get started:
1. Install Java Development Kit (JDK): Android applications are developed using Java, so we need to install the JDK. Visit the Oracle website and download the latest version of the JDK compatible with your operating system. Follow the installation instructions to complete the setup.
2. Download and Install Android Studio: Android Studio is an integrated development environment (IDE) specifically designed for Android app development. Go to the official Android Studio website and download the latest stable version. Once downloaded, run the installer and follow the on-screen instructions to complete the installation.
3. Set up Android Virtual Device (AVD): An AVD is an emulator that enables us to test our Android applications. Launch Android Studio and open the “AVD Manager” from the toolbar. Click on “Create Virtual Device” and select the desired device configuration. Choose a system image and follow the prompts to create the AVD.
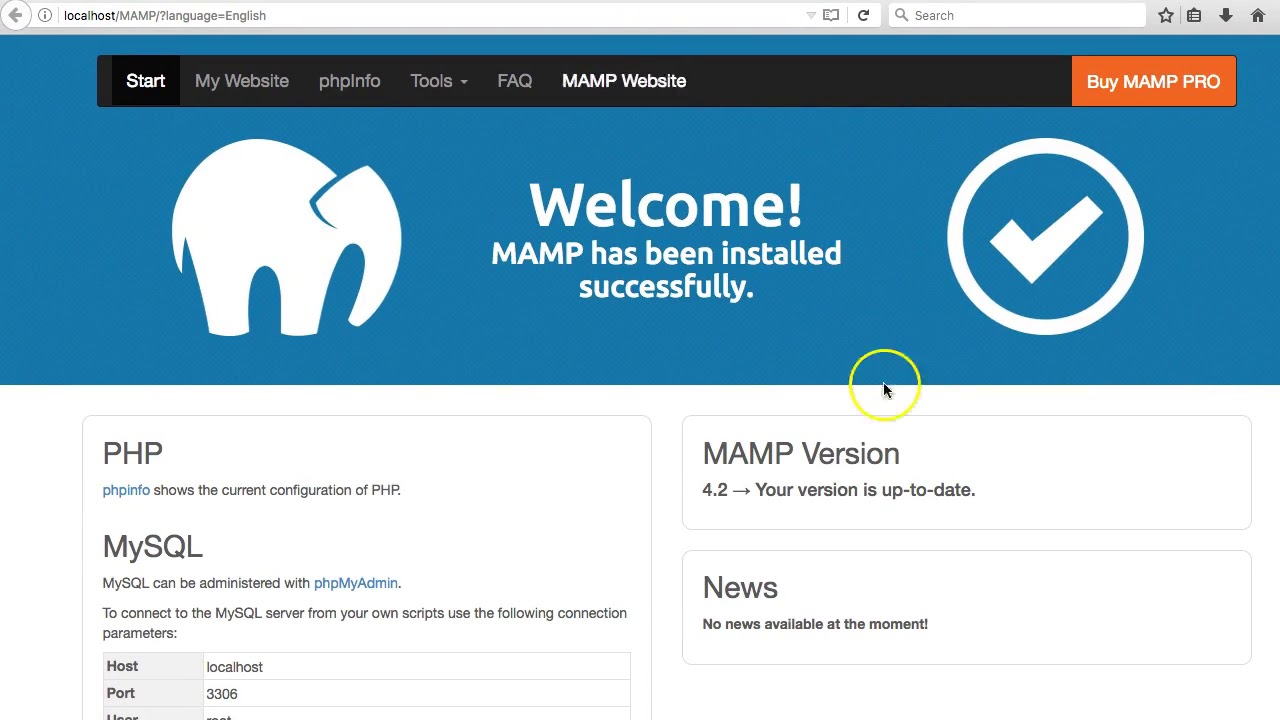
4. Install PHP and a Web Server: Since we will be integrating PHP code into our Android applications, we need to have PHP installed on our development machine. There are several options available for installing PHP, such as XAMPP, WAMP, or MAMP, which come bundled with Apache as a web server. Choose the package that suits your operating system and follow the installation instructions.
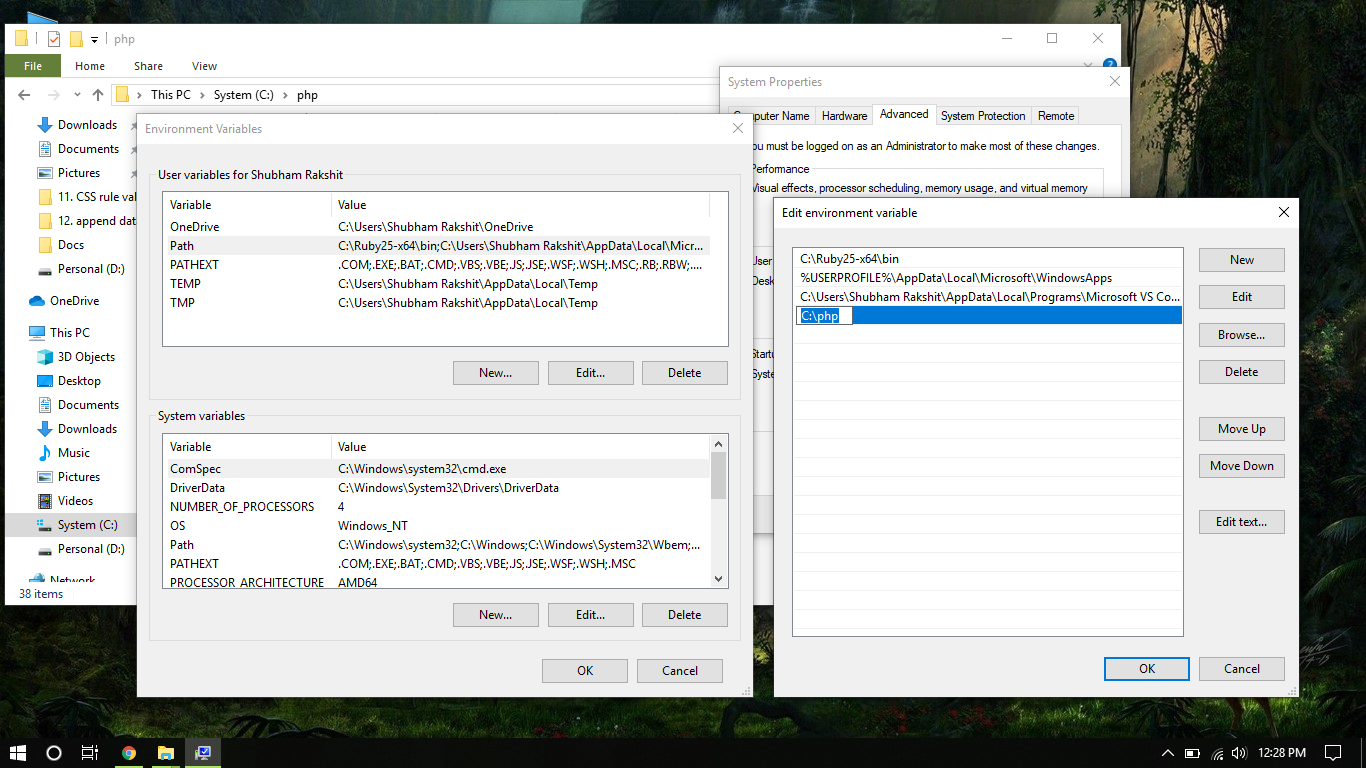
5. Configure PHP and Web Server: Once PHP is installed, we need to configure it to work with our web server. Open the PHP configuration file (php.ini) and make sure the necessary extensions are enabled, such as cURL for performing HTTP requests. Configure the web server to point to the directory where you will store your PHP files.
With these steps completed, you have successfully set up your development environment for Android application development using PHP. Now you can start creating your first Android application with PHP integration. In the next sections, we will dive into the fundamentals of Android application development and explore how to integrate PHP in the application logic.
Basics of Android Application Development
Before delving into the integration of PHP in Android applications, it is essential to have a solid understanding of the basics of Android application development. Let’s explore the key components and concepts involved:
1. Activities: An activity represents a single screen with a user interface (UI) in an Android application. It serves as the entry point for interacting with the application. Activities are defined in the AndroidManifest.xml file and can contain various UI components such as buttons, text fields, and images.
2. Intents: Intents are used to navigate between different activities within an application or even between different applications. They facilitate communication and data exchange between activities, allowing for seamless user transitions and interactions.
3. Layouts: Layouts define the structure and appearance of the UI components within an activity. Android provides various layout types, such as LinearLayout, RelativeLayout, and ConstraintLayout, which enable us to arrange UI elements in a desired manner.
4. Views: Views are the UI elements in an activity, such as buttons, text fields, and images. They allow users to interact with the application and provide visual feedback. Each view has its own set of properties and can respond to user input and events.
5. Resources: Resources are external entities used in an Android application, such as strings, images, and constants. They are stored in the res directory and can be accessed programmatically. Using resources allows for easy localization and customization of the application.
6. Manifest File: The AndroidManifest.xml file is a crucial component of an Android application. It contains essential information about the application, such as the package name, permissions required, activities, and services. It serves as a roadmap for the Android operating system to identify and interact with the application.
These are just some of the foundational concepts in Android application development. As you progress, you will explore more advanced topics such as fragments, services, and notifications. Understanding these basics will provide a solid foundation for integrating PHP into your Android applications.
Now that we have covered the basics, let’s move on to the exciting part – integrating PHP into Android applications. In the next section, we will explore how to leverage PHP to create dynamic and interactive experiences for users.
Integrating PHP in Android Applications
One of the key advantages of using PHP in Android applications is the ability to leverage the power of web services and dynamic data. By integrating PHP code into our Android applications, we can fetch data from servers, perform calculations, and handle server-side operations seamlessly. Let’s explore how to integrate PHP into Android applications:
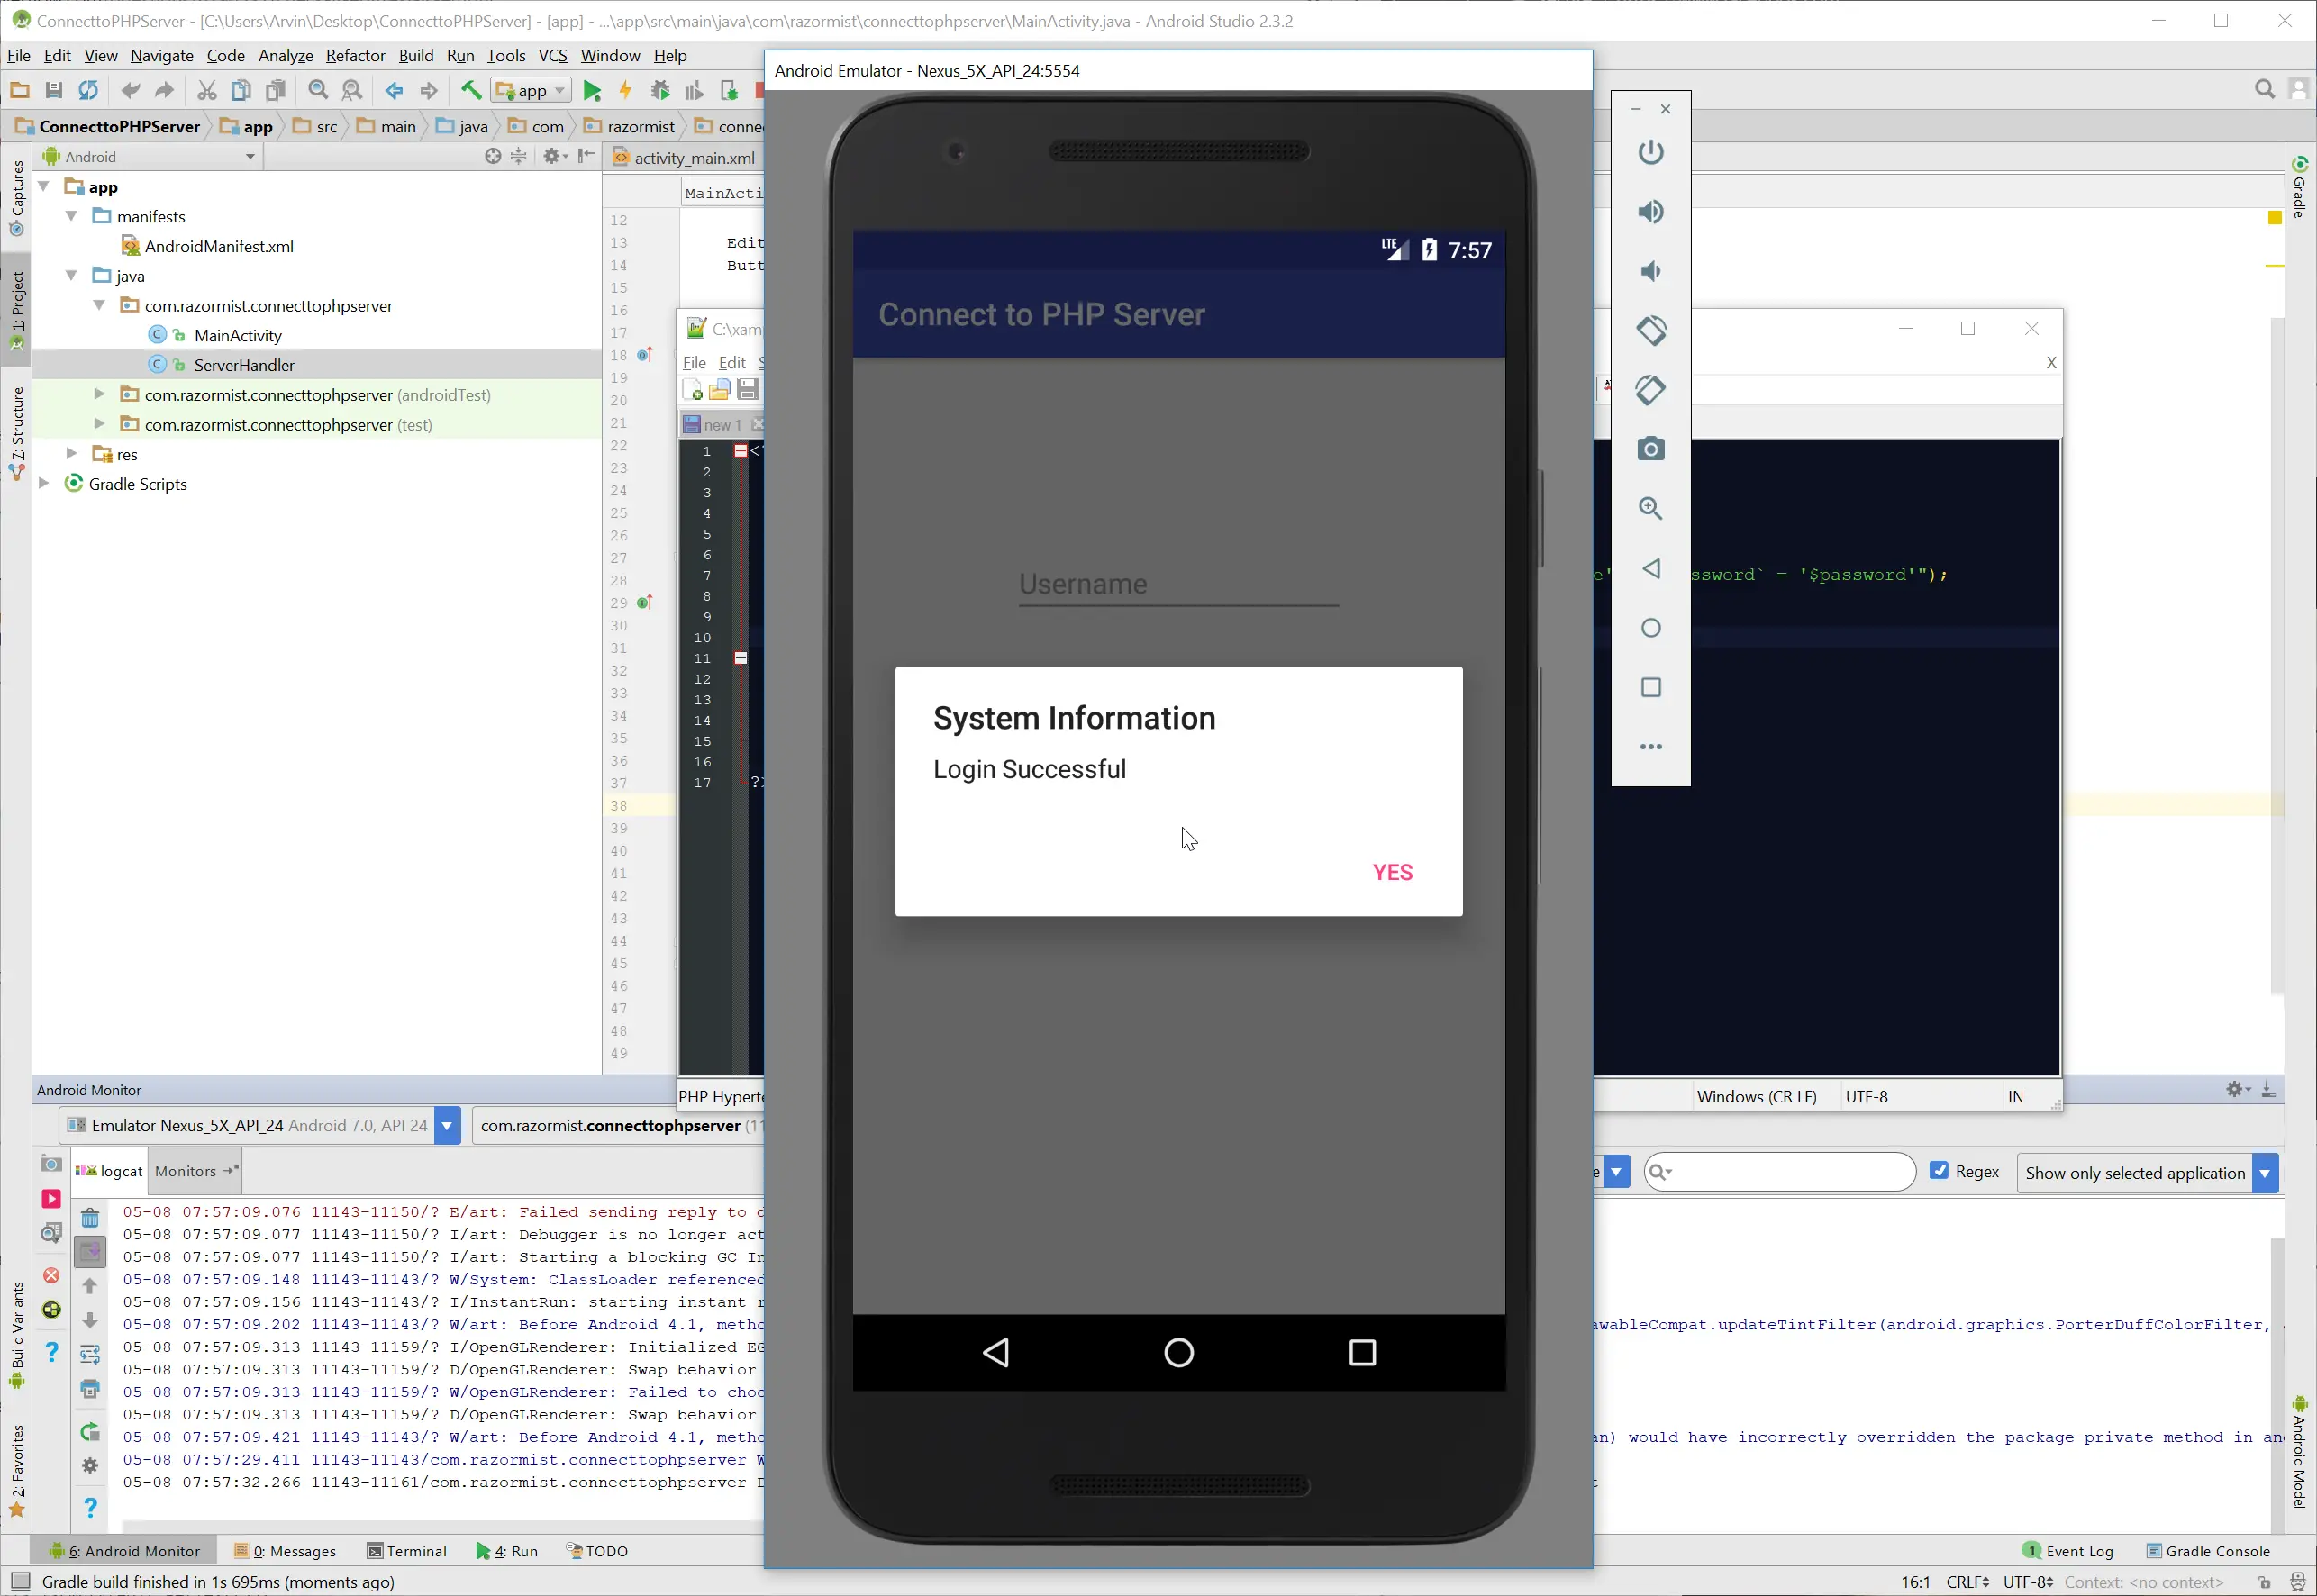
1. Making HTTP Requests: Android provides the HttpURLConnection class to send HTTP requests to web servers. We can use this class to communicate with PHP scripts hosted on a server. By making HTTP GET or POST requests, we can retrieve data from a PHP script and handle the response within our Android application.
2. Parsing JSON Data: PHP scripts often return data in JSON format, which is a lightweight data interchange format. To work with the data received from PHP, we need to parse the JSON response in our Android application. Android provides the JSONParser class to parse JSON data, making it easy to extract and utilize the information sent by the PHP script.
3. Handling API Authentication: If the PHP script requires authentication to access certain data or perform actions, we need to handle API authentication in our Android application. This involves sending the necessary credentials or tokens along with the HTTP request to authenticate the request before interacting with the PHP script.
4. Utilizing PHP Libraries: PHP has a vast collection of libraries and frameworks available for various purposes, such as database operations, image processing, encryption, and more. We can leverage these libraries by integrating them into our Android application using PHP wrappers or by calling PHP functions directly.
5. Asynchronous Execution: When making HTTP requests to PHP scripts, it is crucial to perform these operations asynchronously to avoid blocking the main UI thread. Android provides tools like AsyncTask or Retrofit, which allow us to execute network operations asynchronously and manage the response in a background thread.
By integrating PHP into our Android applications, we can create dynamic and interactive experiences for users. We can fetch real-time data, perform complex calculations on the server side, and seamlessly interact with web services. The integration of PHP opens up a wide range of possibilities for creating powerful and engaging Android applications.
Now that we understand the process of integrating PHP into Android applications, let’s move on to the next section, where we will explore designing user interfaces using XML.
Designing User Interfaces with XML
When it comes to designing user interfaces (UI) in Android applications, XML (eXtensible Markup Language) is the primary language used. XML provides a simple and intuitive way to define the layout and appearance of the UI components. Let’s explore how to design user interfaces using XML:
1. Layout Containers: Android provides a variety of layout containers that allow us to organize UI elements in a structured manner. Some commonly used layout containers include LinearLayout, RelativeLayout, ConstraintLayout, and GridLayout. We can nest these containers to create complex and dynamic UI layouts.
2. UI Components: XML allows us to define various UI components such as TextView, Button, EditText, ImageView, ListView, and more. These components represent the visual elements that users interact with in the application. We can customize their appearance by specifying attributes like text, color, size, and position within the XML layout file.
3. Gravity and Alignment: XML provides attributes like gravity and layout_gravity that help align UI components within their parent containers. We can align components horizontally or vertically, center them, or distribute them evenly using attributes like gravity=”center”, gravity=”end”, layout_gravity=”top”, and so on.
4. Dimensions and Margins: XML allows us to specify dimensions in terms of pixels (px), density-independent pixels (dp), or percentages (%). We can set width and height for UI components and define margins to create spacing and separation between them. This enables us to create visually pleasing and consistent layouts.
5. Styling: XML supports styling through the use of styles and themes. Styles define a set of attributes that can be applied to UI components to maintain consistency across the application. Themes allow us to define a set of styles for different attributes to achieve a consistent look and feel throughout the entire application.
6. Resource Management: XML layout files are stored in the res/layout directory of the Android project. By separating the UI design from the application logic, we can easily manage and update the layout files. XML layouts can also be localized to support different languages or screen sizes.
By utilizing XML to design user interfaces, we can create visually appealing and responsive layouts for our Android applications. The flexibility and simplicity of XML make it a powerful tool for UI design in Android development.
Now that we have explored the basics of designing user interfaces with XML, let’s move on to the next section, where we will learn about handling user input and events in Android applications.
Handling User Input and Events
Interacting with users is a fundamental aspect of Android application development. To create engaging and interactive applications, we need to handle user input and respond to various events. Let’s explore how to handle user input and events in Android applications:
1. User Interface Events: Android provides a wide range of events that can be triggered by user interactions, such as button clicks, text input, gestures, and more. We can handle these events by attaching event listeners to UI components. For example, we can use the onClick() method to respond to a button click event.
2. Event Listeners: Event listeners are interfaces or classes that listen for specific events and execute relevant code when the events occur. By implementing event listener interfaces or creating custom event listener classes, we can define the actions that should be performed when a particular event occurs.
3. Text Input and Validation: Android offers various UI components for text input, including EditText and TextInputLayout. We can retrieve the user-entered text and perform validation to ensure its correctness or enforce specific formatting rules. By utilizing input filters and regular expressions, we can control the type and format of user input.
4. Handling Keyboard Visibility: In some cases, we may need to adjust the layout or behavior of the UI when the software keyboard is shown or hidden. Android provides methods and listeners to detect the visibility of the keyboard, allowing us to adapt the user interface accordingly.
5. Touch and Gesture Recognition: Android supports touch and gesture recognition, enabling us to capture and respond to various touch events like tapping, swiping, pinching, and scrolling. We can utilize gesture detectors or override touch event methods to detect and handle user gestures.
6. Input Method Actions: The soft keyboard in Android often includes action buttons such as “Done,” “Next,” or “Search.” We can handle these input method actions to perform specific operations when the user taps on them, such as submitting a form or moving to the next input field.
By effectively handling user input and events, we can create applications that respond intuitively to user actions. Whether it’s validating user input, responding to button clicks, or recognizing gestures, mastering the handling of user input and events is crucial for building interactive and user-friendly Android applications.
Now that we understand how to handle user input and events, let’s move on to the next section, where we will explore accessing web services using PHP in Android applications.
Accessing Web Services with PHP
Accessing web services is a common requirement in Android applications. With PHP, we can interact with web services to retrieve data, send data, and perform various operations. Let’s explore how to access web services using PHP in Android applications:
1. Making HTTP Requests: PHP provides functions such as `file_get_contents()` or `curl` that allow us to make HTTP requests to web services. These functions enable us to send GET or POST requests and retrieve the response from the web service. We can use these functions in our Android application to communicate with the PHP script running on a server.
2. Retrieving JSON Data: Many web services return data in JSON format, which is a lightweight data interchange format. In PHP, we can use functions like `json_encode()` and `json_decode()` to encode and decode JSON data. By returning JSON data from the PHP script, we can easily parse it in our Android application and extract the necessary information.
3. Sending Parameters and Data: To interact with web services, we often need to send parameters or data along with the HTTP request. In PHP, we can pass parameters via the URL query string or in the body of a POST request. We can access these parameters in the PHP script and use them to perform the required operations or retrieve specific data from a database.
4. Authentication and Security: When accessing web services, security and authentication are crucial. PHP provides mechanisms such as tokens, API keys, or OAuth for authentication. We can implement these authentication methods in our Android application by passing the necessary credentials along with the HTTP request to the web service endpoint.
5. Handling Responses and Errors: It is important to handle the responses returned from web services effectively. PHP allows us to format and structure the response data before sending it back to the Android application. We can also handle errors and exceptions in the PHP script and provide appropriate error messages or codes to the Android application for error handling and debugging.
6. Testing Web Services: Before integrating web services into an Android application, it’s essential to test the PHP scripts independently to ensure they are functioning correctly. PHP provides various testing frameworks, such as PHPUnit, for unit testing web services. By thoroughly testing the web services, we can verify their functionality and catch any potential issues before integrating them into the Android application.
By integrating web services with PHP in our Android applications, we can unleash the power of dynamic data and external services. Whether it’s fetching data from an API, performing database operations, or interacting with external services, PHP enables us to create robust and versatile Android applications.
Now that we understand how to access web services using PHP, let’s move on to the next section, where we will explore implementing database operations with PHP in Android applications.
Implementing Database Operations with PHP
Database operations play a critical role in many Android applications. With PHP, we can seamlessly interact with databases and perform CRUD (Create, Read, Update, and Delete) operations. Let’s explore how to implement database operations with PHP in Android applications:
1. Establishing Database Connection: To interact with a database, we need to establish a connection. PHP provides various database extensions such as MySQLi and PDO that allow us to connect to databases like MySQL or SQLite. We can configure the database connection parameters, establish the connection, and handle any connection errors.
2. Executing SQL Queries: PHP enables us to execute SQL queries to retrieve data or perform modifications in the database. We can use functions like `mysqli_query()` or `PDO::query()` to execute queries and fetch the result sets. These functions provide various options for binding parameters, preparing statements, and handling the results.
3. Creating Database Tables: In PHP, we can execute SQL statements to create database tables. We can define the table structure, including columns, data types, constraints, and indexes. By executing the CREATE TABLE statement, we can create the necessary tables for storing and organizing the data.
4. Reading and Retrieving Data: PHP allows us to fetch data from the database by executing SELECT queries. We can retrieve the result sets, iterate over the rows, and extract the required data. We can then format and present the data in the desired format for use in our Android application.
5. Inserting and Updating Data: PHP facilitates inserting new data or updating existing data in the database. By executing INSERT or UPDATE queries, we can add new records or modify existing records based on user input or application logic. We can also handle situations like duplicate data or constraints violation while performing database modifications.
6. Deleting Data: PHP supports deleting data from the database using DELETE queries. By specifying the criteria or conditions, we can remove unwanted records from the database. Before executing DELETE queries, it is crucial to handle data integrity and ensure responsible deletion of data.
7. Handling Transactions: In complex operations involving multiple database queries, maintaining data consistency is essential. PHP allows us to handle transactions, enabling us to execute a series of queries as a single unit. We can commit the changes if all queries succeed or rollback the changes if any query fails.
By implementing database operations with PHP, we can efficiently manage and manipulate data in our Android applications. Whether it’s retrieving data, inserting new records, updating existing data, or deleting unwanted data, PHP provides powerful tools for interacting with databases seamlessly.
Now that we understand how to implement database operations with PHP, let’s move on to the next section, where we will explore testing and debugging Android applications.
Testing and Debugging Android Applications
Testing and debugging play a crucial role in ensuring the quality and reliability of Android applications. By thoroughly testing our code and accurately identifying and fixing bugs, we can deliver a smooth and error-free user experience. Let’s explore effective testing and debugging techniques for Android applications:
1. Unit Testing: Unit testing involves testing individual units or components of our code in isolation. Android provides robust testing frameworks like JUnit and Espresso, which allow us to write test cases to verify the functionality of specific methods or classes. By executing these tests, we can ensure that each unit of our code performs as expected.
2. Integration Testing: Integration testing focuses on testing the interaction between different components or modules of an application. It ensures that the individual units function correctly when integrated together. We can use tools like AndroidJUnitRunner and Mockito to write integration tests that simulate real-world usage scenarios and validate the behavior of our application.
3. UI Testing: UI testing involves validating the user interface and user interactions in our application. Android provides the Espresso framework, which allows us to write UI test cases to perform actions like button clicks, text input, and verifying the expected UI state. By executing these tests, we can ensure that the UI components behave as intended.
4. Debugging Techniques: Debugging is the process of identifying and fixing errors or bugs in our code. Android Studio provides powerful debugging tools that allow us to set breakpoints, inspect variables, step through the code, and analyze logs. By utilizing these tools, we can effectively pinpoint the cause of issues and debug our application to ensure it runs smoothly.
5. Error and Exception Handling: Proper error and exception handling is crucial for identifying and resolving issues in our Android applications. By logging meaningful and structured error messages, we can gather valuable information about the encountered issues. We can leverage tools like Logcat and Crashlytics to capture and analyze logs to understand the flow of our application and address any occurring errors or exceptions.
6. Testing on Different Devices and Android Versions: It is crucial to test our application on a variety of devices and Android versions to ensure compatibility and consistent performance. By testing on different screen sizes, resolutions, and hardware configurations, we can identify and address device-specific issues and guarantee a seamless user experience for all users.
By diligently testing and debugging our Android applications, we can identify and fix issues early on, leading to a robust and reliable application. Through unit testing, integration testing, UI testing, effective debugging techniques, and comprehensive error handling, we can deliver a high-quality and stable application to our users.
Now that we understand how to test and debug Android applications, let’s move on to the next section, where we will explore the process of publishing and distributing Android applications with PHP.
Publishing and Distributing Android Applications with PHP
After developing and testing an Android application, the next step is to publish and distribute it to users. By leveraging PHP, we can streamline the publishing process and provide seamless updates to our application. Let’s explore the process of publishing and distributing Android applications with PHP:
1. Generate APK (Android Package): The first step in publishing is to generate an APK file, which is the installation package for Android applications. Android Studio provides tools to build the APK, which includes compiling the code, bundling resources, and signing the package with a digital certificate for security.
2. Hosting the APK: Once the APK file is generated, we need to host it on a server or a cloud storage platform. PHP can assist in managing the hosting and versioning of the APK. We can utilize PHP scripts to handle the uploading and storage of the APK file and maintain a versioning system for easy distribution.
3. Implementing Update Mechanism: To distribute updates to our application, we can utilize PHP to implement an update mechanism. By periodically checking for updates on the server, our application can notify users of new versions and provide an option to download and install the latest APK. This allows for seamless updates and ensures that users have the latest features and bug fixes.
4. Distribution through Google Play Store: The most common and recommended method of distributing Android applications is by publishing them on the Google Play Store. PHP can assist in managing the publishing process by automating the creation of store listings, including descriptions, screenshots, and application details. We can use PHP to generate and submit the necessary metadata to the Play Store API for publication.
5. Beta Testing and Distribution: Before releasing our application to the public, it is advisable to conduct beta testing. PHP can be utilized to create a closed distribution system where selected users can access and test our application before it is publicly available. We can manage user registrations, handle distribution, and gather user feedback using PHP scripts.
6. Analytics and Reporting: PHP can be used to implement analytics and reporting features in our application. By integrating PHP scripts with analytics platforms or creating custom analytics systems, we can collect valuable data about user engagement, usage patterns, crash reports, and more. This data can be analyzed to make informed decisions and improve the application’s performance and user experience.
By leveraging PHP in the publishing and distribution process, we can streamline the deployment of our Android applications and provide a seamless and user-friendly experience for users. Whether it’s handling APK hosting, implementing update mechanisms, publishing on the Google Play Store, or managing beta testing and analytics, PHP can assist in automating and optimizing these processes.
Now that we understand how to publish and distribute Android applications with PHP, we have reached the end of our guide. Armed with this knowledge, you are ready to embark on your own app development journey and create amazing Android applications using the power of PHP and HTML.