Introduction
Welcome to our step-by-step guide on how to delete Picasa photos from your Samsung Galaxy. Picasa, a popular online photo management tool, was once integrated with Google Photos. However, since March 2016, Google has discontinued the Picasa service and changed its focus to Google Photos. As a result, Picasa albums and photos may still be visible in your Google account, even though they are no longer actively supported.
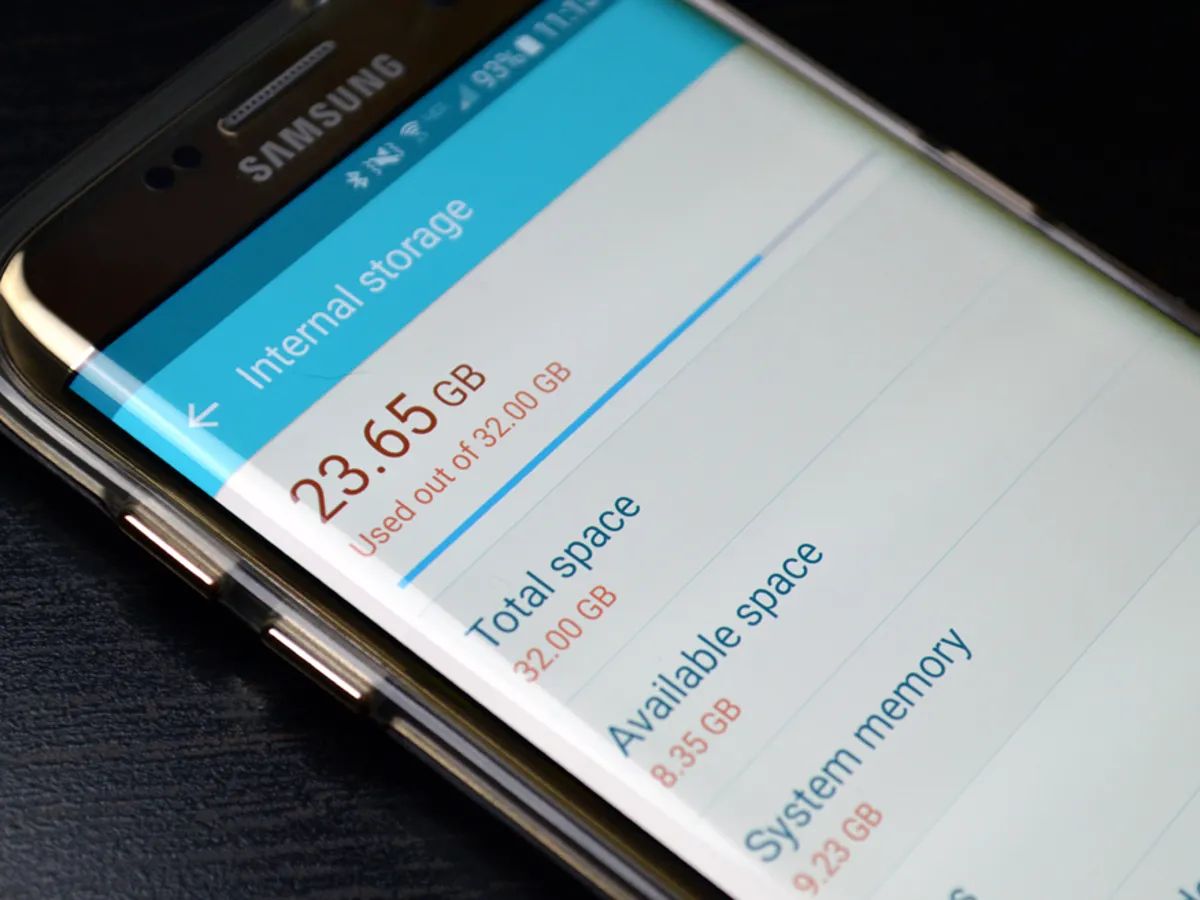
Having outdated Picasa photos cluttering your Samsung Galaxy device can take up valuable storage space and cause confusion when browsing through your photo library. Fortunately, removing these old Picasa photos from your device is a relatively simple process. In this guide, we will walk you through the necessary steps to delete Picasa photos from your Samsung Galaxy, ensuring that your device’s photo library remains organized and free from unnecessary clutter.
Please note that the steps outlined below may vary slightly depending on the version of the Google Photos app installed on your Samsung Galaxy device. However, the overall process remains consistent. Now, without further ado, let’s get started on removing those unwanted Picasa photos!
Step 1: Open the Google Photos app
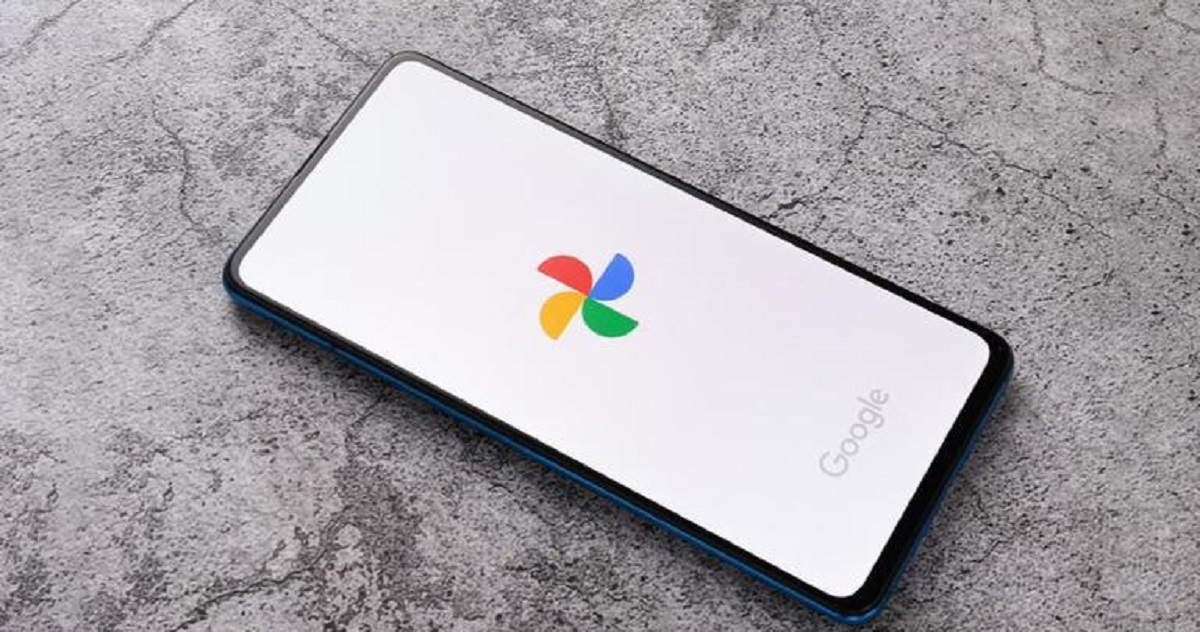
The first step to delete Picasa photos from your Samsung Galaxy is to open the Google Photos app. Look for the app icon, which resembles a pinwheel made up of different colored circles, on your device’s home screen or app drawer. Tap on the icon to launch the app.
If you don’t have the Google Photos app installed on your device, you can download it from the Google Play Store. Once downloaded, open the app to proceed with the deletion process.
Upon opening the Google Photos app, you will be presented with the main screen, showcasing your recently captured photos and videos. This is where you’ll navigate through your photo library and perform various actions, such as deleting Picasa photos.
Now that you have successfully opened the Google Photos app, you’re ready to move on to the next step: signing in to your Google account. This is crucial to ensure that you have the necessary access and permissions to delete the Picasa photos associated with your account. Let’s proceed to Step 2 to learn how to sign in.
Step 2: Sign in to your Google account
To delete Picasa photos from your Samsung Galaxy, you need to sign in to your Google account within the Google Photos app. This ensures that you have the necessary permissions to manage and delete the photos associated with your account.
Here’s how to sign in to your Google account:
- Open the Google Photos app on your Samsung Galaxy device.
- If you’re not already signed in, you will be prompted to sign in with your Google account credentials. Tap on the “Sign in” or “Continue” button to proceed.
- Enter your Google account email address or phone number associated with the account.
- Tap on the “Next” button.
- Enter your Google account password.
- Tap on the “Next” button.
Once you have successfully signed in to your Google account, you will have access to all the photos and albums associated with your account, including any Picasa photos that are still visible.
If you have multiple Google accounts, make sure you sign in with the account that contains the Picasa photos you wish to delete. If you’re unsure which account to use, you can check the email address associated with your Google account or use the account that you primarily use for managing photos.
Now that you have signed in to your Google account, you’re ready to proceed to Step 3, where we will explain how to locate the Picasa photos within the Google Photos app.
Step 3: Locate the Picasa photos
After signing in to your Google account within the Google Photos app on your Samsung Galaxy device, it’s time to locate the Picasa photos that you want to delete. Although Picasa integration has been discontinued, remnants of Picasa albums and photos may still exist within your Google account.
To locate the Picasa photos, follow these steps:
- Open the Google Photos app on your Samsung Galaxy device.
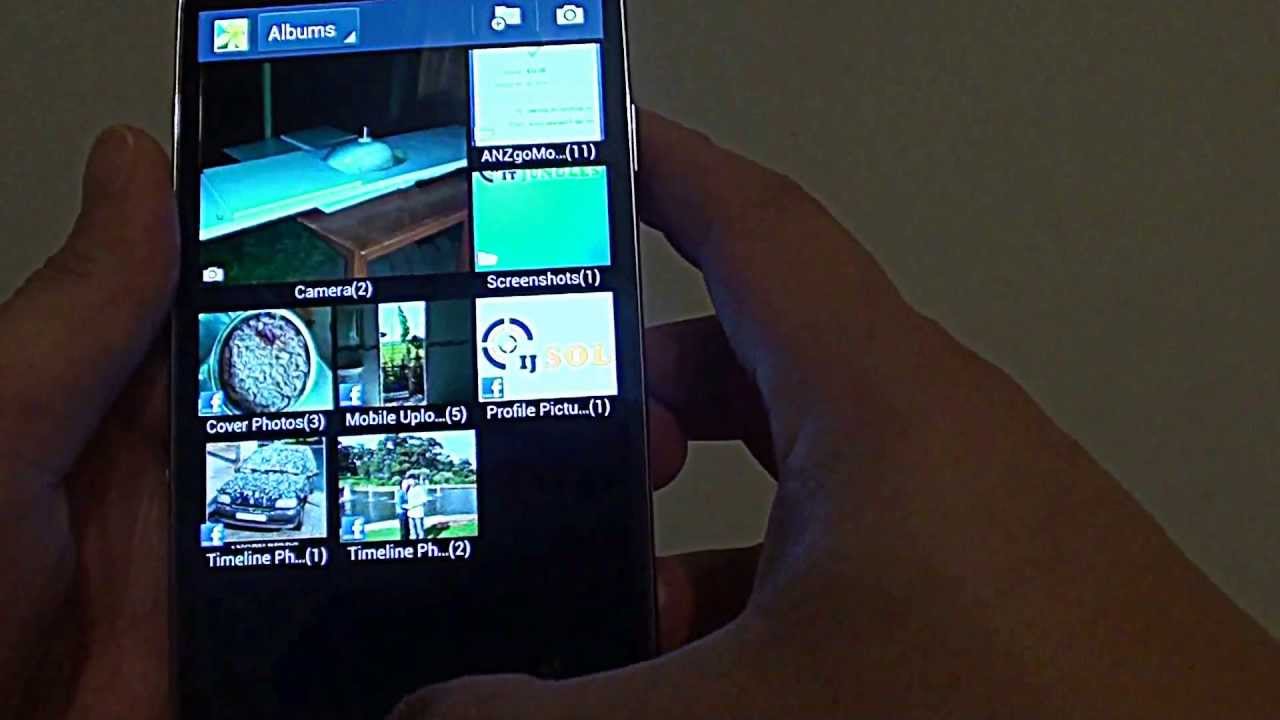
- Navigate to the “Albums” tab. You can usually find it at the bottom of the screen.
- Scroll through the albums until you see an album titled “Picasa”. Tap on it to open.
- Within the Picasa album, you will find all the photos that were previously uploaded to Picasa. Take a moment to review the photos and ensure that they are the ones you want to delete.
If you don’t see a specific Picasa album, don’t worry. It’s possible that you don’t have any Picasa photos remaining in your Google account. In that case, you can skip to Step 7 to learn how to clear Picasa sync data from your device.
Now that you have located the Picasa photos within the Google Photos app, it’s time to move on to the next step: selecting the photos you want to delete. Let’s proceed to Step 4 to learn how to do that.
Step 4: Select the photos you want to delete
Now that you have located the Picasa photos within the Google Photos app on your Samsung Galaxy device, it’s time to select the photos that you want to delete. To streamline the process, Google Photos provides various selection methods to help you quickly choose the photos you wish to remove.
- Open the Picasa album within the Google Photos app. If you need a refresher on how to locate the Picasa album, refer back to Step 3.
- Browse through the photos and videos in the album, and tap on the first photo that you want to delete. This will select it and highlight it with a checkmark.
- You can continue scrolling and tapping on additional photos to select them. Notice that as you select more photos, the checkmark will appear on each selected photo.
- If you want to select all the photos in the album, you can tap on the three-dot menu icon (usually located at the top-right corner of the screen) and choose the “Select all” option.
Keep in mind that you can select both individual photos and multiple photos at once. This flexibility allows you to easily choose specific photos or batch-select a group of images for deletion.
Once you have selected the Picasa photos that you want to delete, you are ready to move on to the next step: deleting the selected photos. Please proceed to Step 5 for the deletion instructions.
Step 5: Delete the selected photos
Now that you have selected the Picasa photos you want to delete within the Google Photos app on your Samsung Galaxy device, it’s time to remove them from your photo library. Deleting the photos permanently removes them from your Google account and frees up storage space on your device.
To delete the selected photos, follow these steps:
- With the desired photos selected, tap on the trash bin icon or the “Delete” button.
- You will be prompted to confirm the deletion. Read the warning message carefully, as all selected photos will be permanently deleted and cannot be recovered.
- If you’re sure you want to proceed, tap on the “Delete” button or the confirmation option provided.
- Google Photos will now begin deleting the selected Picasa photos from your Google account and your device. This may take a few moments depending on the number of photos you are deleting.
Once the deletion process is complete, the selected Picasa photos will be removed from your Google Photos app and no longer accessible in your photo library.
It’s important to note that deleting Picasa photos from the Google Photos app does not affect their visibility on other platforms or devices that may still have access to the Picasa service. However, since Picasa itself is no longer actively supported, the impact on other platforms should be minimal.
With the selected photos successfully deleted, you’re almost done! Now, let’s move on to Step 6 to ensure the deletion has been confirmed.
Step 6: Confirm the deletion
After deleting the selected Picasa photos from the Google Photos app on your Samsung Galaxy device, it’s important to confirm that the deletion has been properly executed. This step ensures that the photos are permanently removed from your Google account and cannot be recovered.
To confirm the deletion, follow these steps:
- Go back to the main screen or the album view within the Google Photos app.
- Navigate to the Picasa album or the albums that previously contained the deleted photos.
- Check if the deleted photos are no longer present in the album. They should no longer be visible and have been successfully removed.
- You can also try to search for the deleted photos using the search function within the Google Photos app. If the photos are truly deleted, they should not appear in the search results.
If you followed the previous steps correctly, and the selected Picasa photos are no longer visible or searchable within the Google Photos app, it confirms that the deletion was successful. Congratulations! You have successfully deleted the Picasa photos from your Samsung Galaxy device.
Keep in mind that the deleted photos may still appear in other platforms or devices that have access to the Picasa service. However, as Picasa is no longer actively supported, the visibility on other platforms should be limited.
Now that you have confirmed the deletion, you can proceed to the final step of clearing Picasa sync data from your device. We will cover this in detail in Step 7.
Step 7: Clear Picasa sync data from your device
After successfully deleting the Picasa photos from the Google Photos app on your Samsung Galaxy device, you can further ensure that all remnants of Picasa are removed by clearing the Picasa sync data from your device. This step helps to prevent any future synchronization of Picasa albums or photos to your device.
To clear the Picasa sync data from your device, follow these steps:
- Open the “Settings” app on your Samsung Galaxy device.
- Scroll down and tap on “Accounts and backup” or a similar option, depending on your device’s settings menu.
- Select “Accounts” from the available options.
- Look for your Google account in the list of accounts and tap on it.
- In the account settings, locate the option for “Sync” or “Sync account” and tap on it.
- Within the sync options, find and disable the sync for “Picasa” or “Google Photos” if it is enabled.
Disabling the sync for Picasa ensures that your Samsung Galaxy device won’t attempt to sync any Picasa albums or photos in the future. By doing this, you are essentially cutting off the connection to the outdated Picasa service.
Once you have disabled the sync for Picasa, you have successfully cleared the Picasa sync data from your device. This helps to keep your Google account and your Samsung Galaxy device in sync without any interference from Picasa.
Congratulations! You have now completed all the necessary steps to delete Picasa photos from your Samsung Galaxy device and clear the Picasa sync data. Your device’s photo library should now be organized, free from unwanted Picasa photos, and no longer synchronized with the discontinued Picasa service.
By following these steps, you have effectively reclaimed storage space and ensured that your Google Photos app is solely dedicated to managing your current photo library. Feel free to explore and enjoy your updated and streamlined photo experience on your Samsung Galaxy device.
Conclusion
Congratulations on successfully deleting Picasa photos from your Samsung Galaxy device! By following the step-by-step guide in this article, you have freed up valuable storage space and ensured that your photo library is organized and clutter-free. Removing outdated Picasa photos from your device not only helps with storage management but also improves the overall browsing experience within the Google Photos app.
Throughout this guide, we have covered the necessary steps to delete Picasa photos, from opening the Google Photos app and signing in to your Google account, to locating and deleting the selected photos. We also addressed the importance of confirming the deletion and clearing the Picasa sync data from your device to prevent any future synchronization.
It’s worth noting that while Picasa is no longer actively supported, remnants of Picasa albums and photos may still exist within your Google account. By following these steps, you have ensured that these Picasa photos are removed from your device and your Google account, providing a streamlined and up-to-date photo library.
Remember, if you have multiple Google accounts, make sure to sign in with the account that contains the Picasa photos you want to delete. Additionally, exercise caution when selecting the photos for deletion, as the process is irreversible.
We hope that this guide has been helpful in assisting you with deleting Picasa photos from your Samsung Galaxy device. If you have any further questions or need additional assistance, feel free to refer back to this article or reach out to the Google Photos support team for further guidance.
Thank you for choosing our guide, and we wish you a clutter-free and enjoyable photo browsing experience on your Samsung Galaxy device!


