Introduction
Welcome to this tutorial on how to delete empty rows in Google Sheets. If you’ve ever worked with large spreadsheets or received data from various sources, you’ve likely encountered the frustration of dealing with empty rows. These empty rows can clutter your document, making it difficult to analyze and work with the data effectively. Fortunately, Google Sheets provides simple and efficient methods to identify and delete these empty rows, saving you time and helping you maintain a clean and organized data set.
In this step-by-step guide, we will explore two approaches to delete empty rows in Google Sheets. The first method involves manually identifying and deleting empty rows, which is suitable for smaller datasets or instances when you want to have full control over the process. The second method offers a more automated approach by using a simple script to delete empty rows, which is ideal for larger datasets or when you need to regularly update your spreadsheet with fresh data.
Whether you’re a beginner or an experienced Google Sheets user, this tutorial will provide you with the necessary skills to remove those pesky empty rows cluttering your document. So, let’s dive in and learn how to effectively clean up your data in Google Sheets!
Why Delete Empty Rows?
Empty rows in a Google Sheets document may seem harmless at first glance, but they can have various negative implications on your data analysis and productivity. Here are a few reasons why it’s important to delete empty rows:
- Data Accuracy: When working with a large dataset or receiving data from different sources, empty rows can affect the accuracy of your analysis. These blank rows may disrupt formulas, charts, or other data processing operations, leading to incorrect results.
- Data Clutter: Empty rows can make your spreadsheet look cluttered and disorganized, which can make it challenging to work with and comprehend the data. Removing empty rows improves the overall readability and visual appeal of your document.
- Data Processing Efficiency: Having empty rows in your spreadsheet can slow down data processing operations, such as sorting, filtering, or applying functions. Deleting these empty rows can significantly improve the efficiency and speed of these operations.
- Data Consistency: Empty rows can lead to inconsistencies in data entry or analysis. For example, if you have a data validation rule applied to a column, empty rows may violate that rule and introduce errors in your dataset. Removing these empty rows ensures data consistency across your spreadsheet.
- Data File Size: Empty rows contribute to the file size of your Google Sheets document, especially if you have a large dataset. By deleting these empty rows, you can reduce unnecessary file size, making it easier to share or collaborate on your spreadsheet.
By removing empty rows from your Google Sheets document, you can enhance data accuracy, maintain data consistency, improve processing efficiency, and create a more organized and streamlined spreadsheet. Now that we understand the importance of deleting empty rows, let’s move on to the practical steps of accomplishing this task.
Step 1: Open Your Google Sheets Document
The first step in deleting empty rows in Google Sheets is to open the document that contains the data you want to clean up. If you don’t have a Google Sheets document yet, you can create one by visiting https://sheets.new and clicking on the “Blank” option or by accessing Google Drive and creating a new spreadsheet.
Once you have your Google Sheets document open, you can either navigate to an existing worksheet that contains the data you want to work with or create a new worksheet by clicking on the “+” button at the bottom-left corner of the screen.
Google Sheets allows you to have multiple worksheets within a single document, each with its own set of data. Make sure to select the appropriate worksheet before proceeding with the deletion of empty rows.
Opening your Google Sheets document and selecting the correct worksheet is the starting point for cleaning up your data. Now, let’s move on to the next step to identify the empty rows that need to be deleted.
Step 2: Select the Desired Worksheet
After opening your Google Sheets document, the next step is to select the worksheet that contains the data from which you want to delete empty rows. Google Sheets allows you to have multiple worksheets within a single document, making it easy to organize and manage different sets of data.
To select a specific worksheet, navigate to the bottom of the screen, where you will find a row of tabs representing each worksheet in your document. Click on the tab corresponding to the desired worksheet to activate it.
It is important to select the correct worksheet before identifying and deleting empty rows. Each worksheet may have different data and different empty rows, so you want to ensure that you are working with the right set of data.
If you are unsure which worksheet contains the data you need, you can click on each tab to preview the contents or use the arrow buttons located on the bottom-left corner to cycle through the worksheets.
Once you have selected the desired worksheet, you are ready to proceed to the next step: identifying the empty rows that need to be deleted. This will ensure that you are only removing unnecessary rows from the specific dataset you are working with.
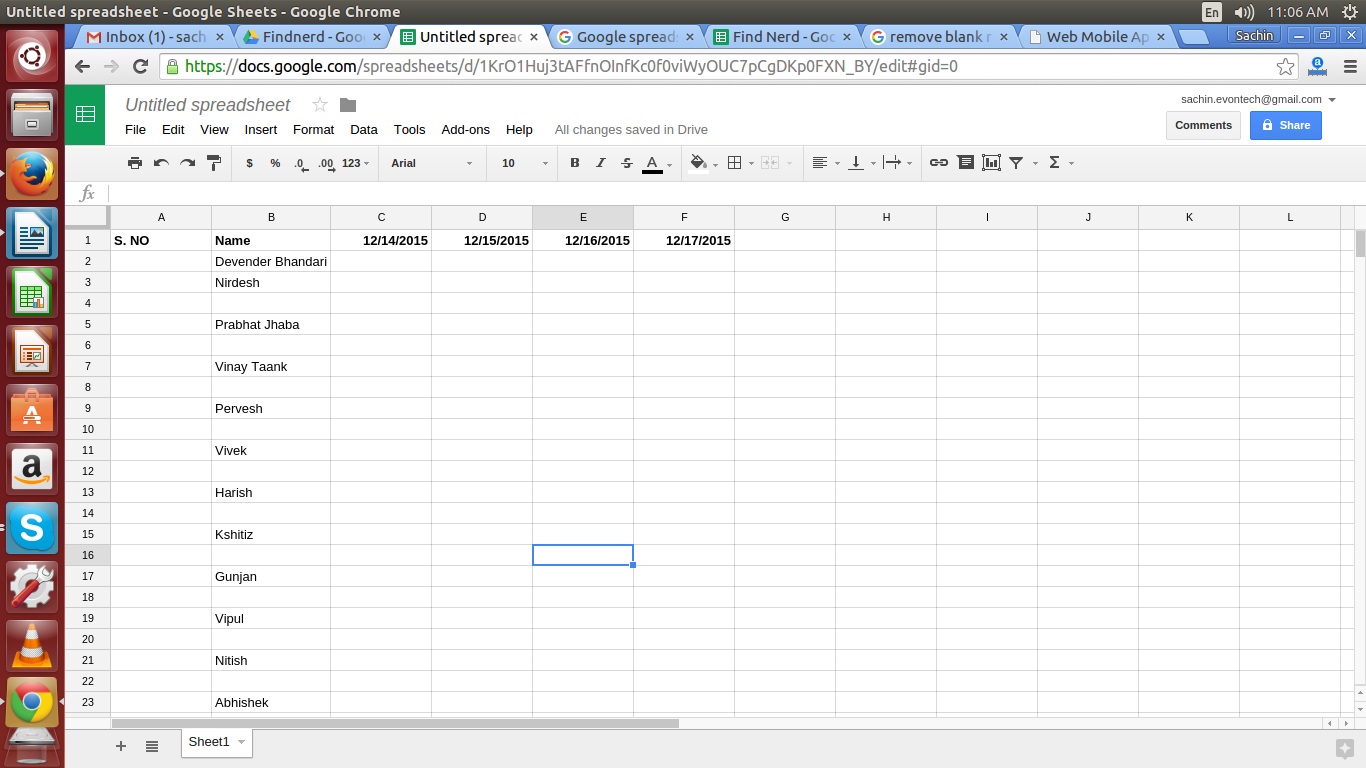
Step 3: Identify Empty Rows
Now that you have opened your Google Sheets document and selected the desired worksheet, it’s time to identify the empty rows that you want to delete. Empty rows refer to rows that do not contain any data or have all cells within the row empty.
There are different ways to identify empty rows depending on the size and complexity of your dataset. Here are a few methods:
- Manually Scanning: One way to identify empty rows is to visually scan through the dataset. Scroll through the rows, looking for any rows that don’t have any data. Keep an eye out for rows with no values or rows with all cells blank. This method works well for smaller datasets where it’s manageable to visually inspect the entire dataset.
- Conditional Formatting: Google Sheets provides a powerful feature called “Conditional Formatting” that can help automatically highlight empty rows. To use this method, select the range of rows you want to check for emptiness, go to the “Format” menu, and select “Conditional formatting.” From there, set up a rule that highlights rows where all cells are empty. This method is helpful for larger datasets as it automates the identification process.
- Formulas: You can also use formulas to identify empty rows in Google Sheets. One such formula is the COUNTBLANK function, which counts the number of empty cells in a range. You can use a formula like =COUNTBLANK(A2:Z2)=COLUMNS(A2:Z2) to check if an entire row is empty. Apply this formula to each row in your dataset to identify empty rows. This method is useful when you want to incorporate the identification process into a larger data analysis workflow.
By using one of these methods, you can efficiently identify the empty rows in your Google Sheets document. Once you have identified these rows, you can move on to the next step of deleting them, which we will explore in the following section.
Step 4: Delete Empty Rows Manually
After identifying the empty rows in your Google Sheets document, the next step is to delete these rows manually. This method is suitable for smaller datasets or instances when you want full control over the deletion process.
Here’s how you can delete empty rows manually:
- Select the Empty Rows: Using your chosen method of identifying empty rows, select the rows that you want to delete. You can click and drag across the row numbers on the left side of the sheet to select multiple rows. Alternatively, you can hold down the Control or Command key while clicking on individual row numbers to select non-consecutive rows.
- Delete the Selected Rows: Once the empty rows are selected, right-click on the selected rows and choose the “Delete Rows” option from the context menu. Alternatively, you can go to the “Edit” menu and select “Delete Rows” from there. The selected rows will be removed from your worksheet, shifting the rows below them upward to fill the gap.
It’s important to note that deleting rows is a permanent action, and there is no built-in undo function in Google Sheets. Therefore, it’s recommended to double-check your selection before deleting the rows to prevent accidental deletions.
If you make a mistake or want to revert the deletion, you can use the “Undo” command immediately after deleting the rows, or you can close the document without saving the changes.
By manually deleting empty rows from your Google Sheets worksheet, you can effectively clean up your data and enhance its accuracy and readability. However, if you’re working with a larger dataset or want to automate the process, you can explore the next step, which involves using a script to delete empty rows.
Step 5: Automate the Deletion of Empty Rows Using a Script
If you’re working with a larger dataset or need to regularly delete empty rows in your Google Sheets document, manually deleting rows can be time-consuming and repetitive. To streamline the process and save time, you can automate the deletion of empty rows using a script in Google Sheets.
Here’s how you can automate the deletion of empty rows using a script:
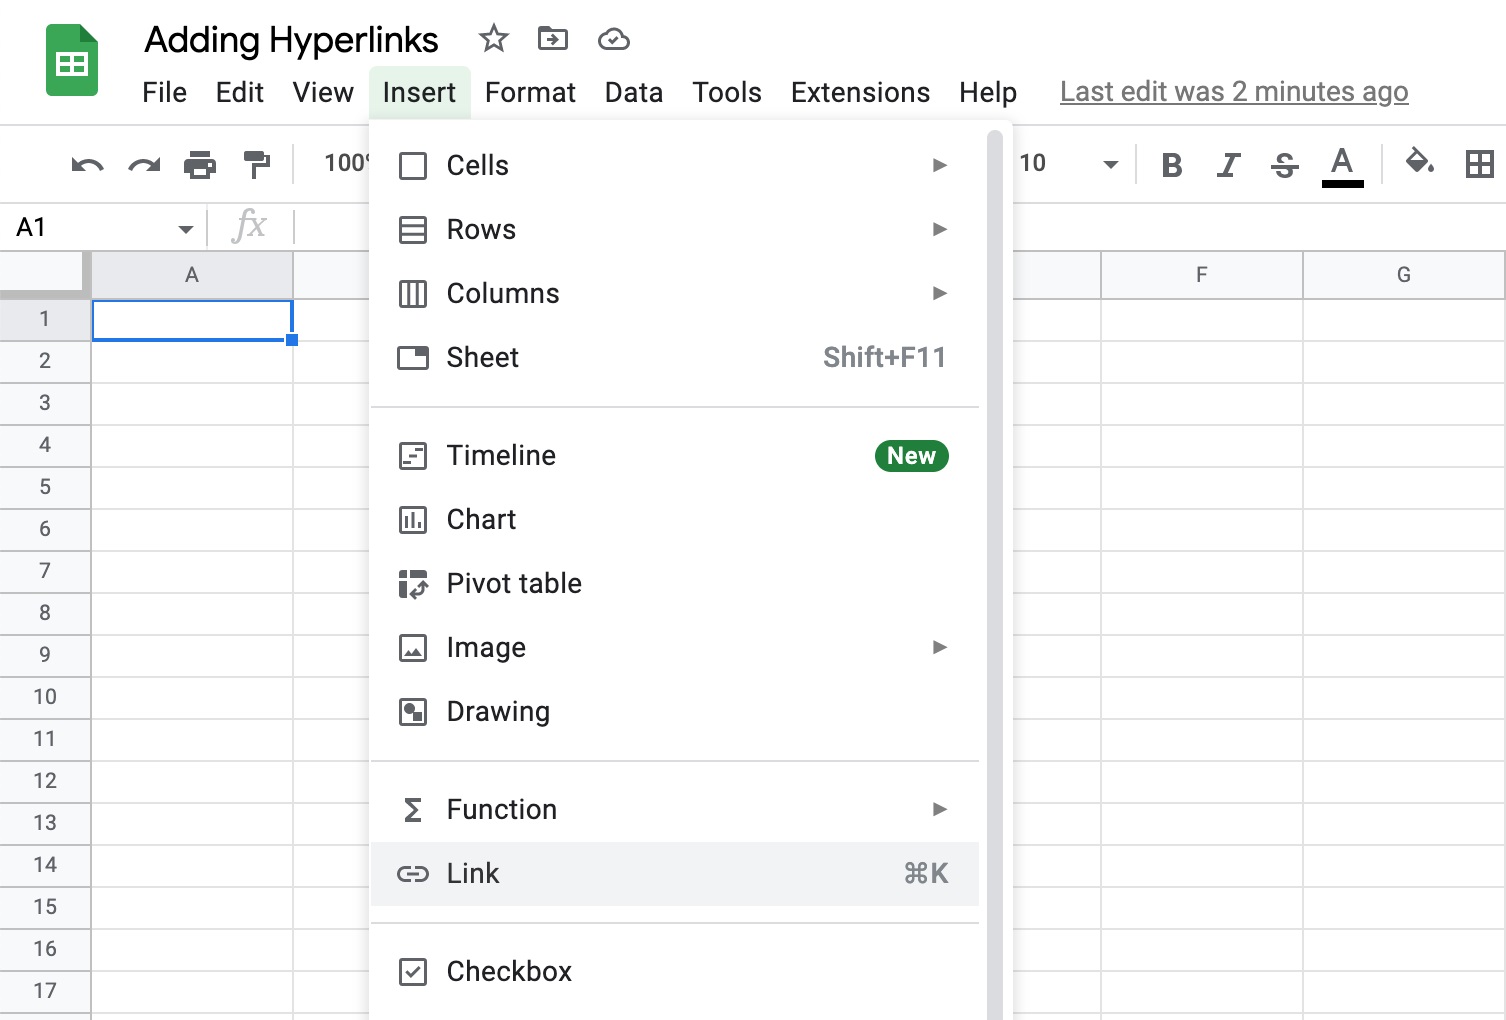
- Open the Script Editor: Go to the “Extensions” menu in Google Sheets and select “Apps Script.” This will open the Apps Script editor in a new tab.
- Write the Script: In the Apps Script editor, write a script that will delete the empty rows in your worksheet. You can start by using the
getActiveRange()method to get the range of the active sheet, and then loop through the rows using aforloop. Inside the loop, use theisEmpty()method to check if a row is empty and delete it using thedeleteRow()method. - Save and Run the Script: After writing the script, save it by clicking on the floppy disk icon or pressing
Ctrl + S(Windows) orCmd + S(Mac). You can then run the script by clicking on the play button or selecting “Run” from the “Run” menu. - Grant Permissions: Upon running the script for the first time, Google Sheets will ask for authorization to run the script and access your data. Click “Continue” and follow the prompts to grant the necessary permissions.
Once the script has been executed, it will automatically delete the empty rows in your worksheet, saving you time and effort. You can also modify the script to fit specific criteria or conditions for deleting rows, such as deleting rows that have specific values or meet certain requirements.
It’s important to test and verify the results after running the script, especially if you’re working with a large dataset or complex spreadsheet. Ensure that the desired empty rows are deleted and that the remaining data is intact and accurate.
By automating the deletion of empty rows using a script, you can efficiently handle large datasets, automate the cleaning process, and ensure consistency in your data management tasks.
Conclusion
Deleting empty rows in your Google Sheets document is an essential step to maintain clean, organized, and accurate data. Whether you choose to manually delete empty rows or automate the process using a script, Google Sheets provides efficient methods to achieve this task.
In this tutorial, we discussed the importance of deleting empty rows and provided a step-by-step guide on how to do it. We began by opening the Google Sheets document and selecting the desired worksheet. Then, we explored various methods to identify empty rows, including manual scanning, conditional formatting, and using formulas.
For smaller datasets or situations where you want full control over the deletion process, we explained how to manually delete empty rows by selecting and removing them from the worksheet. On the other hand, for larger datasets or regular cleaning tasks, we introduced the concept of using scripts to automate the deletion of empty rows.
By following these guidelines, you can effectively clean up your data and improve its accuracy, readability, and efficiency. Whether you are working on personal projects, business analyses, or collaborative spreadsheets, keeping your data free from unnecessary empty rows will greatly enhance your productivity.
Remember to always double-check your selections before deleting rows and take caution to prevent accidental deletions. Additionally, it’s a good practice to test and verify the results, especially when using scripts to automate the deletion process.
Google Sheets offers a wide range of powerful features to manipulate, analyze, and present your data. By mastering the techniques covered in this tutorial, you can take full advantage of Google Sheets and make it a valuable tool in your data management workflow.
Now that you have learned how to delete empty rows in Google Sheets, it’s time to apply this knowledge to your own spreadsheets and enjoy the benefits of clean and organized data!