Introduction
Welcome to this step-by-step guide on how to delete a channel in Slack. Whether you’ve created a channel that is no longer needed or simply want to declutter your workspace, deleting a channel can help you maintain an organized and focused communication environment.
Slack is a popular collaboration tool used by teams and businesses to enhance communication and streamline workflows. Channels in Slack are dedicated spaces for discussions related to specific topics, projects, or departments. However, there may come a time when you need to delete a channel, whether due to inactivity, redundancy, or a change in organizational structure.
Deleting a channel in Slack is a straightforward process that can be completed in just a few steps. In this guide, we will walk you through the necessary actions to ensure a smooth deletion process. It’s important to note that only admins and owners have the necessary permissions to delete a channel, so make sure you have the appropriate privileges before proceeding.
Before you embark on the deletion process, we recommend reviewing the channel and its content to ensure that there is no critical information or valuable discussions that need to be preserved. If necessary, you can export the channel’s history or save important messages before permanently deleting it.
Now, let’s dive into the step-by-step instructions on how to delete a channel in Slack. By following these instructions, you’ll be able to maintain a clutter-free workspace and keep your communication channels organized and efficient.
Step 1: Accessing the Slack workspace
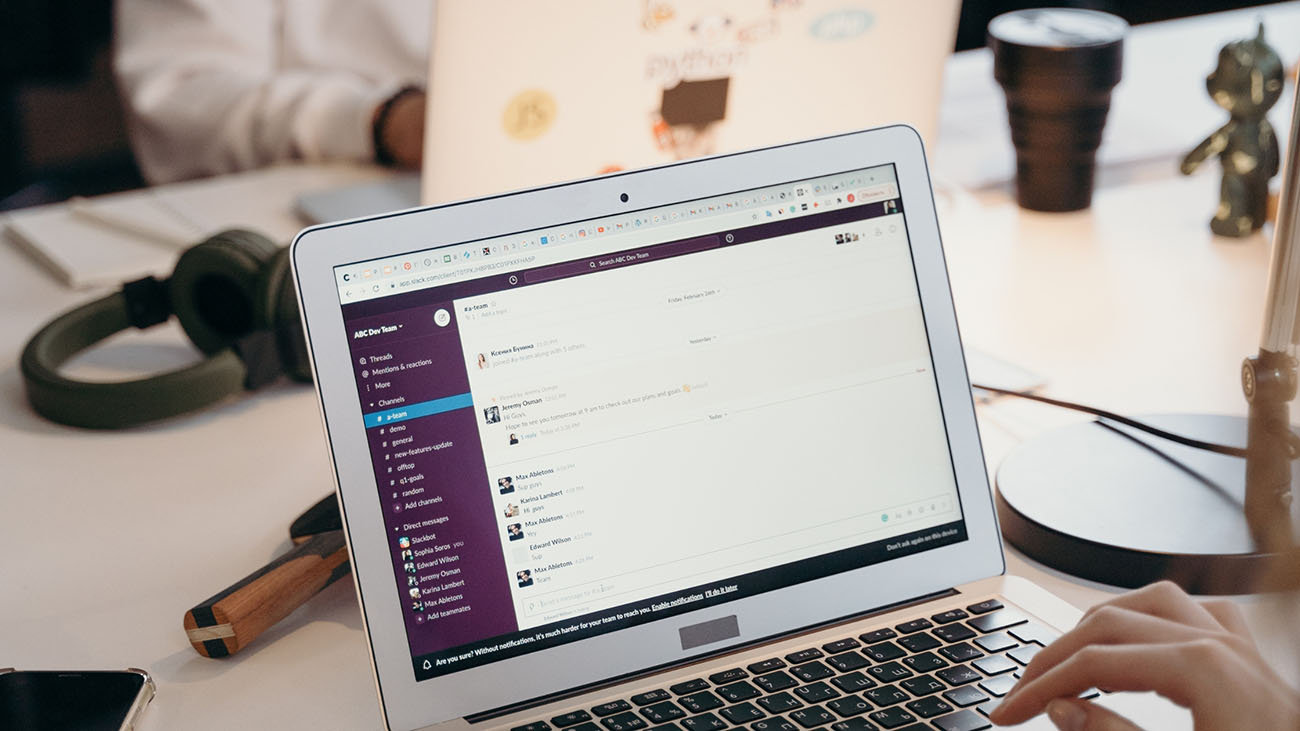
The first step in deleting a channel in Slack is accessing your Slack workspace. You can do this by opening the Slack desktop application on your computer or by visiting the Slack website and signing in with your credentials.
If you’re using the desktop application, locate the Slack icon in your system tray or application launcher and click on it to open the app. Once opened, you’ll see a list of workspaces associated with your account. Click on the desired workspace to continue.
If you prefer to use the Slack website, open your preferred web browser, navigate to the Slack website (www.slack.com), and click on the “Sign In” button. Enter your workspace’s URL or search for your organization’s name, and then enter your email address and password to log in.
After successfully signing in, you will be redirected to your Slack workspace’s home screen. This is where you can access all your channels, direct messages, and other features of Slack.
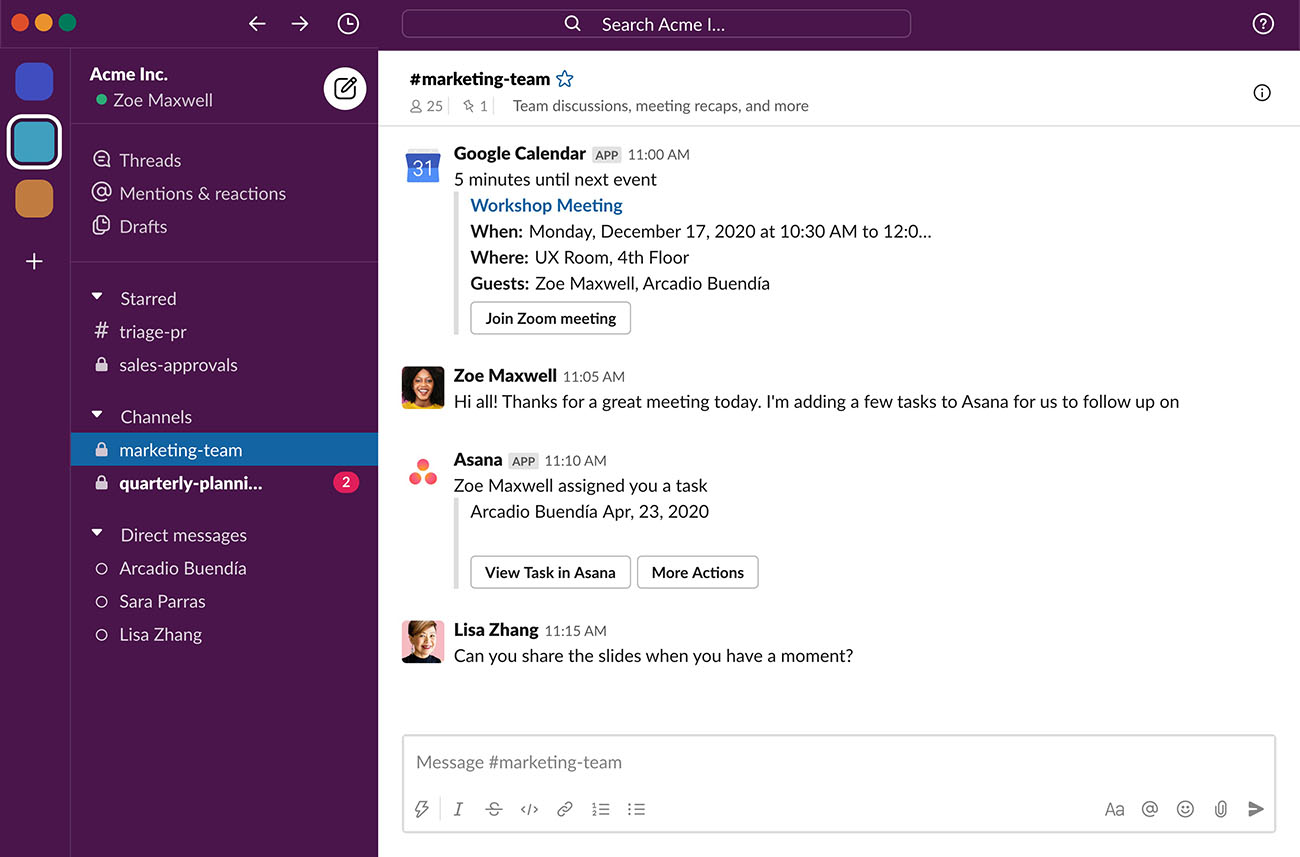
In the sidebar located on the left side of the screen, you will find a list of channels and direct messages. Channels are listed under the “Channels” heading, while direct messages are under the “Direct Messages” heading. Scroll through the list or use the search bar to find the channel you want to delete.
Once you have located the channel you wish to delete, you’re ready to proceed to the next step: navigating to the channel settings.
Step 2: Navigating to the channel you want to delete
Now that you’ve accessed your Slack workspace, it’s time to navigate to the specific channel you want to delete. This step will allow you to access the settings and options related to the channel you wish to remove.
In the sidebar on the left side of your Slack workspace, locate the list of channels. You can scroll through the list or use the search bar at the top to search for the channel by name.
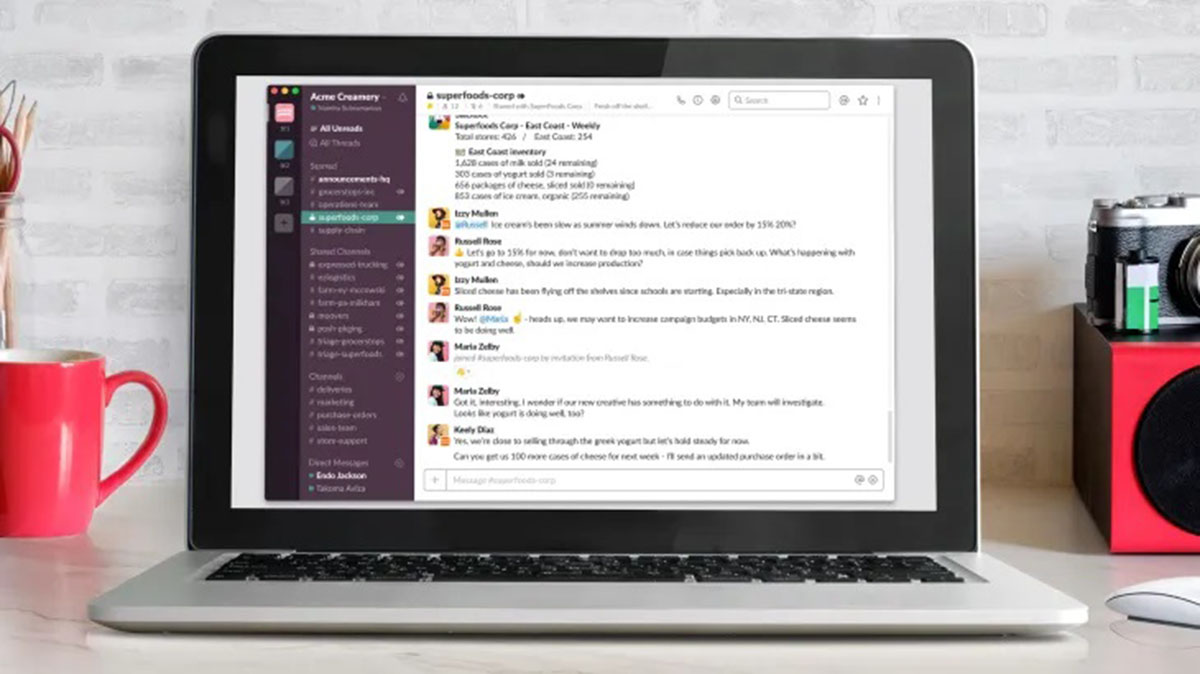
Once you’ve found the channel you want to delete, click on its name. This action will open the channel and display the recent messages and discussions that have taken place within it.
Take a moment to review the channel’s content and members to ensure that you have selected the correct channel for deletion. It’s important to double-check to avoid accidentally deleting the wrong channel.
By navigating to the channel you want to delete, you are now ready to proceed to the next step: opening the channel settings.
Step 3: Opening channel settings
Once you have located the channel you want to delete in your Slack workspace, the next step is to open the channel settings. This will give you access to the options and controls necessary for deleting the channel.
To open the settings for the channel, look for the gear icon located near the channel name or within the channel interface. The gear icon represents the settings menu, where you can customize various aspects of the channel.
Click on the gear icon to open the channel settings menu. This action will display a dropdown menu with several options related to the channel’s configuration and management.
Within the channel settings menu, you may find options such as “Rename Channel,” “Invite Members,” “Set a Purpose,” and more, depending on the settings available to you as an admin or owner.
To delete the channel, you’ll need to locate and select the option that allows for channel deletion. In most cases, this option is labeled as “Additional Options,” “Advanced Settings,” or something similar.
Click on the appropriate option to proceed to the next step of the deletion process.
Please note that the naming and arrangement of the channel settings may vary slightly depending on the version of Slack you are using and your specific workspace configurations. However, the general concept of opening the settings and accessing the necessary options remains the same.
Now that you have successfully opened the channel settings, you’re ready to move on to the next step: deleting the channel.
Step 4: Deleting the channel
Now that you have opened the channel settings, you are ready to proceed with deleting the channel in Slack. This step involves confirming your decision to permanently remove the channel.
Within the channel settings menu, look for the option that allows you to delete the channel. This option is typically labeled as “Delete Channel,” “Remove Channel,” or something similar.
Click on the appropriate option to initiate the deletion process. A confirmation prompt will appear, asking you to confirm your decision to delete the channel. Carefully review the prompt to ensure you are deleting the correct channel.
When you are certain about deleting the channel, click on the confirmation button to proceed. Please be aware that this action is irreversible, and all channel content, including messages and files, will be permanently deleted. Make sure you have archived any critical information or valuable discussions before proceeding.
After confirming the channel deletion, Slack will immediately remove the channel from your workspace. You and other workspace members will no longer have access to the channel or its content.
It’s important to note that deleting a channel in Slack will not affect other channels or the overall functionality of your workspace. Other channels, direct messages, and collaborative features will remain intact.
Congratulations! You have successfully completed the deletion process for the channel. The next step will involve confirming the deletion and taking any necessary follow-up actions.
Step 5: Confirming channel deletion
After deleting a channel in Slack, it is essential to confirm the deletion and take any necessary follow-up actions to ensure a smooth transition within your workspace.
Once you have clicked on the confirmation button to delete the channel, Slack will display a notification or confirmation message indicating that the channel has been successfully deleted. This message will typically state that the channel has been permanently removed and cannot be recovered.
Take a moment to review this confirmation message and ensure that it mentions the specific channel you intended to delete. This step helps to eliminate any doubts or concerns about whether the correct channel was deleted.
If necessary, you can communicate with your team members about the channel deletion and inform them of any alternative channels or communication methods to use going forward. This step is particularly important if the deleted channel was crucial to ongoing projects or discussions.
Consider archiving any valuable information or important discussions from the deleted channel to preserve them for future reference or documentation purposes. Slack provides options to export channel history and save any necessary files or messages.
It’s also a good practice to review your overall workspace structure and channels to ensure that the deletion of a particular channel does not disrupt collaboration or hinder communication within your team. You may need to reorganize channels or create new ones to maintain a productive workflow.
By confirming the channel deletion and taking necessary follow-up actions, you can effectively manage the impact of removing a channel from your Slack workspace.
Remember, the deletion process is irreversible, so it’s crucial to double-check your actions and communicate any changes to your team members to ensure a seamless transition.
Conclusion
Congratulations! You have successfully learned how to delete a channel in Slack. By following the step-by-step guide outlined in this article, you can maintain an organized and clutter-free workspace.
Deleting a channel in Slack is a simple process that can be completed by accessing your Slack workspace, navigating to the desired channel, opening the channel settings, deleting the channel, and confirming the deletion.
Remember to exercise caution when deleting a channel as the process is irreversible, and all channel content will be permanently removed. It’s essential to review the channel and its content beforehand, ensuring that no critical information or valuable discussions are lost.
If necessary, export the channel’s history or save any important messages before initiating the deletion process. Additionally, communicate with your team members about the channel deletion and provide alternative channels or communication methods for ongoing projects or discussions.
Keep in mind that deleting a channel does not impact other channels or the overall functionality of your workspace. It is a strategic action to help you maintain an organized and focused communication environment.
Now that you have successfully learned how to delete a channel in Slack, you can confidently manage your workspace and ensure a streamlined collaboration experience for you and your team.
Thank you for following this guide, and we hope it has been helpful in your journey to effectively manage channels within Slack!