Introduction
Welcome to this guide on how to delete all photos from your Samsung Galaxy S4. Over time, your phone’s gallery can become cluttered with countless pictures, taking up valuable storage space. Whether you want to free up space or simply start fresh with a clean photo library, this step-by-step tutorial will show you how to easily delete all photos from your Galaxy S4.
The Samsung Galaxy S4 is a popular Android smartphone known for its sleek design and powerful camera capabilities. With its high-resolution camera, you may find yourself capturing a multitude of photos, from memorable moments to random snapshots. However, managing and organizing these photos can be a daunting task.
Deleting photos one by one can be time-consuming and tedious. Luckily, there is a quicker and more efficient way to delete all photos at once, saving you valuable time and effort. By following the steps outlined in this guide, you’ll be able to free up storage space and have a fresh start with your Galaxy S4 photo collection.
Before we dive into the steps, it’s important to note that deleting all photos will remove them permanently from your device. Therefore, it’s crucial to ensure that you have backed up any important photos that you want to keep before proceeding with the deletion process.
Now, let’s get started and learn how to delete all photos from your Samsung Galaxy S4!
Step 1: Launch the Gallery app
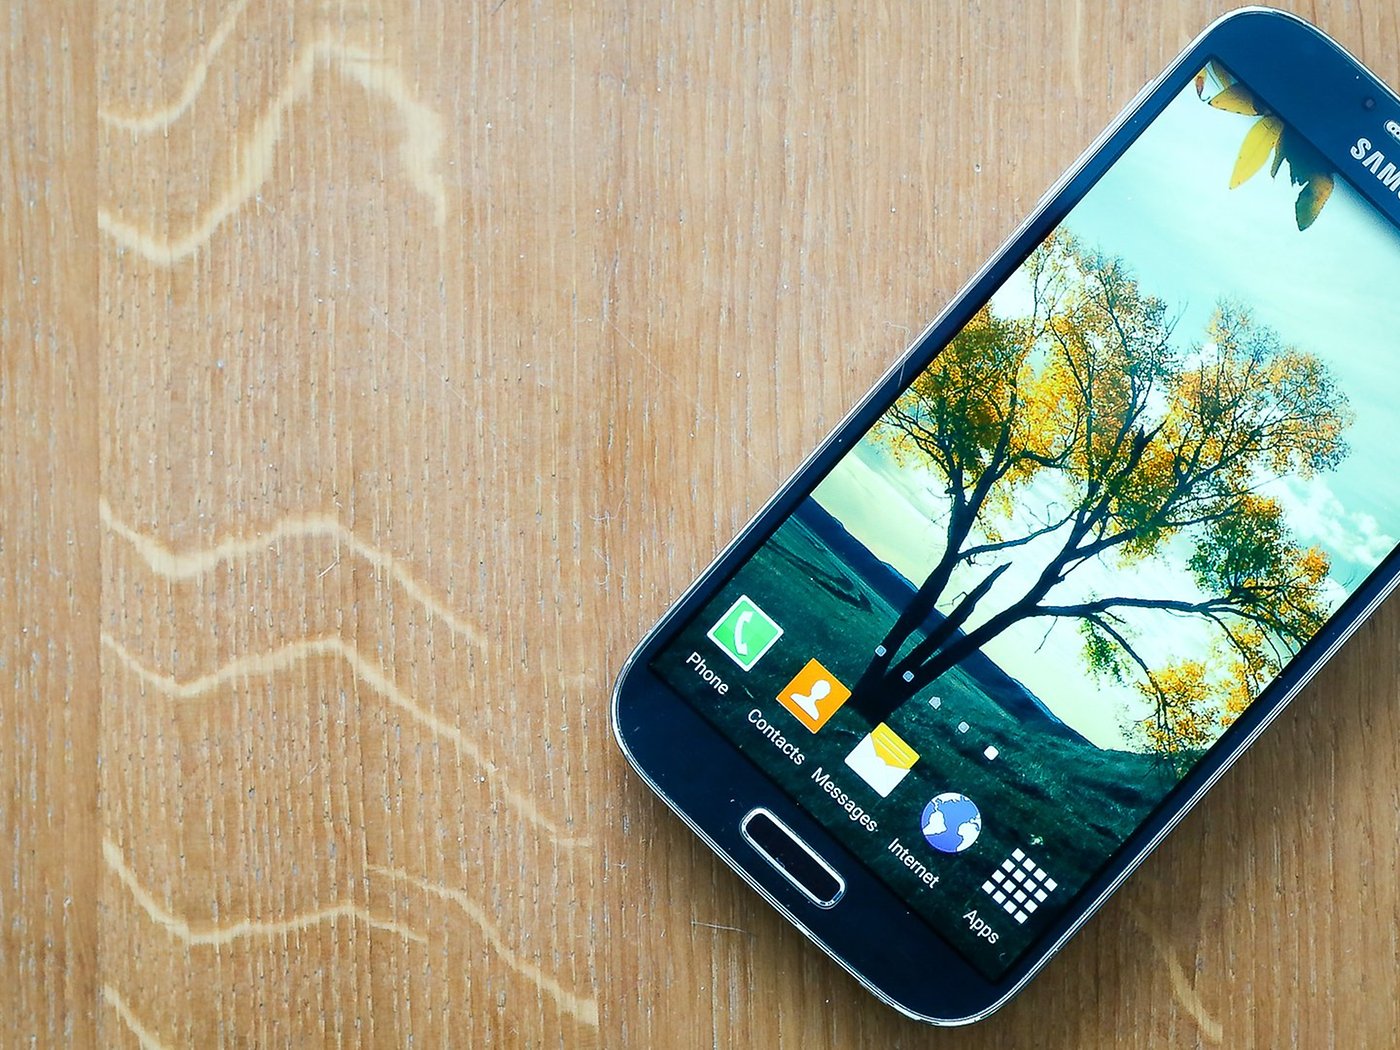
The first step in deleting all the photos from your Samsung Galaxy S4 is to launch the Gallery app. The Gallery app is the default application on your phone for managing and viewing photos and videos.
To launch the Gallery app, follow these simple steps:
- Locate the Gallery app on your home screen or in the app drawer. The app icon looks like a square grid of small photos.
- Tap on the Gallery app icon to open it.
Once you have successfully launched the Gallery app, you will be able to access all the photos and albums stored on your Samsung Galaxy S4. From here, you can proceed to the next step in the process of deleting all the photos.
Note: If you have organized your photos into different albums, you may need to navigate to the specific album from which you want to delete photos. If you want to delete all the photos stored on your device regardless of the album, you can skip this step and proceed to the next section.
Now that you have launched the Gallery app, let’s move on to the next step and learn how to select the desired album for deleting photos.
Step 2: Select the desired album
After launching the Gallery app on your Samsung Galaxy S4, the next step is to select the desired album from which you want to delete photos. This step is important if you have organized your photos into different albums and wish to remove only specific photos.
To select the desired album, follow these steps:
- Within the Gallery app, look for the “Albums” tab or icon. It is usually located at the bottom or top of the screen, depending on your phone’s interface.
- Tap on the “Albums” tab or icon to access your photo albums.
- Scroll through the list of albums and locate the album you want to delete photos from.
- Tap on the album to open it.
By selecting the desired album, you will be able to narrow down your photo selection and delete specific photos. This allows for a more targeted approach to deleting photos and ensures that you don’t accidentally delete photos from other albums.
If you wish to delete all the photos stored on your device regardless of the album, you can skip this step and proceed to the next section.
Now that you have selected the desired album, let’s move on to the next step and learn how to choose the photos you want to delete.
Step 3: Choose photos to delete
Once you have selected the desired album in the Gallery app on your Samsung Galaxy S4, it’s time to choose the photos you want to delete. This step allows you to be selective and delete specific photos while keeping others intact.
To choose the photos you want to delete, follow these steps:
- Within the selected album, browse through the photos to find the ones you wish to delete.
- Tap on each photo you want to delete. As you tap on a photo, it will be highlighted or marked in some way to indicate that it has been selected for deletion.
- If you want to select all the photos in the album, look for the “Select All” option. This option is usually represented by a checkbox icon or a menu item.
- If you change your mind about a selected photo, simply tap on it again to deselect it.
By choosing the photos you want to delete, you have more control over the deletion process. You can remove specific photos that you no longer need or want, while preserving others that hold sentimental value.
It’s important to review your selections carefully before proceeding to the next step to ensure that you have selected the correct photos for deletion.
Now that you have chosen the photos you want to delete, let’s move on to the next step and learn how to delete them from your Samsung Galaxy S4.
Step 4: Delete the selected photos
Now that you have chosen the photos you want to delete from your Samsung Galaxy S4, it’s time to proceed with the deletion process. Deleting the selected photos will remove them permanently from your device, so make sure you are certain about your choices before proceeding.
To delete the selected photos, follow these steps:
- Once you have finished selecting the desired photos, look for the “Delete” option. This option is usually represented by a trash bin icon or a menu item.
- Tap on the “Delete” option to initiate the deletion process.
- A confirmation message may appear, asking you to confirm that you want to delete the selected photos. Read the message carefully to ensure that you are deleting the correct photos.
- If you are sure about deleting the photos, tap on the “Confirm” or “Delete” button to proceed.
After confirming the deletion, the selected photos will be permanently erased from your Samsung Galaxy S4. Please note that this action cannot be undone, so it’s crucial to double-check your selections before confirming the deletion.
Now that you have successfully deleted the selected photos, let’s move on to the next step to ensure that they are permanently removed from your device.
Step 5: Confirm the deletion
After deleting the selected photos from your Samsung Galaxy S4, it’s important to confirm that the deletion was successful and ensure that the photos are permanently removed from your device. This step provides peace of mind and ensures that no traces of the deleted photos remain.
To confirm the deletion and ensure that the photos are permanently removed, follow these steps:
- Return to the main Gallery screen by pressing the back button or navigating back to the albums view.
- Go to the album from which you deleted the photos, or any other album if you deleted photos from the entire device.
- Verify that the deleted photos are no longer displayed in the album. They should no longer appear in the thumbnail view or when viewing the photos individually.
- If the deleted photos still appear in the album, try refreshing the view by pulling down on the screen or tapping the refresh button. If they still persist, repeat the earlier steps and ensure that you have deleted the photos correctly.
Confirming the deletion ensures that the selected photos have been permanently removed from your Samsung Galaxy S4 and are no longer accessible. It’s always a good idea to double-check to be certain that the deletion was successful.
Congratulations! You have successfully confirmed the deletion of photos from your Samsung Galaxy S4. Now, let’s move on to the final step to further declutter your device.
Step 6: Empty the Trash folder (optional)
After deleting photos from your Samsung Galaxy S4, it’s possible that they may still be stored in a temporary “Trash” folder. This allows you to recover any accidentally deleted photos before they are permanently removed from your device. However, if you are certain that you no longer need these photos, you can choose to empty the Trash folder to free up additional storage space.
To empty the Trash folder on your Samsung Galaxy S4, follow these steps:
- Launch the Gallery app on your device.
- Look for the “Options” or “Settings” menu. It is usually represented by three vertical dots or lines and can be found either at the top right or bottom right corner of the screen.
- Tap on the “Options” or “Settings” menu to open it.
- Scroll through the menu options and look for the “Trash” or “Recycle Bin” option.
- Tap on the “Trash” or “Recycle Bin” option to access the contents of the folder.
- Within the Trash folder, review the photos to ensure that you no longer need them.
- If you are certain that you want to permanently delete the photos, look for the “Empty Trash” or “Delete All” option.
- Tap on the “Empty Trash” or “Delete All” option to remove the photos permanently from your device.
By emptying the Trash folder, you are permanently removing the deleted photos from your Samsung Galaxy S4. This helps to free up additional storage space on your device and ensures that the deleted photos are no longer recoverable.
It’s important to note that the Trash folder function may vary depending on the version of the Gallery app or the device’s operating system. If you are unable to locate the Trash folder or the option to empty it, consult your device’s user manual or the Samsung support website for further assistance.
Now that you have the option to empty the Trash folder, you can further declutter your device and optimize storage space.
Conclusion
Congratulations! You have successfully learned how to delete all photos from your Samsung Galaxy S4. Managing and organizing your photo library is essential to keep your device running smoothly and to free up valuable storage space. By following the step-by-step guide outlined in this article, you can easily remove unwanted photos and start fresh with a clean photo gallery.
Remember to back up any important photos before deleting them from your device to avoid permanent loss. Additionally, make sure to double-check your selections and confirm the deletion to ensure that the photos are permanently removed from your Samsung Galaxy S4.
If you have organized your photos into different albums, follow the steps to select the desired album before deleting the photos. This allows for a more targeted and efficient deletion process.
Lastly, consider emptying the Trash folder to free up additional storage space on your device. This is an optional step but can help optimize the overall performance of your Samsung Galaxy S4.
We hope this guide has been helpful in guiding you through the process of deleting all photos from your Samsung Galaxy S4. Enjoy your newfound storage space and a clutter-free photo gallery!