Introduction
Welcome to this guide on how to delete a vendor in QuickBooks. Managing vendors efficiently is crucial for the smooth operation of your business. However, at times, you may need to remove a vendor from your QuickBooks company file, whether they are no longer providing services or for other reasons.
QuickBooks is a powerful accounting software that offers various tools to streamline your business operations, including managing vendors. By deleting a vendor, you ensure that your vendor list remains up-to-date and accurate.
In this guide, we will walk you through the step-by-step process of deleting a vendor in QuickBooks. Before proceeding with the deletion, it is important to double-check the vendor details to avoid any accidental removal of the wrong vendor.
Deleting a vendor in QuickBooks is a simple and straightforward process that can be done within a few minutes. By following the steps outlined in this guide, you will be able to remove vendors that are no longer needed in your QuickBooks company file.
Note: Before deleting a vendor, it is crucial to consider any open transactions associated with that vendor. If there are any open transactions, you will need to resolve or close them before proceeding with the deletion. This ensures that your financial records remain accurate and complete.
Step 1: Open QuickBooks and go to the Vendors Center
The first step to delete a vendor in QuickBooks is to open the software and navigate to the Vendors Center. Follow the steps below to begin the process:
- Launch QuickBooks on your computer. You can either double-click the QuickBooks icon on your desktop or access it from the Start menu.
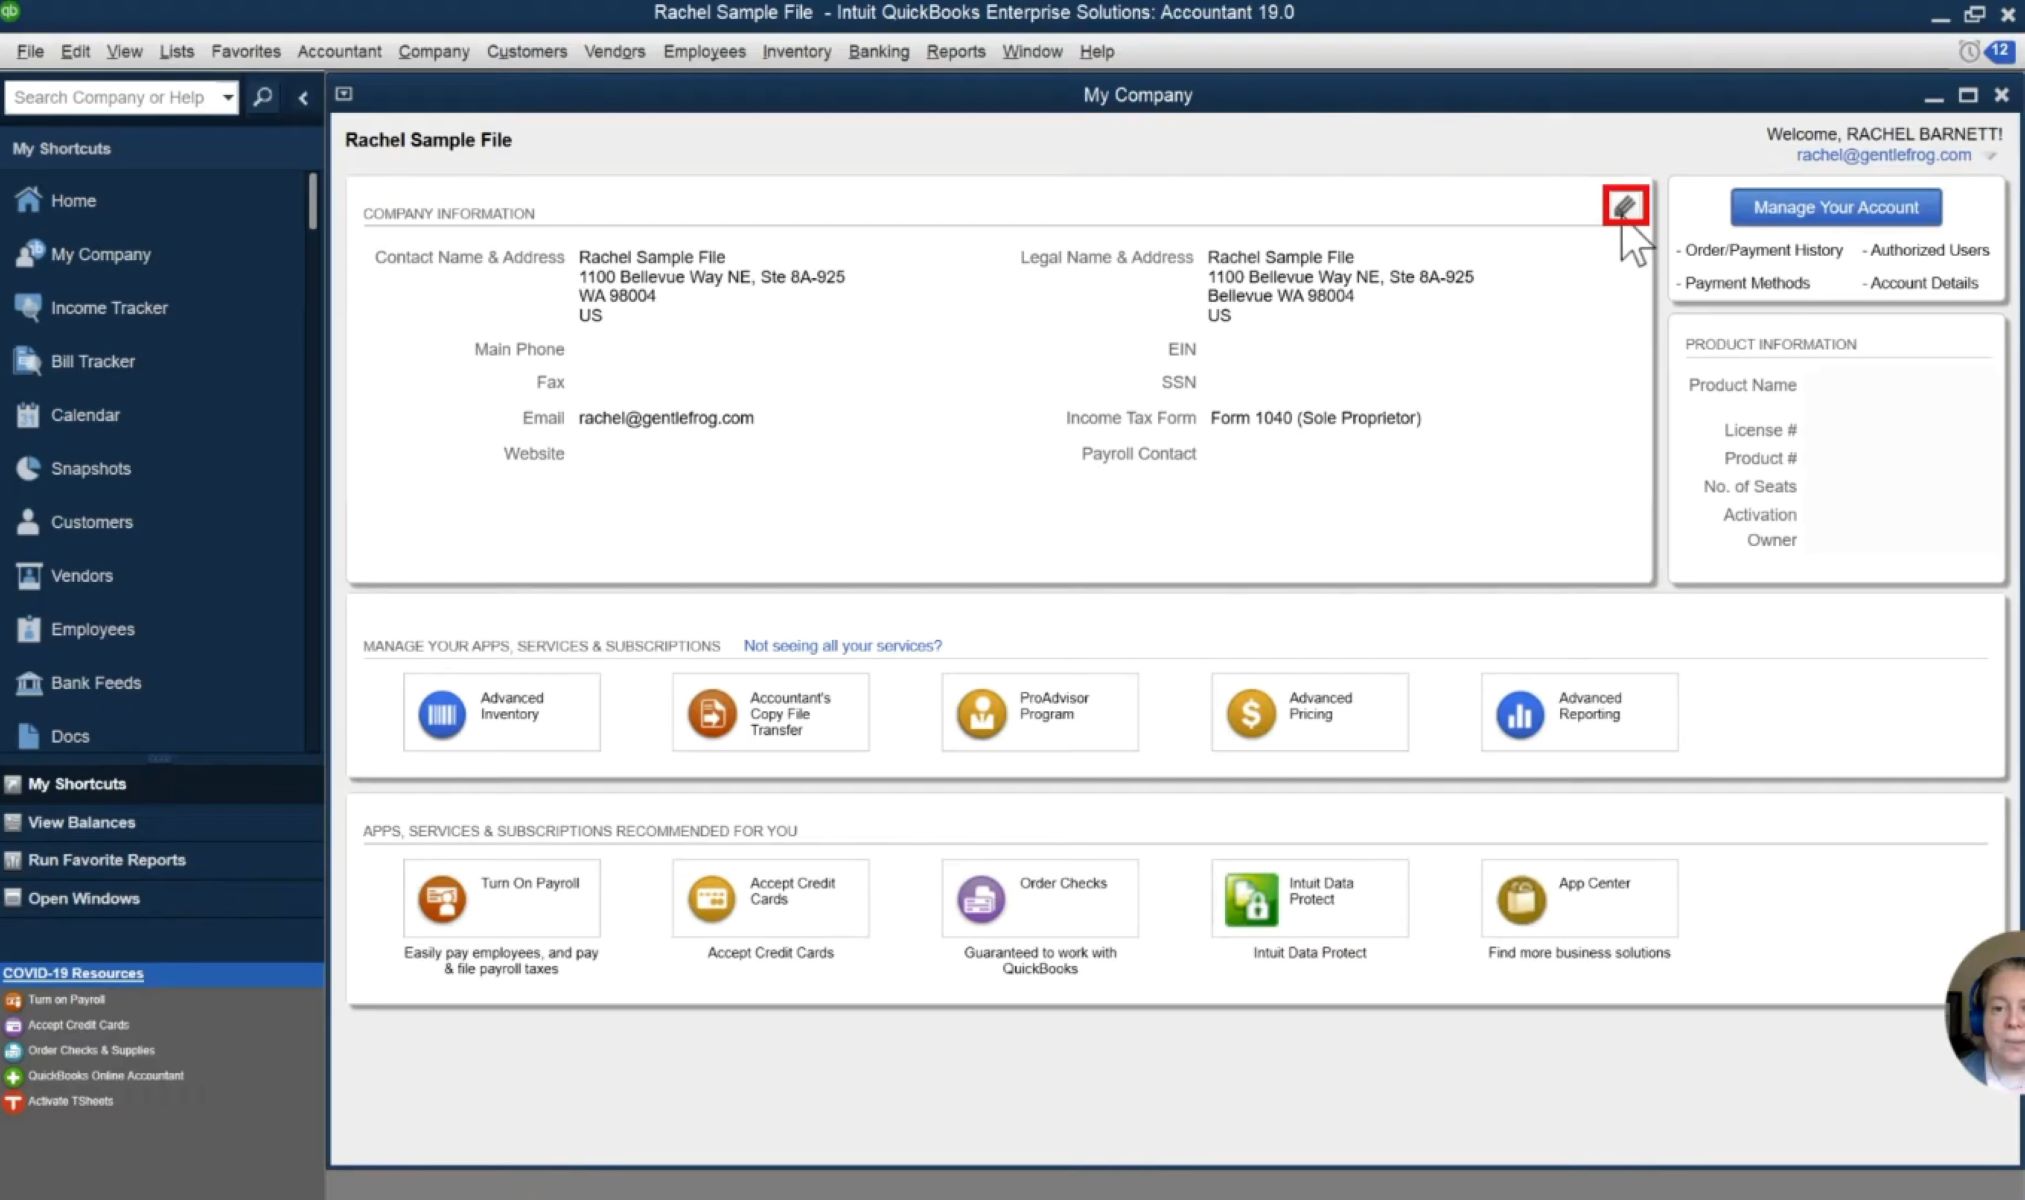
- Once QuickBooks opens, you will see the Home screen. From the menu bar at the top of the screen, click on the “Vendors” tab. This will direct you to the Vendors Center, where you can manage your list of vendors.
- In the Vendors Center, you can view, edit, and delete vendors. It provides a centralized hub for all vendor-related tasks and information.
The Vendors Center in QuickBooks simplifies the management of your vendors by allowing you to organize and track important details such as contact information, payment terms, and purchase history.
It’s important to note that the Steps outlined in this guide are based on the desktop version of QuickBooks. If you are using the online version, the steps may vary slightly, but the overall process remains similar.
By following these steps, you are now ready to proceed to the next step, which involves locating and selecting the vendor you wish to delete.
Step 2: Locate and select the vendor you want to delete
After opening the Vendors Center in QuickBooks, the next step is to locate and select the vendor you want to delete. Follow the steps below to accomplish this:
- In the Vendors Center, you will see a list of all the vendors you have added to QuickBooks. Take a moment to review the list to ensure you are selecting the correct vendor for deletion.
- You can use the scroll bar on the right side of the screen to navigate through the vendor list. If you have a large number of vendors, you can also use the search bar at the top to quickly find the vendor you wish to delete.
- Once you have located the vendor you want to delete, click on their name to select them. This will open the vendor’s details, including their contact information, payment terms, and any open transactions associated with them.
By selecting the vendor, you gain access to their specific information, allowing you to review any outstanding transactions or details before proceeding with the deletion.
It’s important to carefully choose the vendor you wish to delete, as deleting the wrong vendor can have unintended consequences on your financial records. Take a moment to double-check the vendor’s details and ensure you have selected the correct one.
In the next step, we will guide you through verifying the vendor details before proceeding with the deletion process.
Step 3: Verify the vendor details before deleting
Before proceeding with the deletion of a vendor in QuickBooks, it is crucial to verify their details to ensure accuracy and avoid any unintended consequences. Follow the steps below to verify the vendor details:
- Once you have selected the vendor you want to delete, review their information in the vendor details window. This includes their name, contact information, and any other relevant details.
- Take note of any outstanding transactions associated with the vendor. This can include unpaid bills, open purchase orders, or any pending transactions that may affect your financial records.
- If there are any unresolved transactions, it is important to address them before proceeding with the deletion. You can choose to either complete the transactions, such as paying any outstanding bills, or cancel them if they are no longer relevant.
Verifying the vendor details allows you to assess the potential impact of deleting the vendor from QuickBooks. By addressing any outstanding transactions beforehand, you ensure that your financial records remain accurate and up-to-date.
It is also worth considering any historical data associated with the vendor. If you delete a vendor, their information and transaction history will be permanently removed from your QuickBooks company file. If you require that information for future reference or reporting, it is advisable to create backups or save the necessary data before deletion.
By verifying the vendor details and taking the necessary steps to address any outstanding transactions, you can proceed with confidence to the next step: the actual deletion of the vendor.
Step 4: Delete the vendor
Once you have verified the vendor details and resolved any outstanding transactions, you can proceed with deleting the vendor from QuickBooks. Follow the steps below to delete a vendor:
- In the vendor details window, navigate to the top of the screen and click on the “Edit” menu.
- From the drop-down menu, select “Delete Vendor”. A confirmation message will appear, asking you to confirm the deletion.
- Read the confirmation message carefully to ensure that you are deleting the correct vendor. Once you are certain, click on the “OK” button to proceed.
QuickBooks will now delete the selected vendor from your vendor list, along with their associated information and transaction history. However, it’s important to note that once deleted, this action cannot be undone.
Deleting a vendor in QuickBooks removes their name from the vendor list and disassociates them from any transactions in your company file. However, if the vendor was involved in any financial transactions, those transactions will remain in your books for reporting purposes.
After deleting the vendor, it is advisable to run reports to ensure that the deletion has not affected any other areas of your QuickBooks file. This can include running a vendor-related report to confirm that the deleted vendor no longer appears in any financial records.
By following these steps, you have successfully deleted a vendor from QuickBooks. However, it is important to proceed with caution and only delete vendors that are no longer needed.
Step 5: Confirm the deletion
After deleting a vendor in QuickBooks, it is essential to confirm that the deletion was successful and that the vendor has been completely removed from your records. Follow the steps below to confirm the deletion:
- Go back to the Vendors Center in QuickBooks.
- Review the vendor list to ensure that the deleted vendor no longer appears. Their name should be completely removed from the vendor list.
- If the vendor was associated with any open transactions, such as unpaid bills or outstanding purchase orders, check those transactions to confirm that the vendor name no longer appears as an option.
Confirming the deletion is an important step to ensure that the vendor’s information is no longer visible or accessible for future transactions. It verifies that the vendor has been successfully removed from your QuickBooks company file.
In some cases, you may notice that the deleted vendor still appears in certain reports or historical records. This is because QuickBooks retains transaction history for reporting purposes, even if the vendor has been deleted from the vendor list.
If you encounter any issues or have concerns about the vendor’s deletion, it is recommended to consult the QuickBooks support team or your accounting professional for further assistance.
With the vendor deletion confirmed, you can now continue managing your vendor list in QuickBooks, ensuring that it remains accurate and up-to-date for streamlined business operations.
Conclusion
Deleting a vendor in QuickBooks is a straightforward process that allows you to keep your vendor list organized and up-to-date. By following the steps outlined in this guide, you can remove vendors that are no longer needed in your QuickBooks company file.
Throughout this guide, we have walked you through the process of deleting a vendor in QuickBooks, starting from opening the software and navigating to the Vendors Center, to verifying the vendor details and resolving any outstanding transactions. We then guided you through the actual deletion process and the steps to confirm the deletion.
It is important to exercise caution when deleting a vendor, as removing the wrong vendor can have unintended consequences on your financial records. Always double-check the vendor details and ensure that any outstanding transactions are addressed before proceeding with the deletion.
Remember that once a vendor is deleted, the action cannot be undone. Therefore, it is vital to review and confirm the deletion to ensure that the vendor has been completely removed from your QuickBooks records.
In conclusion, managing your vendor list in QuickBooks is an essential part of maintaining accurate financial records. By periodically reviewing and deleting vendors as needed, you can streamline your vendor management process and ensure that your data reflects the current state of your business.
If you require further assistance or have any questions, consult the QuickBooks support team or your accounting professional. They will provide guidance tailored to your specific situation and help you make the most of QuickBooks’ vendor management capabilities.


