Introduction
Connecting a wireless controller to your Nintendo Switch console is a straightforward and convenient way to enhance your gaming experience. Whether you’re using the Joy-Con controllers that came with your console or a separate wireless controller, the process is quick and easy. In this guide, we’ll provide you with step-by-step instructions on how to connect a wireless controller to your Nintendo Switch, so you can start playing your favorite games with ease and comfort.
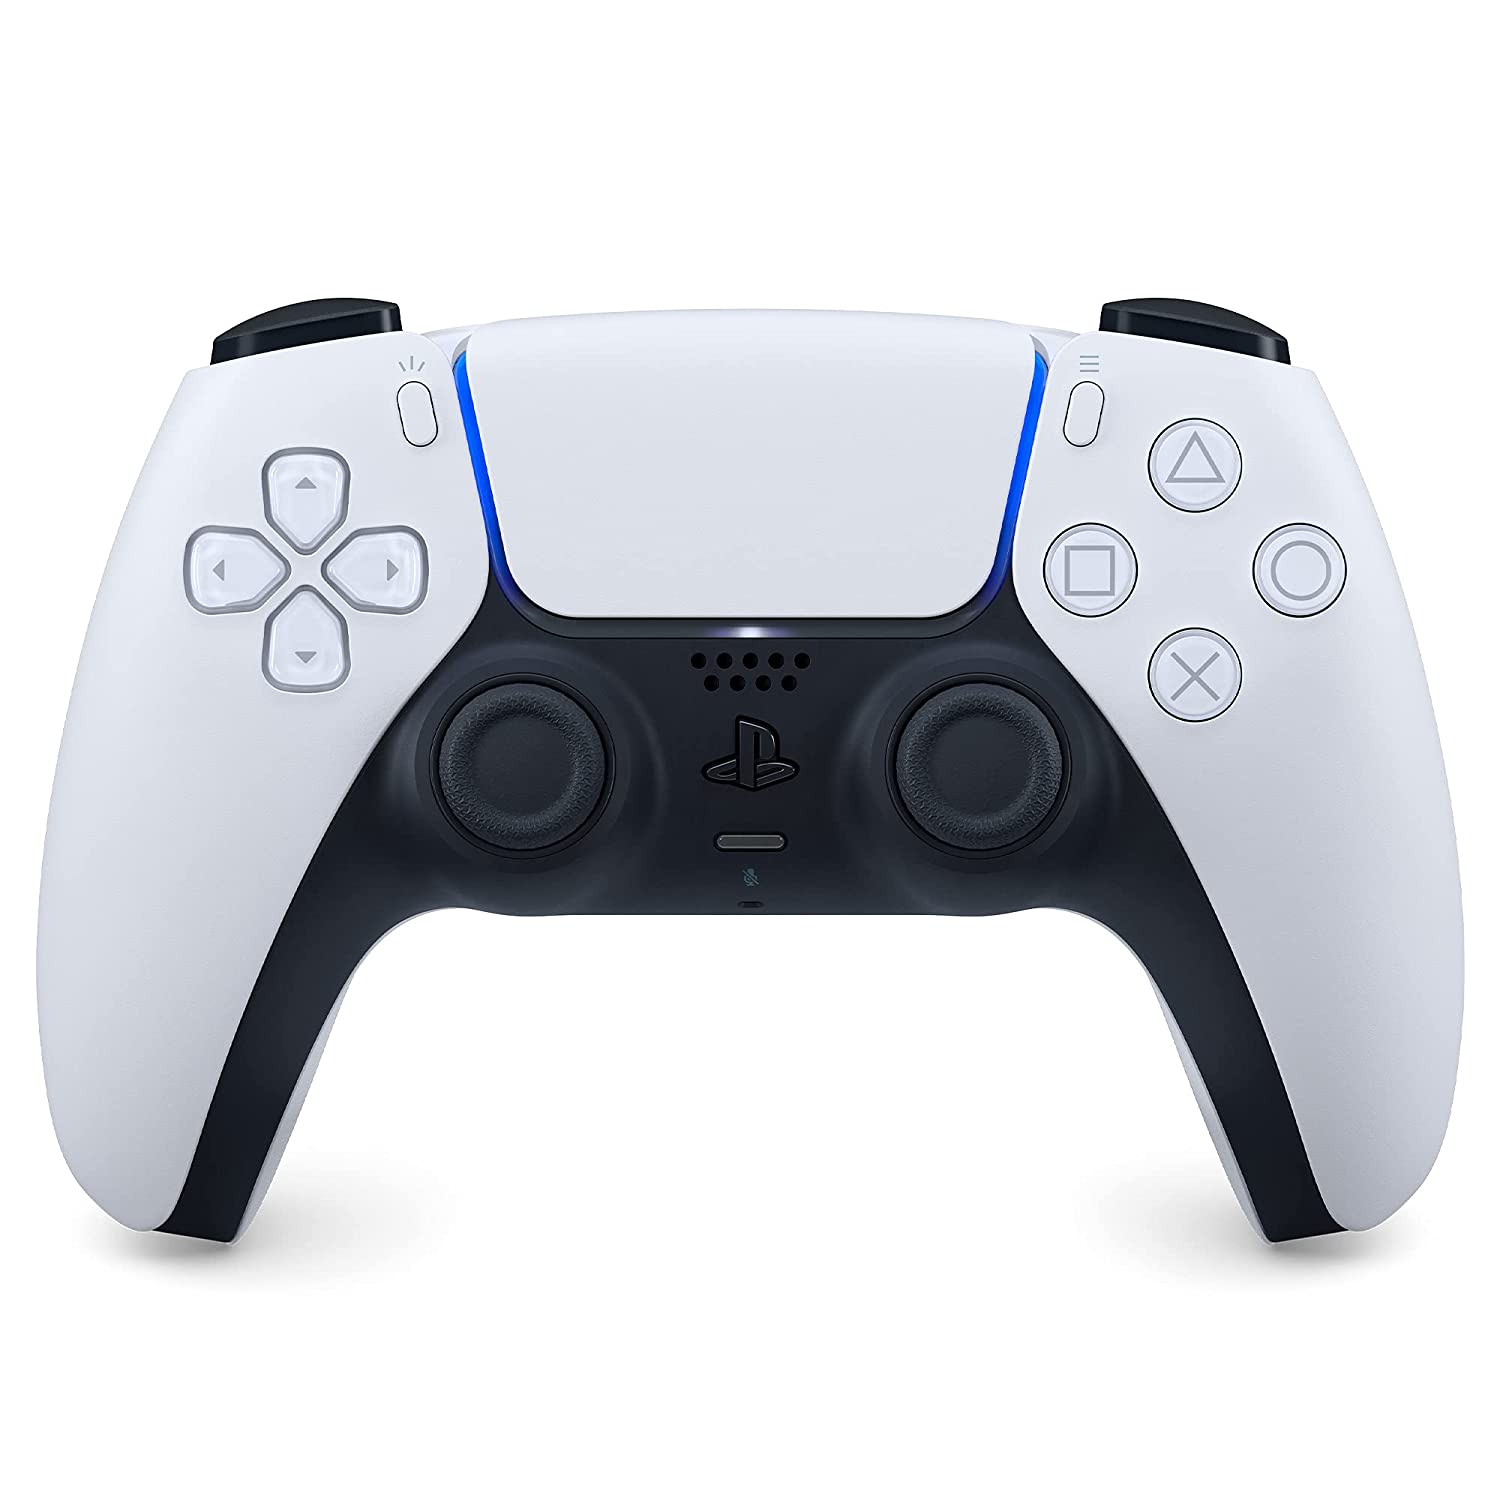
Wireless controllers offer the freedom to play games without being restricted by wires, allowing you to sit back, relax, and enjoy your gaming session from a comfortable position. Whether you prefer the sleek design of the Pro Controller or opt for a third-party controller, the ability to connect wirelessly ensures a seamless gaming experience.
Not only does connecting a wireless controller to your Nintendo Switch provide ergonomic benefits, but it also opens up more control options for multiplayer gaming. With multiple wireless controllers connected to your console, you can enjoy local multiplayer games with friends and family, creating memorable gaming moments together.
In the following sections, we will guide you through each step of the process, from accessing the system settings to syncing the wireless controller with your Nintendo Switch. Once you’ve successfully connected the controller, you can start playing your favorite games with precision and comfort. So, let’s dive into the step-by-step instructions and get you started on your wireless gaming adventure!
Step 1: Power on the Nintendo Switch console
To begin the process of connecting a wireless controller to your Nintendo Switch console, ensure that your console is powered on. Press the power button on the top-left corner of the console to turn it on. You will see the Nintendo Switch logo appear on the screen, indicating that the console is booting up.
It’s essential to have your Nintendo Switch console turned on before attempting to connect a wireless controller. If the console is off, the controller will not be able to establish a connection. Make sure that your console is fully charged or connected to a power source to avoid any interruptions during the pairing process.
If you have already powered on your Nintendo Switch console and it’s in sleep mode, simply press any button on the controllers that are currently connected to the console. This will wake up the console and allow you to proceed with the next steps in connecting your wireless controller. The Nintendo Switch console is designed to support multiple wireless controllers simultaneously, making it easy to switch between different controllers for a variety of gaming experiences.
Once your Nintendo Switch console is powered on and awake, you’re ready to move on to the next step: opening the Nintendo Switch home menu. This menu will be your gateway to accessing the system settings and connecting your wireless controller. So, let’s continue to the next step and discover how to open the home menu on your Nintendo Switch!
Step 2: Open the Nintendo Switch home menu
After powering on your Nintendo Switch console, the next step is to open the home menu. The home menu is the central hub of your console, where you can access various settings, games, and applications.
To open the home menu, simply press the Home button located on the right Joy-Con controller. The Home button is represented by a small house icon and is situated between the analog stick and the directional buttons. When you press the Home button, the home menu will appear, overlaying the game or application that you were previously using.
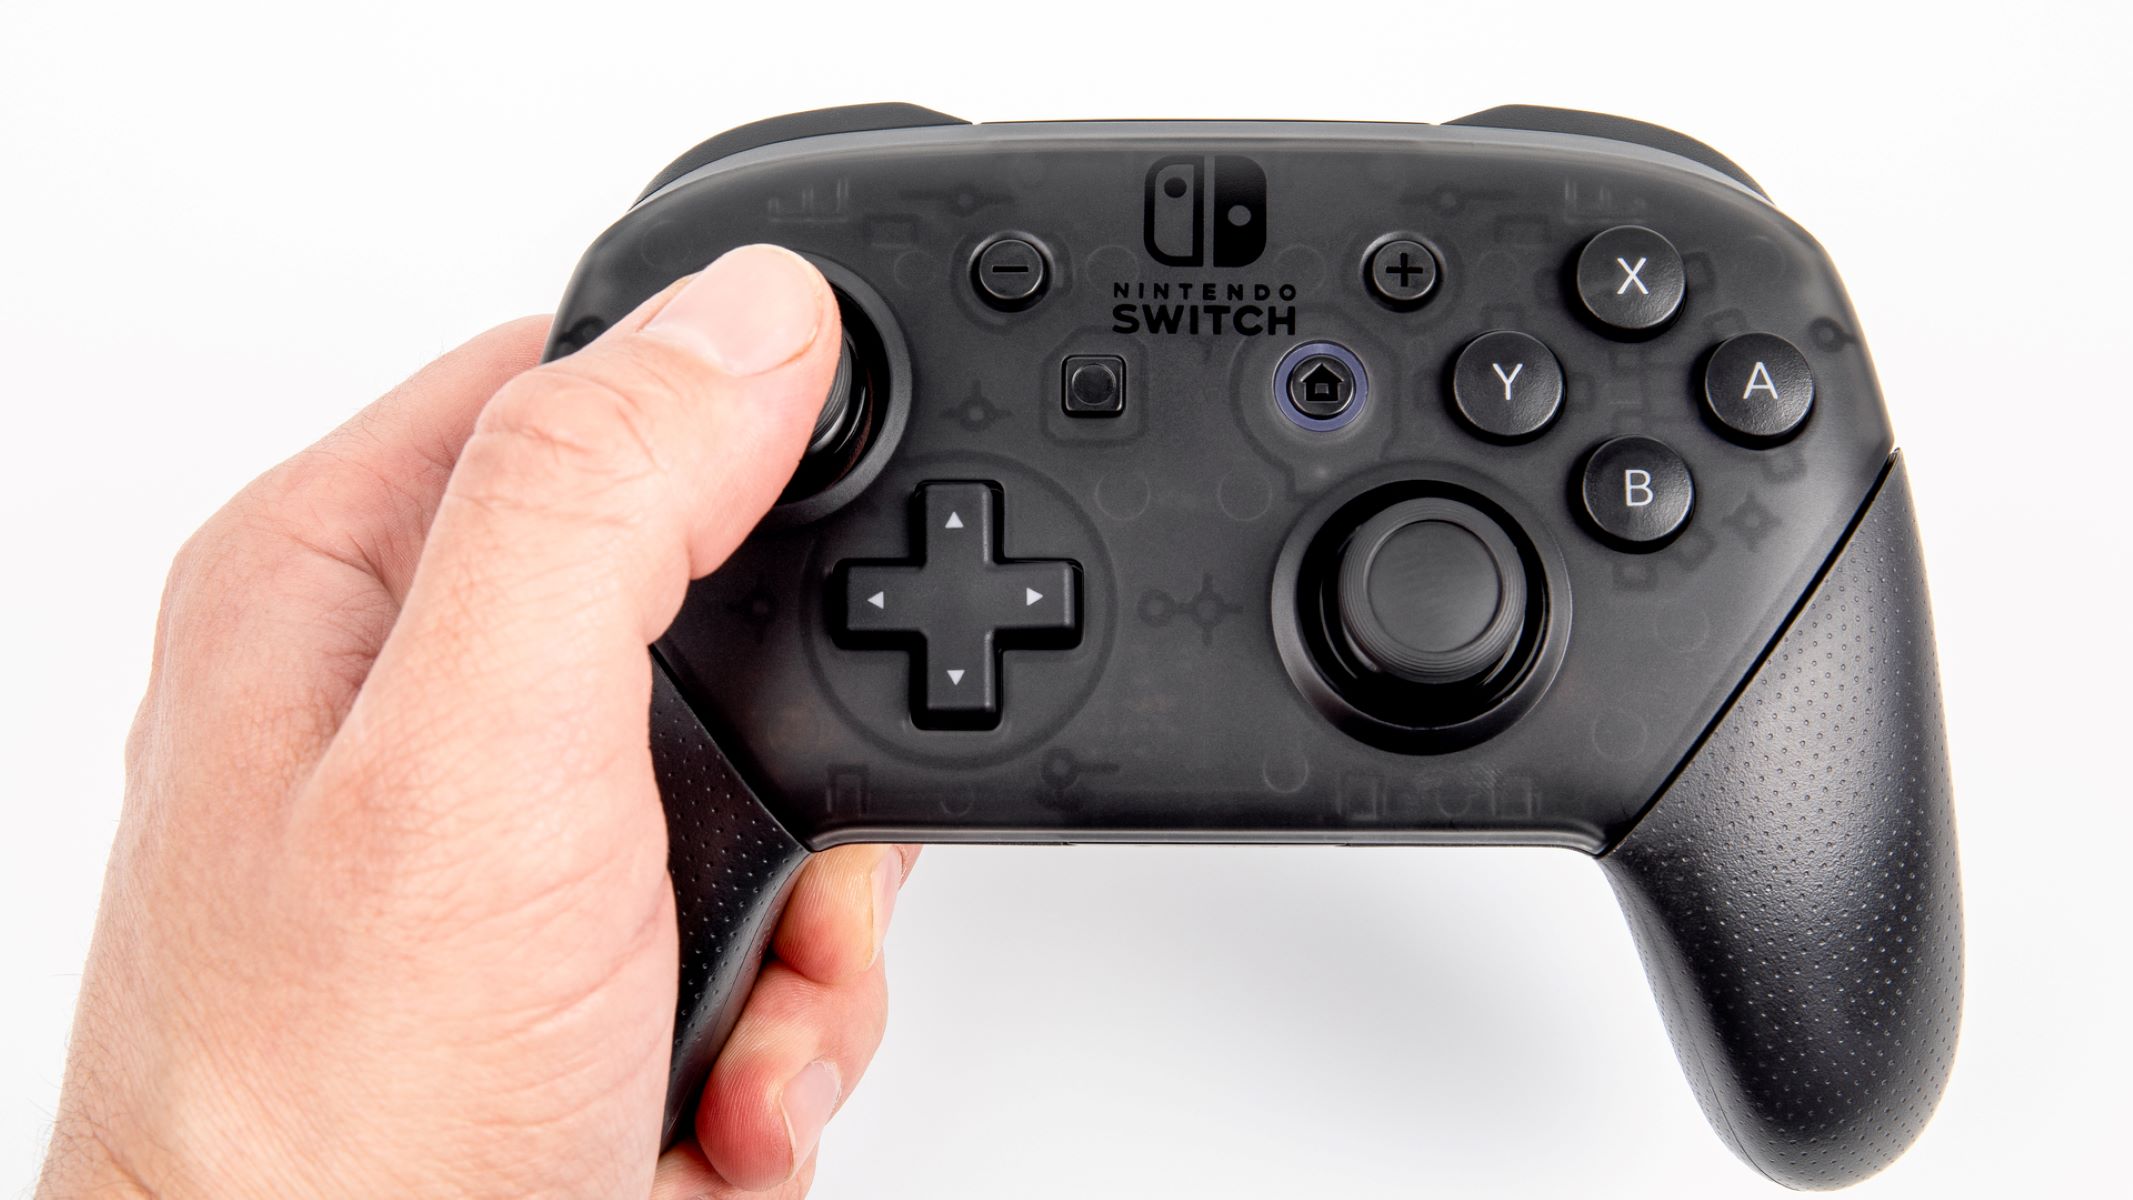
Alternatively, you can also open the home menu by tapping the Home button on the Nintendo Switch Pro Controller. The Home button is located at the center of the controller, below the control sticks. By pressing this button, the home menu will appear on your console’s screen, granting you access to various features and settings.
It’s important to note that if you’re using a third-party wireless controller, the process of opening the home menu might vary. Refer to the specific instructions provided with your controller to understand how to access the home menu. Most third-party controllers have a dedicated button that emulates the function of the Nintendo Switch home button.
Now that you have successfully opened the Nintendo Switch home menu, you’re ready to proceed to the next step: accessing the system settings. The system settings menu is where you’ll find the necessary options to connect your wireless controller. So, let’s continue and learn how to access the system settings on your Nintendo Switch console.
Step 3: Access the system settings
In order to connect a wireless controller to your Nintendo Switch console, you’ll need to access the system settings. The system settings menu houses various options for customizing your console and managing its features.
To access the system settings, navigate to the home menu on your Nintendo Switch console, as explained in the previous step. Once you’re on the home menu, you’ll see a row of icons at the bottom of the screen. Use the left or right Joy-Con analog stick to highlight the gear icon labeled “System Settings” and press the A button to select it. Alternatively, you can also use the touch screen if your Nintendo Switch console is in handheld mode.
After selecting the “System Settings” icon, a new screen will appear with various options and settings. Here, you can customize your console’s display, audio, internet settings, and more. Scrolling through the system settings can be done using the analog stick or touchscreen.
It’s important to note that the specific layout and design of the system settings menu may be subject to updates and user preferences. The steps provided here are based on the default layout of the Nintendo Switch console. If you have customized your console’s layout or are using a different version of the system software, the locations of certain options may differ slightly. However, the general process of accessing the system settings should remain the same.
With the system settings menu now open, you’re one step closer to connecting your wireless controller to your Nintendo Switch console. In the next step, we’ll guide you through the process of selecting the “Controllers and Sensors” option from the system settings menu. So, let’s move on to the next step and continue the journey to connect your wireless controller.
Step 4: Select “Controllers and Sensors”
After accessing the system settings menu on your Nintendo Switch console, the next step is to select the “Controllers and Sensors” option. This option allows you to configure various controller settings and manage the connected devices.
To select “Controllers and Sensors,” use the analog stick or touch screen to navigate through the system settings menu. Scroll down until you find the “Controllers and Sensors” option and press the A button or tap it on the touch screen to select it.
Once you’ve selected “Controllers and Sensors,” a new menu will open up with additional options related to controlling devices and sensors on your Nintendo Switch console. Here, you can customize control settings, manage connected controllers, and modify other related configurations.
It’s worth noting that within the “Controllers and Sensors” menu, you may find other sub-options available, such as “Change Button Mapping” or “Calibrate Control Sticks.” These options provide you with further control over your controllers and can be helpful in ensuring optimal performance.
Selecting “Controllers and Sensors” is a crucial step in the process of connecting your wireless controller to your Nintendo Switch console. From this menu, you’ll be able to proceed to the next steps, including choosing the “Change Grip/Order” option which will enable you to add a new wireless controller to your console. So, let’s move on to the next step and continue on our journey to connect your wireless controller.
Step 5: Choose “Change Grip/Order”
Once you have accessed the “Controllers and Sensors” menu in the system settings of your Nintendo Switch console, the next step is to choose the “Change Grip/Order” option. This option allows you to add a new wireless controller to your console or change the order of the connected controllers.
To choose “Change Grip/Order,” navigate through the “Controllers and Sensors” menu using the analog stick or touch screen. Look for the option labeled “Change Grip/Order” and press the A button or tap it on the touch screen to select it.
Upon selecting “Change Grip/Order,” a new screen will appear, indicating that the console is now ready to connect a wireless controller. On this screen, you’ll see a prompt instructing you to prepare the wireless controller for pairing.
It’s important to note that the specific instructions for preparing the wireless controller may vary depending on the controller model you have. Some wireless controllers may require you to press and hold a specific button combination, while others may have a dedicated sync button.
Refer to the instruction manual or guidelines provided by the manufacturer for your specific wireless controller to ensure you follow the correct pairing procedure. Once you’ve prepared the wireless controller, you’re ready to move on to the next step: locating and pressing the sync button on the controller.
Choosing “Change Grip/Order” is a crucial step in the process of connecting a wireless controller to your Nintendo Switch console. This step sets the stage for pairing the controller and establishing a connection. So, let’s move forward to the next step and continue our journey towards successfully connecting your wireless controller.
Step 6: Prepare the wireless controller for pairing
Once you have chosen the “Change Grip/Order” option in the “Controllers and Sensors” menu, the next step is to prepare the wireless controller for pairing with your Nintendo Switch console. This step involves following specific instructions based on the model of your wireless controller.
Different wireless controllers have different methods of preparing for pairing. Some controllers require you to press and hold a specific button combination, while others have a dedicated sync button. Most controllers also have an LED light indicator that will blink or change color during the pairing process.
Consult the instruction manual or guidelines provided by the manufacturer for your specific wireless controller to determine the correct procedure for preparing it for pairing. Typically, you will need to press and hold a specific button or series of buttons on the controller until the controller’s LED light begins blinking or changes color.
Preparing the wireless controller for pairing establishes a connection with your Nintendo Switch console. This process allows the console to recognize and identify the controller. Once you have successfully prepared the controller, it will be ready to be detected by the console in the next step.
It’s important to ensure that you have followed the correct preparation steps for your wireless controller. Incorrect button combinations or missed instructions may result in the controller not being recognized by the console. Take the time to carefully read and understand how to prepare the controller to avoid any pairing issues.
Now that you have prepared the wireless controller for pairing, you’re ready to move on to the next step: locating and pressing the sync button on the controller. This step will enable your Nintendo Switch console to detect and establish a connection with the wireless controller. So, let’s proceed to the next step and continue our journey to connect the wireless controller successfully.
Step 7: Locate and press the sync button on the controller
After preparing your wireless controller for pairing, the next step is to locate and press the sync button on the controller. The sync button allows your controller to send a signal to your Nintendo Switch console, establishing a wireless connection between the two devices.
The location of the sync button may vary depending on the model of your wireless controller. In most cases, the sync button is located on the top, side, or back of the controller. It is usually a small button that can be pressed using a pen tip, a paperclip, or your finger.
Refer to the instruction manual or guidelines provided by the manufacturer for your specific wireless controller to determine the exact location of the sync button. Alternatively, you can also search online for the specific controller model to find instructions or videos that demonstrate the location of the sync button.
Once you have identified the sync button on your wireless controller, press and hold it for a few seconds. While pressing the sync button, make sure that your Nintendo Switch console is within range and powered on. The console will start searching for available wireless controllers.
During the syncing process, the sync button’s LED light may blink or change color to indicate that the controller is searching for a compatible device. Once successfully synced, the LED light may become solid or display a specific color, depending on the controller model.
Locating and pressing the sync button on the controller is a crucial step in connecting your wireless controller to the Nintendo Switch console. Once the controller is detected, you can proceed to the next step: waiting for the controller to appear on the screen. So, let’s move on to the next step and continue our journey towards successfully connecting the wireless controller.
Step 8: Wait for the controller to appear on the screen
After pressing the sync button on your wireless controller, the next step is to patiently wait for the controller to appear on the screen of your Nintendo Switch console. This process allows the console to detect and establish a connection with the controller.
The time it takes for the controller to appear on the screen may vary depending on factors such as wireless signal strength and any interference in the surrounding environment. Generally, the process should only take a few seconds, but in some cases, it may take slightly longer.
While waiting for the controller to appear on the screen, it is important to keep your wireless controller in range of the console. Make sure that there are no obstructions or interference between the controller and the console that could hinder the pairing process.
Once the controller is successfully detected, the screen will display a prompt or message indicating that the controller is now connected. The console will also assign a player number to the controller, enabling you to distinguish between multiple connected controllers during multiplayer gaming sessions.
If the controller does not appear on the screen within a reasonable amount of time, try pressing the sync button again or repeating the pairing process from the beginning. It is also recommended to ensure that the controller is fully charged or has fresh batteries.
When the controller appears on the screen and is recognized by the console, you have successfully established a wireless connection between your controller and Nintendo Switch console. You are now ready to move on to the final step: selecting the controller to complete the pairing process. So, let’s proceed to the next step and successfully complete the connection of your wireless controller.
Step 9: Select the controller to complete the pairing process
After the wireless controller has appeared on the screen of your Nintendo Switch console, the next step is to select the controller to complete the pairing process. This step finalizes the connection between the controller and the console, allowing you to use the controller to play games and navigate the console’s interface.
On the screen of your Nintendo Switch console, you will see a list of available controllers. Each controller will be displayed with its corresponding player number or unique identifier. Use the analog stick or directional buttons on your existing controller or Joy-Cons to highlight the newly detected wireless controller in the list.
Once the wireless controller is highlighted, press the A button on your existing controller or Joy-Con to select it. The console will then finalize the pairing process and complete the connection with the selected wireless controller.
It’s important to note that if you have multiple wireless controllers connected to your Nintendo Switch console, you can repeat this process to select and connect additional controllers. This allows you to play multiplayer games with friends and family, each using their own wireless controller.
After selecting the wireless controller, you may be prompted to confirm the selection with a button press or navigate through additional menus. Follow the instructions provided on the screen to complete the pairing process and confirm the connection.
Once the controller is successfully selected and connected, you will be able to use it to navigate the console’s interface, access games, and enjoy a seamless gaming experience. Take some time to test the controller’s functionality and ensure that all buttons, sticks, and features are working as expected.
Congratulations! You have successfully selected the wireless controller and completed the pairing process with your Nintendo Switch console. Now you can start playing your favorite games with precision and comfort. In the next step, we will guide you on how to test the wireless controller’s functionality to ensure it is working correctly. So, let’s move on to the final step and make sure everything is in order.
Step 10: Test the wireless controller’s functionality
Once you have completed the pairing process and selected the wireless controller on your Nintendo Switch console, the final step is to test the functionality of the controller. Testing the controller ensures that all buttons, sticks, and features are working as expected, allowing you to enjoy a smooth gaming experience.
Start by navigating through the console’s interface using the wireless controller. Test the directional buttons or analog stick to move between different menus and options. Check if the buttons, such as A, B, X, and Y, provide the appropriate responses when pressed. Ensure that the Home button brings up the home menu and the + and – buttons function as intended.
Next, launch a game and test the wireless controller’s functionality within the game environment. Play through different levels or stages, and perform various actions specific to the game genre. Test the responsiveness of the buttons, the accuracy of the control stick or D-pad, and any other unique features of the game.
If your wireless controller has additional features like motion controls or vibration feedback, ensure that these functionalities are working as well. Test the motion controls by tilting or moving the controller as required in motion-controlled games. Check if the controller vibrates appropriately during certain in-game actions or events.
If you notice any issues or problems with the wireless controller during testing, refer to the controller’s instruction manual or reach out to the manufacturer for troubleshooting and support. It’s important to have a fully functional controller to enhance your gaming experience and enjoy games to their fullest potential.
By thoroughly testing the wireless controller’s functionality, you can be confident that it is ready for use in your gaming sessions. Now, you can fully immerse yourself in the gaming world and enjoy the freedom and convenience of playing with a wireless controller on your Nintendo Switch console.
With the wireless controller successfully connected and tested, you’re all set to embark on your gaming adventures. Remember to keep your controllers charged or replace the batteries when necessary to ensure uninterrupted gameplay. Have fun and enjoy the world of gaming with your wireless controller and Nintendo Switch console!
Conclusion
Connecting a wireless controller to your Nintendo Switch console is a simple process that enhances your gaming experience. It provides the freedom to enjoy games without the restrictions of wires, allowing you to play comfortably from any position. Throughout this guide, we have provided step-by-step instructions to help you connect your wireless controller successfully.
We started by powering on the Nintendo Switch console and accessing the home menu. From there, we navigated through the system settings to select the “Controllers and Sensors” option. We then chose “Change Grip/Order” to prepare the wireless controller for pairing. By locating and pressing the sync button on the controller, we established a connection with the Nintendo Switch console. After the wireless controller appeared on the screen, we selected it to complete the pairing process.
Once the pairing was complete, it was important to test the functionality of the wireless controller. By navigating the console’s interface, playing games, and checking all buttons, sticks, and features, we ensured that the controller was working correctly.
Should you encounter any issues during the pairing process or with the functionality of the wireless controller, consult the instruction manual or contact the manufacturer for assistance.
With the wireless controller successfully connected, you can now enjoy the convenience and enhanced gameplay it brings to your Nintendo Switch console. Whether you prefer the mobility of the Joy-Con controllers or the comfort of a separate wireless controller, the choice is yours.
Remember to keep your wireless controllers charged or have fresh batteries to avoid interruptions during your gaming sessions. Exploring the exciting world of gaming has never been easier with the wireless controller and your Nintendo Switch console.
So, grab your wireless controller, power on your Nintendo Switch console, and dive into a world of gaming adventures and experiences! Happy gaming!