Introduction
Welcome to this guide on how to connect to JBL wireless earbuds! JBL has been a renowned brand in the audio industry for decades, and their wireless earbuds offer a seamless and immersive listening experience. Whether you’re a new JBL user or someone who has recently upgraded to JBL wireless earbuds, this article will provide you with step-by-step instructions on how to connect them to your devices.
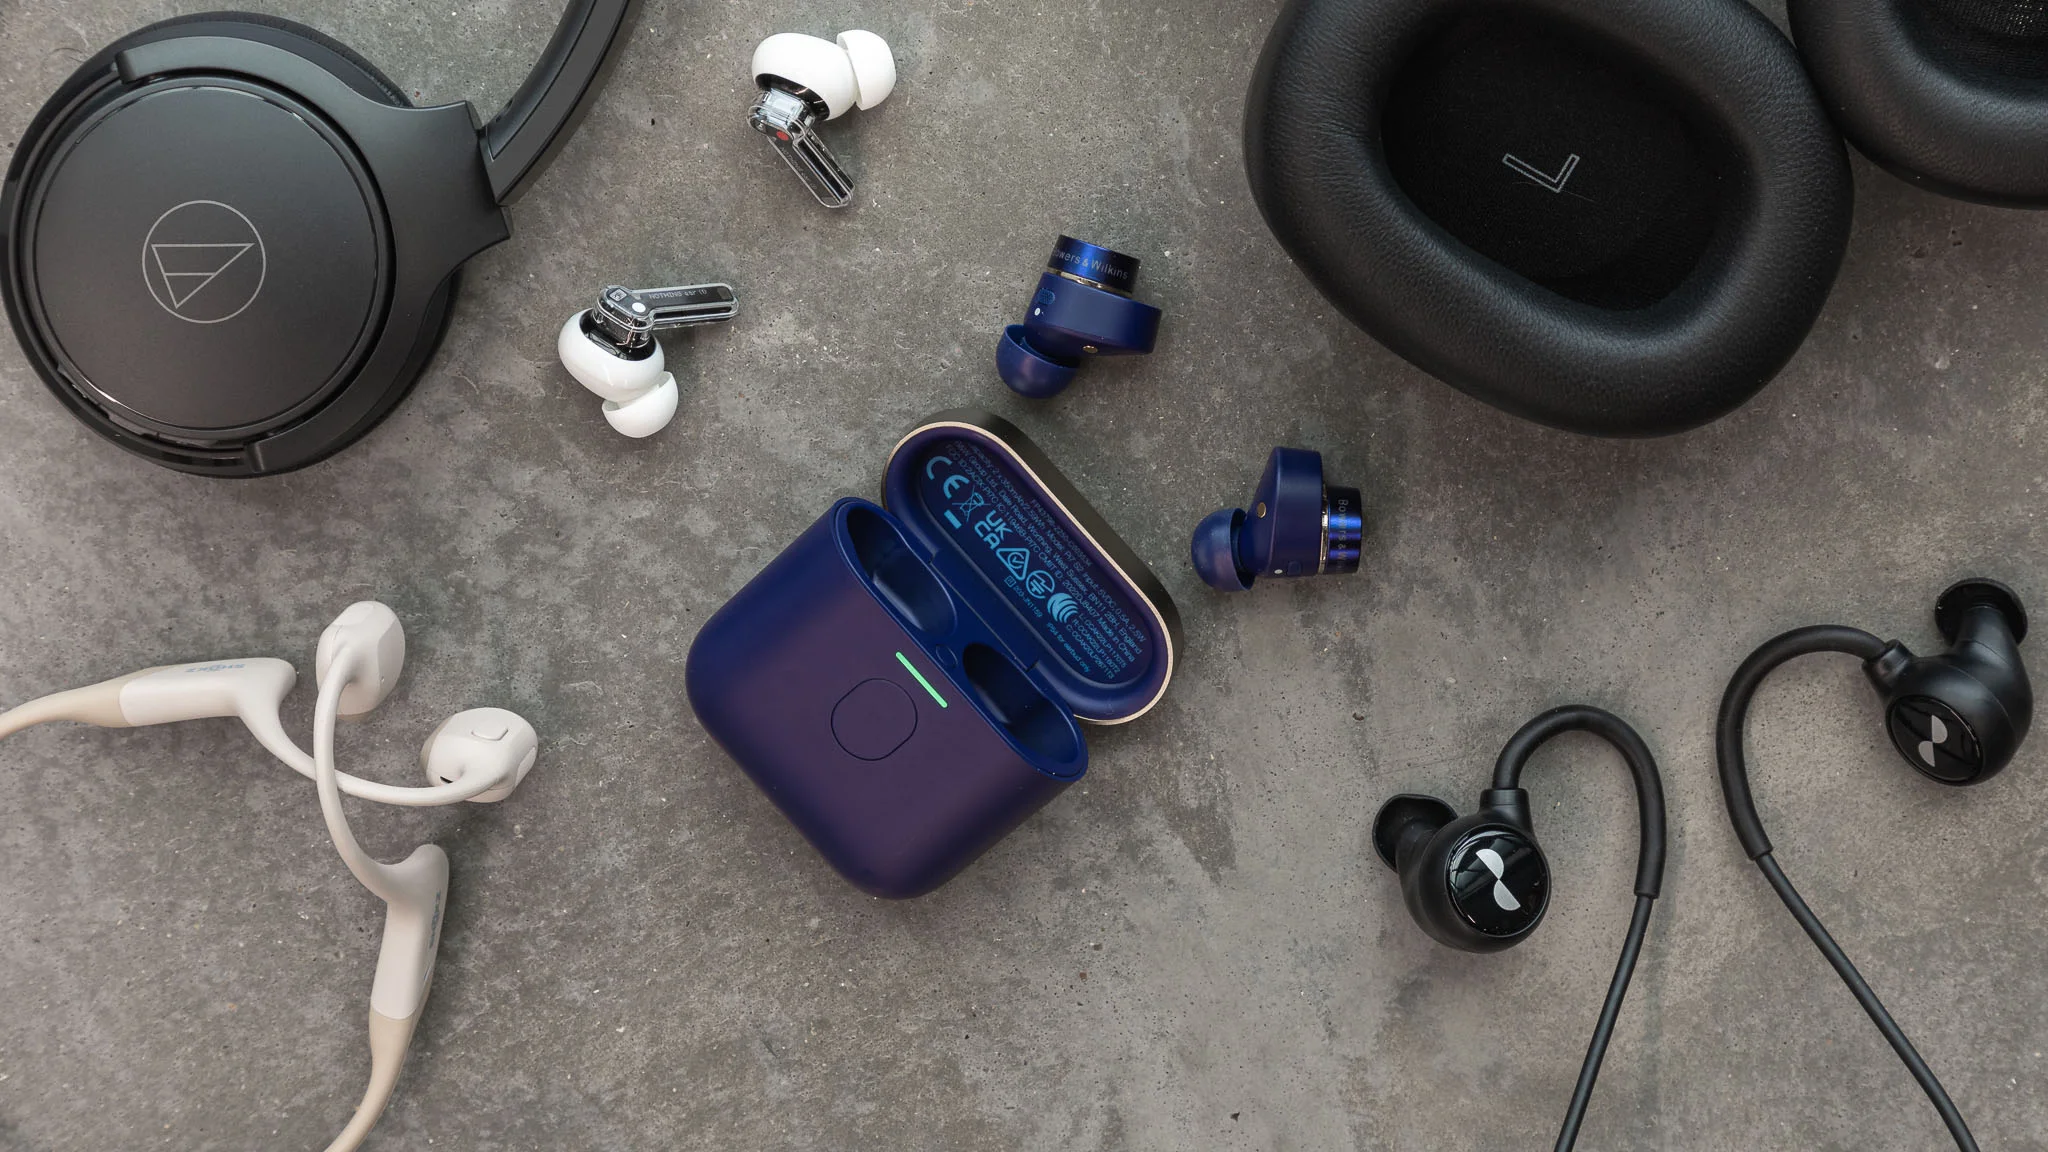
With advancements in technology, wireless earbuds have become incredibly popular due to their convenience and versatility. JBL wireless earbuds allow you to listen to your favorite music, podcasts, or watch movies without the hassle of tangled wires. They provide freedom of movement and deliver high-quality sound, making them a must-have for any audiophile on the go.
Before we dive into the connection process, it’s essential to ensure your devices are compatible with JBL wireless earbuds. Most JBL earbuds are compatible with various devices, including smartphones, tablets, laptops, and smart TVs. However, it’s always a good idea to check the specifications and compatibility of your specific JBL earbuds with the device you intend to connect them to. This will ensure a smooth and seamless connection experience.
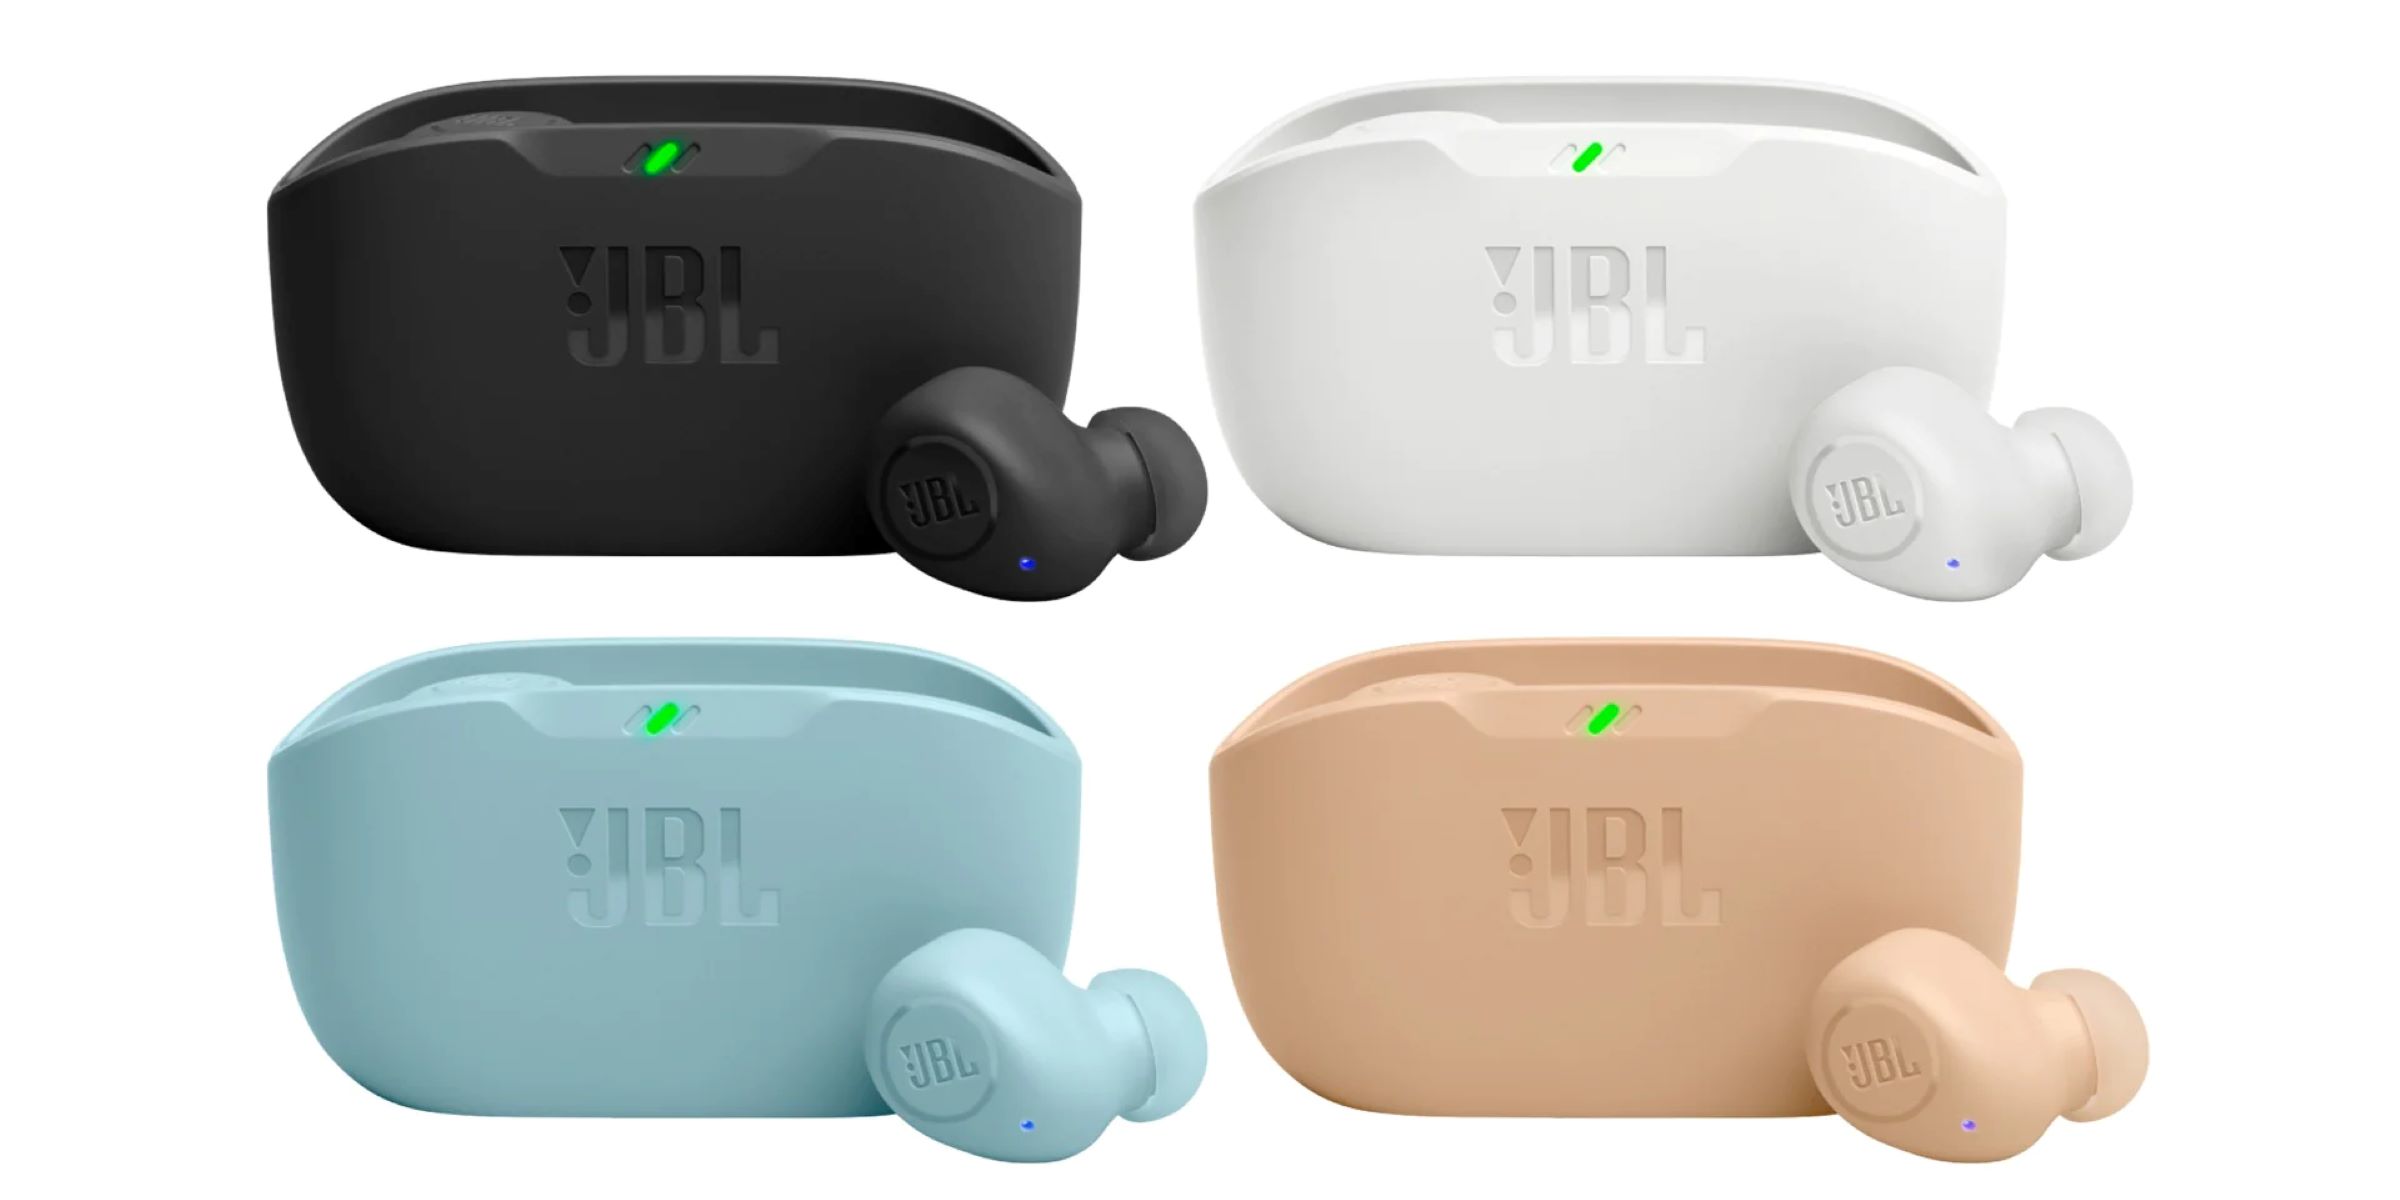
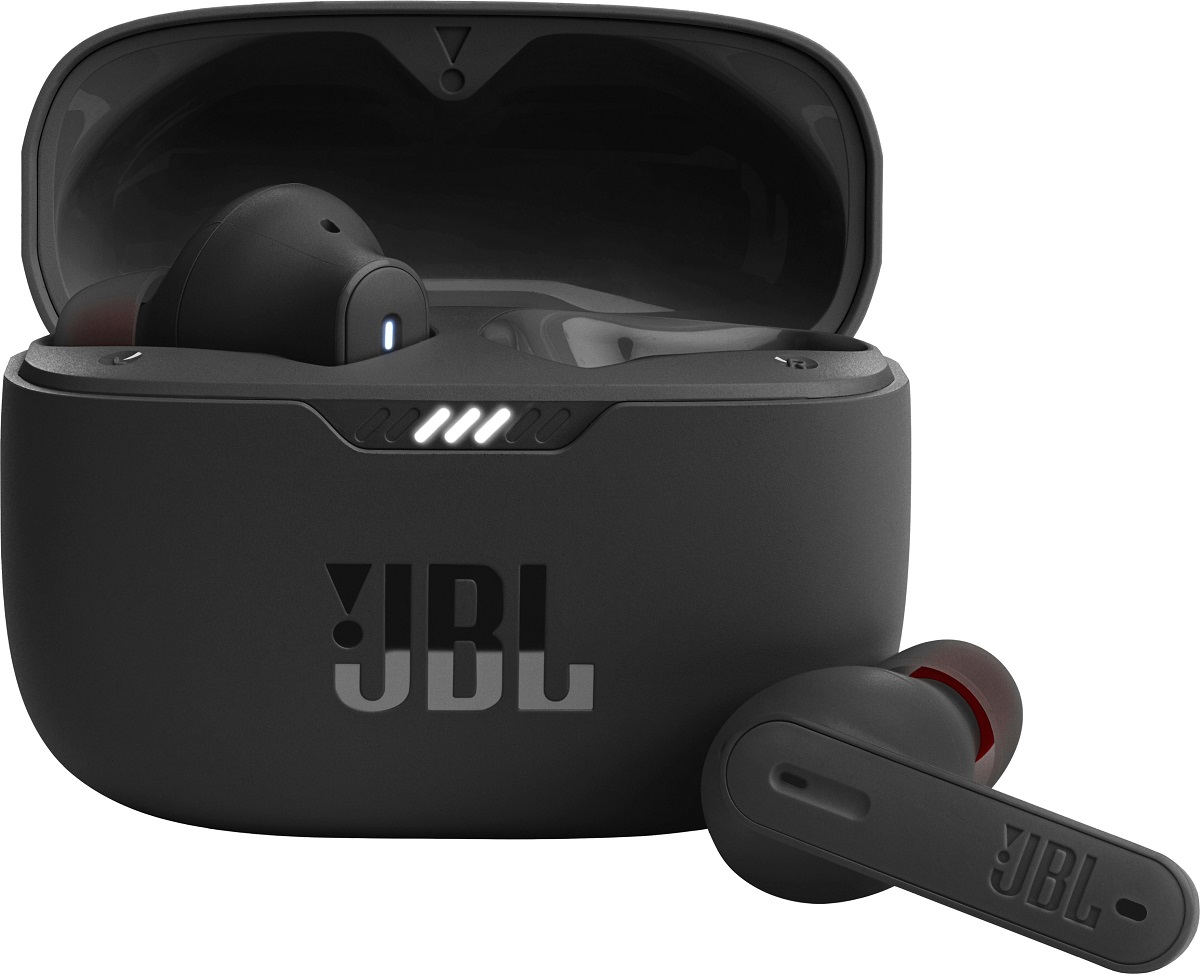
Once you’ve confirmed the compatibility, the next step is to charge your JBL earbuds. This is important to ensure optimal performance and uninterrupted listening sessions. Most JBL wireless earbuds come with a charging case that doubles as a protective storage solution. Simply place your earbuds in the charging case and connect it to a power source using the included USB cable.
Now that you have an overview let’s get started on connecting your JBL wireless earbuds to your device. Follow the step-by-step instructions provided in the upcoming sections to establish a successful connection and start enjoying your favorite content with exceptional audio quality.
Step 1: Check Device Compatibility
The first step in connecting your JBL wireless earbuds is to ensure that your device is compatible with the earbuds. JBL wireless earbuds are designed to work with a variety of devices, including smartphones, tablets, laptops, and smart TVs. However, it’s important to check the specifications and compatibility of your specific JBL earbuds with the device you want to connect them to.
Start by reviewing the product documentation or visiting the JBL website to gather information about the compatibility of your earbuds. Look for the list of supported devices or operating systems to determine if your device is compatible. Pay attention to any specific requirements or limitations mentioned by JBL to avoid any potential issues during the connection process.
If you are unsure about the compatibility, reach out to JBL customer support for assistance. They will be able to provide you with the necessary information and ensure that your device is compatible with the earbuds.
Additionally, make sure that the operating system of your device is up to date. Updates often include bug fixes and improvements that can enhance the compatibility and stability of the wireless connection. Check for any pending updates on your device and install them before proceeding with the connection process.
Remember that different JBL wireless earbud models may have varying compatibility requirements. While most modern devices should work seamlessly with JBL earbuds, it’s always a good idea to double-check to avoid any potential frustrations during the connection process.
Once you have confirmed the compatibility of your device with the JBL wireless earbuds, you are ready to move on to the next step: charging the earbuds. Continue reading the following section to learn how to properly charge your JBL earbuds and prepare them for the connection process.
Step 2: Charge the Earbuds
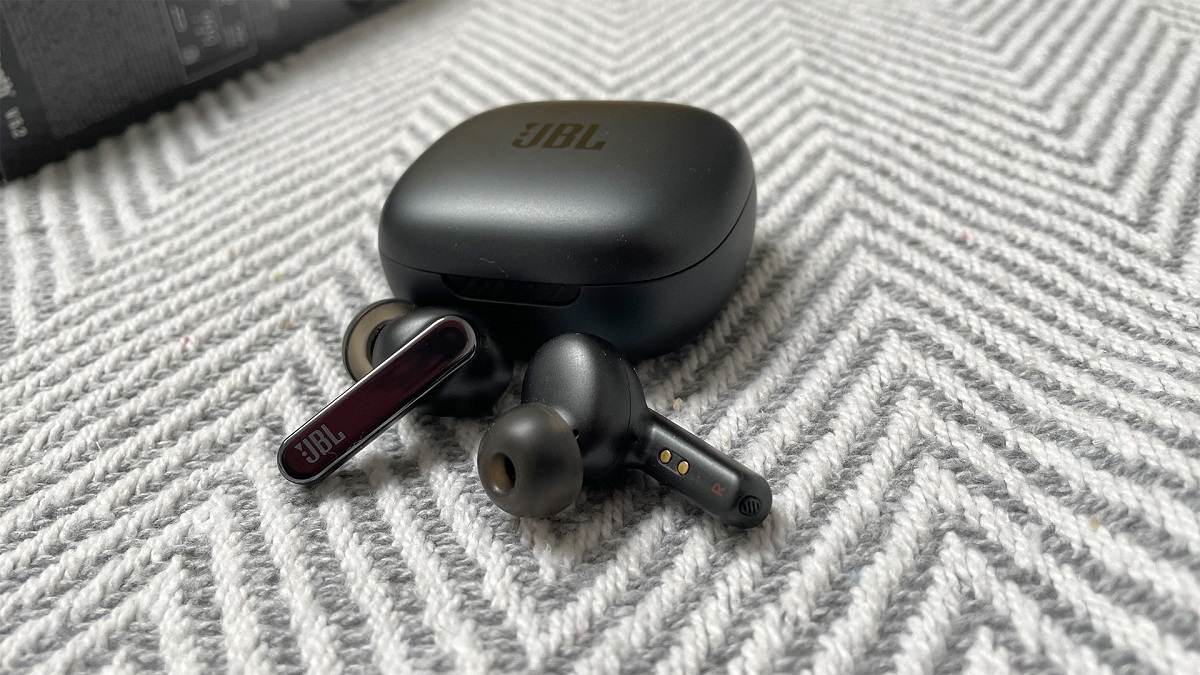
Before you can connect your JBL wireless earbuds, it’s crucial to ensure that they are adequately charged. Most JBL wireless earbuds come with a charging case that not only charges the earbuds but also serves as a protective storage solution.
To charge your JBL earbuds, follow these simple steps:
- Open the charging case: Gently open the lid of the charging case to reveal the charging slots for your earbuds. The charging case should have indicator lights to display the charging status.
- Insert the earbuds: Take each earbud and place them into their respective charging slots. Ensure that they are properly aligned with the charging contacts to establish a connection.
- Connect the charging case: Take the USB cable provided with your JBL earbuds and connect it to a power source, such as a wall adapter or a computer’s USB port. The charging case will begin to charge the earbuds.
- Monitor the charging status: The indicator lights on the charging case will provide information about the charging progress. This could include lights flashing or changing colors to indicate the current state of charge.
- Allow sufficient charging time: Leave the earbuds in the charging case and give them enough time to charge fully. This may take a couple of hours, depending on the specific JBL model and the remaining battery level.
- Check the charging status: Once the earbuds have reached a full charge, the indicator lights on the charging case will stop blinking or change to a steady color. This indicates that the earbuds are ready for use.
It’s important to note that properly charging your JBL earbuds not only ensures optimal performance but also extends their battery life. Regularly charging your earbuds when not in use will help you enjoy uninterrupted listening sessions.
Now that your JBL earbuds are fully charged, you are ready to proceed with the next step: powering on the earbuds. Let’s continue reading to learn how to power on your JBL earbuds and prepare them for the connection process.
Step 3: Power On the Earbuds
Once your JBL wireless earbuds are fully charged, the next step is to power them on. Each JBL earbud model may have a slightly different power-on process, so refer to the product documentation or follow these general steps:
- Remove the earbuds from the charging case: Open the lid of the charging case and take out the earbuds. Ensure that they are free from any debris or obstructions.
- Identify the power button: Look for the power button or touch area on both earbuds. This is usually indicated by a small button or a touch-sensitive surface.
- Power on the earbuds: Press and hold the power button or touch area on each earbud simultaneously for a few seconds. You may see or hear a confirmation signal, such as LED lights flashing or an audible tone, indicating that the earbuds are powering on.
- Confirm the power-on status: Check the indicator lights, if available, on the earbuds or refer to the product documentation to ensure that the earbuds have successfully powered on.
It’s important to note that some JBL earbud models may automatically power on when removed from the charging case, while others may require manual power-on using a button or touch area. Ensure that you are following the correct power-on procedure specific to your earbuds.
Once the earbuds are powered on, they are ready to be paired and connected to your device. The next step will guide you through the process of activating the Bluetooth on your device, a key step in establishing a connection with your JBL earbuds. Keep reading to proceed to Step 4.
Step 4: Activate Bluetooth on Your Device
Before you can connect your JBL wireless earbuds to your device, you need to ensure that the Bluetooth feature on your device is activated. Bluetooth is a wireless technology that allows devices to establish a connection and communicate with each other.
To activate Bluetooth on your device, follow these general steps:
- Open the settings menu: Locate the settings menu on your device. The exact location may vary depending on the operating system and device model.
- Find the Bluetooth settings: Within the settings menu, look for the Bluetooth option. It is typically represented by an icon or the word “Bluetooth”. Tap on it to access the Bluetooth settings.
- Switch on Bluetooth: Within the Bluetooth settings, toggle the switch to turn on the Bluetooth feature. You may see a color change or an indicator showing that Bluetooth is now active.
- Keep the Bluetooth settings open: After activating Bluetooth, keep the Bluetooth settings open on your device. This will allow the device to search and discover nearby Bluetooth devices, including your JBL earbuds.
It’s important to note that the exact steps to activate Bluetooth may vary depending on your device’s operating system. If you encounter any difficulties, refer to the device’s user manual or perform a quick search online using keywords specific to your device model and operating system.
With Bluetooth activated on your device, you are now ready to proceed to the next step: pairing your JBL wireless earbuds. Pairing is the process of establishing a connection between your device and the earbuds. Continue reading to learn how to pair your JBL earbuds in Step 5.
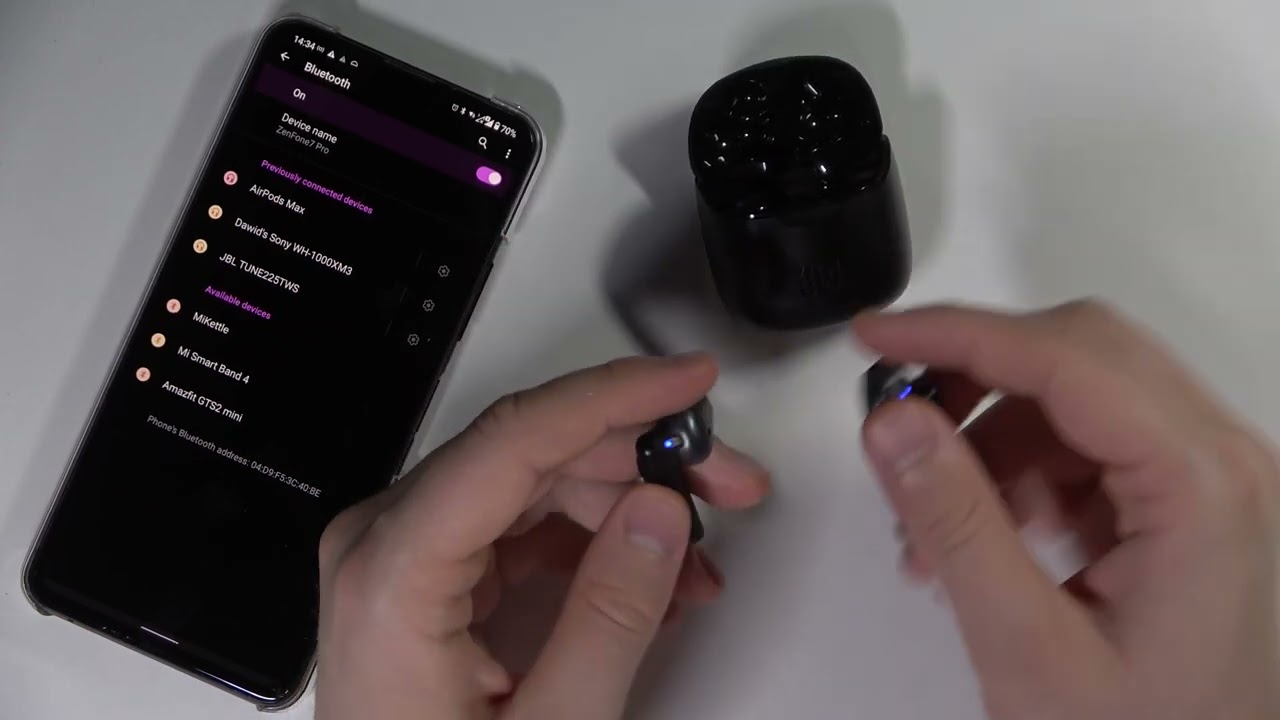
Step 5: Pairing the Earbuds
In order to connect your JBL wireless earbuds to your device, you will need to pair them. Pairing is the process of establishing a connection between your earbuds and your device using Bluetooth technology. To pair your JBL earbuds, follow these steps:
- Ensure that your JBL earbuds are in pairing mode: Most JBL earbuds enter pairing mode automatically when powered on for the first time. If this is not the case, refer to the product documentation to find the specific instructions to put your earbuds into pairing mode.
- Open the Bluetooth settings on your device: Navigate to the Bluetooth settings on your device. This is where you activated Bluetooth in the previous step.
- Select your JBL earbuds from the list of available devices: Your device will scan for nearby Bluetooth devices. Look for the name or model of your JBL earbuds in the list of available devices and tap on it to select it.
- Wait for the pairing process to complete: After selecting your JBL earbuds, your device will initiate the pairing process. This may take a few moments. You may see a loading icon or a progress indicator on your device.
- Confirm the pairing: Once the pairing process is complete, you will receive a confirmation message or a prompt on your device. It may mention that your JBL earbuds are connected or paired successfully.
It’s important to note that the pairing process may vary slightly depending on your device’s operating system. The steps provided above are a general guideline, so be sure to consult the device’s user manual or perform an online search if you encounter any difficulties during the pairing process.
Once the pairing is successful, you are ready to establish a connection between your JBL earbuds and your device. Continue reading to the next step to learn how to connect your earbuds.
Step 6: Connecting the Earbuds
After successfully pairing your JBL wireless earbuds with your device, the next step is to establish a connection between them. Connecting your JBL earbuds will enable you to enjoy the wireless audio experience. Follow these steps to connect your earbuds:
- Ensure that your JBL earbuds are turned on and in range: Make sure your earbuds are powered on and within the Bluetooth range of your device. Keep both devices close to each other to establish a stable connection.
- Open the Bluetooth settings on your device: Access the Bluetooth settings on your device, as you did during the pairing process.
- Find your JBL earbuds in the list of connected devices: Scroll through the list of connected Bluetooth devices on your device until you find the name or model of your JBL earbuds.
- Tap on your JBL earbuds to connect: Select your JBL earbuds from the list of connected devices. Your device will then attempt to connect to your earbuds.
- Wait for the connection to establish: The connection process may take a few moments. You may see a loading icon or a progress indicator on your device. Once the connection is established, you will receive a notification or message indicating that your JBL earbuds are connected.
Keep in mind that the connection process may slightly differ based on your device’s operating system. If you encounter any difficulties during the connection process, refer to the device’s user manual or perform a quick online search using relevant keywords regarding your device’s model and operating system.
Once your JBL earbuds are successfully connected to your device, you can begin enjoying your favorite audio content wirelessly. Take note that some devices may have specific settings or additional features related to the connected audio devices. Feel free to explore those settings and customize your audio experience further.
Congratulations! You have successfully connected your JBL wireless earbuds to your device. Now you can immerse yourself in high-quality sound and enjoy the freedom of wireless audio.
Conclusion
Connecting your JBL wireless earbuds to your device is a simple process that allows you to enjoy the freedom and convenience of wireless audio. By following the step-by-step instructions provided in this guide, you can easily pair and connect your JBL earbuds to your smartphone, tablet, laptop, or any other compatible device.
We started by checking the compatibility of your device with the JBL earbuds to ensure a seamless connection experience. It’s crucial to make sure that your device meets the required specifications and is running the latest operating system updates for optimal performance.
Next, we covered the importance of charging your JBL earbuds before connecting them. Properly charging your earbuds ensures a long battery life and uninterrupted listening sessions. The charging case serves as both a charging station and a protective storage solution for your earbuds.
We then walked you through the process of powering on your JBL earbuds and activating the Bluetooth feature on your device. Activating Bluetooth is crucial as it allows your device to establish a wireless connection with the earbuds. Remember to keep your Bluetooth settings open on your device during the connection process.
With Bluetooth activated, we went on to cover the steps for pairing your JBL earbuds with your device. Pairing is the process of establishing a connection between the device and the earbuds. Once the pairing is successful, the next step is to establish a connection between your JBL earbuds and your device.
Finally, we guided you through the process of connecting your JBL earbuds to your device, ensuring a seamless and stable wireless connection. Once connected, you can enjoy your favorite audio content with exceptional sound quality, free from tangled wires.
Now that you have successfully connected your JBL wireless earbuds, feel free to explore the features and customization options available on your device. Adjust the audio settings, control playback, and make the most of your wireless audio experience.
We hope this guide has been helpful to you in connecting your JBL earbuds. Enjoy your wireless listening experience and let the music transport you to new heights!