Introduction
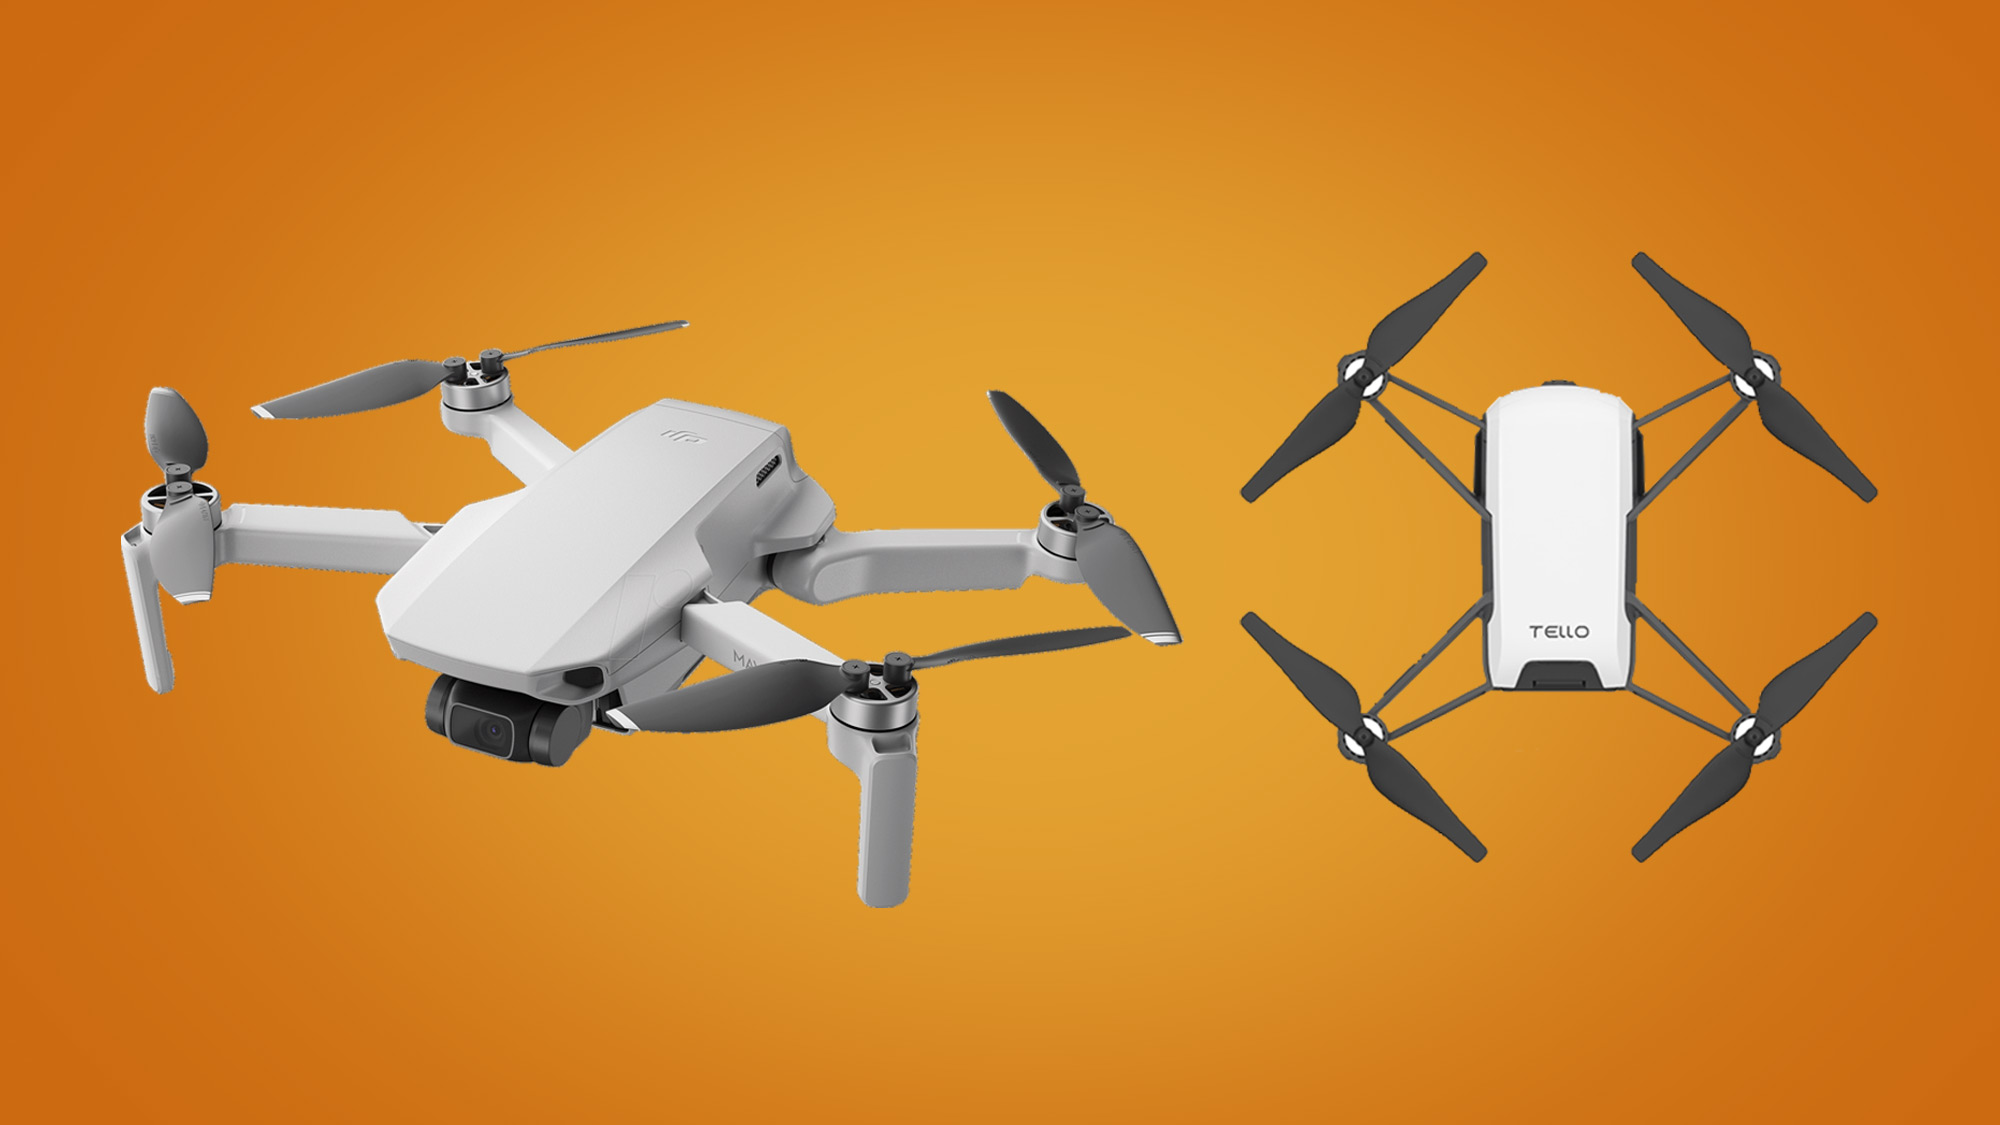
Welcome to the exciting world of drone flying! If you own a Tello drone or are planning to get one, this guide will help you connect your drone and get ready to take to the skies. The Tello drone, developed by Ryze Tech in collaboration with DJI, is an affordable and user-friendly option for beginners and drone enthusiasts.
Before you embark on your first flight, there are a few essential steps you need to follow to connect your Tello drone properly. In this guide, we will walk you through each step, ensuring a smooth and hassle-free connection process.
Connecting your Tello drone involves setting up the necessary hardware, installing the Tello app on your smartphone or tablet, and establishing a stable connection between your device and the drone. Once connected, you’ll have access to a range of exciting features and flight modes.
Whether you’re looking to capture breathtaking aerial shots, explore new places from a different perspective, or simply enjoy the thrill of flying a drone, the Tello drone offers a fantastic opportunity to fulfill your drone flying ambitions.
Let’s get started with the process of connecting your Tello drone. Follow the steps outlined in this guide, and soon enough, you’ll be ready to embark on your drone flying adventures.
Step 1: Charging the Drone
The first step in connecting your Tello drone is to ensure that it is properly charged. The Tello drone comes with a built-in battery that provides around 13 minutes of flight time. To charge the drone, follow these simple steps:
1. Use the provided USB cable to connect the Tello drone to a power source, such as a USB port on your computer or a USB wall charger.
2. The LED lights on the Tello drone will start blinking to indicate that it’s charging. The lights will turn solid once the drone is fully charged. It usually takes around 60 to 90 minutes for the battery to charge completely.
3. Make sure to monitor the charging process and avoid leaving the drone unattended while it’s connected to the power source.
4. Once the drone is fully charged, disconnect it from the power source and ensure that the charging port is securely closed.
It’s important to note that the Tello drone’s battery is not removable. Therefore, it’s essential to regularly charge the drone to ensure optimal performance during your flights.
Taking the time to charge your Tello drone properly will give you the peace of mind of knowing that you have enough battery life to enjoy extended flight sessions without interruptions.
Now that your Tello drone is fully charged, let’s move on to the next step: installing the Tello app on your smartphone or tablet.
Step 2: Installing the Tello App
To connect and control your Tello drone, you’ll need to install the Tello app on your smartphone or tablet. The Tello app is available for both iOS and Android devices and can be downloaded from the respective app stores. Follow these steps to install the Tello app:
1. Open the App Store (iOS) or Google Play Store (Android) on your device.
2. In the search bar, type “Tello” and tap on the official Tello app from Ryze Tech.
3. Tap on the “Install” or “Get” button to download and install the app.
4. Wait for the app to finish installing on your device.
5. Once the installation is complete, locate the Tello app on your device’s home screen and tap on it to launch the app.
6. The Tello app may prompt you to grant certain permissions such as access to your device’s camera, location, and storage. Make sure to allow these permissions to ensure a seamless experience while flying your drone.
7. Congratulations! You have successfully installed the Tello app on your device and are ready to proceed to the next step: powering on the Tello drone.
By installing the Tello app, you gain access to a range of features that will enhance your drone flying experience. The app provides intuitive controls, live video streaming, intelligent flight modes, and the ability to capture photos and videos directly on your device.
Now that you have the Tello app installed, let’s move on to the next step: powering on the Tello drone.
Step 3: Powering on the Tello Drone
Before you can establish a connection between your device and the Tello drone, you need to power on the drone. Follow these steps to properly power on the Tello drone:
1. Locate the power button on the Tello drone. It is usually located on the side or bottom of the drone, clearly marked with a power icon.
2. Press and hold the power button for about three seconds until you see the LED lights on the drone start to blink.
3. Once the LED lights start blinking, release the power button. The lights will continue blinking for a few seconds and will then stabilize, indicating that the drone is powered on.
4. It’s important to ensure that the Tello drone is placed on a flat and stable surface while powering it on to prevent any accidental movement.
5. The Tello drone will emit a startup sound, indicating that it is ready for pairing with your device and establishing a connection.
With the Tello drone powered on, you are now ready to connect your device to the drone’s Wi-Fi network, which we will cover in the next step. Keep your Tello drone nearby and proceed to the next step to continue the connection process.
Now that you have powered on your Tello drone, let’s move on to the next step: connecting your smartphone or tablet to the Tello Wi-Fi network.
Step 4: Connecting Your Smartphone or Tablet to the Tello Wi-Fi Network
In order to establish a connection between your device and the Tello drone, you need to connect your device to the Tello Wi-Fi network. Follow these steps to connect your smartphone or tablet to the Tello Wi-Fi network:
1. Open the Wi-Fi settings on your device by swiping down from the top of the screen (on most devices) and tapping on the Wi-Fi icon.
2. In the list of available Wi-Fi networks, look for the network name of your Tello drone. The network name typically starts with “TELLO-“. Tap on the Tello Wi-Fi network to connect to it.
3. If prompted, enter the password for the Tello Wi-Fi network. The default password can usually be found on the back of the Tello drone or in the user manual.
4. Once you have successfully connected to the Tello Wi-Fi network, you will see a confirmation message or Wi-Fi icon appear on your device’s screen.
5. You are now connected to the Tello drone’s Wi-Fi network, which enables communication between the drone and your device.
It’s important to note that when you connect your device to the Tello drone’s Wi-Fi network, your device will no longer have an internet connection. This is normal since you are now connected to a local network created by the Tello drone.
With your device successfully connected to the Tello Wi-Fi network, you are ready to proceed to the next step: launching the Tello app and establishing a connection with the drone.
Now that your smartphone or tablet is connected to the Tello Wi-Fi network, let’s move on to the next step: launching the Tello app and establishing a connection.
Step 5: Launching the Tello App and Establishing a Connection
Now that your device is connected to the Tello Wi-Fi network, it’s time to launch the Tello app and establish a connection with the drone. Follow these steps to launch the app and establish a connection:
1. Locate the Tello app icon on your device’s home screen and tap on it to launch the app.
2. Once the Tello app opens, you will be greeted with a welcome screen and the option to connect to your Tello drone. Tap on the “Connect” or “Start Flight” button to initiate the connection process.
3. The app will search for available Tello drones within its range. After a few moments, your Tello drone should appear in the app’s interface. Make sure to select your specific Tello drone from the list.
4. If prompted, confirm that you want to connect to the selected Tello drone by tapping on the “Connect” or “Confirm” button.
5. The Tello app will establish a connection with the Tello drone via the Wi-Fi network. This process may take a few seconds, and you may see a loading or connecting screen during this time.
6. Once the connection is successfully established, you will see a live video feed from the Tello drone’s camera on your device’s screen. You are now ready to control the drone and explore its various features and flight modes.
It’s important to ensure that the Tello app is running smoothly and the connection with the drone remains stable throughout your flight. Poor Wi-Fi signal or interference from nearby devices may affect the quality and reliability of the connection.
You have now successfully launched the Tello app and established a connection with your Tello drone. In the next step, we will explore the features and capabilities of the Tello app to make the most out of your drone flying experience.
Now that you have launched the Tello app and established a connection with your drone, let’s move on to the next step: exploring the Tello app features.
Step 6: Exploring the Tello App Features
With the Tello drone connected to the Tello app, you now have access to a range of features and functionalities that will enhance your drone flying experience. Let’s explore some of the key features of the Tello app:
1. Flight Controls: The Tello app provides intuitive on-screen controls that allow you to pilot your drone with ease. You can control the drone’s movement in various directions, adjust the altitude, and even perform flips and tricks with just a tap on the screen.
2. Live Video Streaming: The Tello app gives you a live video feed from the drone’s camera directly on your device’s screen. This real-time view allows you to see what the drone sees, enabling you to capture stunning photos and videos from unique angles.
3. Intelligent Flight Modes: The Tello app offers a selection of intelligent flight modes that can enhance your aerial photography and videography. These modes include Circle, 360, Up & Away, and Bounce, among others. Experiment with these modes to add creativity and variety to your shots.
4. Photo and Video Capture: With the Tello app, you can capture photos and record videos directly on your smartphone or tablet. The app provides easy access to the drone’s camera controls, allowing you to snap high-quality photos and capture smooth videos effortlessly.
5. In-App Settings: The Tello app allows you to customize various settings to suit your preferences and flying style. You can adjust camera settings, set flight boundaries, enable virtual joystick, and more, giving you greater control over your drone’s performance.
6. Flight Data Display: The Tello app provides real-time flight data, including battery level, altitude, distance, and flight time. This information helps you monitor the drone’s performance and ensure safe and efficient flights.
Remember to familiarize yourself with the app’s features and practice using them in a safe and controlled environment. Take your time exploring the capabilities of the Tello app and unleash your creativity to capture amazing aerial shots.
Now that you are familiar with the Tello app features, you are well-equipped to make the most out of your Tello drone. Enjoy your flights and create memorable experiences with your Tello drone and the powerful Tello app!
Conclusion
Congratulations! You have successfully connected your Tello drone and explored the features of the Tello app. By following the steps outlined in this guide, you are now ready to take to the skies and enjoy the exciting world of drone flying.
Remember to always prioritize safety when flying your Tello drone. Familiarize yourself with the drone’s manual and local regulations before taking off. Ensure that you fly in open areas, away from people, buildings, and obstacles.
The Tello drone, with its user-friendly features and affordable price, is a great option for beginners and drone enthusiasts alike. Whether you’re capturing stunning aerial footage or simply enjoying the thrill of flight, the Tello drone is sure to provide hours of entertainment.
Continue to explore the capabilities of the Tello app, experiment with different flight modes, and unleash your creativity to capture breathtaking photos and videos from unique perspectives.
Always remember to charge your Tello drone before each flight to maximize your flying time and to perform routine maintenance to ensure optimal performance.
Lastly, be sure to check for software updates for your Tello drone and the Tello app. These updates often include improvements, bug fixes, and exciting new features that will further enhance your drone flying experience.
Now, it’s time to soar to new heights with your Tello drone. Enjoy the freedom of flight, embrace the beauty of aerial photography, and discover the endless possibilities that await you in the world of drone flying.
Happy flying!