Introduction
Welcome to our guide on how to connect your Nintendo Switch to a projector. If you’re an avid gamer, you know how enjoyable it is to play your favorite games on a larger screen. Connecting your Switch to a projector not only allows for a more immersive gaming experience but also enables you to enjoy multiplayer sessions with friends and family on a bigger display.
Do you have a projector but don’t know how to connect your Nintendo Switch to it? Don’t worry, we’ve got you covered! In this guide, we will walk you through the step-by-step process of setting up and connecting your Nintendo Switch to a projector, so you can start gaming on the big screen in no time.
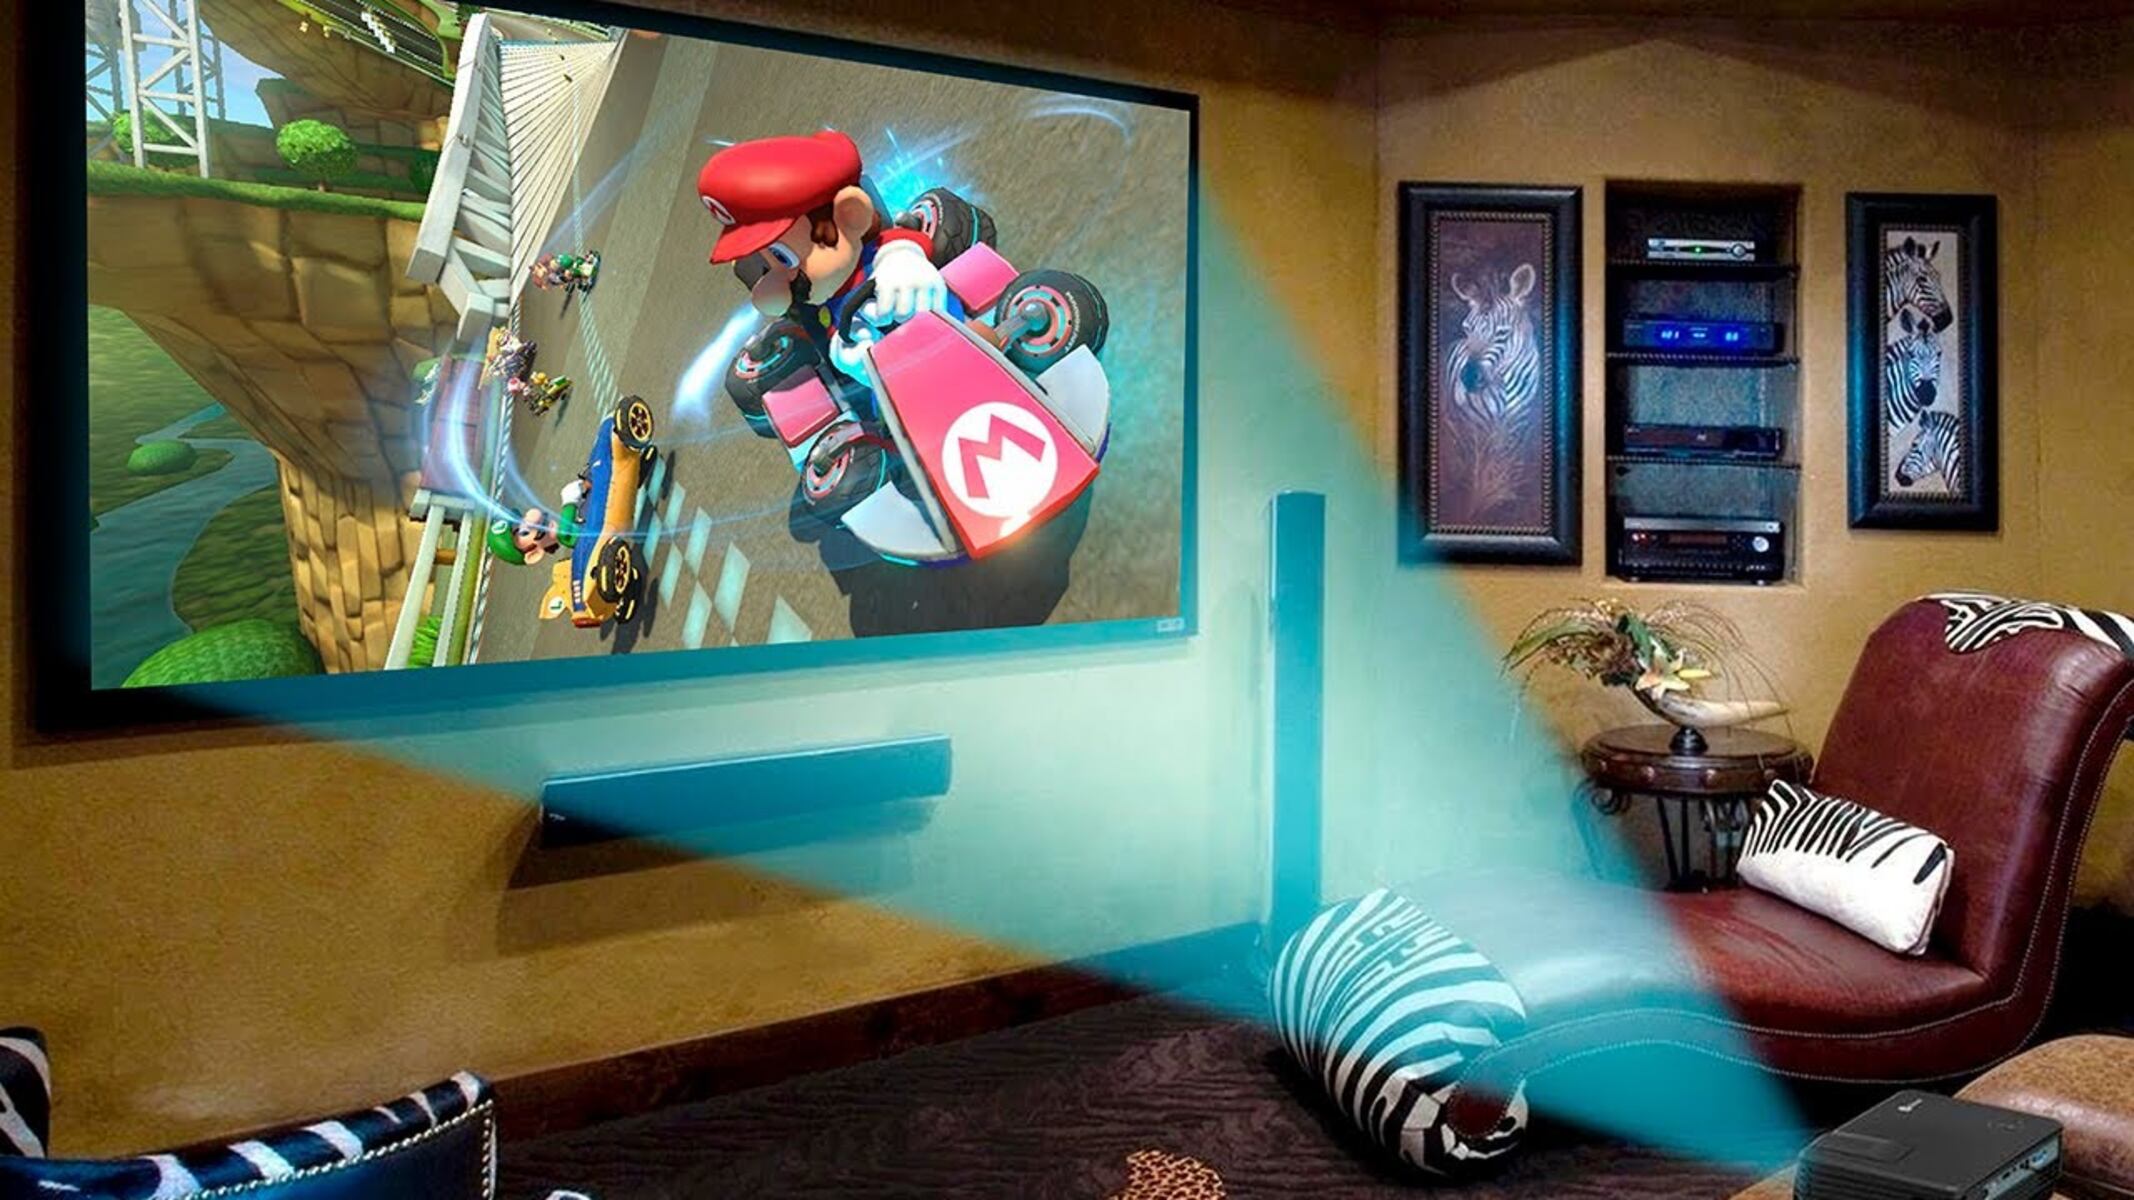
Whether you want to play Mario Kart with friends, explore the vast world of The Legend of Zelda, or challenge yourself with the latest Pokémon game, connecting your Nintendo Switch to a projector brings a whole new level of excitement. The larger screen size and enhanced visuals will make your gaming experience even more captivating.
Before we dive into the instructions, there are a few requirements you’ll need to check off the list to ensure a smooth connection between your Nintendo Switch and projector. Let’s take a look at what you’ll need.
Requirements
Before connecting your Nintendo Switch to a projector, make sure you have the following items:
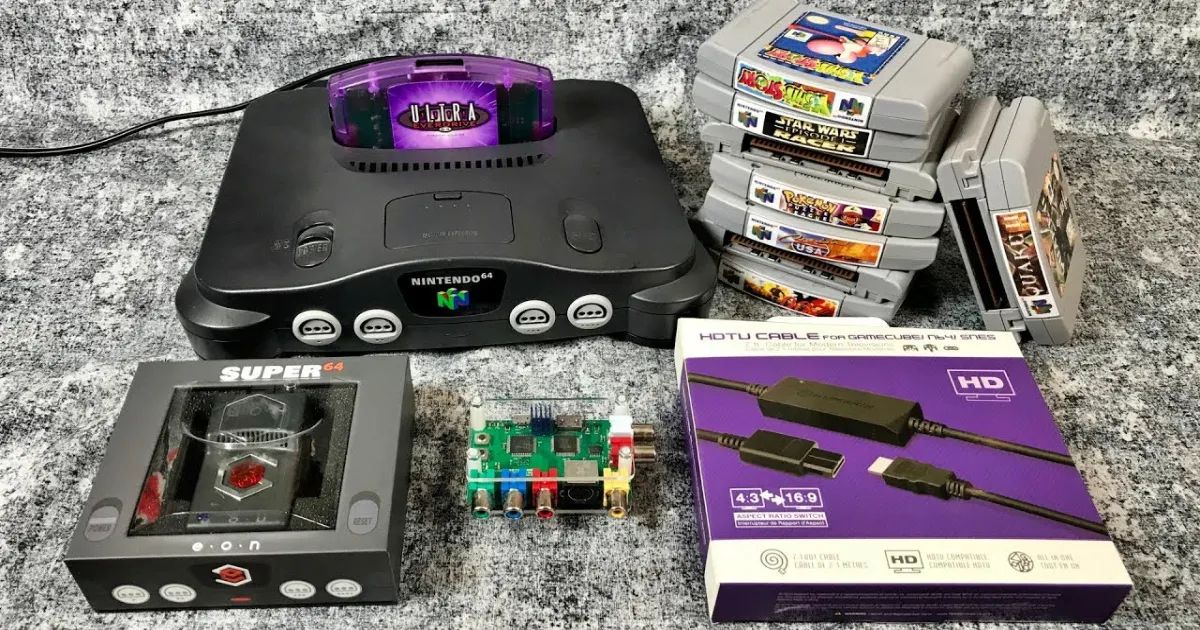
- A Nintendo Switch console: This is the main device you’ll be connecting to the projector. Ensure that your console is in working condition and has enough battery life or is connected to a power source.
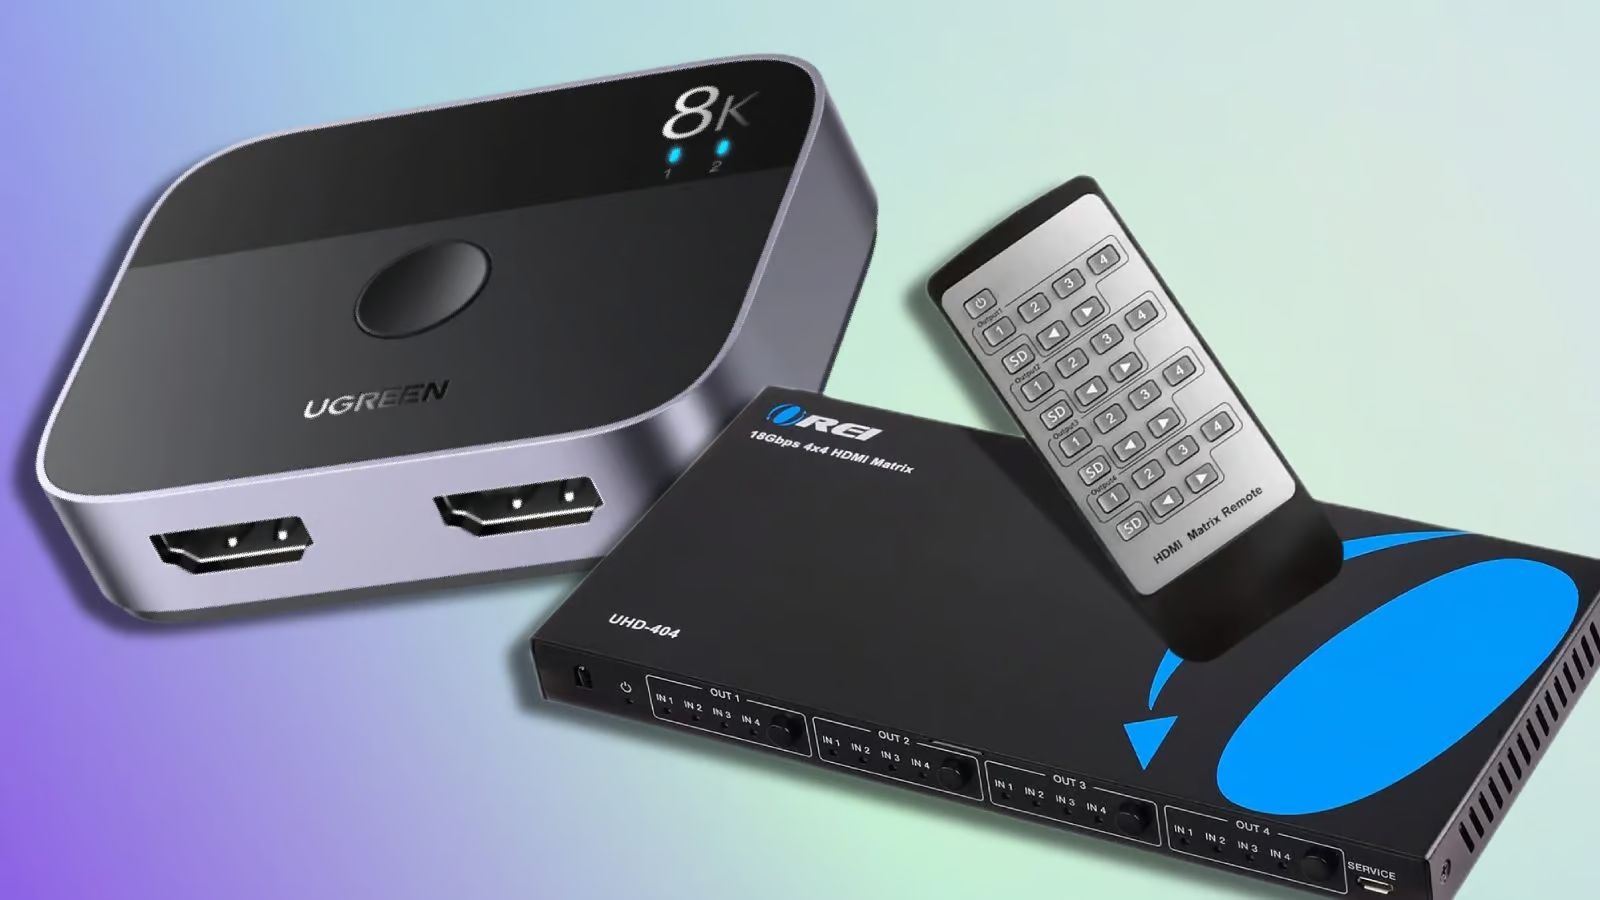
- A projector: You’ll need a projector that supports HDMI input. Check the specifications of your projector to ensure compatibility with the Nintendo Switch.
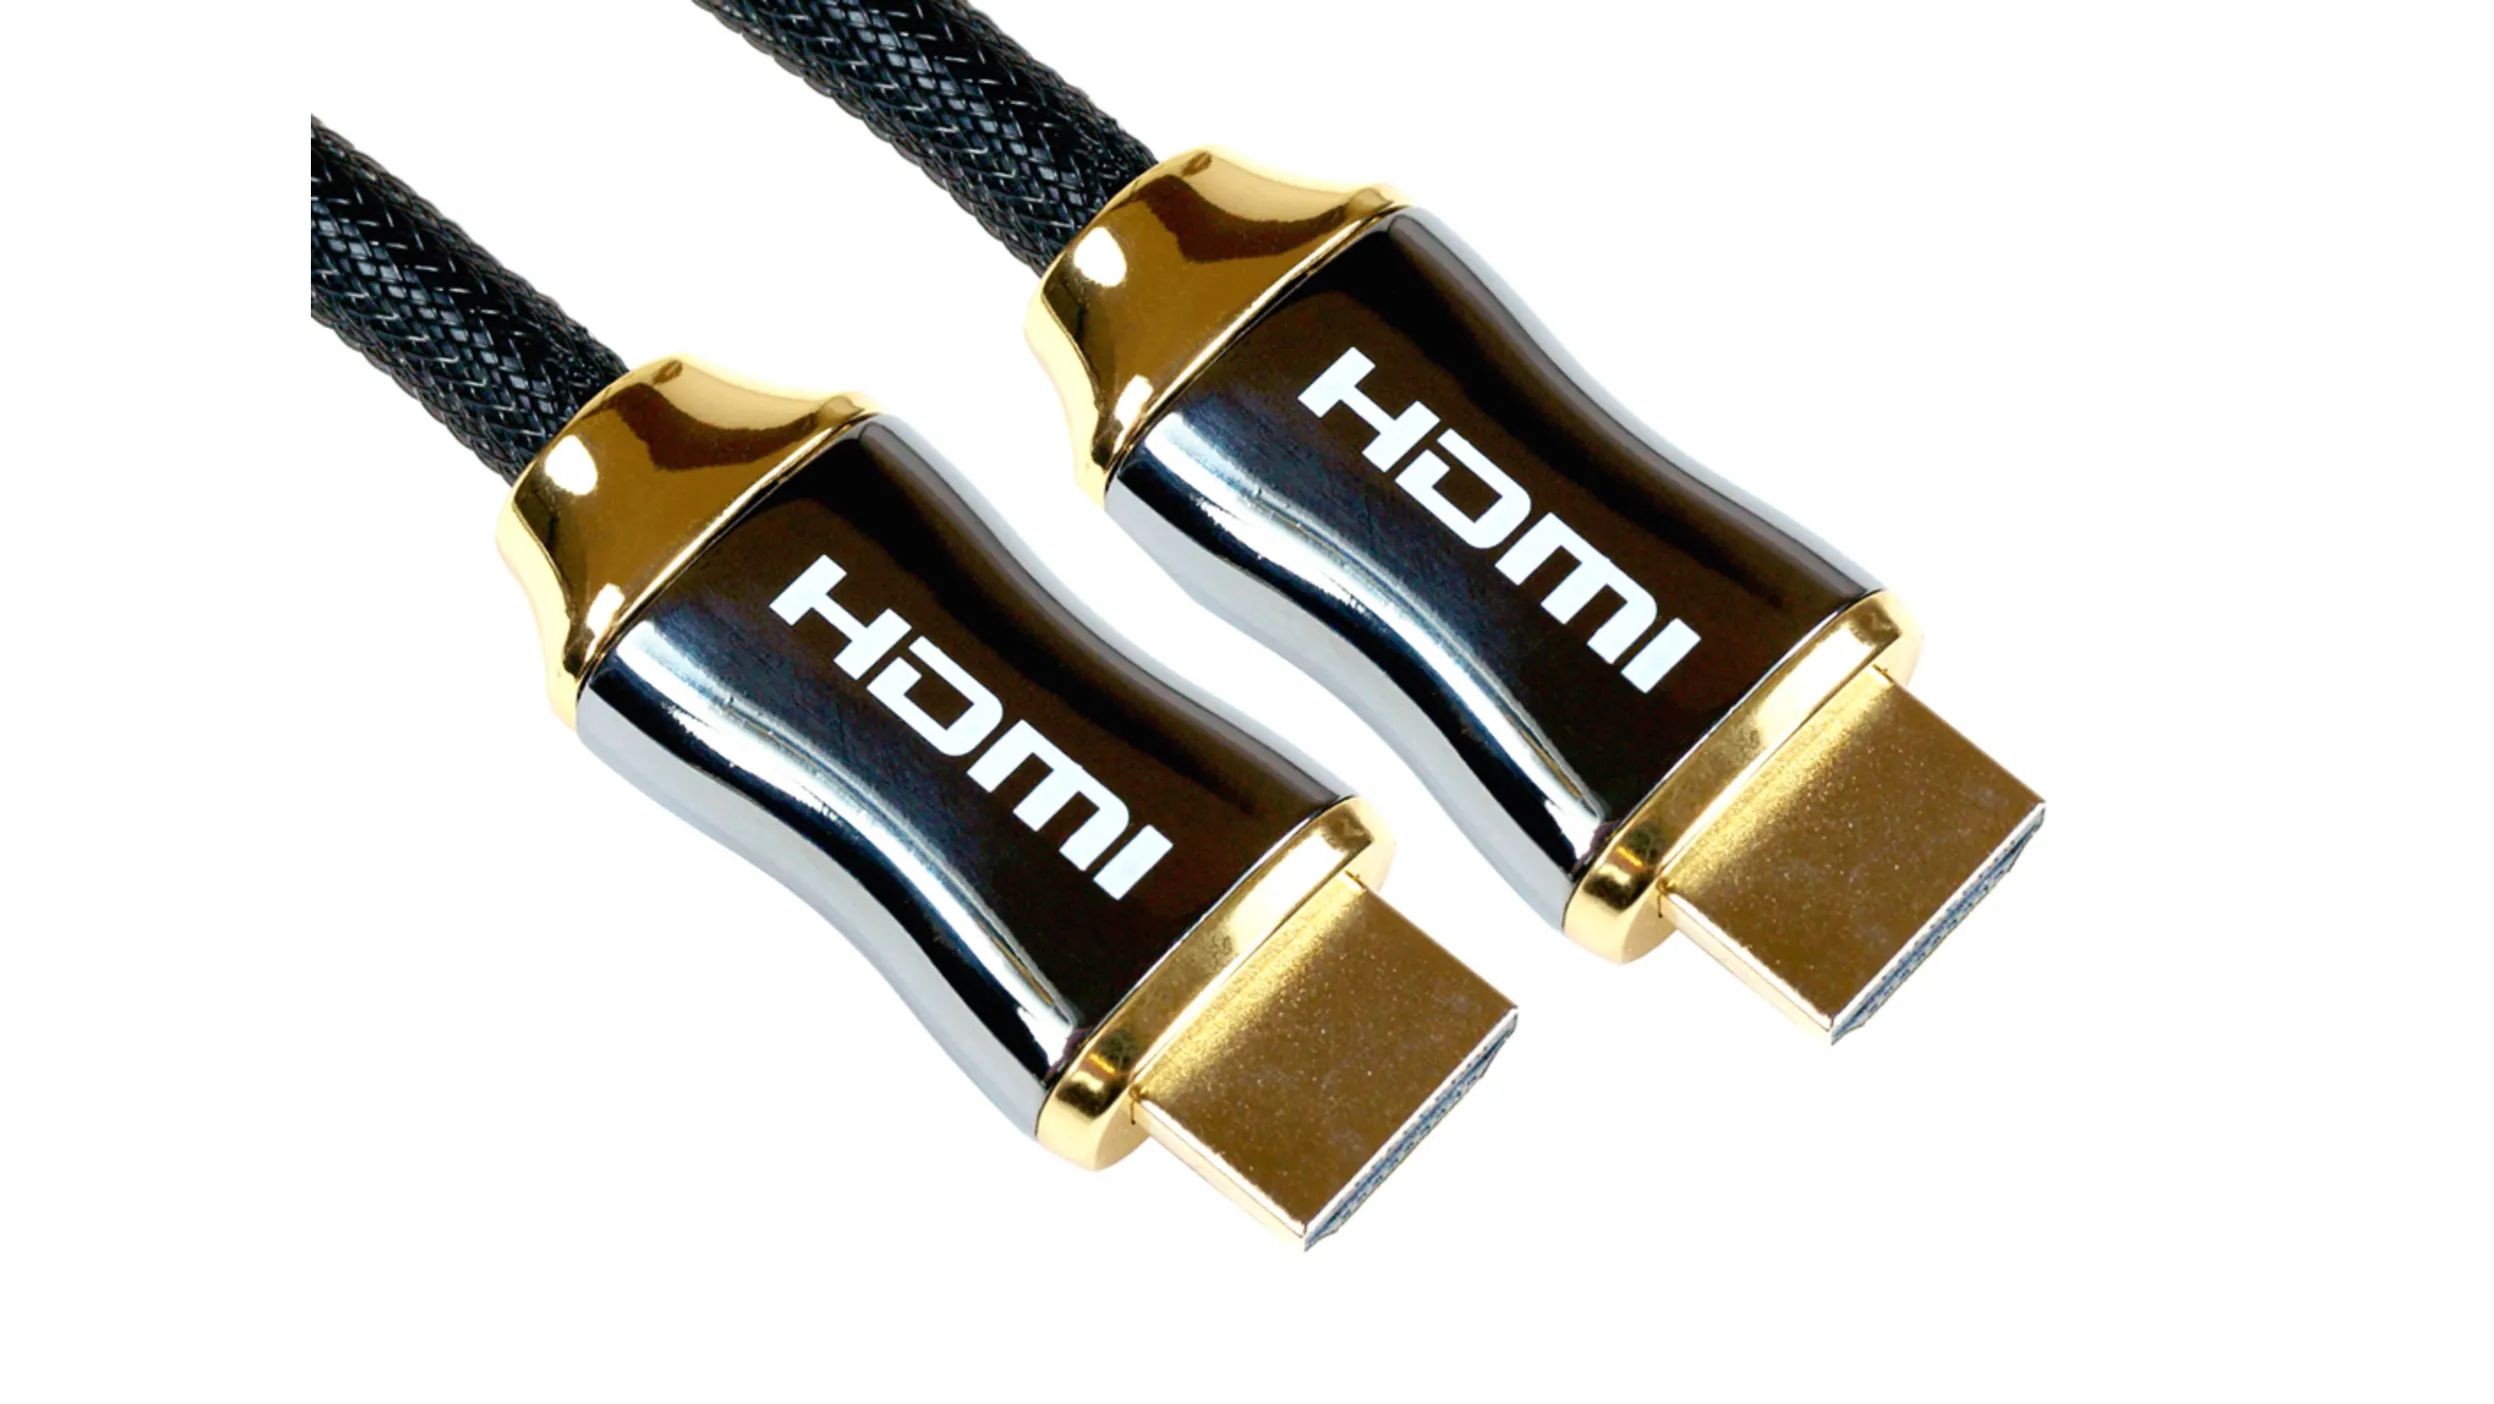
- An HDMI cable: The Nintendo Switch uses an HDMI connection to transmit both audio and video signals. Make sure you have an HDMI cable that can connect the console to the projector. It’s recommended to use a high-quality HDMI cable for optimal performance.
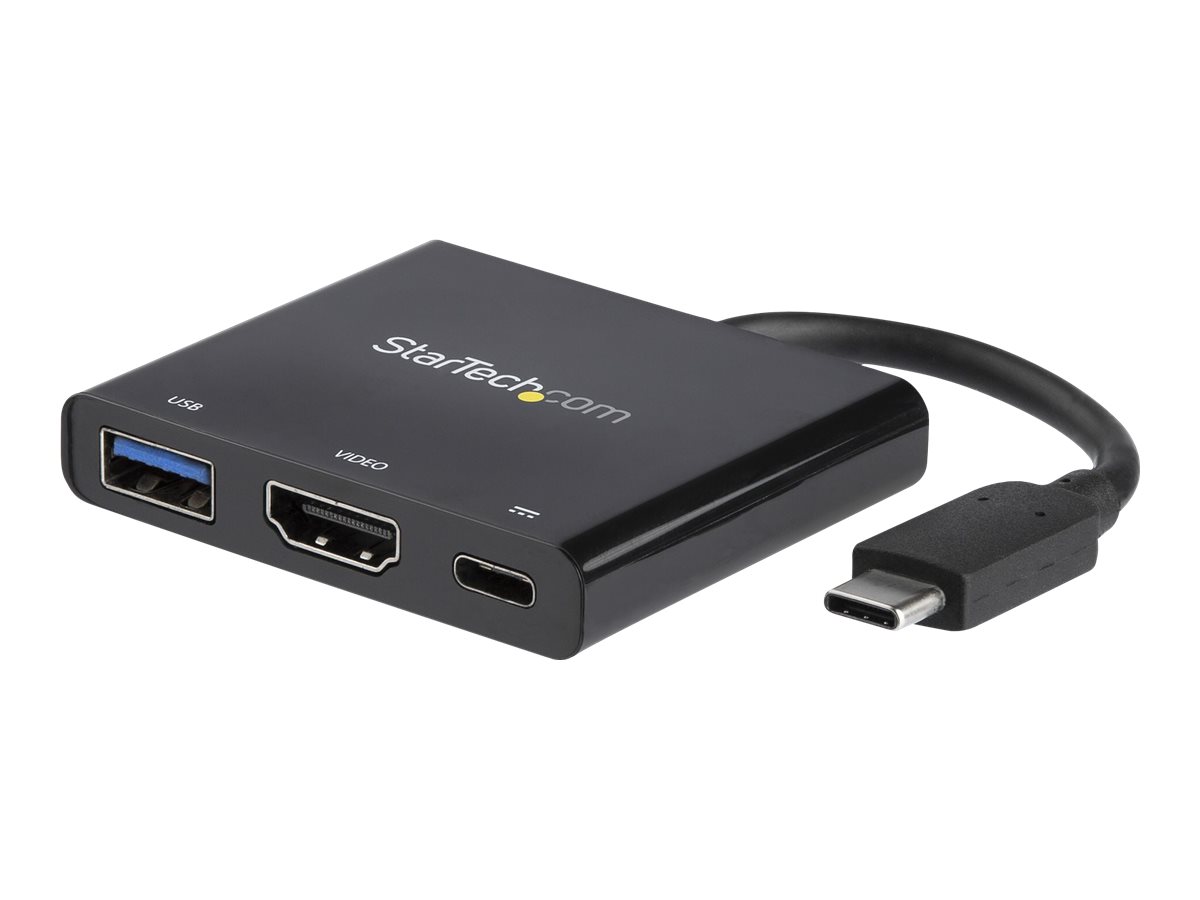
- An HDMI to USB-C adapter (if needed): Depending on the model of your Nintendo Switch, you may require an HDMI to USB-C adapter to connect the console to the projector. If your Switch has a USB-C port, you can skip this requirement.
- Power source: Ensure that your projector is connected to a power source. Depending on the model, projectors may require direct power or have a built-in battery.
- An audio system (optional): If you want to enjoy game sound through external speakers or a sound system, make sure you have the necessary audio cables or wireless connectivity options.
Once you have gathered all the necessary equipment, you’re ready to start connecting your Nintendo Switch to the projector. Let’s move on to the next section for step-by-step instructions.
Step 1: Setting up the Nintendo Switch
Before you can connect your Nintendo Switch to a projector, you need to ensure that the console is properly set up. Follow these steps to get your Switch ready:
- Connect the Nintendo Switch to a power source: Plug in the power adapter into the console’s charging port and connect the other end to a power outlet. This will ensure that your Switch has enough battery life or is continuously powered during gameplay.
- Power on the Nintendo Switch: Press the power button located on the top-left corner of the Switch. The console’s screen should light up, indicating that it has turned on.
- Detach the Joy-Con controllers (if applicable): If you’re using the Nintendo Switch in handheld mode, detach the Joy-Con controllers from the sides of the console by pressing the release buttons located on the back of each Joy-Con. For docked mode, you can leave the Joy-Con controllers attached to the console.
- Ensure the Nintendo Switch is in TV mode: If your Switch is in handheld mode, slide it into the Nintendo Switch dock. If you’re already in docked mode, ensure that the console’s HDMI cable is disconnected from the TV or any other display device.
- Verify the HDMI connection: Take the HDMI cable and connect one end to the HDMI port on the Nintendo Switch dock. Ensure that the cable is securely plugged in.
- Connect the other end of the HDMI cable to the projector: Locate an available HDMI input port on your projector and securely plug in the cable. Remember the HDMI input port number for the next step.
Now that your Nintendo Switch is properly set up, let’s move on to the next step, where we will connect the console to the projector.
Step 2: Connecting the Nintendo Switch to the Projector
Now that you have set up your Nintendo Switch, it’s time to connect it to the projector. Follow these steps:
- Turn on the projector: Ensure that your projector is powered on and ready to receive input signals.
- Select the correct input source on the projector: Using the projector’s remote control or the on-screen menu, select the HDMI input source that corresponds to the port you connected your Nintendo Switch to in the previous step. The projector should now be set to receive signals from the Switch.
- Power on the Nintendo Switch: Press the power button on the console to turn it on. If the Switch was already powered on during the previous step, proceed to the next step.
- Switch the display mode on the Nintendo Switch: On the console’s home screen, navigate to the “System Settings” option using the Joy-Con controllers or the touch screen. Select “TV Output” from the menu and choose “HDMI.” This will set the Nintendo Switch to output the display through the HDMI connection.
- Check the projector for the Nintendo Switch display: After a few moments, the projector should display the Nintendo Switch’s home screen or the game you have inserted into the console. If the screen remains blank, ensure that the HDMI cable is securely connected and that the correct input source is selected on the projector.
Once you have successfully connected your Nintendo Switch to the projector, you’re ready to move on to the next step, where we will adjust the display settings for optimal visuals.
Step 3: Adjusting the Display Settings
Now that your Nintendo Switch is connected to the projector, you may need to adjust the display settings for the best visual experience. Follow these steps:
- Access the Nintendo Switch settings: From the home screen, select the “System Settings” option.
- Navigate to the “TV Settings” menu: Scroll down and select the “TV Settings” option to access the display settings specifically for when your Switch is connected to a television or projector.
- Adjust the screen size and resolution: Depending on the capabilities of your projector, you may need to adjust the screen size and resolution to fit the projected image properly. Follow the on-screen instructions to make the necessary adjustments.
- Explore advanced display settings (optional): If desired, you can further customize the display settings, such as color balance, brightness, and sharpness, to suit your preferences. Experiment with these settings to find the optimal visual quality.
- Test the display settings: Once you have made the desired adjustments, exit the settings menu and navigate to a game or application to ensure that the visuals display correctly on the projector.
By adjusting the display settings, you can ensure that the visuals from your Nintendo Switch are optimized for your projector, resulting in a better gaming experience.
Now that you have adjusted the display settings, let’s move on to the next step, where we will configure the audio output to complete the setup.
Step 4: Configuring the Audio Output
After connecting your Nintendo Switch to the projector, it’s important to configure the audio output to ensure you can enjoy the game’s sound. Follow these steps:
- Check the audio capabilities of your projector: Determine if your projector has built-in speakers or audio output options. If your projector has speakers, you can skip to the next step. If not, you will need to connect external speakers or an audio system to enjoy sound while gaming.
- Connect the audio output: If your projector does not have built-in speakers, locate the audio output options on the projector. This could be a 3.5mm audio jack or an audio output port. Connect one end of an audio cable to the projector’s audio output and the other end to the corresponding audio input on your external speakers or audio system.
- Select the audio output on the Nintendo Switch: From the Nintendo Switch home screen, navigate to the “System Settings” option. Scroll down and select “TV Settings.” Choose the “Audio Output” option and select either “TV Speakers” if using the projector’s built-in speakers or “Line Out” if using external speakers or an audio system.
- Adjust the audio settings: Depending on your audio setup, you may need to adjust the volume levels on both the projector and the external speakers to achieve the desired sound balance. Refer to the user manuals of your projector and audio devices for specific instructions on adjusting the audio settings.
- Test the audio output: Launch a game or application on your Nintendo Switch and ensure that you can hear the sound through the projector’s speakers or your connected external speakers. Adjust the volume levels as necessary for the optimal gaming experience.
Configuring the audio output ensures that you can enjoy the immersive sound effects and music while playing games on your Nintendo Switch connected to the projector.
With the audio output properly set, let’s move on to the final step, where we will dive into the exciting part—enjoying the Nintendo Switch on the projector!
Step 5: Enjoying the Nintendo Switch on the Projector
Now that you have successfully connected and configured your Nintendo Switch with the projector, it’s time to enjoy gaming on the big screen! Follow these steps for an immersive gaming experience:
- Select a game to play: Choose your favorite game from the Nintendo Switch library or insert a game cartridge into the console. You can also explore the Nintendo eShop to download and play digital games.
- Ensure proper positioning of the projector: Adjust the position of the projector to optimize the screen size and alignment. Make sure the projected image is sharp, clear, and free from any distortions.
- Gather your friends or family: The larger screen size provided by the projector allows for a fun multiplayer gaming session. Invite your friends or family to join in on the gaming experience for some friendly competition or cooperative gameplay.
- Use the Joy-Con controllers or a compatible controller: Depending on the game, you can either use the detached Joy-Con controllers or connect a compatible controller to the Nintendo Switch. Find a comfortable and ergonomic setup that allows you to fully enjoy your gaming sessions.
- Play and have fun: Start playing your game on the Nintendo Switch and immerse yourself in the captivating world of gaming on the big screen. Enjoy the enhanced visuals, immersive sound, and larger-than-life experience that the projector provides.
With your Nintendo Switch connected to the projector and all the settings configured, get ready to have an incredible gaming experience right in the comfort of your own home.
Remember to take breaks during extended gaming sessions and ensure proper ventilation for both the Nintendo Switch and the projector to prevent overheating. Also, be mindful of any specific instructions or recommendations provided by the manufacturers of your Nintendo Switch, projector, and audio devices.
Congratulations! You have successfully connected your Nintendo Switch to a projector and are now ready to enjoy an enhanced gaming experience on the big screen. Have fun exploring new worlds, conquering challenges, and immersing yourself in the amazing games the Nintendo Switch has to offer!
Conclusion
Connecting your Nintendo Switch to a projector opens up a whole new world of gaming possibilities. By following the steps outlined in this guide, you can enjoy your favorite games on a larger screen and create an immersive gaming experience right in your own home.
We started by ensuring that you have all the necessary requirements for connecting your Nintendo Switch to a projector. From the console and projector to the HDMI cable and audio setup, having the right equipment is crucial for a seamless connection.
We then walked you through the step-by-step process of setting up the Nintendo Switch, connecting it to the projector, adjusting the display and audio settings, and finally, enjoying the gaming experience on the big screen. Remember to adjust the screen size, resolution, and audio output to optimize the visuals and sound quality.
Playing games on the Nintendo Switch with a projector offers a truly immersive experience, especially when paired with a multiplayer session with friends or family. The larger screen size and enhanced visuals can transport you into the world of your favorite games.
However, it’s important to take breaks, ensure proper ventilation for your devices, and follow any manufacturer recommendations to maintain the longevity and performance of your Nintendo Switch and projector.
We hope this guide has been helpful in assisting you with connecting your Nintendo Switch to a projector. Now, grab your Joy-Con controllers, find a comfortable spot, and enjoy the stunning visuals and immersive gameplay that gaming on the big screen provides.
Get ready to level up your gaming experience and have a blast with your Nintendo Switch and projector!