Introduction
Connecting your iPhone to your MacBook Pro allows you to seamlessly transfer files, sync data, and perform various tasks across both devices. Whether you need to transfer photos, music, or documents, establishing a connection between your iPhone and MacBook Pro is essential. In this article, we will guide you through the steps to connect your iPhone to your MacBook Pro effortlessly.
Apple devices are known for their seamless integration, and connecting your iPhone to your MacBook Pro is no exception. By establishing a connection, you can access your iPhone’s files, backup your data, and even manage your device directly from your MacBook Pro. Whether you want to import photos from your iPhone to your MacBook Pro or sync your contacts and calendars, this guide will provide all the information you need.
Before we begin, it’s important to note that the instructions in this guide are specifically for connecting an iPhone to a MacBook Pro. The process may vary slightly if you are using a different model of MacBook or a different Apple device, such as an iPad or iPod Touch. However, the general steps should remain the same.
Now that you’re ready to connect your iPhone to your MacBook Pro, let’s dive into the step-by-step process. Follow the instructions carefully to ensure a successful connection and enjoy the seamless synchronization between your devices.
Step 1: Check for Compatibility
Before you begin connecting your iPhone to your MacBook Pro, it’s important to ensure that both devices are compatible with each other. Here are a few things to check:
- Check the iOS version: Make sure that your iPhone is running on the latest version of iOS. To check this, go to “Settings” on your iPhone, tap on “General,” and then select “Software Update.” If there is an available update, install it before proceeding.
- Check the macOS version: Similarly, ensure that your MacBook Pro is running on the latest version of macOS. Click on the Apple menu in the top-left corner of your screen, select “About This Mac,” and then click on “Software Update” to check for any available updates and install them.
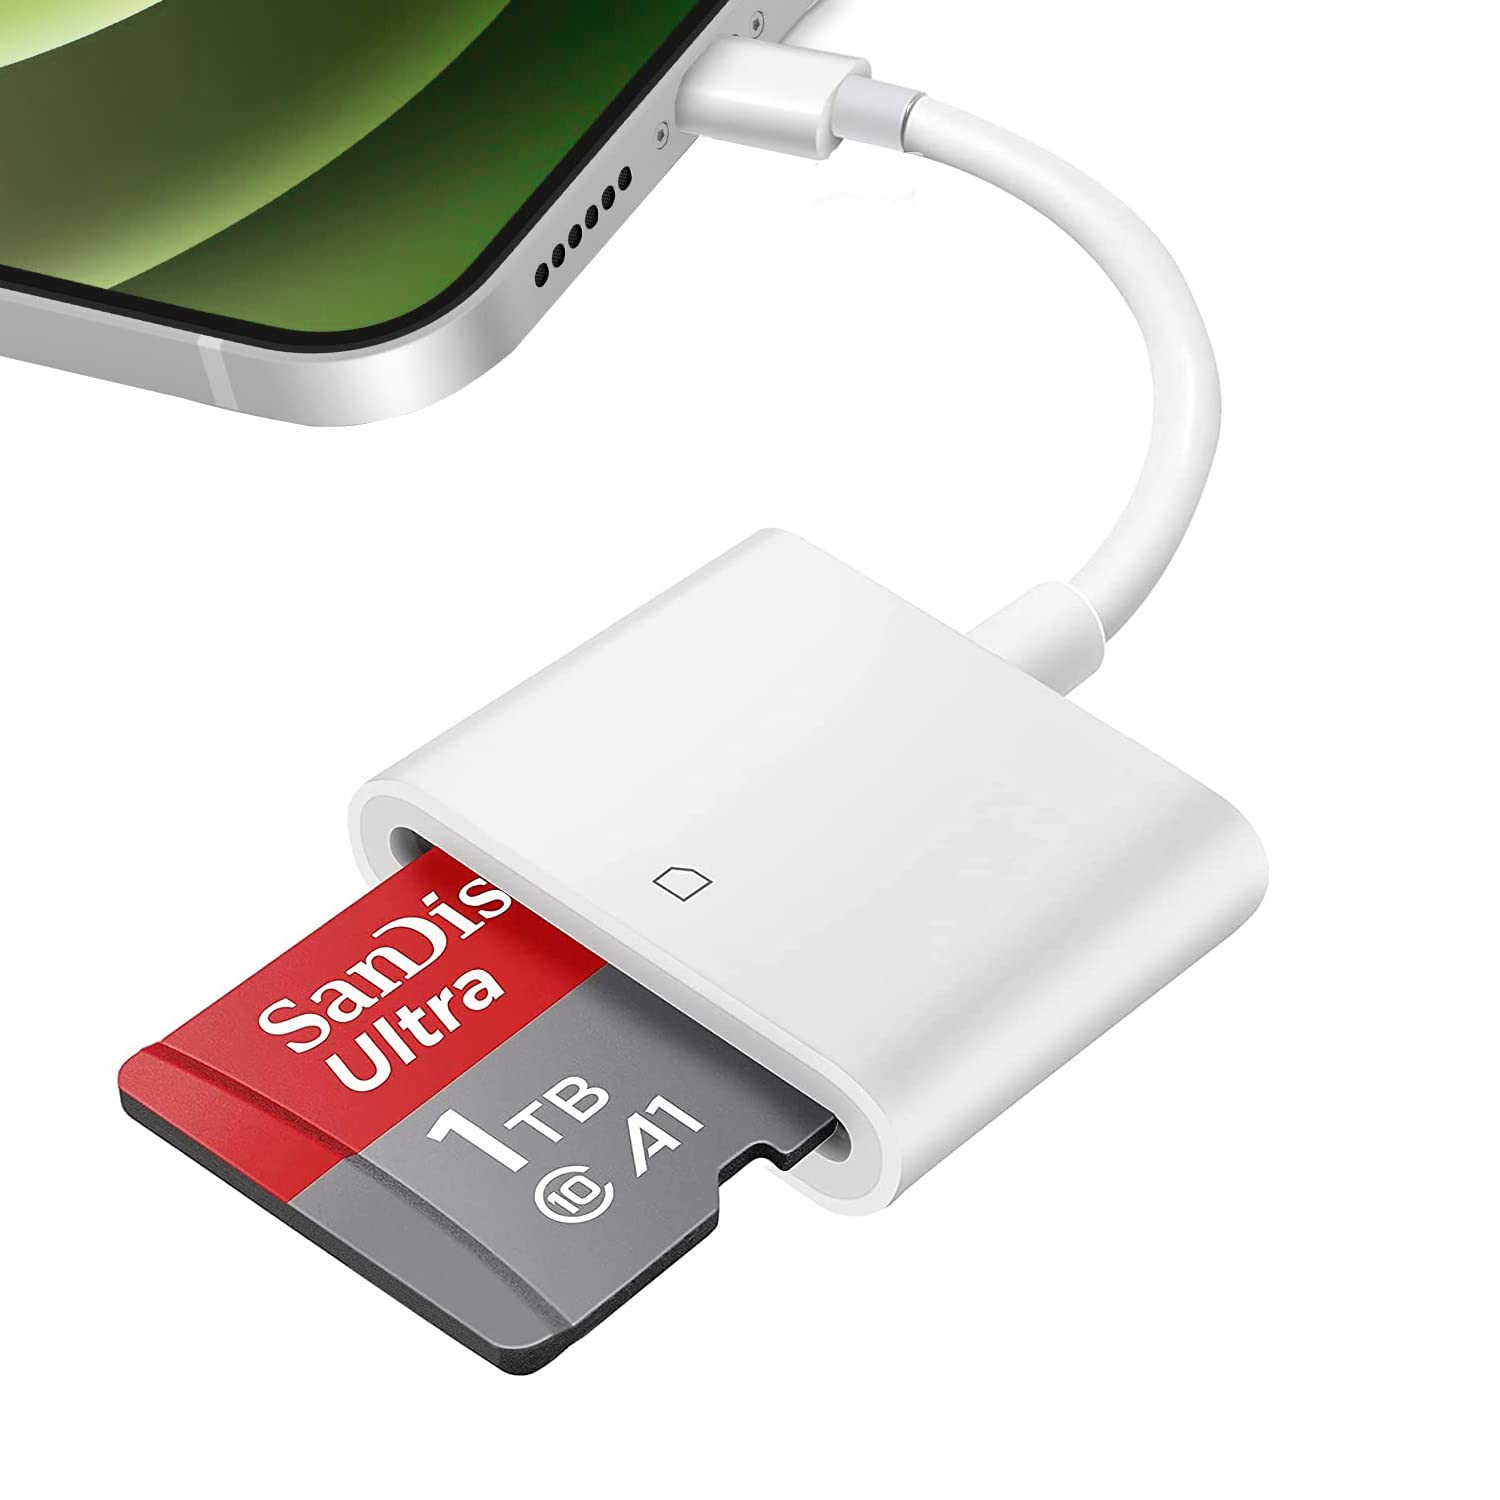
- Verify the Lightning port: Check if your iPhone has a Lightning port. Newer models of iPhones typically use a Lightning port for charging and data transfer. If you have an older iPhone model with a 30-pin connector, you will need to use an appropriate adapter to connect it to your MacBook Pro.
- Unlock your iPhone: Before connecting your iPhone to your MacBook Pro, ensure that your iPhone is unlocked and the screen is active. This will allow your MacBook Pro to recognize and establish a connection with your iPhone.
By checking for compatibility, you can avoid any potential issues that may arise during the connection process. Now that you’ve confirmed the compatibility between your iPhone and MacBook Pro, let’s move on to the next step: updating the software on both devices.
Step 2: Update Software on Both Devices
In order to ensure a smooth and seamless connection between your iPhone and MacBook Pro, it’s crucial to have the latest software updates installed on both devices. Updating the software will not only provide you with the latest features and improvements but also fix any potential bugs or compatibility issues that could hinder the connection process.
Here’s how to update the software on both your iPhone and MacBook Pro:
- Update iPhone software:
- Connect your iPhone to a stable Wi-Fi network.
- Go to “Settings” on your iPhone.
- Tap on “General” and then select “Software Update”.
- If an update is available, click on “Download and Install”.
- Follow the on-screen instructions and enter your passcode, if prompted.
- Wait for the update to download and install, and then restart your iPhone if necessary.
- Update MacBook Pro software:
- Connect your MacBook Pro to a stable Wi-Fi network.
- Click on the Apple menu in the top-left corner of your screen.
- Select “System Preferences” and then click on “Software Update”.
- If an update is available, click on “Update Now”.
- Enter your administrator password, if prompted.
- Wait for the update to download and install, and then restart your MacBook Pro if necessary.
Updating the software on both your iPhone and MacBook Pro ensures that you have the most stable and up-to-date versions, thereby optimizing your device’s performance and compatibility. Once you have completed this step, you’re ready to move on to the next step: connecting your iPhone to your MacBook Pro using a USB cable.
Step 3: Connect iPhone to MacBook Pro with USB Cable
Now that you have updated the software on both your iPhone and MacBook Pro, it’s time to physically connect the two devices using a USB cable. This connection will allow you to establish a direct communication between your iPhone and MacBook Pro.
Follow these steps to connect your iPhone to your MacBook Pro:
- Get a Lightning to USB cable: Ensure that you have a Lightning to USB cable, which typically comes with your iPhone. If you don’t have one, you can purchase it separately from an Apple Store or other authorized retailers.
- Connect the Lightning end to your iPhone: Take the Lightning end of the cable and insert it into the Lightning port at the bottom of your iPhone. Ensure that the connection is secure.
- Connect the USB end to your MacBook Pro: Take the USB end of the cable and insert it into an available USB port on your MacBook Pro. It’s usually located on the left or right side of the device.
- Wait for the connection to establish: Once both ends of the cable are securely connected, your MacBook Pro should recognize the iPhone and establish the connection automatically. You may see a prompt on your iPhone asking you to “Trust This Computer”.
By connecting your iPhone to your MacBook Pro with a USB cable, you are setting up a direct link between the two devices. This connection allows you to transfer files, sync data, and perform various tasks seamlessly. Now that the iPhone is connected and trusted, let’s proceed to the next step: accessing the iPhone on your MacBook Pro.
Step 4: Trust the Connection
After connecting your iPhone to your MacBook Pro using a USB cable, it’s important to establish trust between the two devices. Trusting the connection ensures that your MacBook Pro can securely access and interact with your iPhone’s data and settings.
Follow these steps to trust the connection between your iPhone and MacBook Pro:
- On your iPhone, you may see a prompt asking you to “Trust This Computer”.
- Tap on “Trust” to give permission for your MacBook Pro to access your iPhone’s data.
- If you don’t see the trust prompt on your iPhone, unlock your iPhone and go to the home screen.
- A dialog box may appear on your MacBook Pro, indicating that your iPhone is connected and needs to be trusted.
- Click on “Trust” on the dialog box to establish trust between your iPhone and MacBook Pro.
Establishing trust between your iPhone and MacBook Pro is essential for secure data transfer and device synchronization. Once the trust has been established, you can move on to the next step: accessing your iPhone on your MacBook Pro and exploring its contents.
Step 5: Access iPhone on MacBook Pro
Once you have established trust between your iPhone and MacBook Pro, you can easily access your iPhone’s contents and manage them directly from your MacBook Pro. This allows you to transfer files, backup data, and perform various tasks seamlessly.
Here are the steps to access your iPhone on your MacBook Pro:
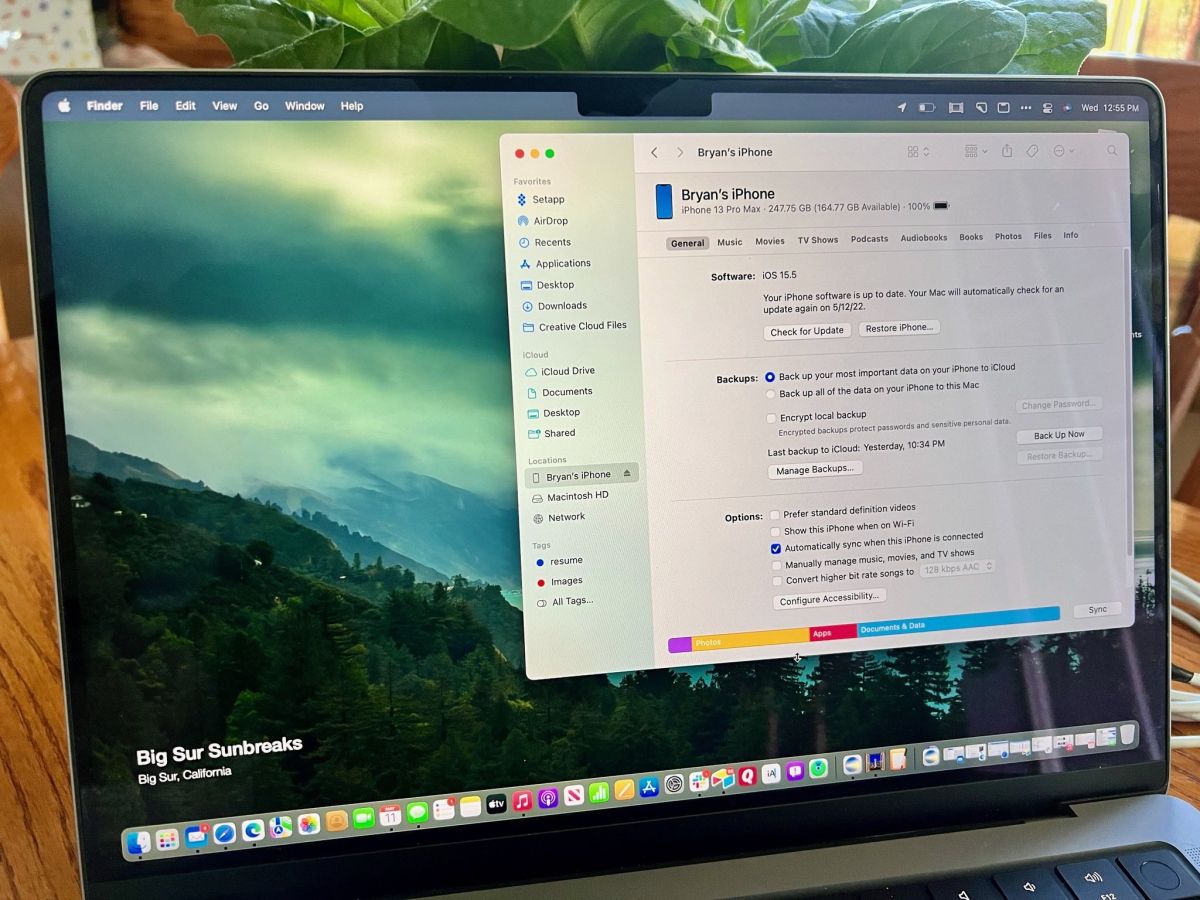
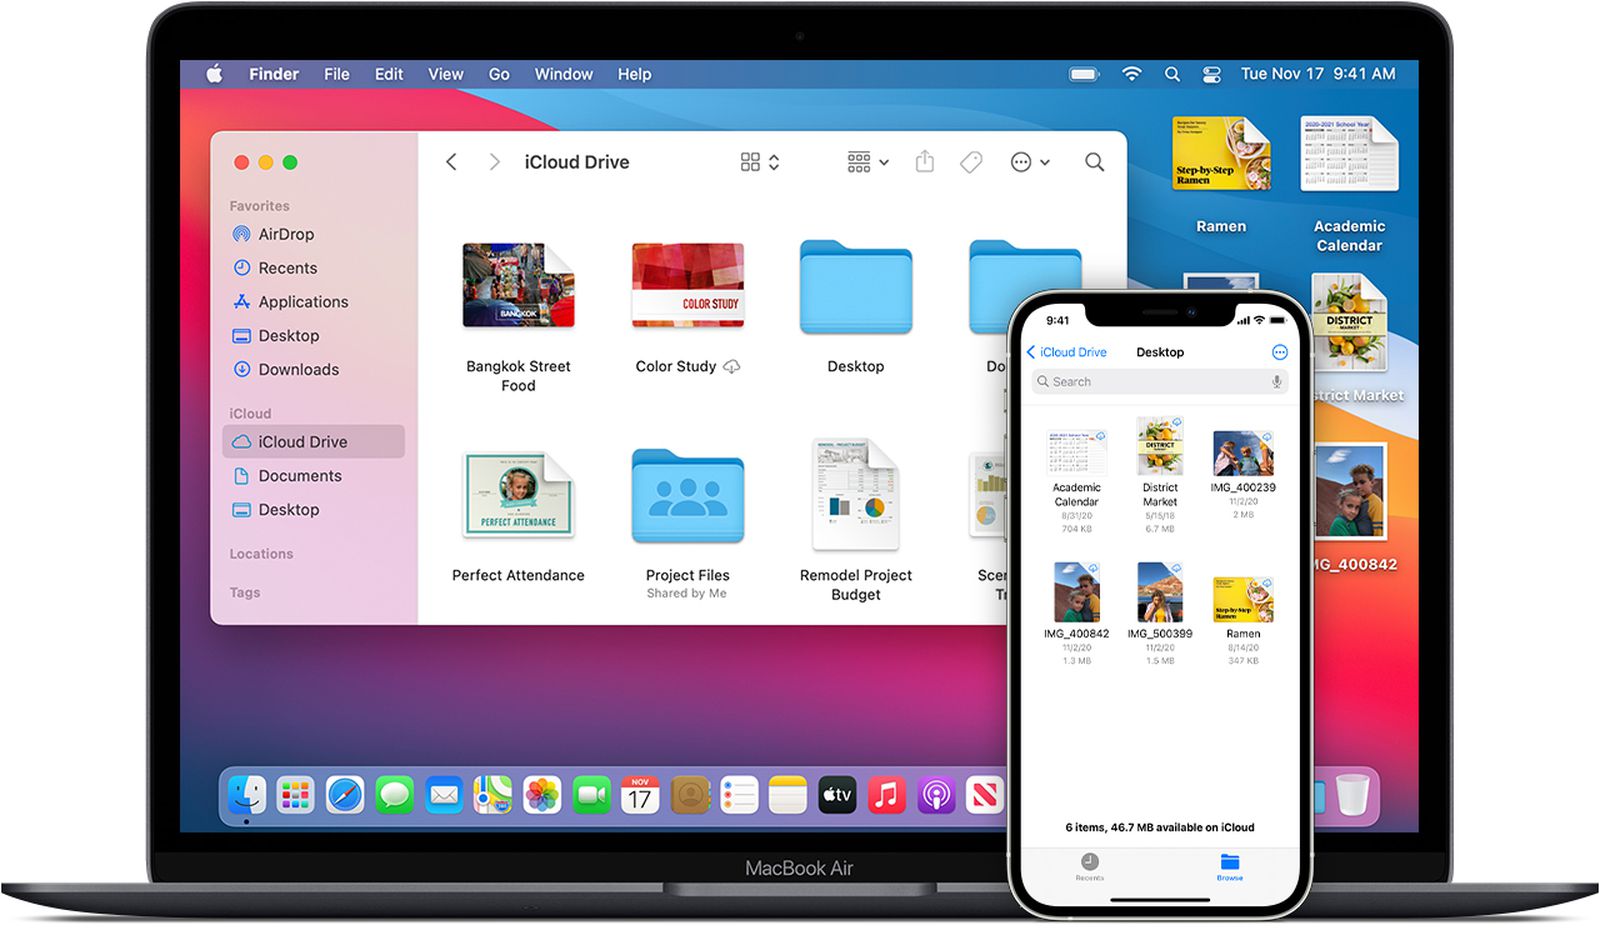
- On your MacBook Pro, click on the “Finder” icon in the Dock or select “Finder” from the top-left corner of the screen.
- In the sidebar under “Locations”, you should see your iPhone listed. Click on its name to access your iPhone’s contents.
- You can now navigate through the different folders on your iPhone, such as Photos, Music, and Documents.
- To transfer files from your iPhone to your MacBook Pro, simply drag and drop them from your iPhone’s folder to a desired location on your MacBook Pro.
By accessing your iPhone on your MacBook Pro, you can easily manage and organize your files, backup important data, and perform tasks efficiently. Whether you want to import photos, transfer music, or backup your contacts, you can do it all from your MacBook Pro.
Now that you know how to access your iPhone on your MacBook Pro, let’s continue to the next step: transferring files between your iPhone and MacBook Pro.
Step 6: Transfer Files Between iPhone and MacBook Pro
Transferring files between your iPhone and MacBook Pro is a breeze once you have established the connection and accessed your iPhone’s contents on your MacBook Pro. Whether it’s photos, music, documents, or any other type of file, you can easily move them back and forth between the two devices.
Here’s how you can transfer files between your iPhone and MacBook Pro:
- On your MacBook Pro, open a Finder window and navigate to your iPhone’s folder as mentioned in the previous step.
- Within your iPhone’s folder, you can browse through various categories, such as Photos, Music, and Documents.
- To transfer files from your iPhone to your MacBook Pro, simply select the files you want to transfer and drag them to the desired location on your MacBook Pro.
- If you want to transfer files from your MacBook Pro to your iPhone, locate the files on your MacBook Pro and drag them into the relevant folder on your iPhone. For example, if you want to transfer music, locate the music files on your MacBook Pro and drag them to the Music folder on your iPhone.
- Depending on the size and number of files being transferred, it may take a few moments for the transfer to complete. Once done, the files will be available on the destination device.
By transferring files between your iPhone and MacBook Pro, you can easily backup important data, share files with others, or simply free up space on your iPhone. This seamless file transfer capability makes it convenient to manage and organize your files across both devices.
Now that you know how to transfer files between your iPhone and MacBook Pro, let’s move on to the final step: safely disconnecting your iPhone from your MacBook Pro.
Step 7: Disconnect iPhone from MacBook Pro
After you have successfully transferred files and completed the tasks between your iPhone and MacBook Pro, it is important to properly disconnect your iPhone from your MacBook Pro to ensure the safety of your data and devices.
Follow these steps to safely disconnect your iPhone from your MacBook Pro:
- On your MacBook Pro, click on the “Finder” icon in the Dock or select “Finder” from the top-left corner of the screen.
- In the sidebar under “Locations”, locate your iPhone’s name and click on the eject icon next to it. Alternatively, you can also right-click on your iPhone’s name and select “Eject”.
- Wait for your iPhone to be safely ejected, and you will see its name disappear from the sidebar.
- On your iPhone, you can now safely unplug the USB cable from the Lightning port to disconnect it from your MacBook Pro.
It is essential to follow these steps and safely disconnect your iPhone to prevent data loss or damage to your devices. Abruptly removing the USB cable without properly ejecting your iPhone can lead to file corruption or other issues.
Now that you have safely disconnected your iPhone from your MacBook Pro, you can confidently use both devices independently or reconnect them whenever needed.
Conclusion
Connecting your iPhone to your MacBook Pro opens up a world of possibilities for seamless file transfer, data synchronization, and device management. By following the steps outlined in this guide, you can easily establish a connection between your iPhone and MacBook Pro and enjoy the benefits of their integration.
We started by checking the compatibility of your devices and ensuring that both the iPhone and MacBook Pro have the latest software updates. Then, we connected the two devices using a USB cable and established trust between them. Once the connection was established, we accessed the iPhone on the MacBook Pro and explored its contents. We learned how to transfer files between the iPhone and MacBook Pro effortlessly. Lastly, we emphasized the importance of safely disconnecting the iPhone from the MacBook Pro to protect your data and devices.
By following these steps, you can seamlessly transfer photos, music, documents, and other files between your iPhone and MacBook Pro. You can also backup your iPhone, sync your data, and perform various tasks with ease.
Remember, technology is constantly evolving, and new features and methods of connection may emerge. Stay up-to-date with the latest updates and explore additional resources to make the most out of your iPhone and MacBook Pro connection.
Now that you have learned how to connect your iPhone to your MacBook Pro, go ahead and enjoy the convenience and efficiency of managing your devices in tandem!