Introduction
Home security cameras have become an essential tool in protecting our homes and providing peace of mind. With the advancement in technology, it is now possible to connect these cameras to our smartphones, allowing us to monitor our homes remotely. This means you can keep an eye on your property, loved ones, or pets from anywhere in the world, as long as you have an internet connection.
Connecting your home security camera to your phone may seem like a daunting task, but with the right guidance, it can be a straightforward process. In this article, we will provide a step-by-step guide on how to connect your home security camera to your phone, enabling you to stay vigilant and in control of your home’s security.
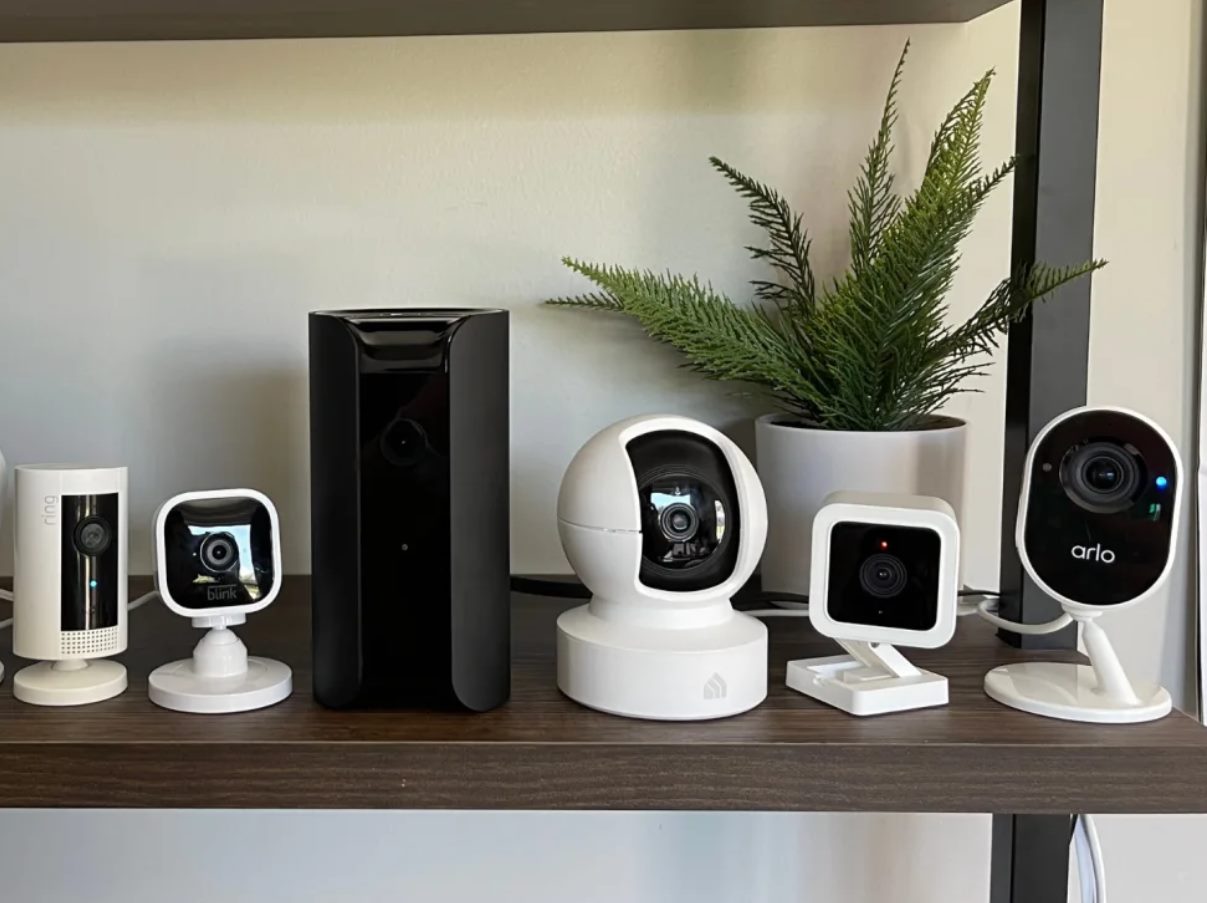
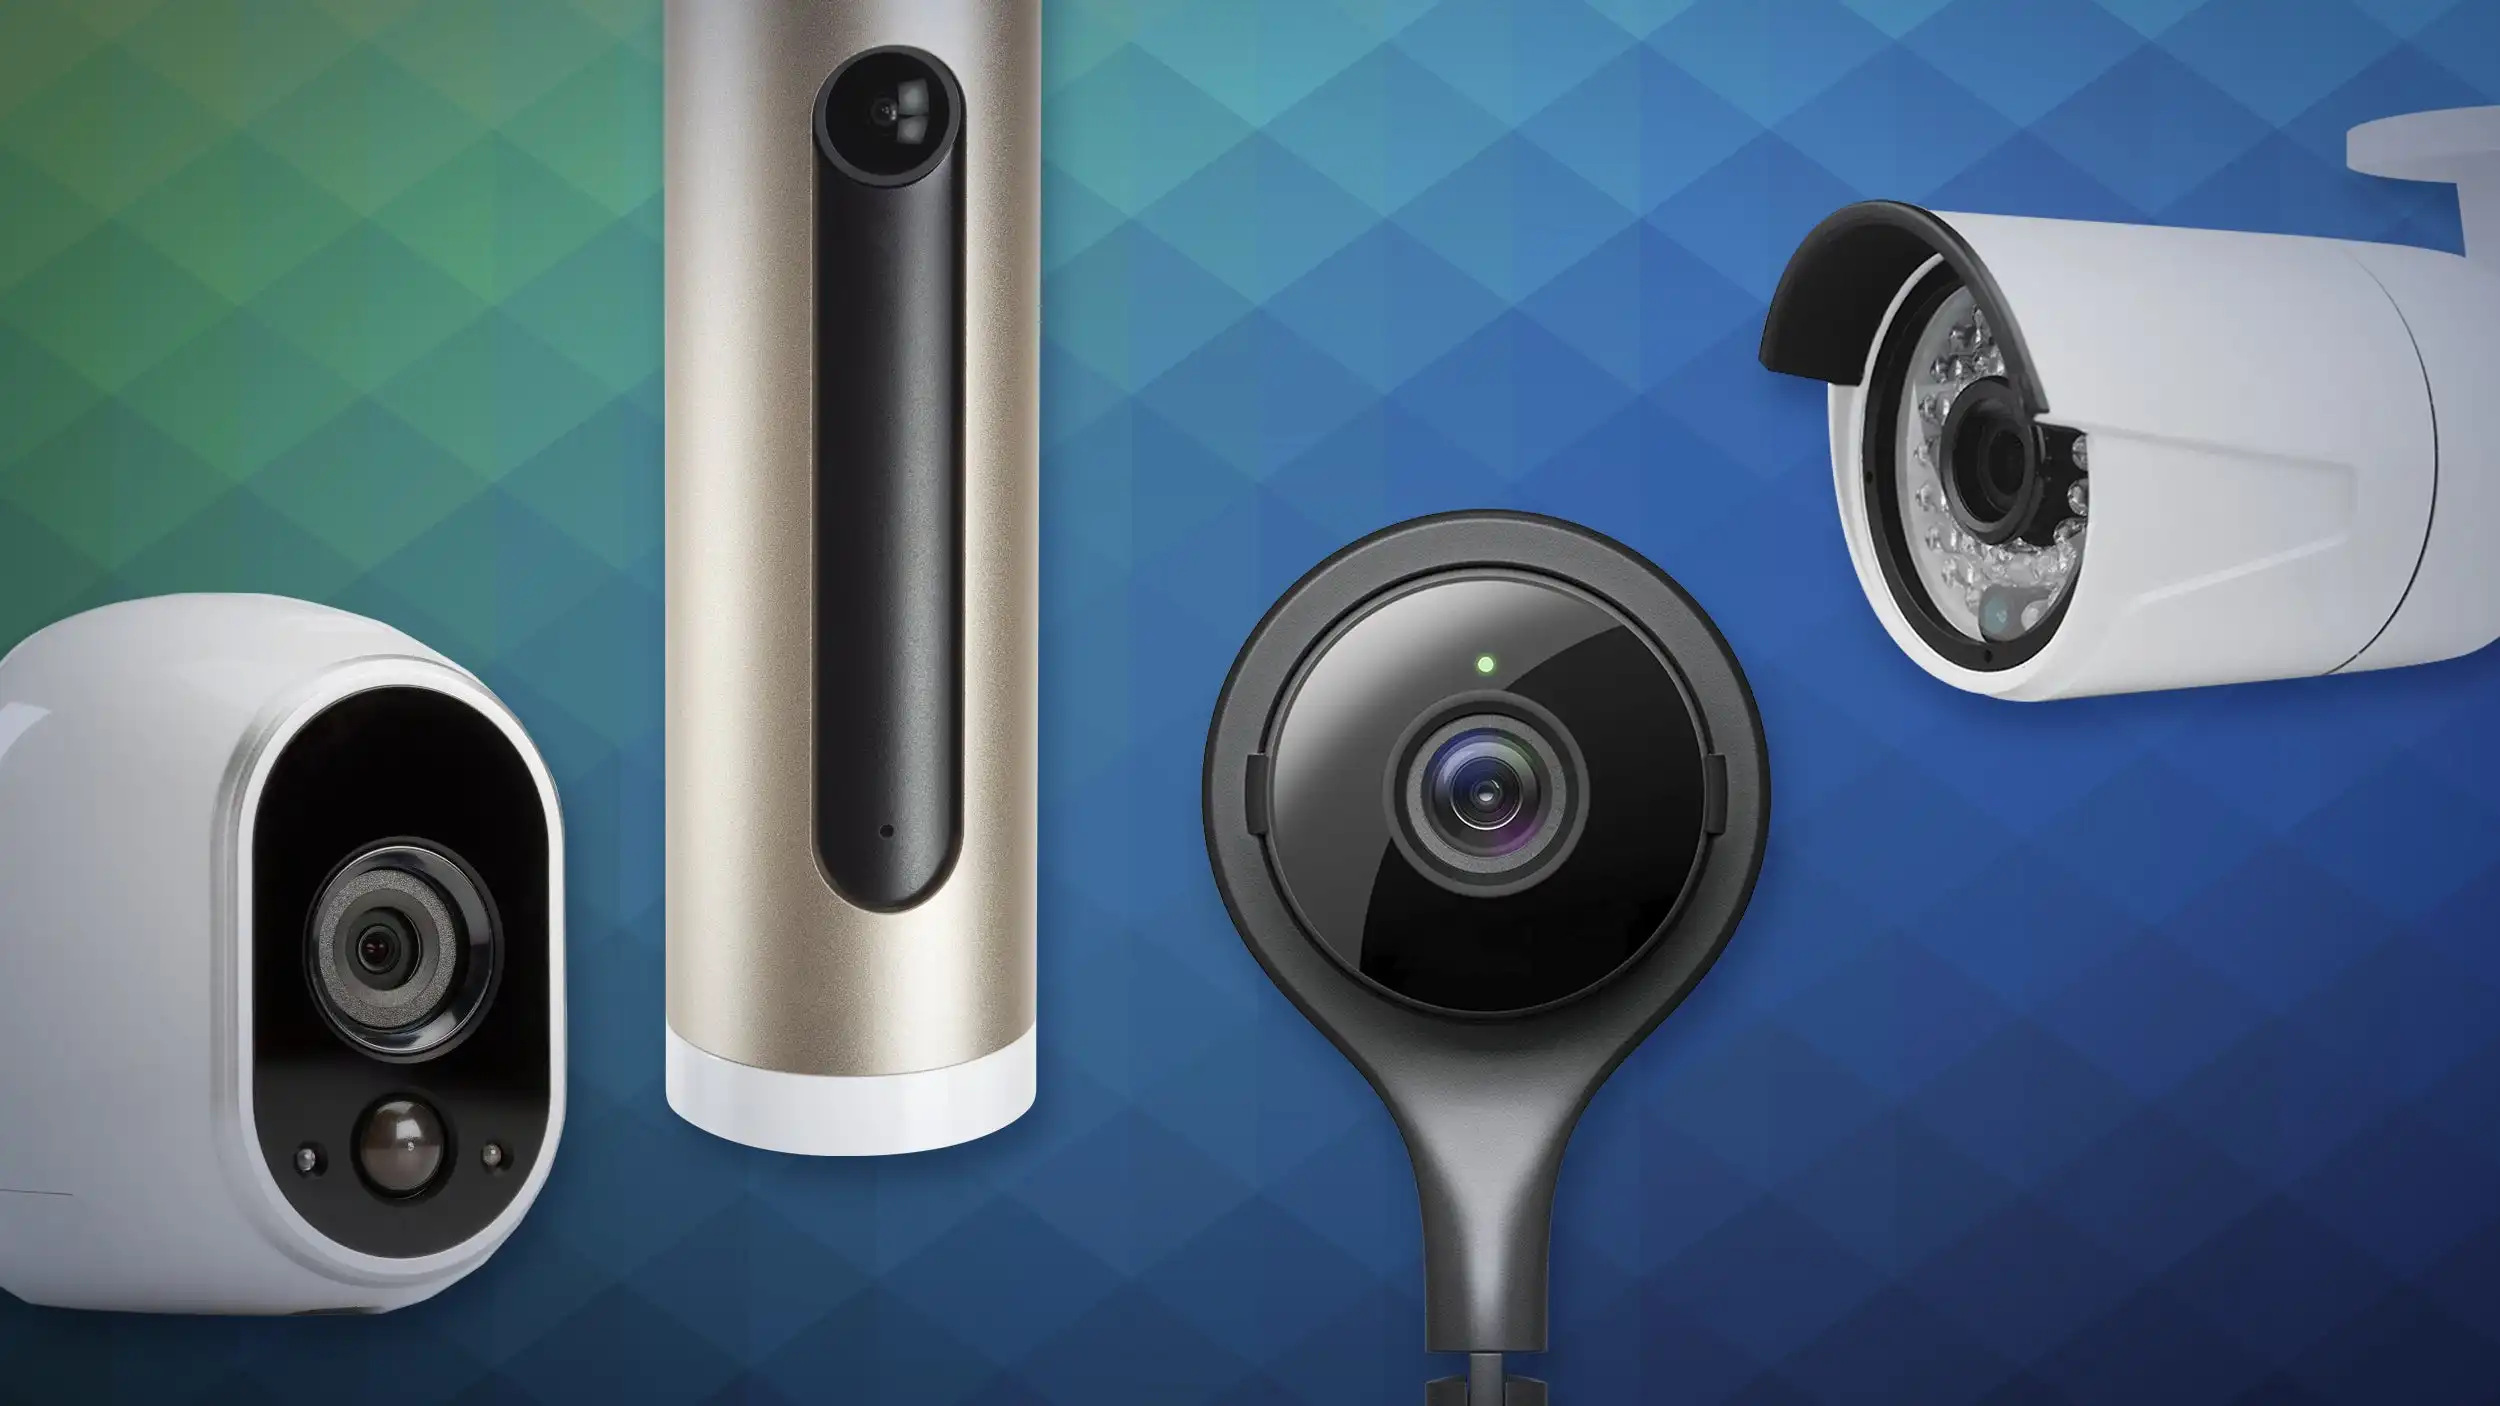
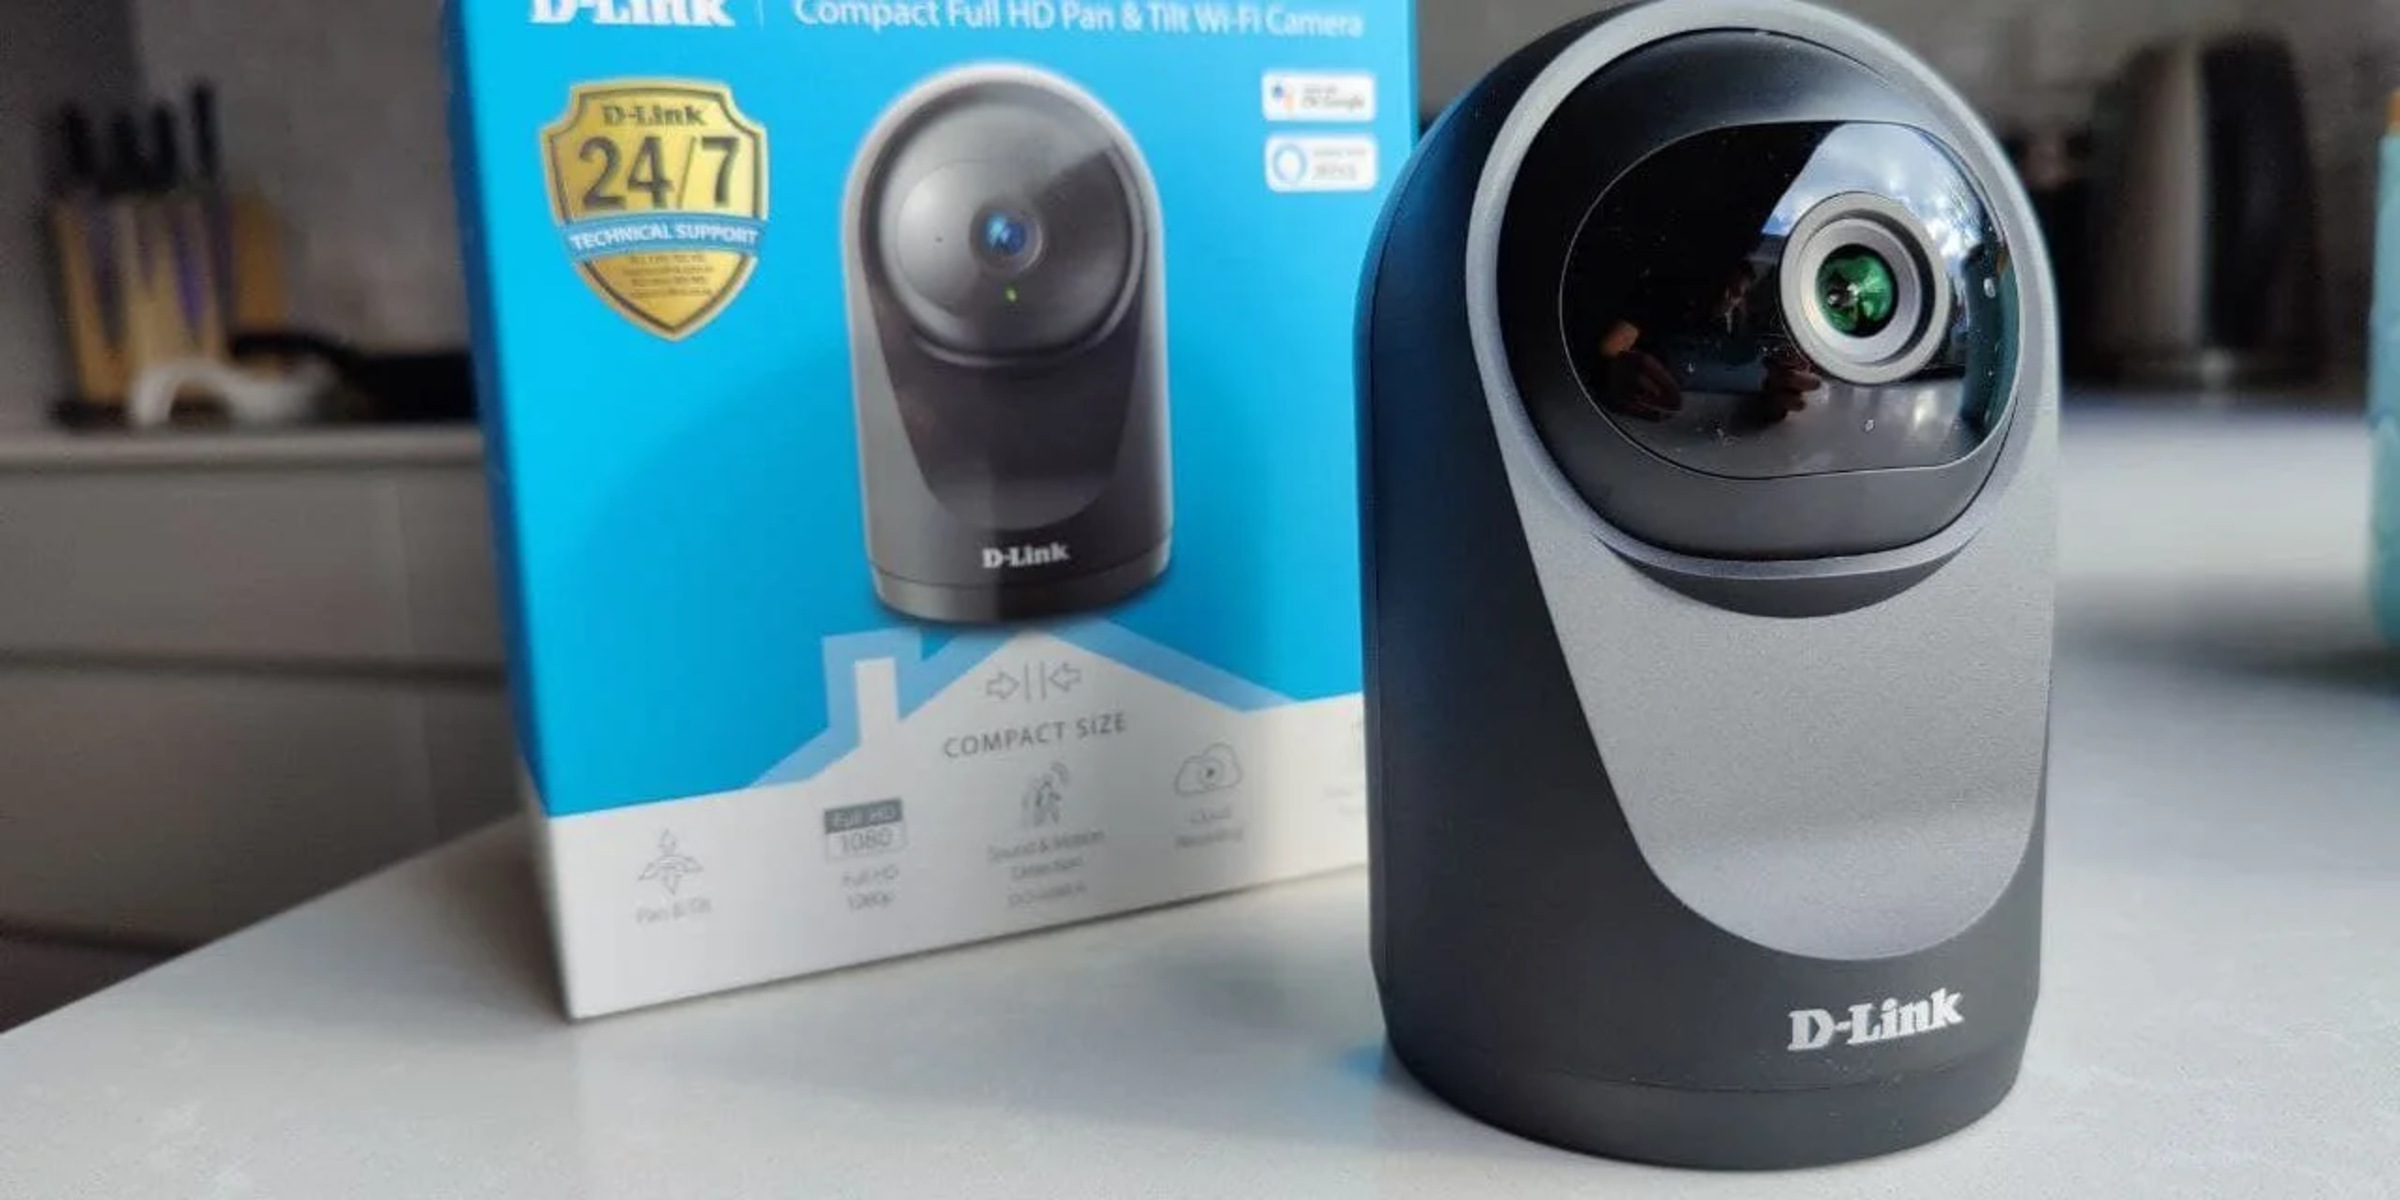
Before we dive into the technicalities, it is important to note that there are various types of home security cameras available, each with its own features and capabilities. It is crucial to choose a camera that suits your specific needs, whether it’s indoor or outdoor surveillance, high-resolution video, or advanced motion detection. Consider factors such as camera placement, night vision, and weather resistance when making your selection.
Once you have chosen the right home security camera, you can proceed with the process of connecting it to your phone. There are different methods of connecting a security camera to a phone, including Wi-Fi, Bluetooth, and cellular data. The method you choose will depend on your camera model and personal preferences.
In the following sections, we will guide you through the step-by-step process of setting up and connecting your home security camera to your phone. By the end of this article, you will be able to access your security camera’s live feed, receive motion detection alerts, and have peace of mind knowing that your home is protected.
Step 1: Choosing the Right Home Security Camera
Choosing the right home security camera is the first and most crucial step in setting up your home surveillance system. With a wide range of options available in the market, it’s important to consider your specific needs and requirements.
Before making a purchase, think about the area you want to monitor. If you’re looking to cover a large outdoor space, consider a weatherproof camera with a wide viewing angle and night vision capabilities. On the other hand, if you want to monitor indoor areas such as your living room or nursery, an indoor camera with high-resolution video and two-way audio may be more suitable.
Another important factor to consider is the camera’s storage options. Some cameras store footage locally on an SD card, while others offer cloud storage solutions. Determine what storage option works best for you, considering factors like cost, accessibility, and storage capacity.
Motion detection is another feature to look for in a home security camera. Cameras with advanced motion sensors can send instant alerts to your phone when any movement is detected, ensuring you stay alerted to any potential threats.
One important consideration is the camera’s connectivity options. Some cameras use Wi-Fi to connect to your home network, while others rely on ethernet cables. Determine which connectivity method works best for your setup and ensure that your camera is compatible with your home’s internet connection.
Lastly, consider the brand and reputation of the security camera manufacturer. Look for cameras from trusted brands that offer reliable customer support, regular software updates, and a good warranty policy.
By carefully considering these factors, you can choose a home security camera that fits your needs and provides the level of protection you desire. Taking the time to select the right camera ensures a seamless integration with your phone and a more robust and effective home security system.
Step 2: Understanding the Different Methods of Connecting to Your Phone
When it comes to connecting your home security camera to your phone, there are different methods available, depending on the camera model and your personal preferences. Understanding these methods will help you choose the one that suits your needs. Let’s explore some common connection methods:
1. Wi-Fi: Many home security cameras support Wi-Fi connectivity, allowing you to connect them to your home network wirelessly. With Wi-Fi, the camera communicates with your phone through your home’s Wi-Fi router. This method provides flexibility and convenience, as you can access your camera’s live feed and settings from anywhere within the range of your Wi-Fi network.
2. Bluetooth: Some cameras use Bluetooth technology to establish a connection between the camera and your phone. Bluetooth offers a secure and reliable connection, but keep in mind that the range is usually limited to a few meters. It is often used for quick and easy setup and configuration.
3. Cellular Data: Certain cameras have built-in cellular connectivity, allowing them to connect to your phone via a cellular network. This method ensures that you can access your camera’s feed even when you don’t have Wi-Fi coverage. However, keep in mind that cellular data plans may incur additional costs.
4. Cloud-based Services: Some camera models offer cloud-based services that enable you to access your camera remotely via the internet. These services usually require a subscription and provide additional features such as cloud storage, motion detection alerts, and the ability to access your camera’s recordings from anywhere.
Understanding the different connection methods will help you choose the one that suits your needs and preferences. Ensure that your home security camera supports the desired connection method before making a purchase. This will ensure a seamless integration and a hassle-free setup process.
Step 3: Setting Up the Security Camera
Now that you have chosen the right home security camera and understood the different connection methods, it’s time to set up the camera itself. Follow these steps to ensure a smooth and successful installation:
1. Choose the optimal location: Select a strategic location for your security camera based on your monitoring needs. Consider factors such as the area you want to cover, visibility, and accessibility to power and internet connections.
2. Mount the camera: Depending on the type of camera you have, you might need to mount it on a wall, ceiling, or other surfaces. Follow the manufacturer’s instructions to securely install the camera in the desired location.
3. Connect the camera to power: Ensure that the camera is properly connected to a power source. This can be done by plugging the camera into a nearby electrical outlet or using a power adapter included with the camera.
4. Connect to the internet: If your camera supports Wi-Fi connectivity, make sure it is connected to your home network. Follow the manufacturer’s instructions to connect the camera to your Wi-Fi router using the provided credentials.
5. Adjust camera settings: Once the camera is powered and connected to the internet, use the manufacturer’s app or a web interface to customize camera settings. This may include adjusting video quality, setting up motion detection, configuring recording schedules, and enabling notifications.
6. Test the camera: After configuring the camera settings, perform a test to ensure everything is working properly. Check the live feed on your phone to see if the camera is capturing and transmitting video as expected.
By following these steps, you can effectively set up your security camera for optimal performance. Take your time during the installation process to ensure everything is done correctly. Once the camera is set up, you’ll be ready to connect it to your phone and access the live feed remotely.
Step 4: Downloading and Installing the Compatible App
To connect your home security camera to your phone, you need to download and install the compatible app provided by the camera manufacturer. This app acts as the interface between your phone and the camera, allowing you to access and control the camera’s features. Follow these steps to get the app up and running:
1. Identify the compatible app: Check the user manual or the camera manufacturer’s website to find out the name of the app that is compatible with your camera model. Note that different manufacturers may have different apps for their cameras.
2. Go to the app store: Open the app store on your phone, whether it’s the Apple App Store for iOS devices or the Google Play Store for Android devices.
3. Search for the app: Use the search function within the app store to find the compatible app by entering the app’s name or the camera manufacturer’s name.
4. Download and install the app: Once you’ve found the app, tap on the “Download” or “Install” button to begin the download process. The app will then be installed on your phone.
5. Open the app: After the installation is complete, locate the app on your phone’s home screen or app drawer and open it. Follow any initial setup instructions provided by the app.
6. Create an account (if required): Some camera apps may require you to create an account to log in and access the camera’s features. Follow the app’s instructions to create an account or sign in if you already have an account.
7. Connect the camera: Once you’re logged into the app, follow the on-screen instructions to connect the camera to the app. This usually involves scanning a QR code or entering the camera’s unique identifier.
8. Complete the setup: After the camera is successfully connected to the app, you may be prompted to customize further settings, such as enabling motion detection, adjusting video quality, or setting up notifications. Follow the app’s instructions to complete the setup process.
By downloading and installing the compatible app on your phone, you’ll have the necessary tool to connect and control your home security camera. Make sure to keep the app updated to benefit from the latest features and security patches provided by the manufacturer.
Step 5: Pairing the Camera with Your Phone
Once you have downloaded and installed the compatible app for your home security camera, the next step is to pair the camera with your phone. This pairing process establishes the connection between the camera and your phone, enabling you to access the camera’s live feed and control its settings. Follow these steps to successfully pair the camera with your phone:
1. Launch the app: Open the app on your phone by tapping on the app icon.
2. Log in: If the app requires you to log in, enter your account credentials and sign in. If you don’t have an account, follow the app’s instructions to create one.
3. Select the camera: Once you’re logged into the app, select the option to add a new camera or device. The exact steps may vary depending on the app’s interface, but there is usually a clearly designated button or menu option for this.
4. Follow the app’s pairing instructions: The app will guide you through the pairing process, which typically involves scanning a QR code or entering a unique identifier for the camera. Follow the on-screen instructions provided by the app.
5. Ensure proper Wi-Fi or network connection: During the pairing process, make sure your phone is connected to the same Wi-Fi network that your camera is connected to. This is necessary for a successful pairing and communication between the camera and your phone.
6. Wait for the pairing confirmation: Once you have completed the pairing process, wait for the app to confirm that the camera has been successfully paired with your phone. This confirmation may be in the form of a pop-up message or a notification within the app.
7. Test the connection: To ensure that the pairing was successful, open the live feed feature in the app and check if the camera’s video feed appears on your phone’s screen. Use the app’s features to control the camera and verify that everything is working as expected.
By following these steps, you can easily pair your home security camera with your phone. It’s essential to carefully follow the instructions provided by the app to ensure a successful pairing and establish a reliable connection between the camera and your phone.
Step 6: Configuring the Camera Settings on Your Phone
Now that you have successfully paired your home security camera with your phone, it’s time to configure the camera settings to personalize your monitoring experience. The camera settings allow you to customize various features and functions according to your preferences. Here’s how you can configure the camera settings on your phone:
1. Open the app: Launch the app on your phone by tapping on the app icon.
2. Access the camera settings: Look for the settings menu within the app. The location of the settings menu may vary depending on the app’s interface, but it is typically accessible through an icon or a navigation menu.
3. Explore the available settings: Once you’re in the settings menu, take the time to explore the various options available. Some common settings you may find include video quality, motion detection sensitivity, recording options, notification preferences, and privacy settings.
4. Adjust the video quality: Depending on your camera’s capabilities, you may have the option to adjust the video resolution and quality. Higher settings provide clearer and more detailed video, but keep in mind that this may use more bandwidth and storage.
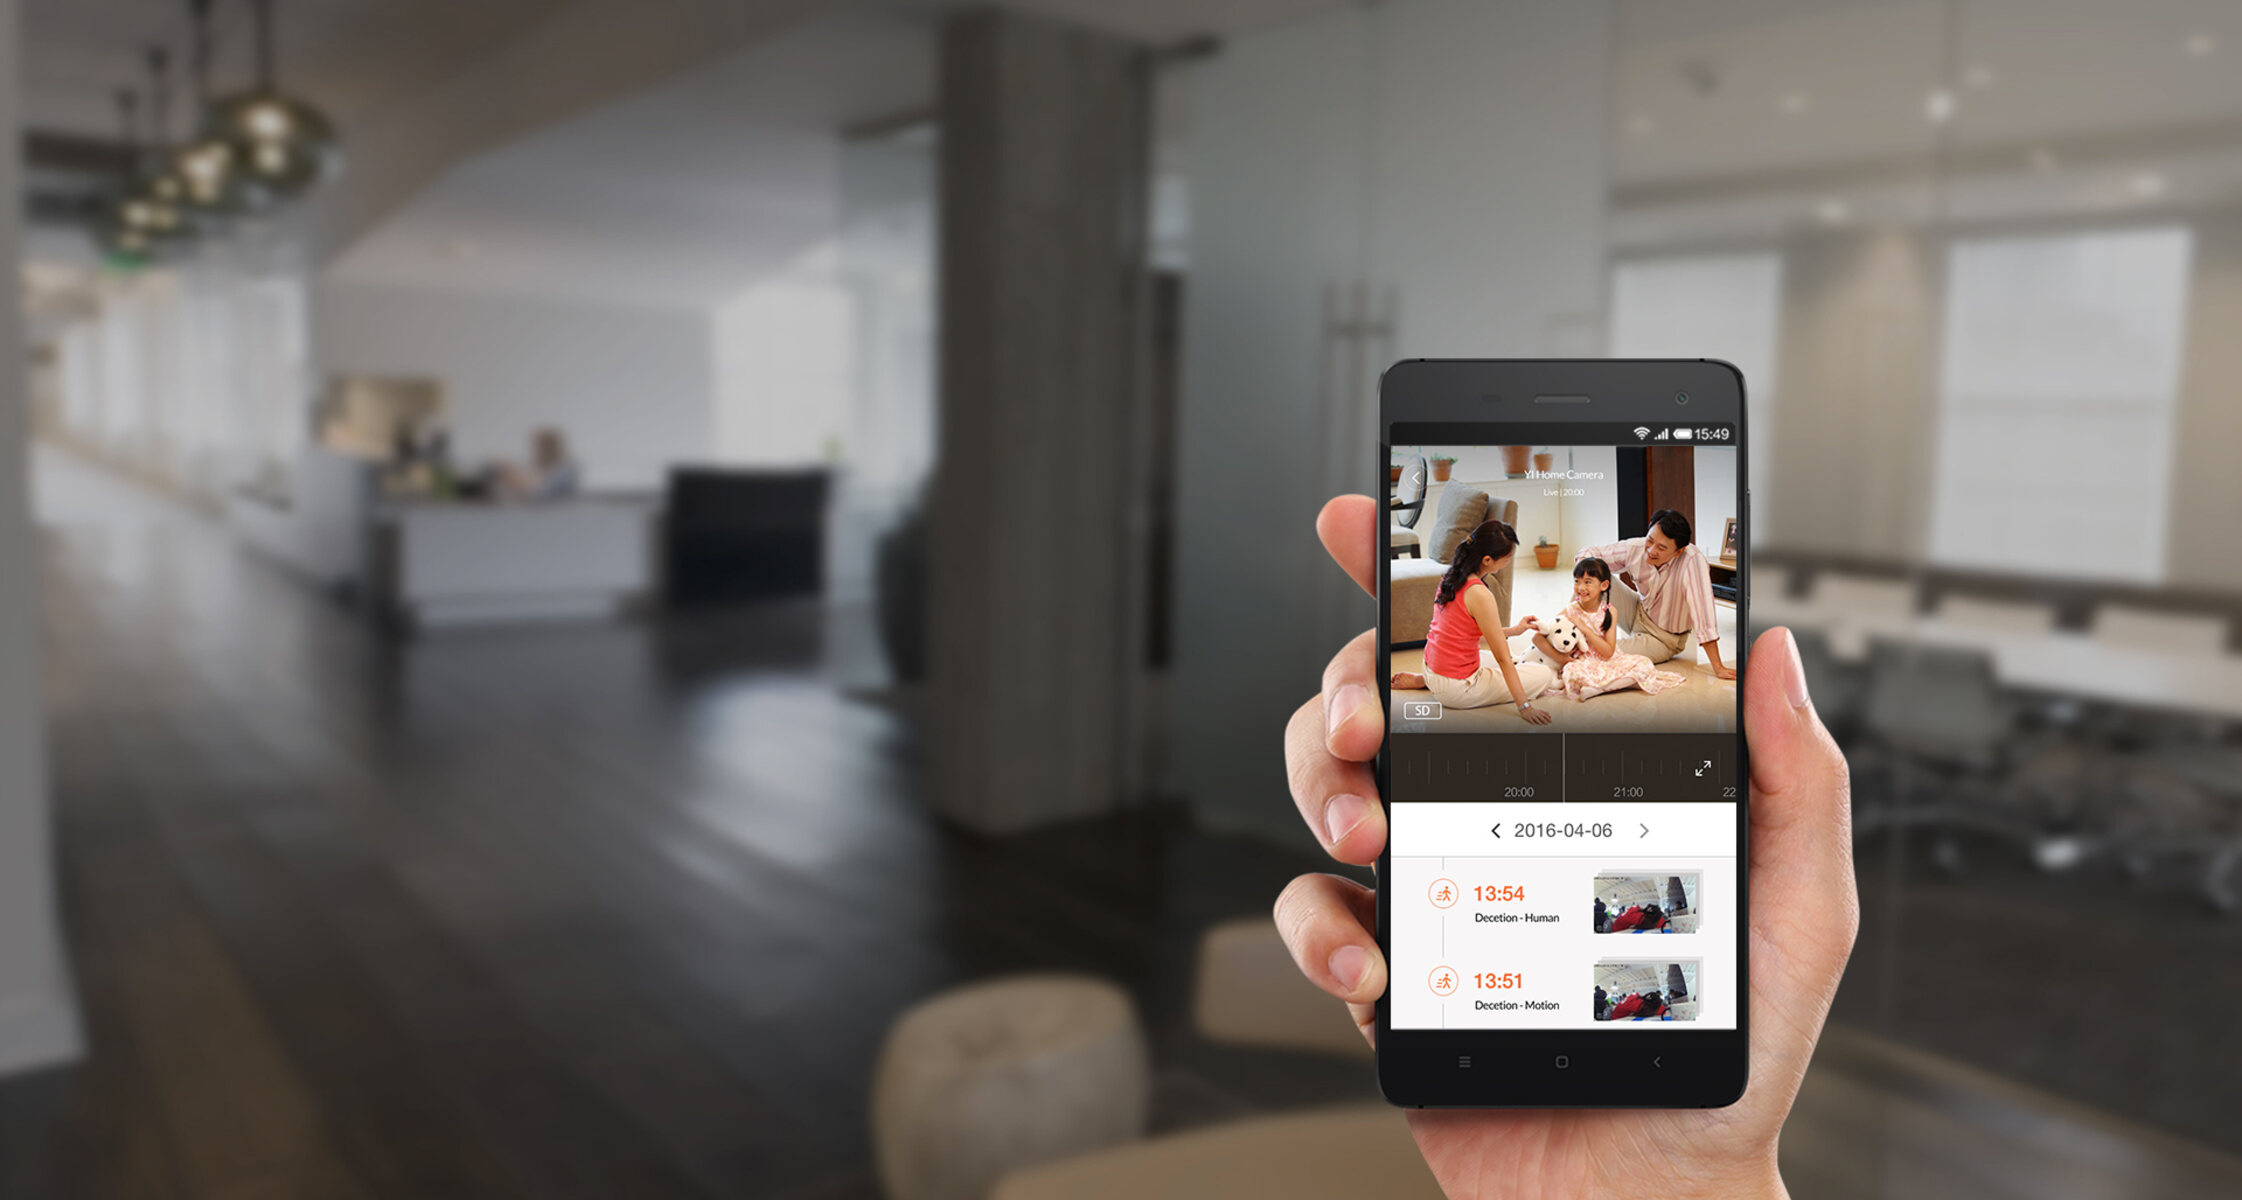
5. Set up motion detection: If your camera has motion detection capabilities, configure the sensitivity and the areas you want to monitor for motion. This ensures that you receive notifications on your phone when movement is detected in specified areas.
6. Configure recording options: Decide whether you want continuous recording or event-triggered recording. Continuous recording captures video footage continuously, while event-triggered recording records only when motion is detected. Adjust the recording length and storage options based on your needs.
7. Enable notifications: Choose whether you want to receive notifications on your phone when motion is detected or when specific events occur. You can customize the notification settings, such as the sound, vibration, or time intervals between notifications.
8. Adjust privacy settings: If you have concerns about privacy, the app’s settings may allow you to disable certain features to ensure your privacy is protected. For example, you may be able to turn off audio recording or configure privacy zones to exclude specific areas from video monitoring.
9. Save and apply the settings: After configuring the desired settings, remember to save and apply the changes. This ensures that your preferences are applied to the camera’s operation and functionality.
By configuring the camera settings on your phone, you can personalize your home security camera’s performance according to your specific requirements. Take the time to explore the available options and adjust the settings to optimize your monitoring experience.
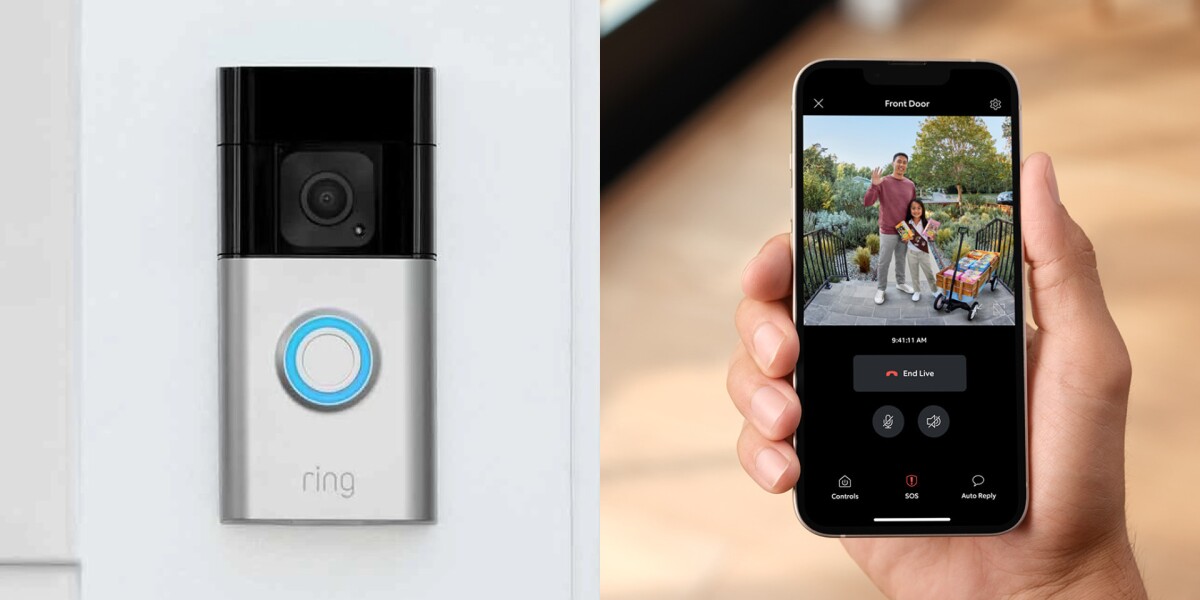
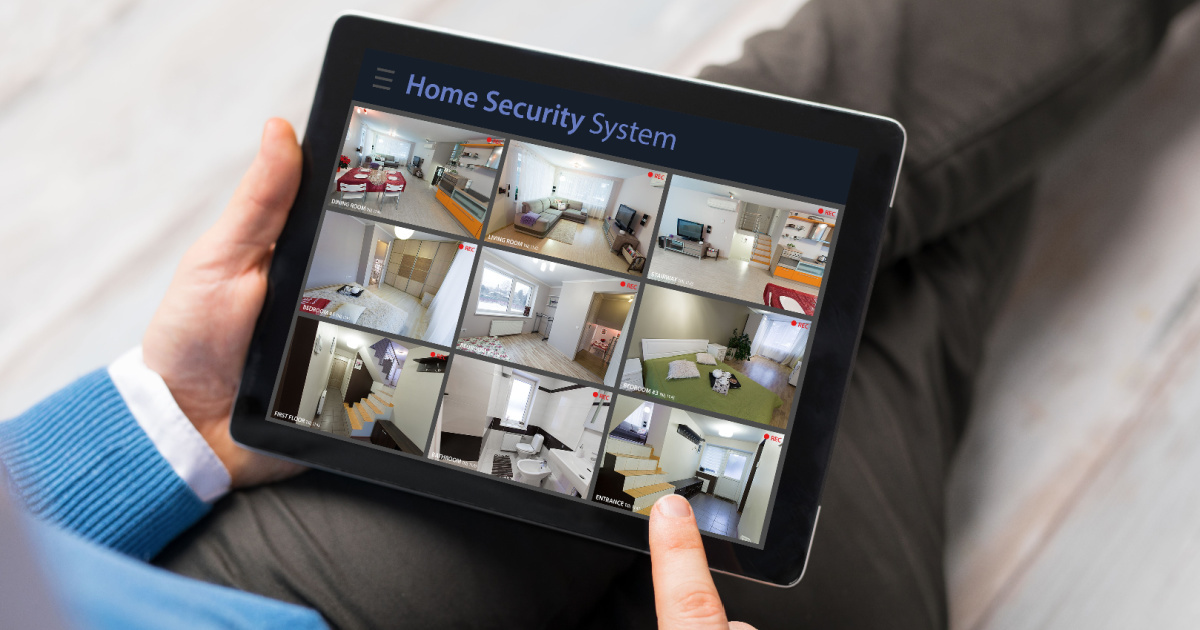
Step 7: Accessing the Security Camera Remotely
One of the major benefits of connecting your home security camera to your phone is the ability to access the camera’s live feed remotely. This means you can monitor your home and view the camera’s video feed from anywhere using your phone. Here’s how you can access your security camera remotely:
1. Open the app: Launch the app on your phone by tapping on the app icon.
2. Log in: If you’re not already logged in, enter your account credentials and sign in to the app.
3. Select the camera: Once you’re logged in, select the camera you want to access from the list of paired cameras. Tap on the camera’s name or thumbnail to open the live feed.
4. Connect to the camera: The app will establish a connection to the camera’s live feed. This process may take a few moments, depending on your internet connection and the camera’s settings.
5. View the live feed: Once the connection is established, you will be able to see the camera’s live video feed on your phone’s screen. This allows you to monitor your home in real-time, regardless of your physical location.
6. Control camera functions: Depending on the app and camera model, you may have additional options to control camera functions remotely. This could include adjusting the camera’s tilt, zoom, or even controlling other features such as the built-in microphone or speaker.
7. Manage camera settings: While accessing the camera remotely, you can also manage camera settings directly from the app. This gives you the flexibility to customize settings, change recording modes, or adjust motion detection sensitivity on the go.
8. End the remote session: Once you’re done monitoring and accessing the camera remotely, remember to properly close the app or end the remote session to conserve battery life and ensure the privacy of your camera feed.
By following these steps, you can easily access your home security camera and monitor your property remotely using your phone. This feature allows you to keep a close eye on your home, even when you’re away, providing peace of mind and enhancing the security of your property.
Step 8: Troubleshooting Common Connection Issues
While connecting your home security camera to your phone is usually a straightforward process, you may encounter some common connection issues along the way. Here are some troubleshooting steps to help you overcome these issues:
1. Check your Wi-Fi signal: Poor Wi-Fi signal can cause connectivity problems. Make sure your phone and camera are within the range of your Wi-Fi network, and consider relocating your router or using a Wi-Fi extender to improve signal strength.
2. Restart the camera and your phone: Sometimes a simple restart can resolve connectivity issues. Power off the camera and your phone, wait for a few seconds, and then power them back on again. This can refresh the network connections and resolve any temporary glitches.
3. Verify network credentials: Double-check that you have entered the correct Wi-Fi network name (SSID) and password during the camera setup process. Incorrect credentials can prevent the camera from connecting to your home network.
4. Ensure the camera firmware is up to date: Check for any available firmware updates for your camera. Manufacturers often release updates to improve performance and address connectivity issues. If an update is available, follow the instructions provided by the manufacturer to update the camera’s firmware.
5. Reset the camera: If all else fails, you can try resetting the camera to its factory settings. Refer to the camera’s user manual for instructions on how to perform a reset. Be aware that resetting the camera will erase all custom settings, so you’ll need to set it up again from scratch.
6. Check for app updates: Ensure that you are using the latest version of the app on your phone. Developers regularly release updates to fix bugs and improve compatibility with different camera models. Update the app from the app store if a new version is available.
7. Contact customer support: If you have followed all the troubleshooting steps and still cannot establish a connection, reach out to the camera manufacturer’s customer support. They can provide specialized assistance and guide you through any specific issues related to your camera model.
Remember to be patient when troubleshooting connection issues. It may take some trial and error to identify and resolve the problem. By following these troubleshooting steps, you can overcome common connectivity issues and ensure a seamless connection between your home security camera and your phone.
Conclusion
Connecting your home security camera to your phone allows you to monitor and protect your property with ease and convenience. By following the step-by-step guide provided in this article, you can successfully set up, pair, and access your security camera remotely, giving you peace of mind and enhanced security.
Choosing the right home security camera is crucial, as it determines the functionality and features available to you. Consider factors such as the camera type, resolution, storage options, and motion detection capabilities when making your selection.
Understanding the different methods of connecting your camera to your phone empowers you to choose the most suitable method based on your camera model and personal preferences. Whether it’s Wi-Fi, Bluetooth, cellular data, or cloud-based services, each method has its own advantages and considerations.
Setting up the security camera involves proper placement, power connection, and Wi-Fi network configuration. Take the time to mount the camera securely, ensure a reliable power source, and connect it to your home network for a smooth installation process.
Downloading and installing the compatible app allows you to establish communication between the camera and your phone. Search for the app in the app store, create an account if required, and follow the app’s instructions to connect and pair your camera.
Configuring the camera settings on your phone personalizes your monitoring experience. Adjust video quality, motion detection settings, recording options, and notifications to suit your preferences and security needs.
Once the camera is configured, you can access its live feed remotely using the app on your phone. Keep in mind that a stable internet connection is necessary for uninterrupted access and real-time monitoring of your home.
If you encounter any connection issues, troubleshooting techniques such as checking Wi-Fi signal strength, restarting devices, verifying network credentials, and updating firmware can help resolve the problem. Additionally, contacting customer support can provide specialized assistance if needed.
By following these steps, you can successfully connect your home security camera to your phone and enjoy the convenience and peace of mind that remote monitoring brings. Ensure that you regularly update the app and camera firmware for optimal performance, and remember to prioritize security by using strong passwords and keeping your camera firmware up to date.