Introduction
Connecting your Mac to an external display can be a game-changer for productivity, entertainment, and overall user experience. One of the most common ways to achieve this is by using an HDMI connection. HDMI (High-Definition Multimedia Interface) is a widely supported interface that allows you to transmit high-quality audio and video signals from your Mac to a compatible display.
Whether you want to watch movies on a larger screen, give presentations, or simply extend your workspace, the process of connecting your Mac to an HDMI display is fairly straightforward. In this guide, we will walk you through the steps to connect your Mac to an HDMI port and make the necessary adjustments for optimal display performance.
Before we dive into the steps, it’s important to note that the availability of HDMI ports and compatibility varies across different Mac models. Some newer Mac models have Thunderbolt 3 (USB-C) ports that require the use of an HDMI adapter or dongle, while older Mac models may have built-in HDMI ports. Regardless of your Mac model, we will cover the necessary instructions to help you connect your Mac to an HDMI display.
Now, let’s get started and explore the process of connecting HDMI to your Mac!
Step 1: Check your Mac’s display ports
Before you begin connecting your Mac to an HDMI display, it’s crucial to identify the display ports available on your specific Mac model. This will help you determine which adapter or cable you’ll need to connect your Mac to the HDMI display.
The display ports on your Mac can vary depending on the model and release year. Here are some common types of display ports you might encounter:
- Thunderbolt 3 (USB-C) ports: Found on newer Mac models, these versatile ports can support not only Thunderbolt displays but also HDMI, DisplayPort, VGA, and more with the appropriate adapter or cable.
- HDMI ports: Some older Mac models come equipped with built-in HDMI ports that allow for a direct HDMI connection without the need for an adapter.
- Mini DisplayPort or Thunderbolt 2 ports: These ports are commonly found on older Mac models and require an HDMI adapter or cable to connect to an HDMI display.
To determine the type of display port(s) on your Mac, follow these steps:
- Click on the Apple menu in the top left corner of your Mac’s screen.
- Select “About This Mac” from the drop-down menu.
- In the window that appears, click on the “Overview” tab.
- Look for the “Ports” section, which will display the available display ports on your Mac model.
Once you have identified the display ports on your Mac, you can proceed to the next step, which involves choosing the right HDMI adapter or cable for your specific Mac model and the HDMI display you wish to connect to.
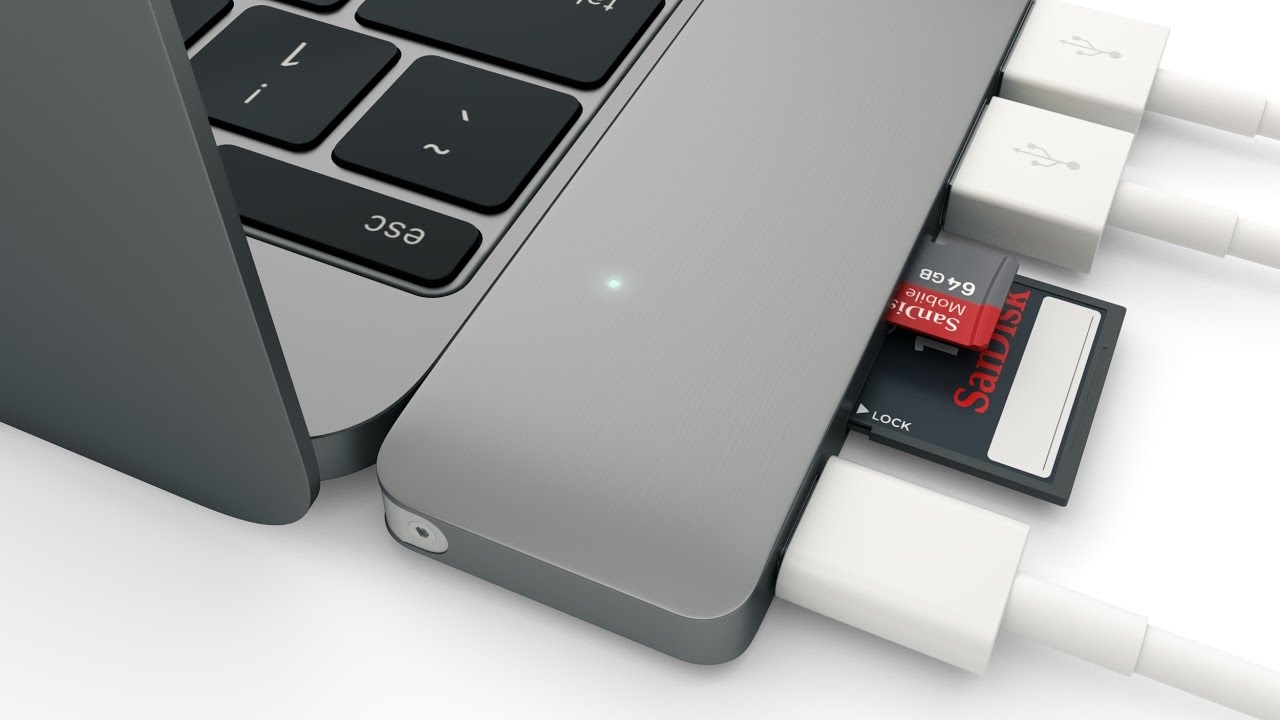
Step 2: Choose the right HDMI adapter
If your Mac doesn’t have a built-in HDMI port or if the HDMI port is already in use, you’ll need to use an HDMI adapter or dongle to connect your Mac to the HDMI display. The type of adapter you need will depend on the specific display ports available on your Mac and the HDMI version supported by your display.
Here are some common types of HDMI adapters that you might come across:
- HDMI to HDMI adapter: This adapter allows you to connect a standard HDMI cable directly to your Mac’s mini DisplayPort, Thunderbolt, or USB-C port.
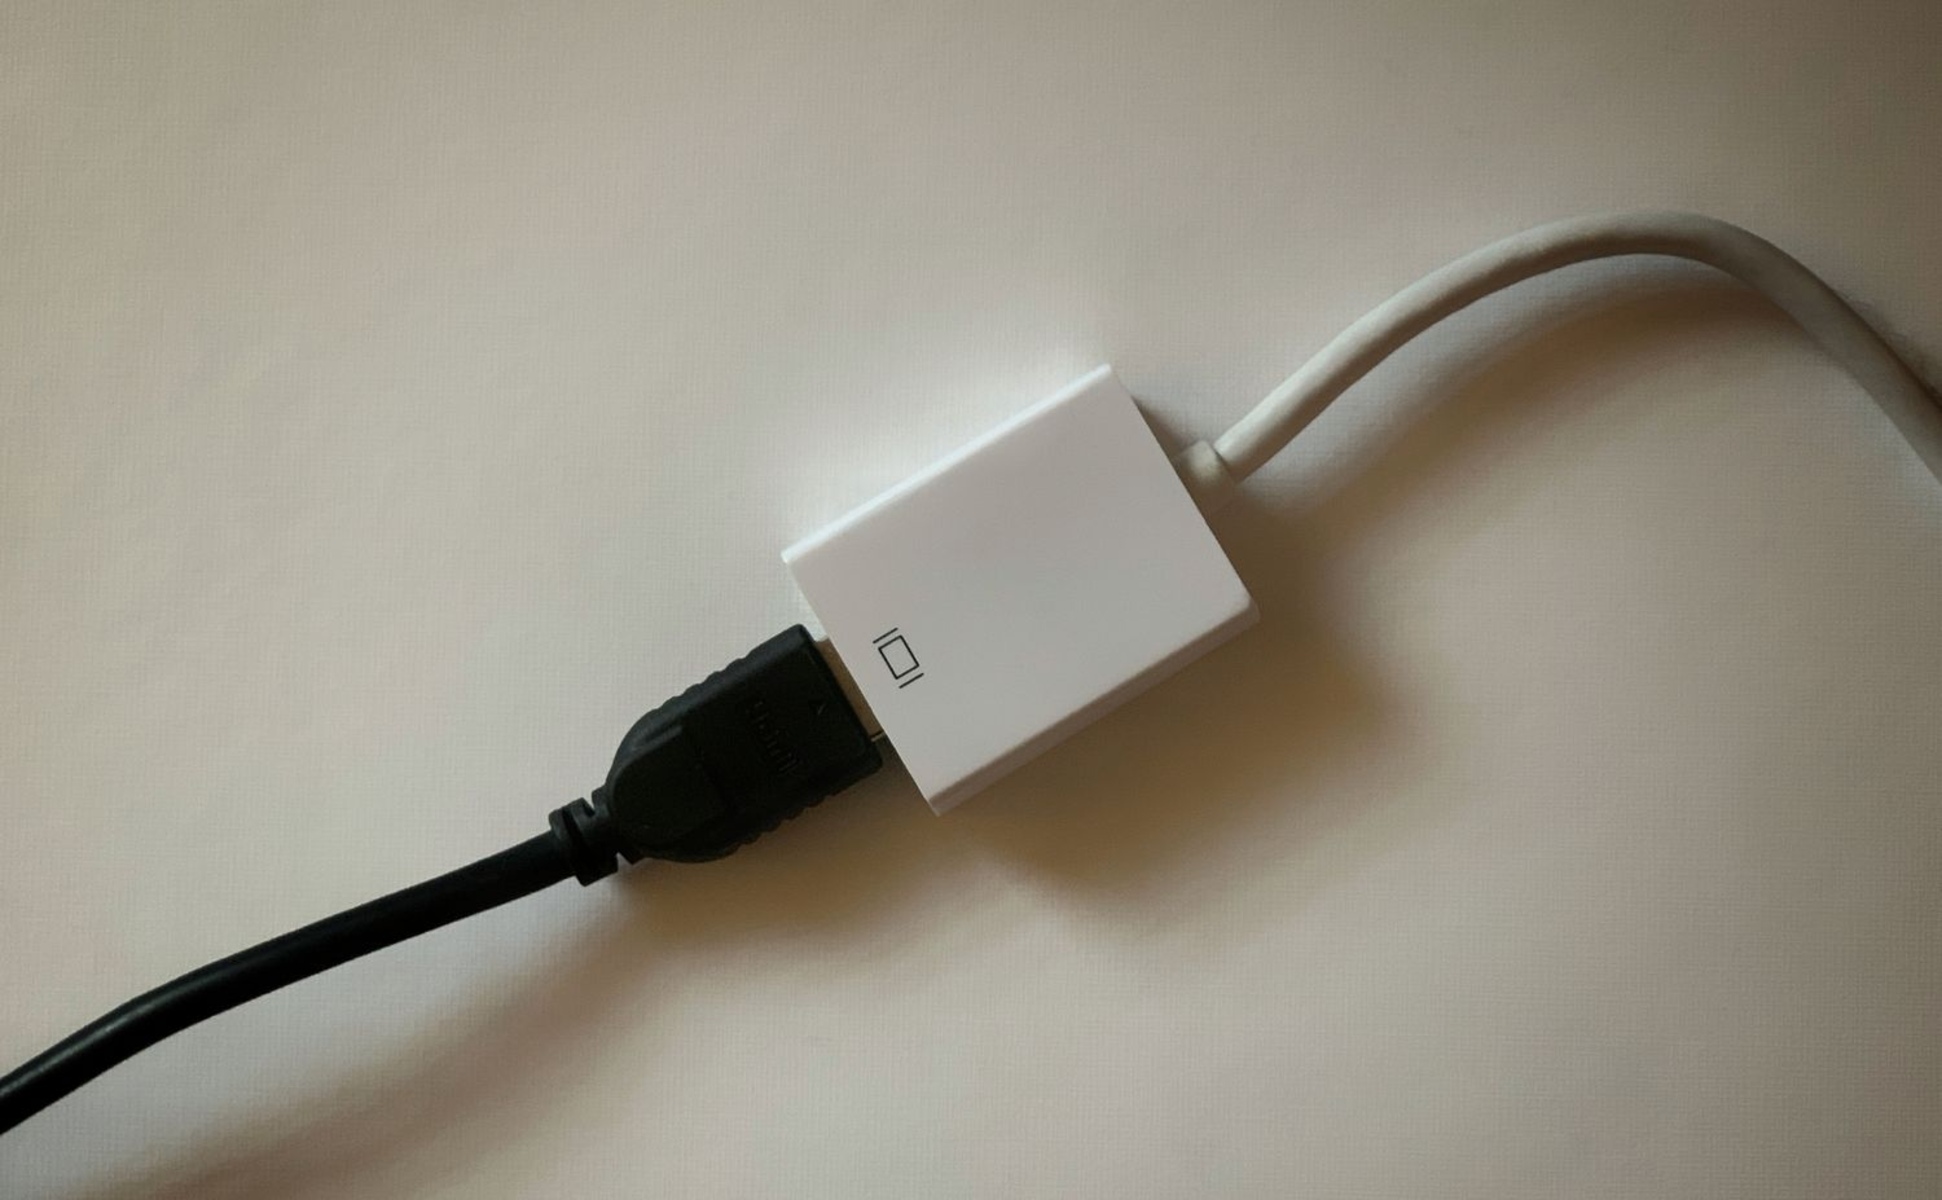
- Mini DisplayPort to HDMI adapter: Use this adapter if your Mac has a mini DisplayPort or Thunderbolt 2 port. It converts the mini DisplayPort signal to HDMI, allowing you to connect your Mac to an HDMI display.
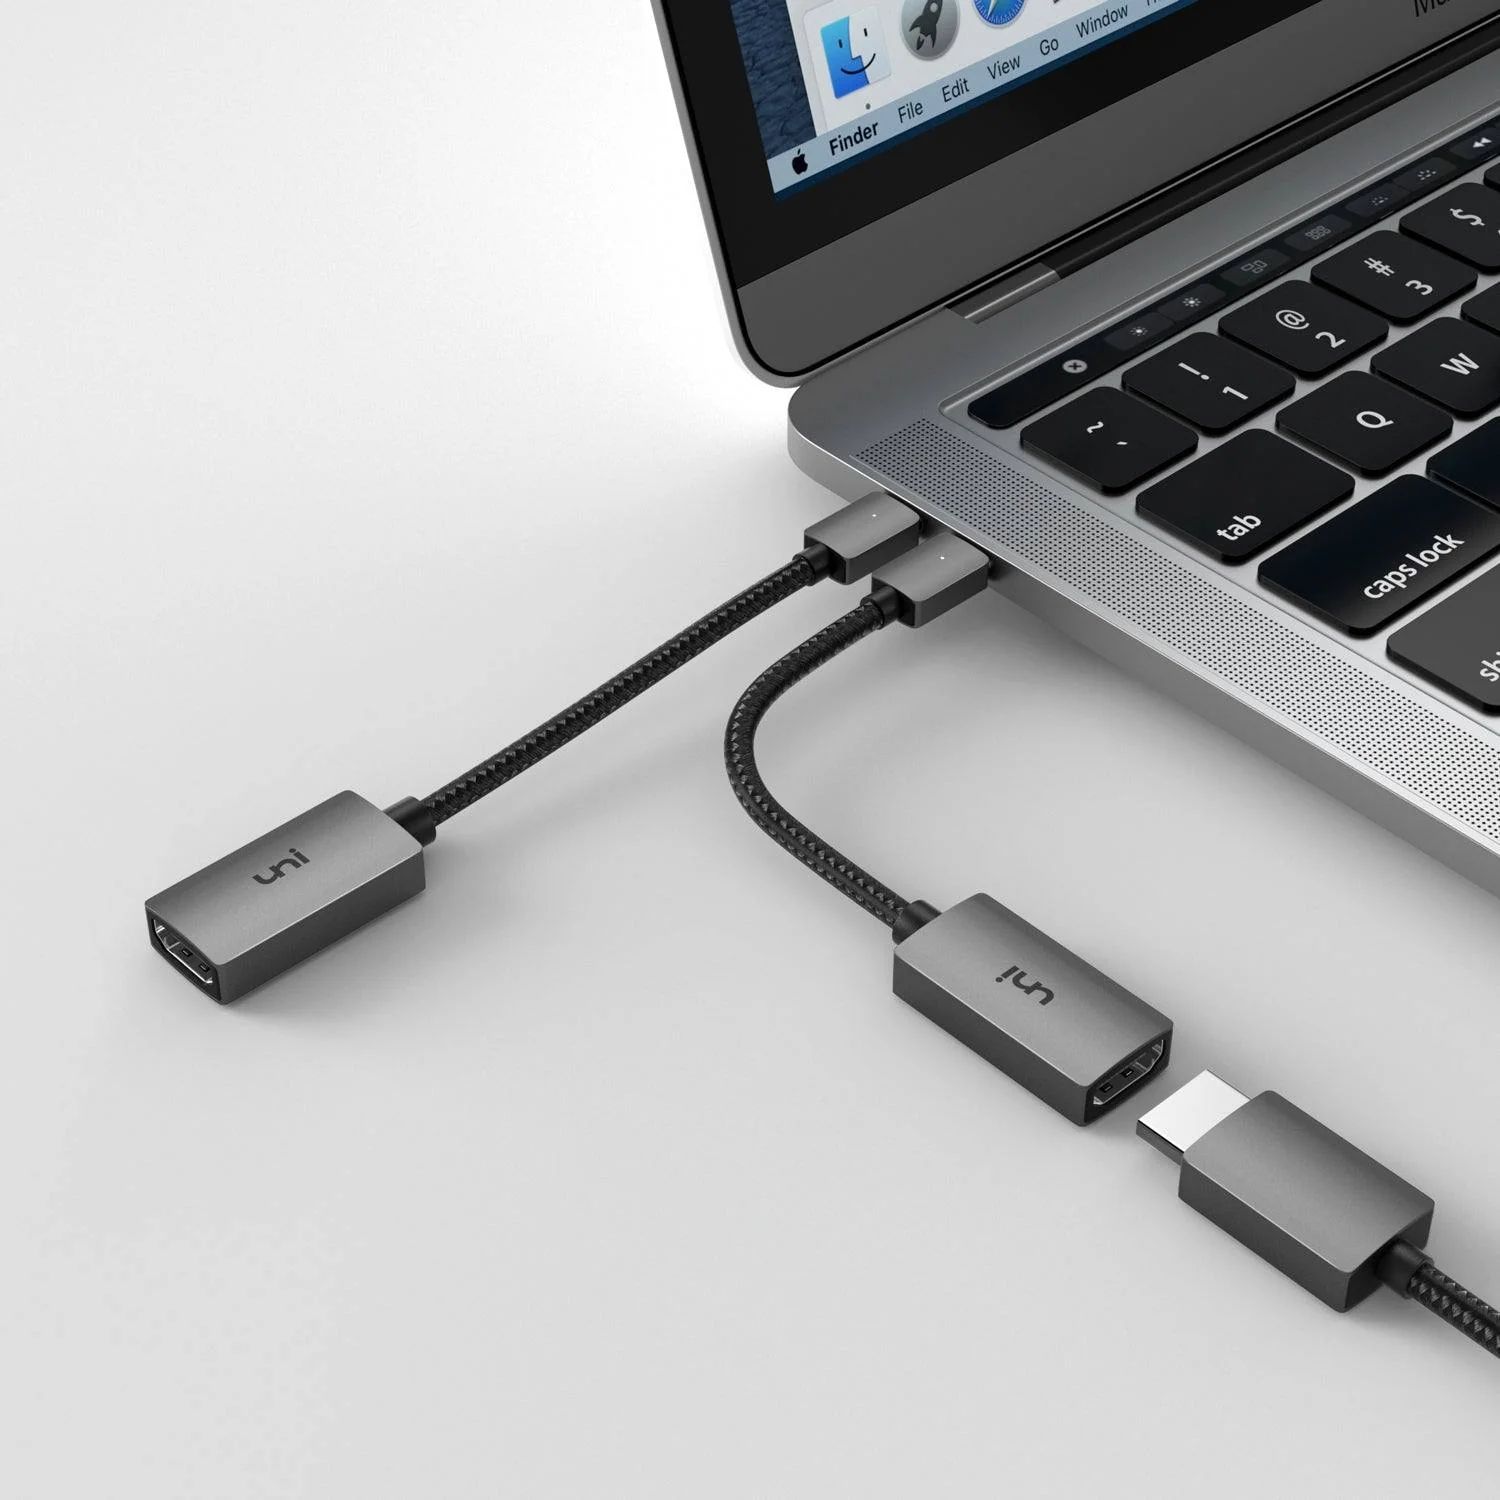
- USB-C to HDMI adapter: If your Mac has Thunderbolt 3 (USB-C) ports, you can use this adapter to connect an HDMI display. It converts the USB-C signal to HDMI, providing high-quality audio and video transmission.
When selecting an HDMI adapter, it’s important to ensure that it supports the HDMI version used by your display. Most adapters are capable of supporting HDMI 1.4 or HDMI 2.0, which are commonly used versions. However, if you have a newer display that supports HDMI 2.1 or higher, you’ll need an adapter that is compatible with that version for optimal performance.
Additionally, consider factors like the length of the adapter cable, the build quality, and user reviews to make an informed decision. It’s worth investing in a reliable and high-quality adapter to ensure a stable connection and prevent any audio or video issues.
Once you have chosen the appropriate HDMI adapter for your Mac and HDMI display, you can move on to the next step, which involves physically connecting the HDMI cable to your Mac.
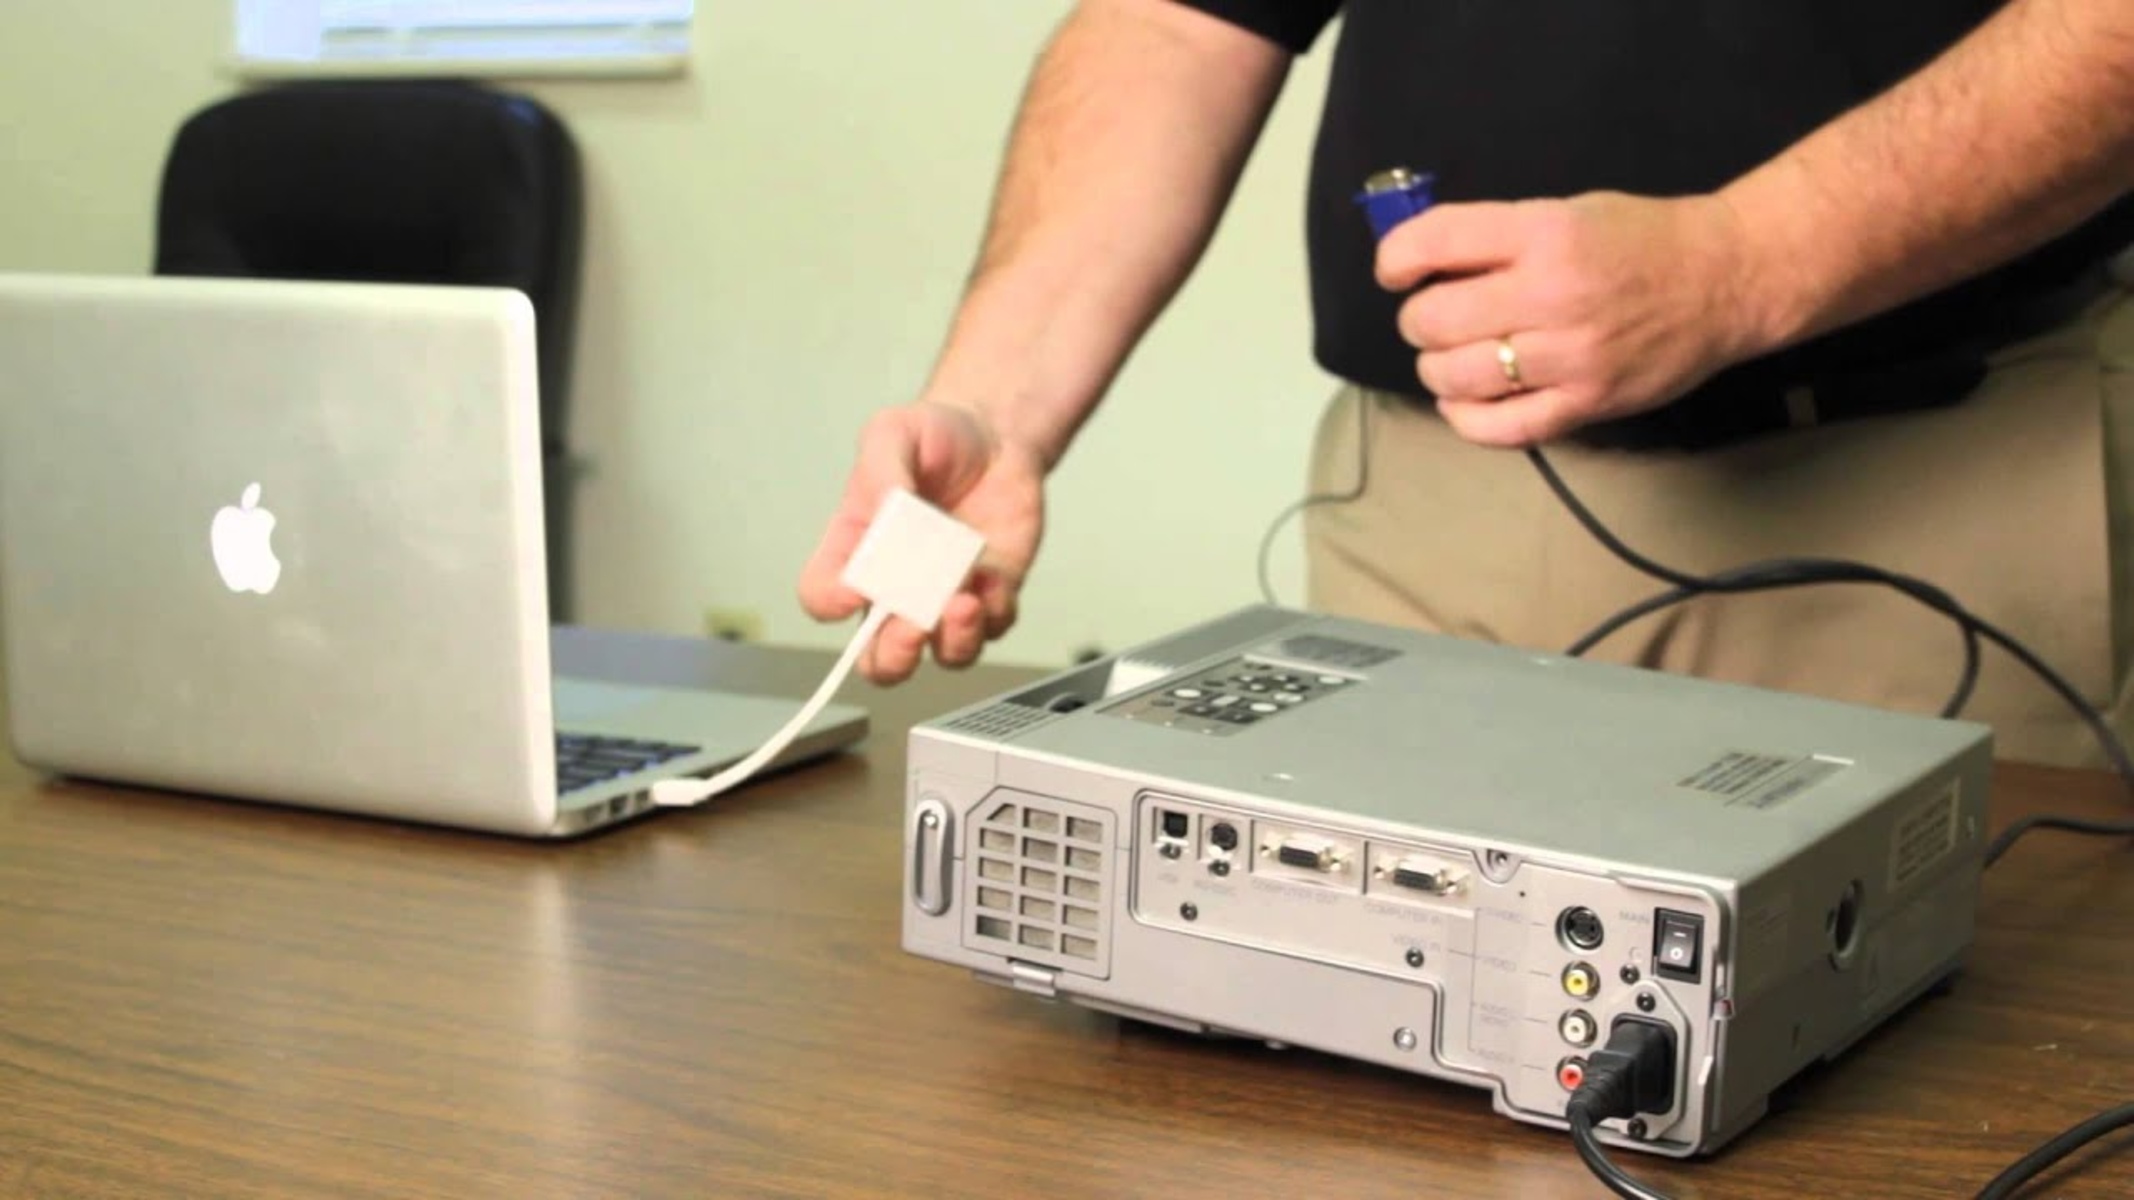
Step 3: Connect the HDMI cable to your Mac
Now that you have chosen the right HDMI adapter for your Mac, it’s time to connect the HDMI cable to your Mac’s display port.
Here’s a step-by-step guide on how to connect the HDMI cable to your Mac:
- Make sure your Mac and the HDMI display are powered off.
- Locate the HDMI port on your Mac and plug one end of the HDMI cable into it.
- Connect the other end of the HDMI cable to the HDMI input port on your display.
- Ensure that the cable is securely connected on both ends, with no loose connections.
Once the HDMI cable is connected, you can proceed to the next step, where you will adjust the display settings on your Mac to ensure the HDMI connection functions optimally.
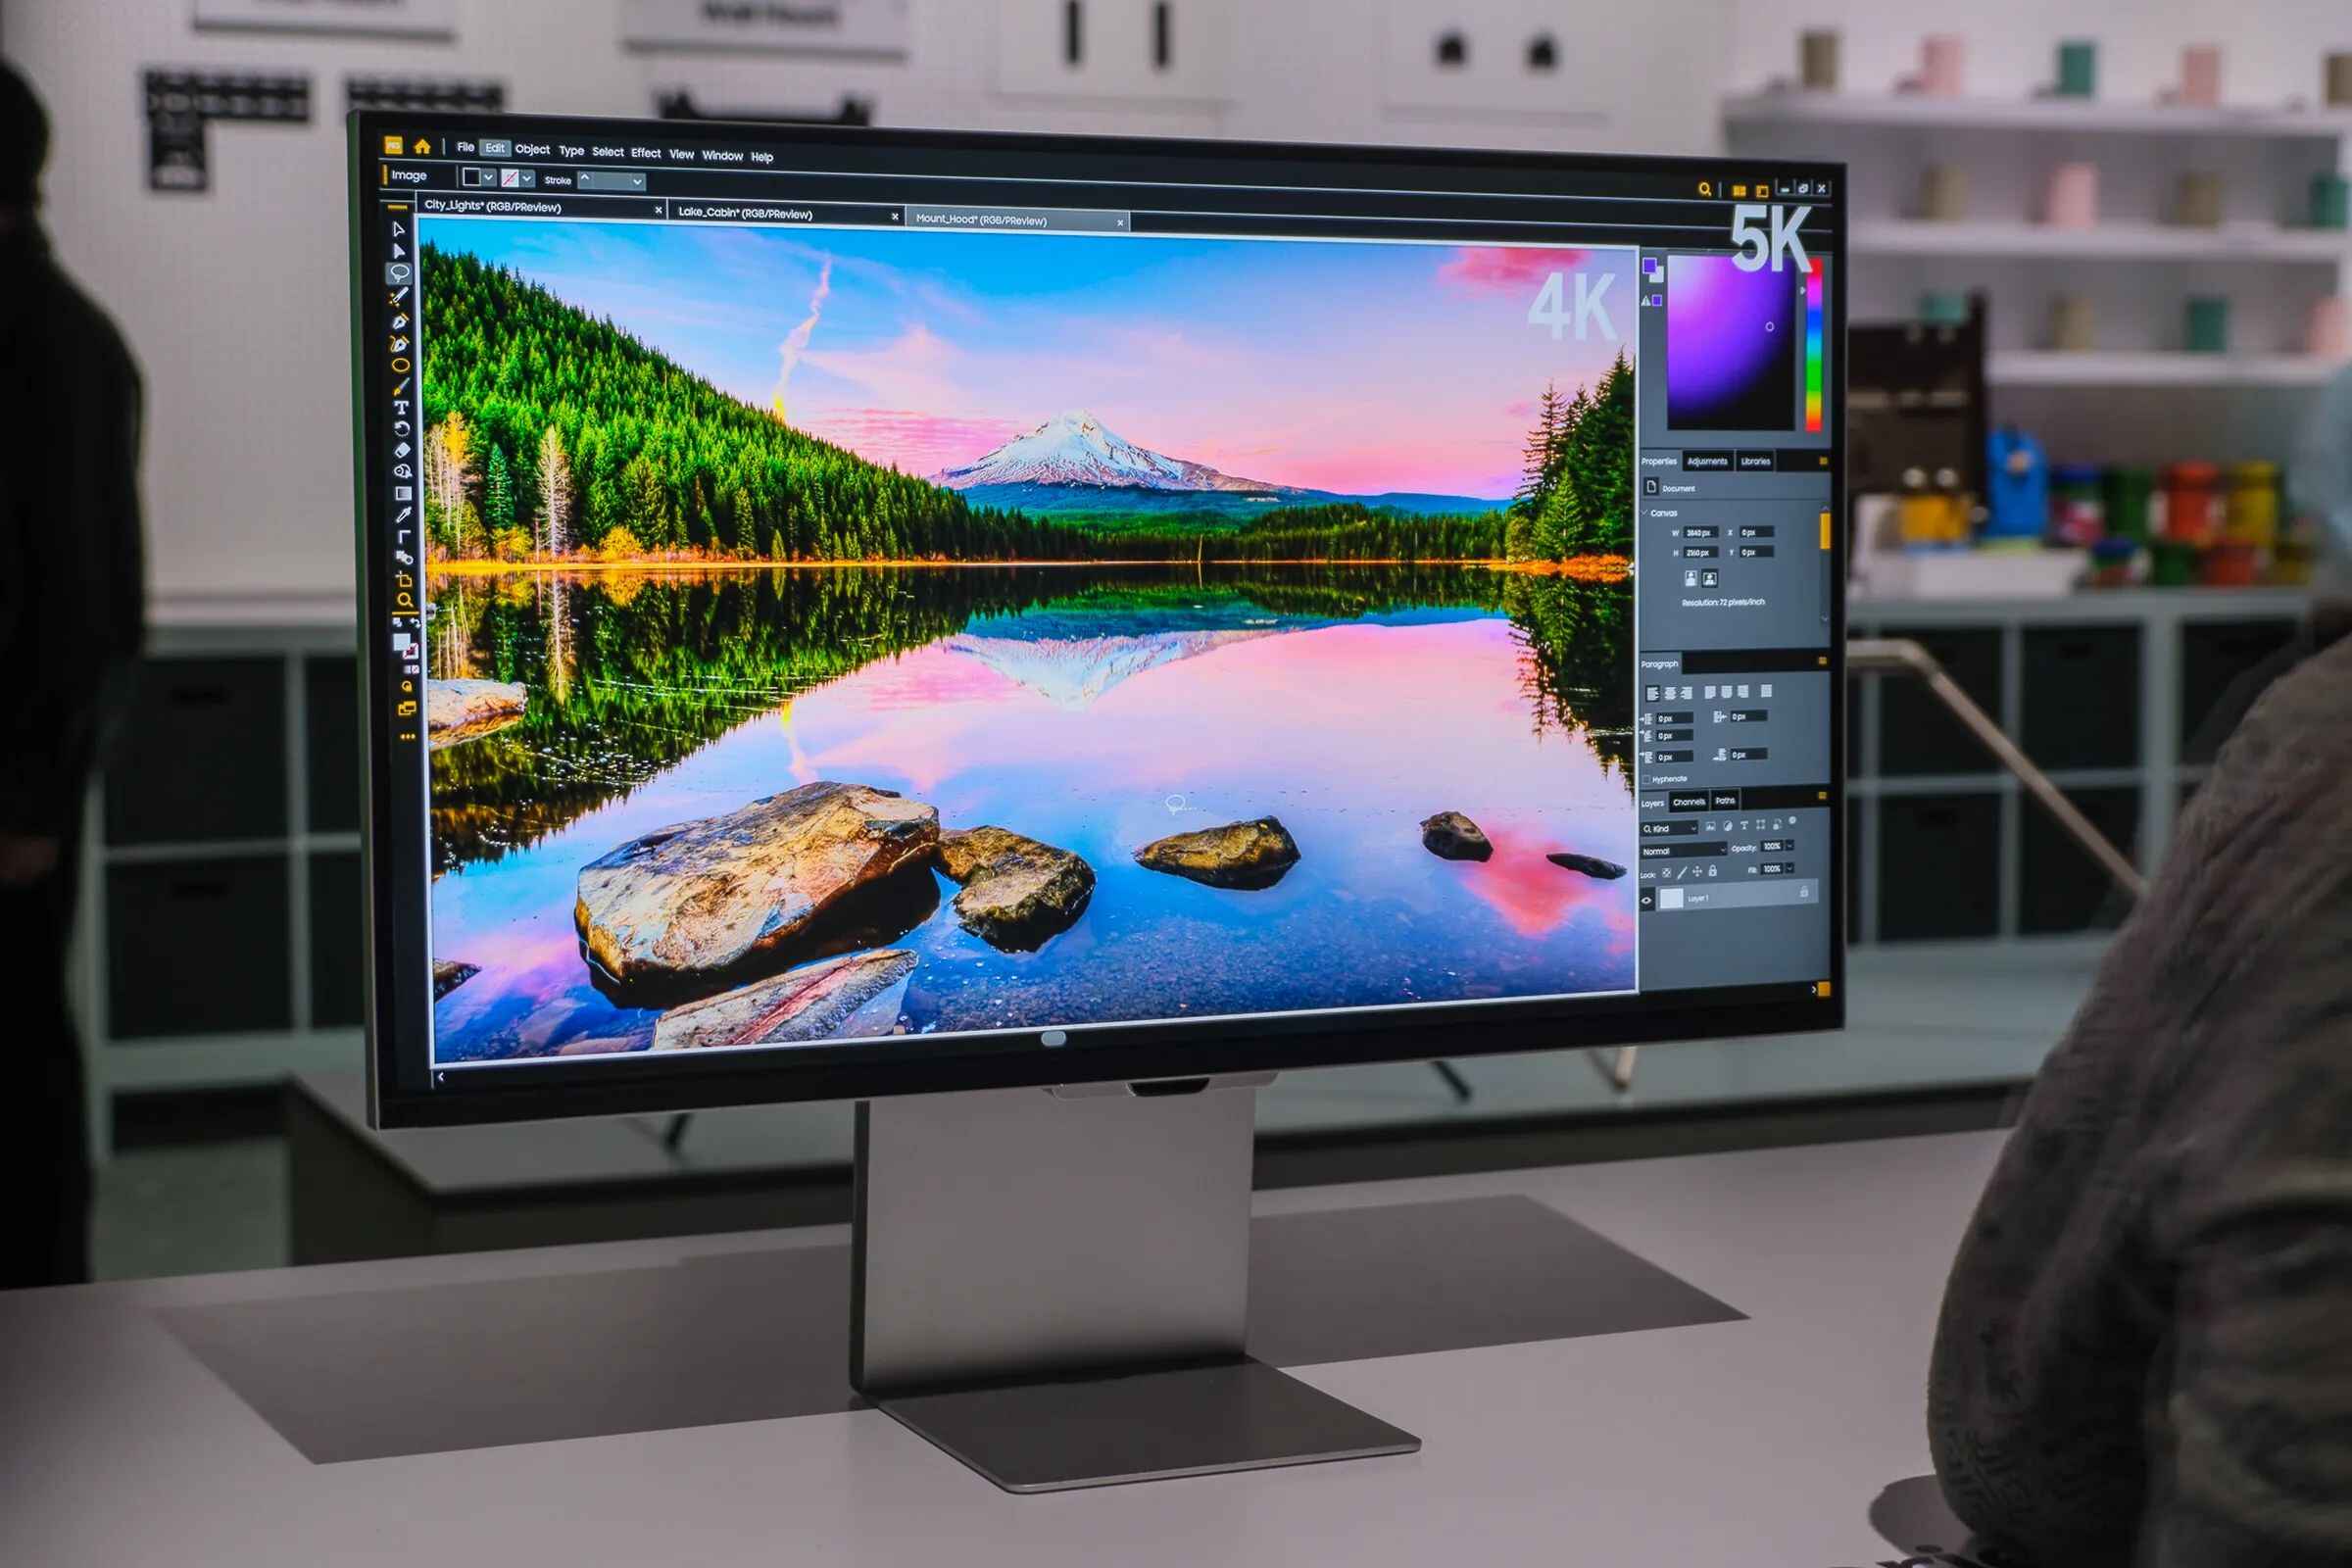
Step 4: Adjust Mac’s display settings
After connecting the HDMI cable to your Mac and the HDMI display, it’s time to configure the display settings on your Mac to ensure the best visual experience.
Here’s how you can adjust the display settings on your Mac:
- Power on your Mac and the HDMI display.
- Click on the Apple menu in the top left corner of your screen and select “System Preferences” from the drop-down menu.
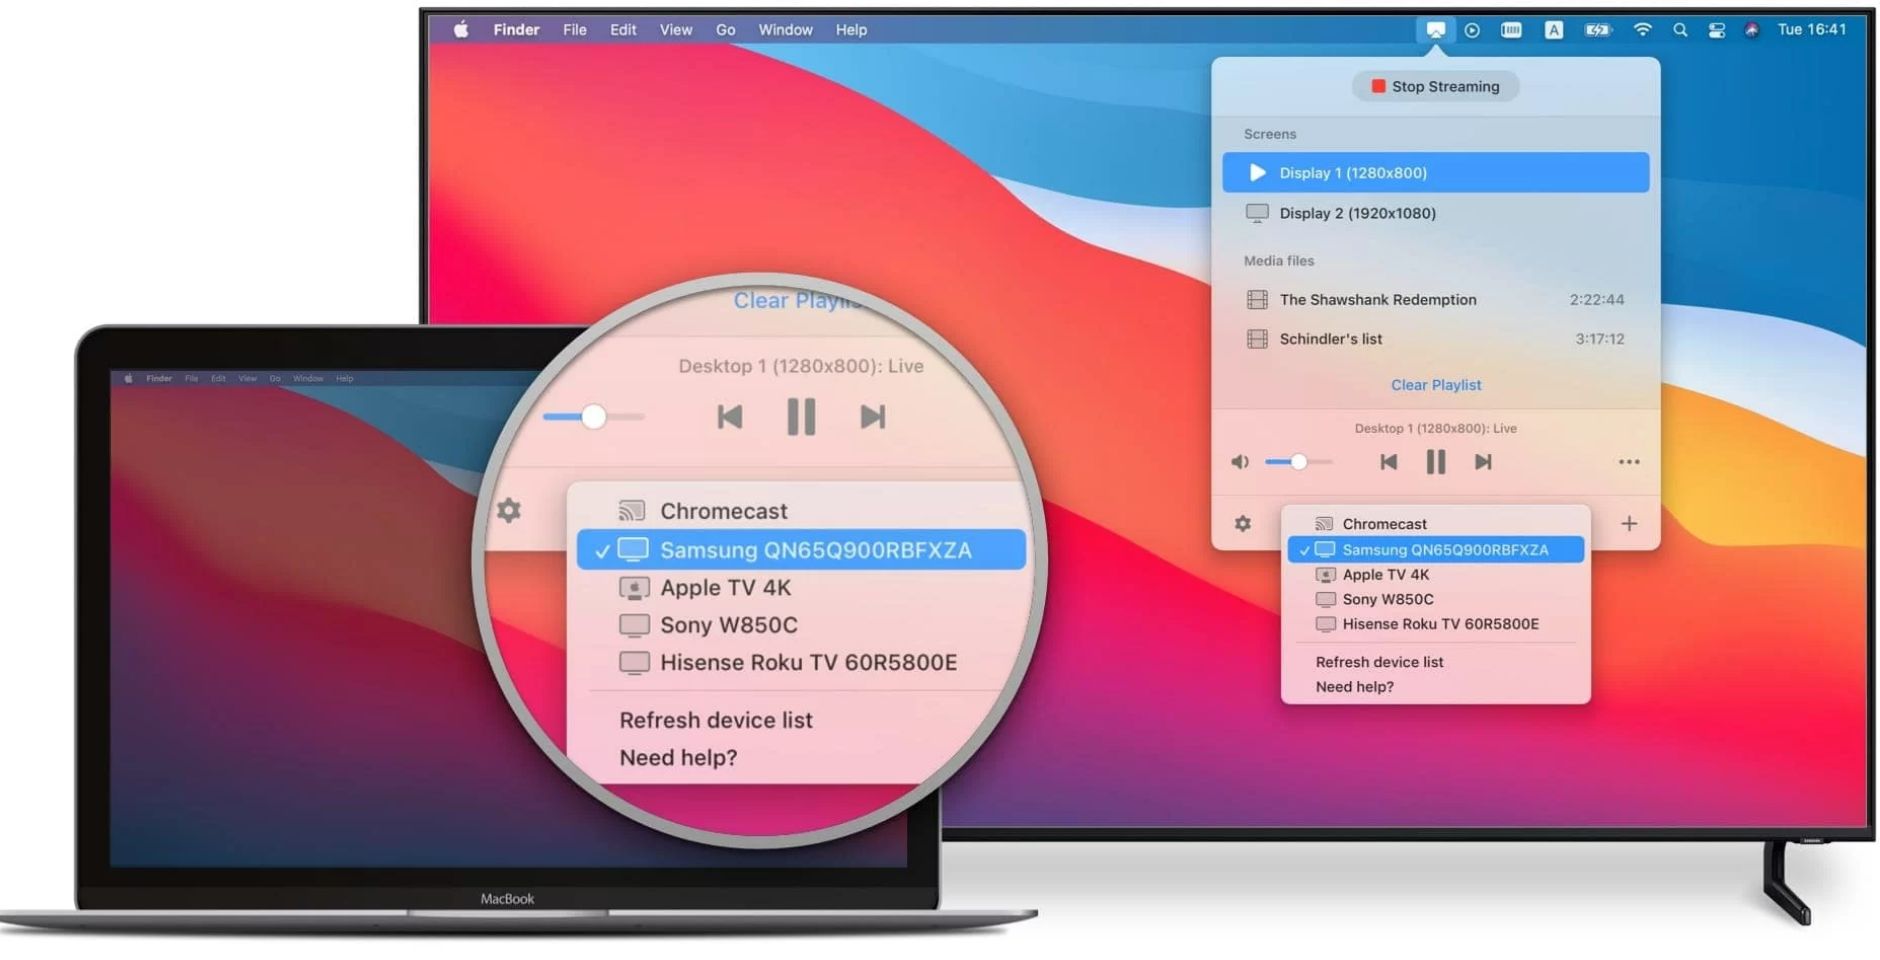
- In the System Preferences window, click on “Displays.”
- Select the “Arrangement” tab to configure the way your displays are arranged.
- Make sure the “Mirror Displays” option is unchecked if you want to use the HDMI display as an extended desktop.
- Adjust the resolution, brightness, and other display settings according to your preferences.
- Click on the “Color” tab to calibrate the color settings if needed.
- Once you have made the necessary adjustments, close the System Preferences window.
It’s worth noting that some Mac models may automatically detect the HDMI display and adjust the settings accordingly. However, it’s always a good idea to check and fine-tune the settings to ensure optimal visual quality.
With the display settings adjusted to your liking, you are all set to enjoy the benefits of a larger screen or extended workspace with your HDMI-connected Mac!
Step 5: Troubleshooting common issues
While connecting your Mac to an HDMI display is usually a smooth process, you may encounter some common issues along the way. Here are a few troubleshooting tips to help you address these issues:
- No display on the HDMI screen: Ensure that the HDMI cable is securely connected to both your Mac and the HDMI display. Try reconnecting the cable or using a different HDMI port on the display. Also, check if the HDMI display is powered on and set to the correct input source.
- Audio not working: If the audio is not playing through the HDMI display, go to “System Preferences” > “Sound” and select the HDMI output as the audio device. Make sure the volume is not muted and adjust the volume level as needed.
- Poor display quality: If you notice any resolution or display quality issues, go to “System Preferences” > “Displays” and select the appropriate resolution and display settings for the HDMI display. You may also try adjusting the color profile or calibration settings to improve the visual experience.
- Adapter compatibility issues: Ensure that the HDMI adapter you are using is compatible with your Mac model and the HDMI version used by the display. Consider using a reliable and reputable adapter to avoid compatibility issues.
- Update software and firmware: Make sure your Mac’s operating system and display firmware are up to date. Check for any available software updates and install them to ensure the compatibility and performance of your HDMI connection.
If you have tried these troubleshooting steps and are still experiencing issues, it may be helpful to consult the user manual of your Mac or the HDMI display, or reach out to the respective support channels for further assistance.
By troubleshooting these common issues, you can overcome any obstacles and enjoy a seamless HDMI connection between your Mac and the external display.
Conclusion
Connecting your Mac to an HDMI display can greatly enhance your productivity, entertainment, and overall user experience. By following the steps outlined in this guide, you can easily connect your Mac to an HDMI display and enjoy the benefits of a larger screen or extended workspace.
We started by checking the display ports on your Mac and identifying the right HDMI adapter for your specific Mac model. Then, we walked through the process of physically connecting the HDMI cable to your Mac and the HDMI display. After that, we discussed how to adjust the display settings on your Mac for optimal visual performance.
Additionally, we provided troubleshooting tips to address common issues that you may encounter during the connection process. By following these troubleshooting steps and ensuring compatibility between your Mac, adapter, and HDMI display, you can overcome any obstacles and enjoy a seamless HDMI connection.
Remember, it’s important to choose high-quality adapters, keep your software and firmware up to date, and refer to user manuals or support channels for further assistance when needed.
Now that you are equipped with the knowledge and steps necessary to connect your Mac to an HDMI display, go ahead and enjoy the benefits of a larger, more immersive visual experience!