Introduction
Welcome to our guide on how to connect your DJI controller to your PC. Whether you are a professional drone pilot or a hobbyist, connecting your DJI controller to your computer can offer a range of benefits, such as accessing advanced settings, updating firmware, and even controlling your drone from the comfort of your PC.
Before we dive into the step-by-step process, it’s important to note that the instructions in this guide apply specifically to DJI controllers. If you have a different brand of controller, the steps may vary.
Connecting your DJI controller to your PC can be a useful tool for drone enthusiasts and professionals alike. For professional pilots, this connection allows for more precise control and access to advanced features. For hobbyists, it can be a convenient way to manage firmware updates and access additional settings.
Additionally, connecting your controller to your PC opens up opportunities for drone simulations and flight training, without the need for an actual drone. This can be a valuable learning tool or even an entertaining way to hone your piloting skills.
In this guide, we will walk you through the step-by-step process of connecting your DJI controller to your PC. We will cover the necessary requirements, the installation process, and troubleshooting tips to ensure a seamless connection.
So, if you’re ready to take your DJI controller to the next level and unlock its full potential, let’s get started!
Requirements
Before you begin the process of connecting your DJI controller to your PC, make sure you have the following requirements:
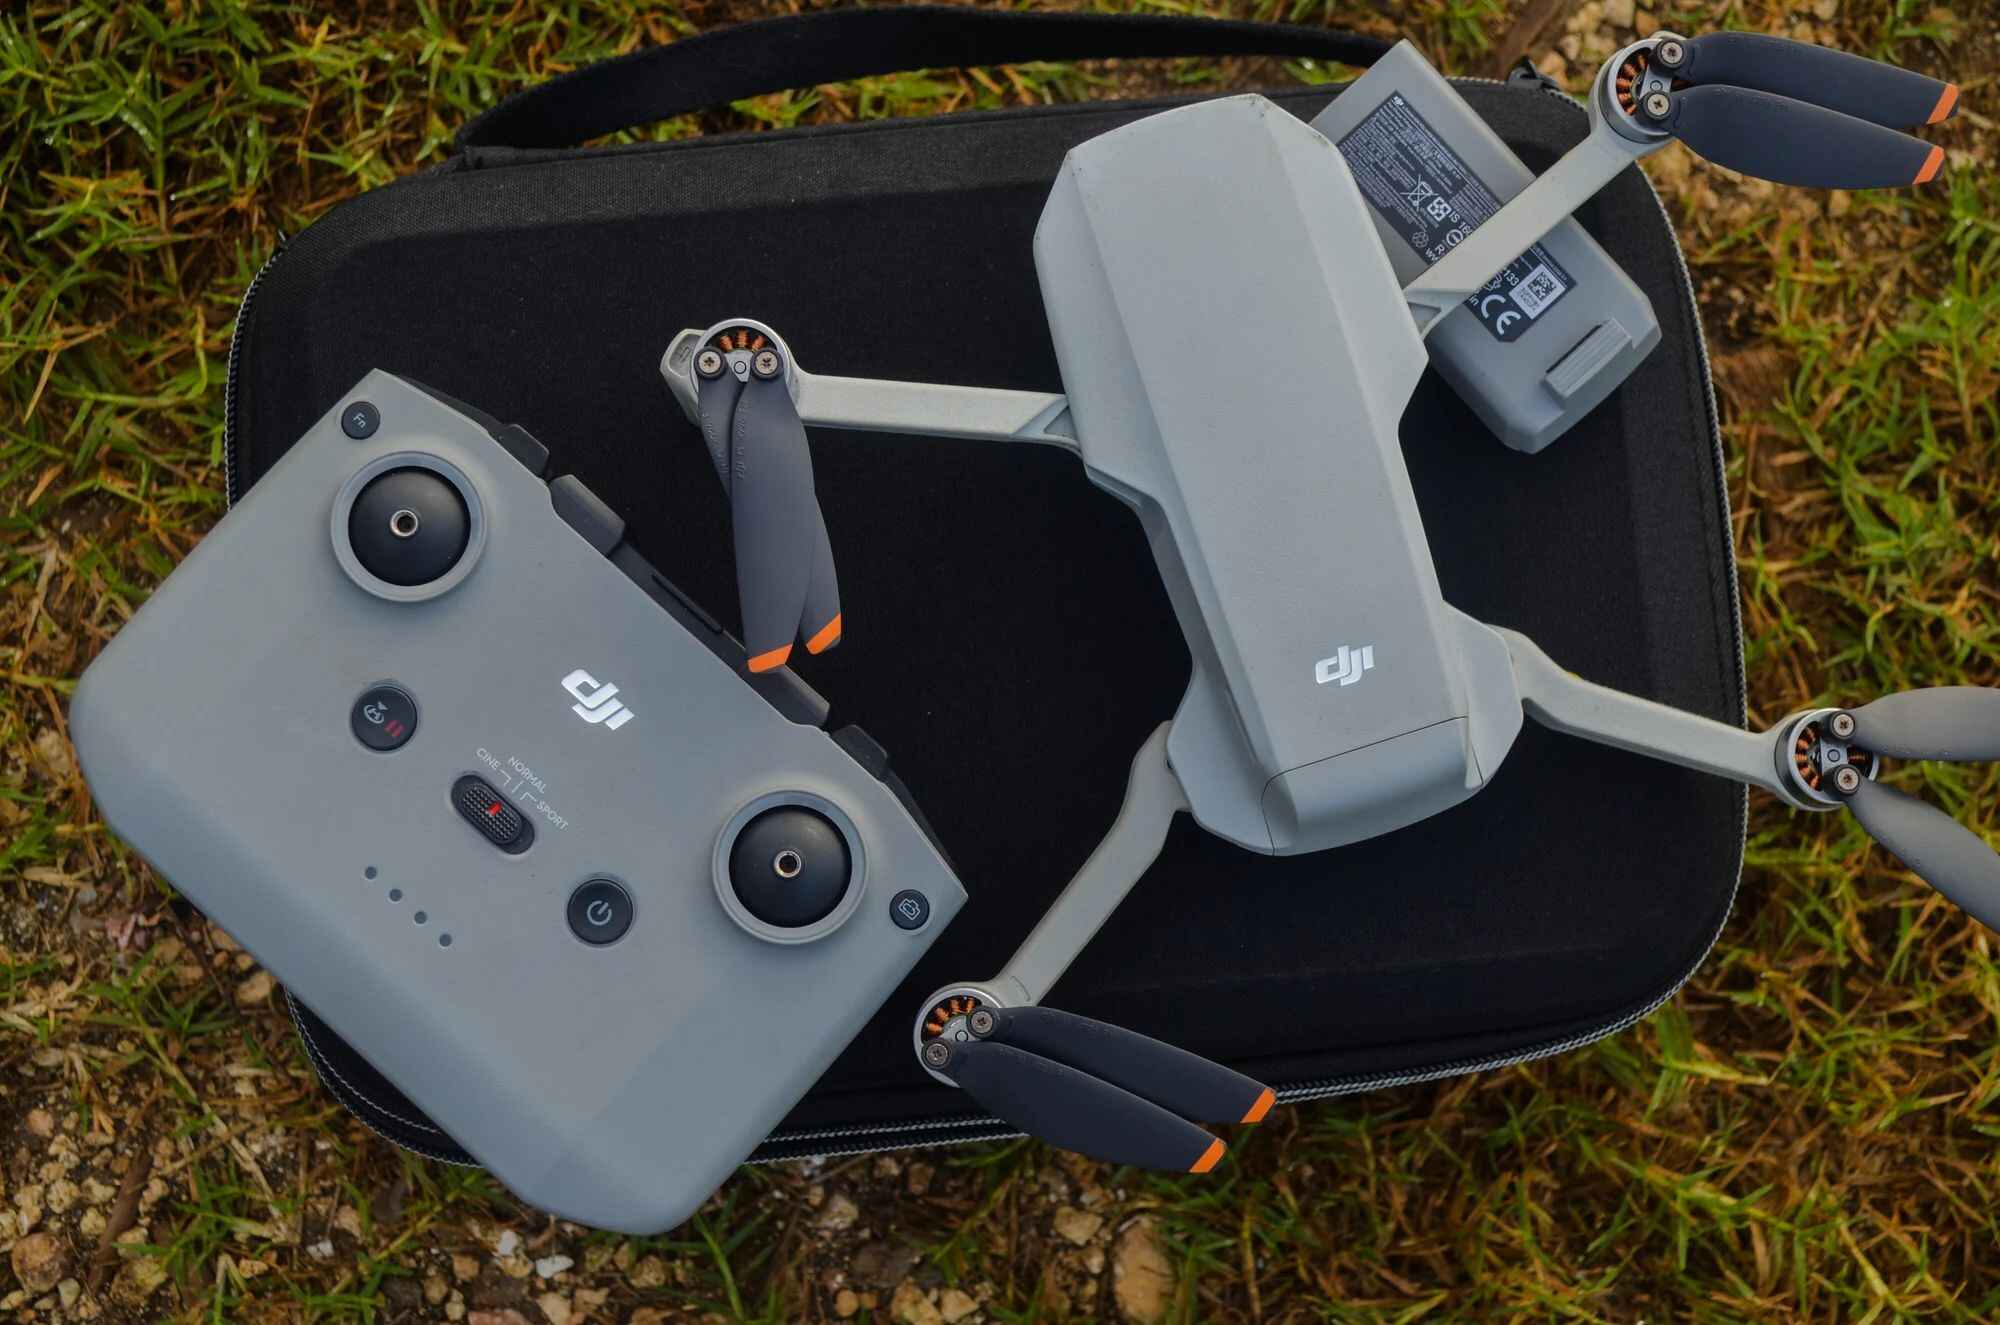
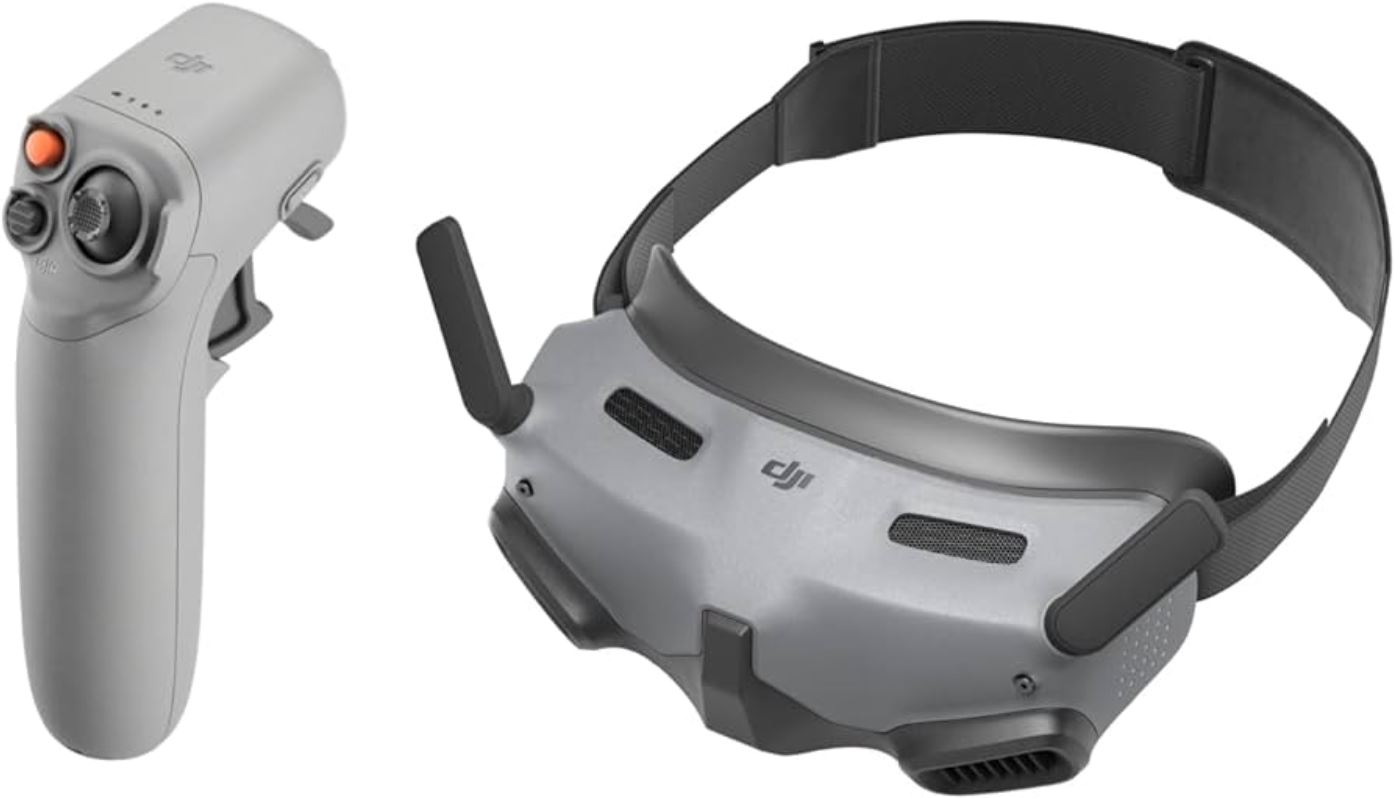
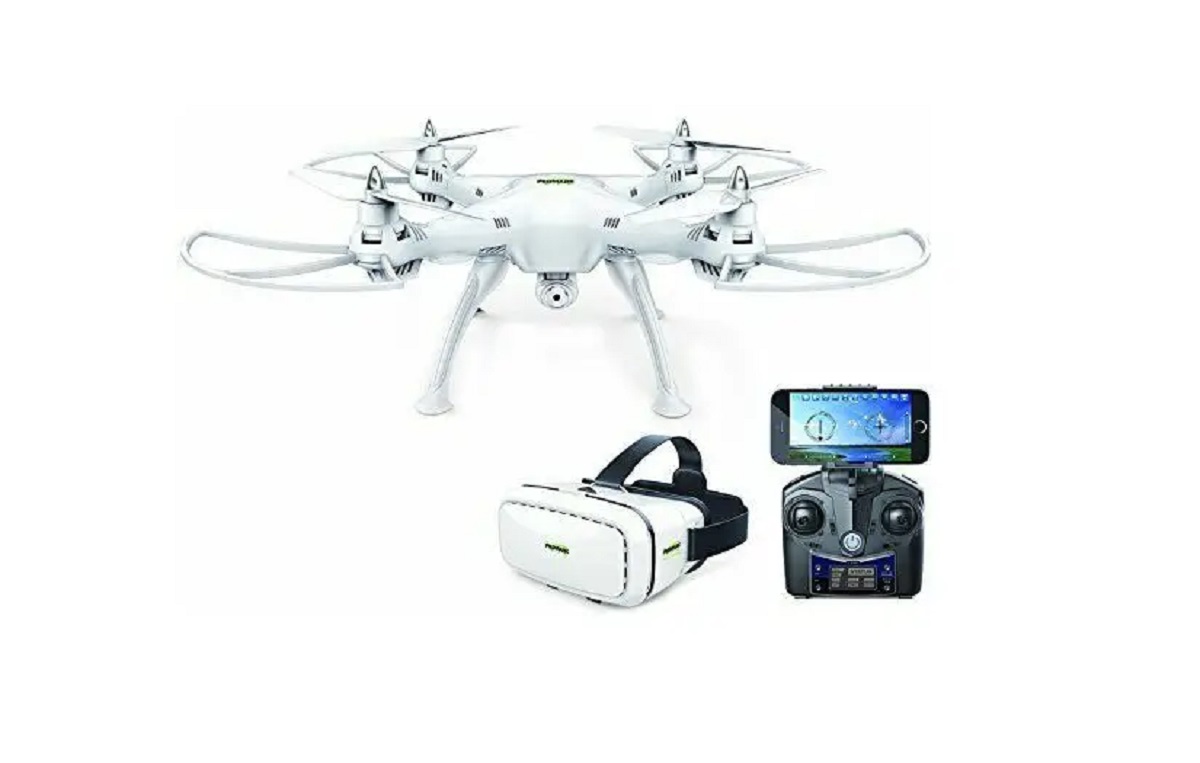
- DJI Controller: You will need a DJI controller that is compatible with your drone model. Different drones may have different controllers, so ensure you have the correct one.
- USB Cable: You will require a USB cable that is compatible with your DJI controller. Most modern DJI controllers use a USB Type-C or micro-USB port, so make sure you have the appropriate cable.
- DJI Assistant Software: Install the DJI Assistant software on your PC. It is a free software provided by DJI and supports various DJI products, including controllers. Make sure to download and install the latest version from the official DJI website.
- PC System Requirements: The DJI Assistant software has specific system requirements. Ensure that your PC meets the minimum requirements, including the operating system version and processor specifications.
- Internet Connection: A stable internet connection is necessary to download and install the DJI Assistant software and any firmware updates that might be required for your DJI controller.
Once you have all the necessary requirements in place, you can proceed to connect your DJI controller to your PC. Make sure to double-check that your controller is compatible with the DJI Assistant software and that you have the appropriate USB cable for connection.
Now that you have everything you need, let’s move on to the step-by-step process of connecting your DJI controller to your PC.
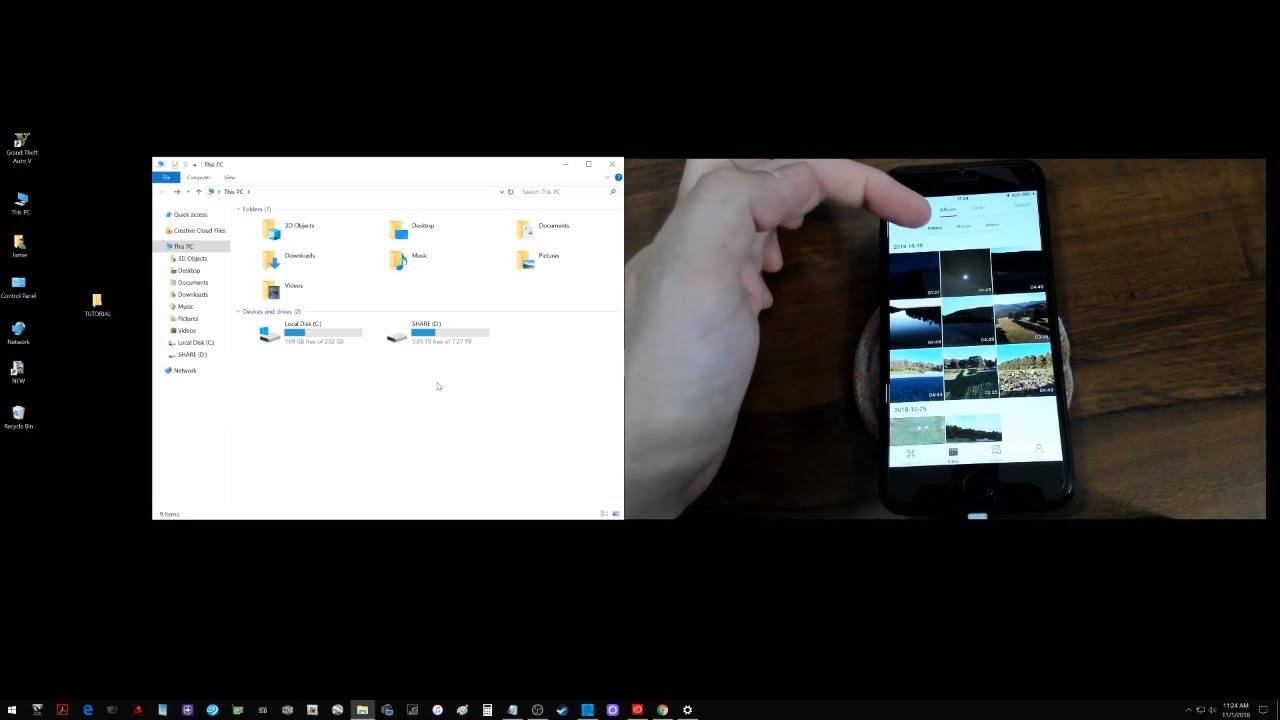
Step 1: USB Cable Connection
The first step in connecting your DJI controller to your PC is to establish a physical connection using a USB cable. Here’s how to do it:
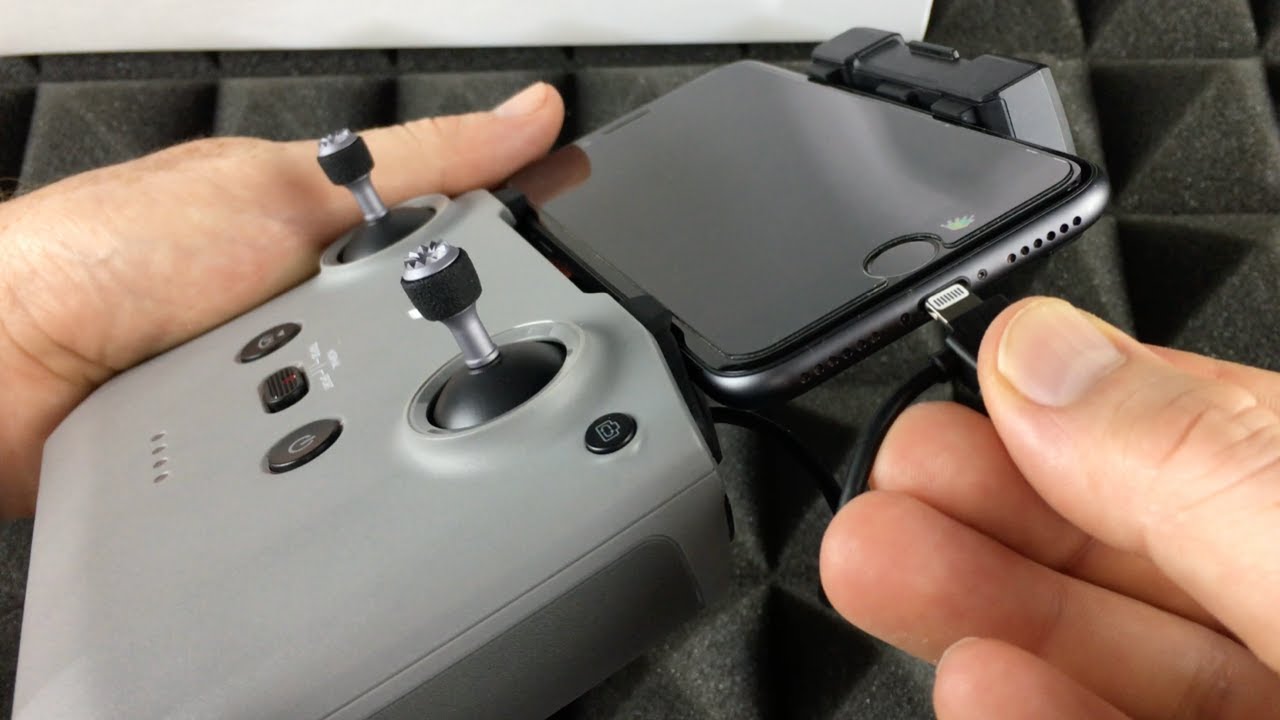
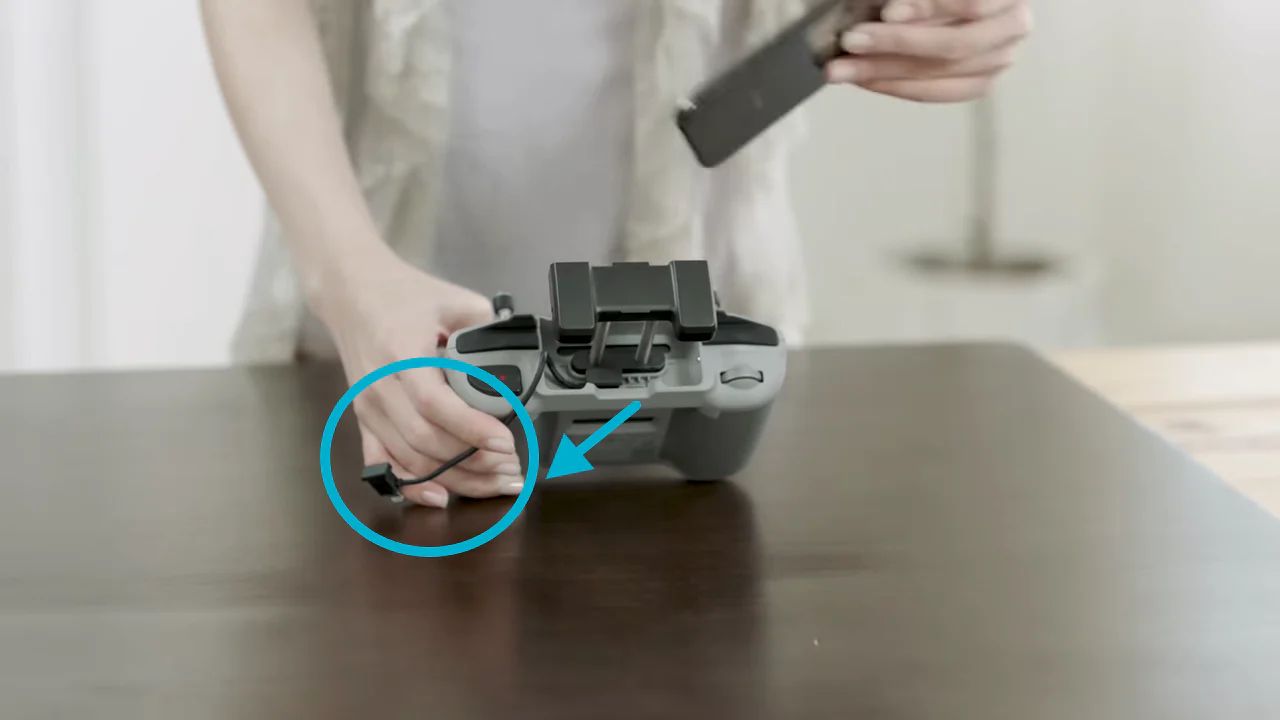
- Locate the USB port on your DJI controller. The port is typically located on the side or bottom of the controller.
- Take the USB cable that is compatible with your DJI controller and connect one end to the USB port on the controller.
- Connect the other end of the USB cable to an available USB port on your PC.
- Ensure that the USB cable is securely connected to both the controller and the PC.
Once you have successfully connected the USB cable, you have established the physical connection between your DJI controller and your PC. This connection allows for data transfer and communication between the two devices.
Please note that some DJI controllers may require additional steps for USB connection, such as enabling USB mode or adjusting settings within the controller’s menu. Refer to your controller’s user manual for specific instructions on how to configure the USB connection.
Now that you have completed the USB cable connection, you can proceed to the next step: installing the DJI Assistant software on your PC.
Step 2: Installing DJI Assistant
Before you can connect your DJI controller to your PC, you need to install the DJI Assistant software. The DJI Assistant software allows you to configure and update your DJI controller firmware. Here’s how to install it:
- Go to the official DJI website and navigate to the Downloads section.
- Look for the DJI Assistant software and click on the download link.
- Once the download is complete, locate the installation file on your computer and run it.
- Follow the on-screen instructions to install the DJI Assistant software. Make sure to choose the appropriate installation location and select any additional components or drivers that may be required.
- After the installation is complete, you should see the DJI Assistant software icon on your desktop or in your program files.
It’s important to always download the latest version of the DJI Assistant software from the official DJI website to ensure compatibility and access to the most up-to-date features. Updating the software periodically is also recommended.
With the DJI Assistant software successfully installed on your PC, you are now ready to move on to the next step: powering on your DJI controller.
Step 3: Power on the Controller
Now that you have installed the DJI Assistant software on your PC, it’s time to power on your DJI controller. Follow these steps to turn on the controller:
- Locate the power button on your DJI controller. The location may vary depending on the model, so refer to your controller’s user manual for specific instructions.
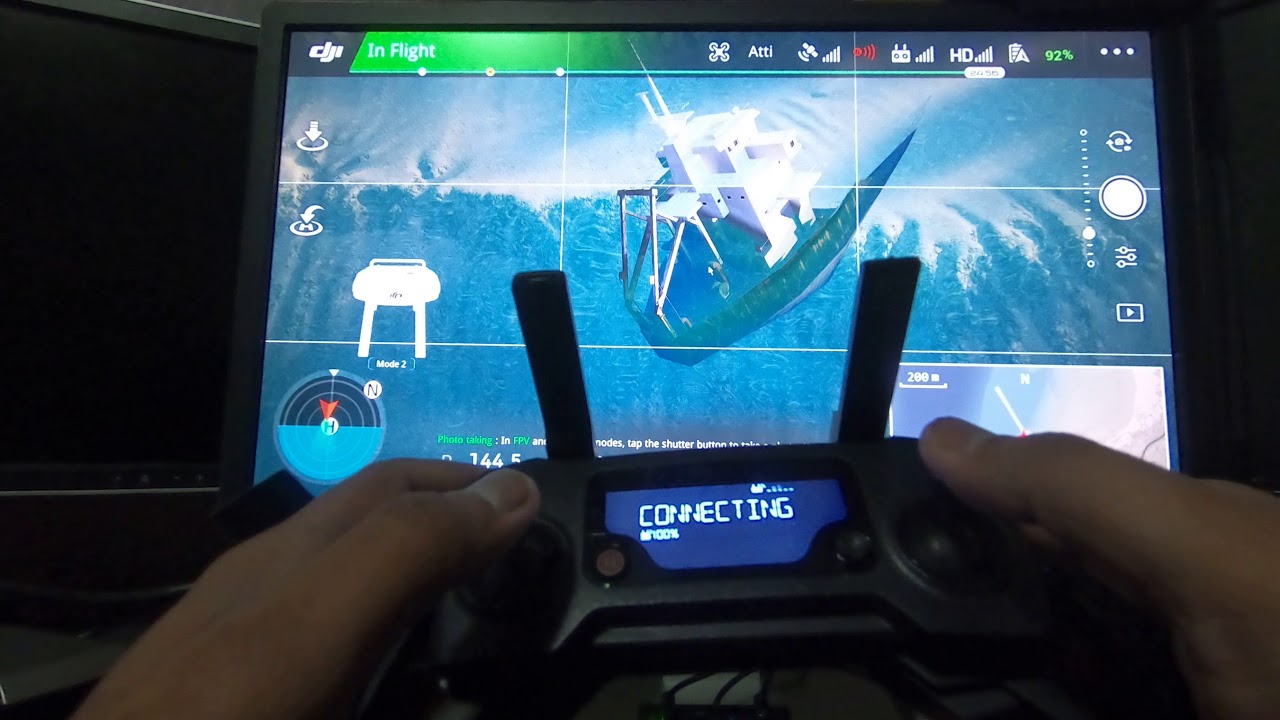
- Press and hold the power button for a few seconds until the controller lights up or the display screen turns on.
- Wait for the controller to finish its startup process. This may take a few moments as the controller initializes.
Once the controller is powered on, you will be able to see the display screen and navigate through the controller’s menu using the buttons and controls provided.
It’s important to note that some DJI controllers may require additional steps, such as entering a password or activating the controller through a mobile device, before they can be fully powered on. Refer to your controller’s user manual for any specific power-on instructions.
Now that your DJI controller is powered on, you’re ready to move on to the next step: launching the DJI Assistant software on your PC.
Step 4: Launching DJI Assistant
With your DJI controller powered on, it’s time to launch the DJI Assistant software on your PC. Follow these steps to access the software:
- Locate the DJI Assistant software icon on your desktop or in your program files.
- Double-click on the icon to open the DJI Assistant software.
- Wait for the software to launch. It may take a few seconds to load.
Once the DJI Assistant software is successfully launched, you will be greeted with the interface that provides various options and settings for your DJI products.
If you encounter any issues launching the DJI Assistant software, make sure that it is installed correctly and that your PC meets the minimum system requirements. You may need to reinstall the software or update your PC’s drivers.
Now that you have successfully launched the DJI Assistant software, you’re ready to move on to the next step: connecting your DJI controller to your PC.
Step 5: Connecting the Controller to PC
Now that you have the DJI Assistant software running on your PC, it’s time to establish the connection between your DJI controller and the computer. Here’s how to do it:
- Make sure that your DJI controller is powered on and that the USB cable is securely connected to both the controller and the PC.
- In the DJI Assistant software, look for the option to connect your controller. This option is typically located in the settings or device management section.
- Click on the “Connect” or “Pair” button within the DJI Assistant software. It may take a few moments for the software to detect and establish the connection with your controller.
- Once the connection is established, you should see a notification or confirmation message indicating a successful connection. The DJI Assistant software may also display the controller’s model and firmware information.
If you encounter any issues during the connection process, double-check that the USB cable is properly connected and that your DJI controller is powered on. You may also need to restart the DJI Assistant software or reconnect the USB cable.
Once the controller is successfully connected to your PC, you can proceed to access the various settings and options provided by the DJI Assistant software. This includes updating firmware, adjusting flight parameters, and customizing the controller’s functions.
Now that you have successfully connected your DJI controller to your PC, you’re ready to move on to the final step: finalizing the connection.
Step 6: Finalizing the Connection
After establishing the connection between your DJI controller and your PC, it’s important to finalize the connection to ensure a stable and reliable communication. Here’s what you need to do:
- Verify that the DJI Assistant software is displaying the correct model and firmware information for your DJI controller. This ensures that the connection is established with the intended device.
- Check for any available firmware updates for your DJI controller within the DJI Assistant software. Keeping your firmware up to date is important for performance improvements and accessing the latest features.
- If there are firmware updates available, follow the on-screen instructions to download and install the updates. Make sure that your DJI controller remains connected to your PC throughout the update process.
- Once the firmware update is complete, disconnect and reconnect your DJI controller to ensure that the updated firmware is properly recognized by both the controller and the DJI Assistant software.
- Take some time to explore the various settings and options provided by the DJI Assistant software. This allows you to customize your DJI controller, adjust flight parameters, and access advanced features.
By finalizing the connection and ensuring that your DJI controller is running the latest firmware, you can maximize its performance and unlock its full potential. Remember to periodically check for updates and make any necessary adjustments to optimize your flying experience.
If you encounter any issues or have further questions about the connection process or the DJI Assistant software, refer to the user manual or online resources provided by DJI. They offer extensive support and troubleshooting guides to assist you in resolving any technical difficulties.
Congratulations! You have successfully connected your DJI controller to your PC and are now ready to experience the enhanced control and features it offers.
Troubleshooting
While connecting your DJI controller to your PC is usually a straightforward process, you may encounter some common issues along the way. Here are a few troubleshooting tips to help you resolve any potential problems:
- Check the USB cable: Ensure that the USB cable you are using is in good condition and properly connected to both the DJI controller and your PC. Try using a different USB cable to rule out any cable-related issues.
- Restart the DJI Assistant software: Close the DJI Assistant software and relaunch it. Sometimes, a software glitch or compatibility issue can cause connection problems. Restarting the software often resolves such issues.
- Restart your PC: If you’re still experiencing connection issues, try restarting your computer. This can help refresh the system and resolve any software conflicts that may be preventing a successful connection.
- Update DJI Assistant software: Make sure you have the latest version of the DJI Assistant software installed on your PC. Outdated software can sometimes be incompatible with newer DJI controllers and cause connection problems.
- Check for driver updates: Ensure that the drivers on your PC are up to date. Outdated or incompatible drivers can interfere with the connection between your DJI controller and your PC. Check the manufacturer’s website for any available driver updates.
- Try a different USB port: If you’re having trouble connecting your DJI controller to a specific USB port on your PC, try using a different USB port. Sometimes, certain ports can have compatibility or power delivery issues.
- Restart the DJI controller: If your DJI controller is unresponsive or not recognized by the DJI Assistant software, try restarting the controller. This can help reset any temporary glitches or issues with the controller itself.
- Reinstall DJI Assistant software: If all else fails, uninstall the DJI Assistant software from your PC and reinstall it. This can help fix any corrupted files or installation errors that may be causing connection problems.
If none of these troubleshooting steps resolve your issue, it’s recommended to reach out to DJI’s customer support or visit their online community forums for further assistance. They have a dedicated support team and a vast community of users who can help troubleshoot and resolve any specific issues you may be facing.
Remember, patience and persistence are key when troubleshooting. In most cases, the connection issues can be resolved with some troubleshooting steps or guidance.
Conclusion
Connecting your DJI controller to your PC opens up a world of possibilities for drone enthusiasts and professionals. Whether you want to access advanced settings, update firmware, or even control your drone from your computer, establishing a connection between your controller and your PC is a crucial step.
In this guide, we have walked you through the step-by-step process of connecting your DJI controller to your PC. We started with ensuring you have the necessary requirements, including a compatible DJI controller, a USB cable, and the DJI Assistant software. Then, we covered the process of connecting the controller to your PC using the USB cable, installing the DJI Assistant software, and launching it to establish the connection.
We also discussed the importance of finalizing the connection by verifying the firmware, checking for updates, and exploring the various settings provided by the DJI Assistant software.
Throughout the guide, we provided troubleshooting tips to help you overcome any potential issues you may encounter during the connection process. These troubleshooting steps include checking the USB cable, restarting the software and PC, updating drivers and software, and trying different USB ports.
Remember, patience and persistence are key when troubleshooting, and reaching out to DJI’s customer support or online community can provide valuable guidance if needed.
By successfully connecting your DJI controller to your PC, you can now enjoy the benefits of enhanced control, advanced features, and the convenience of managing your DJI controller settings from your computer.
Now that you have the knowledge and confidence to connect your DJI controller to your PC, it’s time to experience the power and possibilities that lie ahead for your drone piloting journey.