Introduction
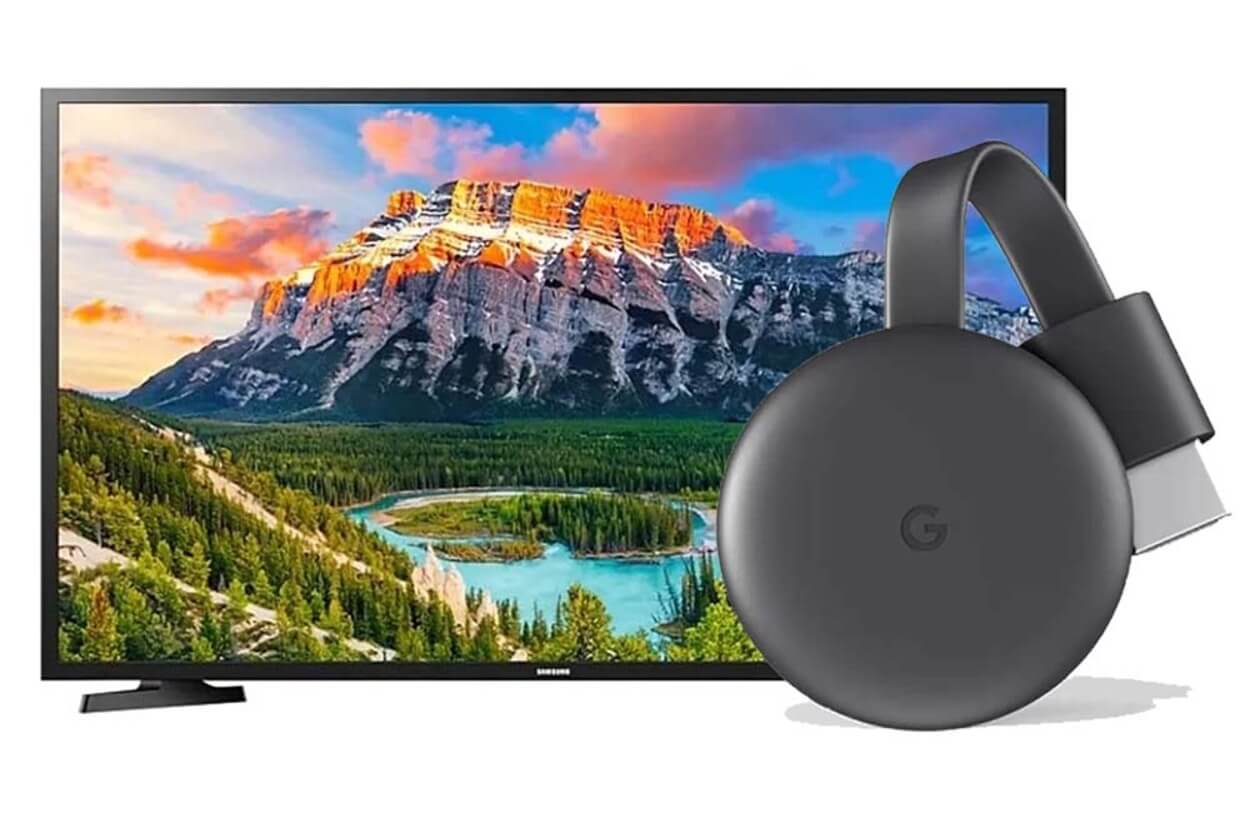
Are you looking to connect your Chromecast device to your Samsung TV? Well, you’ve come to the right place! Chromecast is a popular media streaming device that allows you to cast your favorite movies, TV shows, and videos directly onto your television. It’s a convenient and easy way to enjoy your favorite content without the need for cables or complicated setups.
Samsung TVs are known for their high-quality displays and advanced features, making them a perfect companion for your Chromecast. Whether you want to stream Netflix, YouTube, or any other streaming service, setting up Chromecast on your Samsung TV will provide you with endless entertainment options at your fingertips.
In this guide, we will walk you through the step-by-step process of connecting your Chromecast to your Samsung TV. We will cover everything from checking your TV’s compatibility to customizing the Chromecast settings to ensure you have the best streaming experience possible.
So, grab your Chromecast device and let’s get started on this exciting journey to transforming your Samsung TV into a multimedia powerhouse!
Step 1: Check Your Samsung TV
Before you begin the process of connecting your Chromecast to your Samsung TV, it’s essential to ensure your TV is compatible with the device. Here’s how you can check:
1. Check for an HDMI port: Chromecast requires an HDMI port on your TV to connect. Take a look at the back or side of your Samsung TV and locate the HDMI ports. They are usually labeled as HDMI 1, HDMI 2, and so on.
2. Verify the HDMI version: Chromecast works best with HDMI 2.0 or later versions. If your TV is relatively new, chances are it supports HDMI 2.0 or higher. However, if you have an older model, it might only have HDMI 1.4. While Chromecast can still work with HDMI 1.4, you may experience limitations in terms of video quality and performance.
3. Consider HDCP compatibility: HDCP (High-bandwidth Digital Content Protection) is a type of copy protection used by certain streaming apps and services. Ensure that your Samsung TV supports HDCP 2.2 or later to prevent any compatibility issues when streaming content from these sources.
By checking these three aspects, you can determine whether your Samsung TV is suitable for connecting Chromecast. If your TV meets the requirements, you can proceed to the next steps without any concerns. However, if it doesn’t, you may need to consider alternative streaming solutions or upgrade your TV to fully enjoy the benefits of Chromecast.
Now that you’ve confirmed your Samsung TV’s compatibility, it’s time to move on to the next step in the process – installing the Google Home app.
Step 2: Install the Google Home App
To set up and control your Chromecast device, you’ll need to install the Google Home app on your smartphone or tablet. The Google Home app is available for both Android and iOS devices and acts as a central hub for managing all your connected Google devices.
Here’s how you can install the Google Home app:
1. Open the app store: Launch the app store on your smartphone or tablet. For Android users, open the Google Play Store, and for iOS users, open the App Store.
2. Search for “Google Home”: In the app store’s search bar, type “Google Home” and tap on the search icon.
3. Select the app: Look for the official “Google Home” app, developed by Google LLC. Tap on it to open the app’s page.
4. Install the app: On the app’s page, tap on the “Install” or “Get” button to begin the installation process. The app will download and install onto your device.
5. Open the app: Once the installation is complete, tap on the “Open” button to launch the Google Home app.
6. Sign in or create an account: If you already have a Google account, sign in using your credentials. If not, you can create a new account by following the on-screen instructions.
Now that you have the Google Home app installed and ready to go, you’re one step closer to connecting your Chromecast to your Samsung TV. The app will guide you through the setup process and allow you to customize various settings for an optimal streaming experience.
In the next step, we’ll go through the process of connecting your Chromecast device to your TV.
Step 3: Connect Chromecast to Your TV
Now that you have the Google Home app installed on your smartphone or tablet, it’s time to connect your Chromecast device to your Samsung TV. Follow these steps to get started:
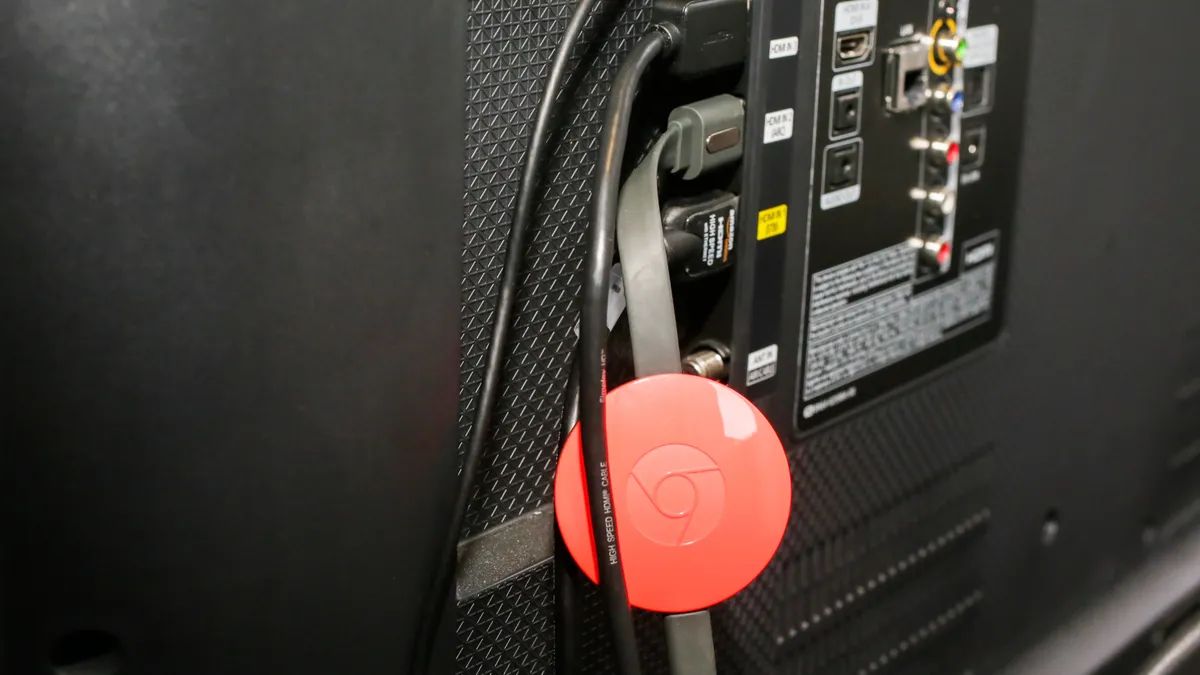
1. Plug in the Chromecast: Connect the Chromecast device to an available HDMI port on your Samsung TV. Make sure to remember which HDMI port you used as you will need it during the setup process.
2. Power up the Chromecast: Plug the USB power cable into the Chromecast device and connect the other end to a USB port on your TV or use the power adapter provided. Ensure that your Chromecast is receiving power.
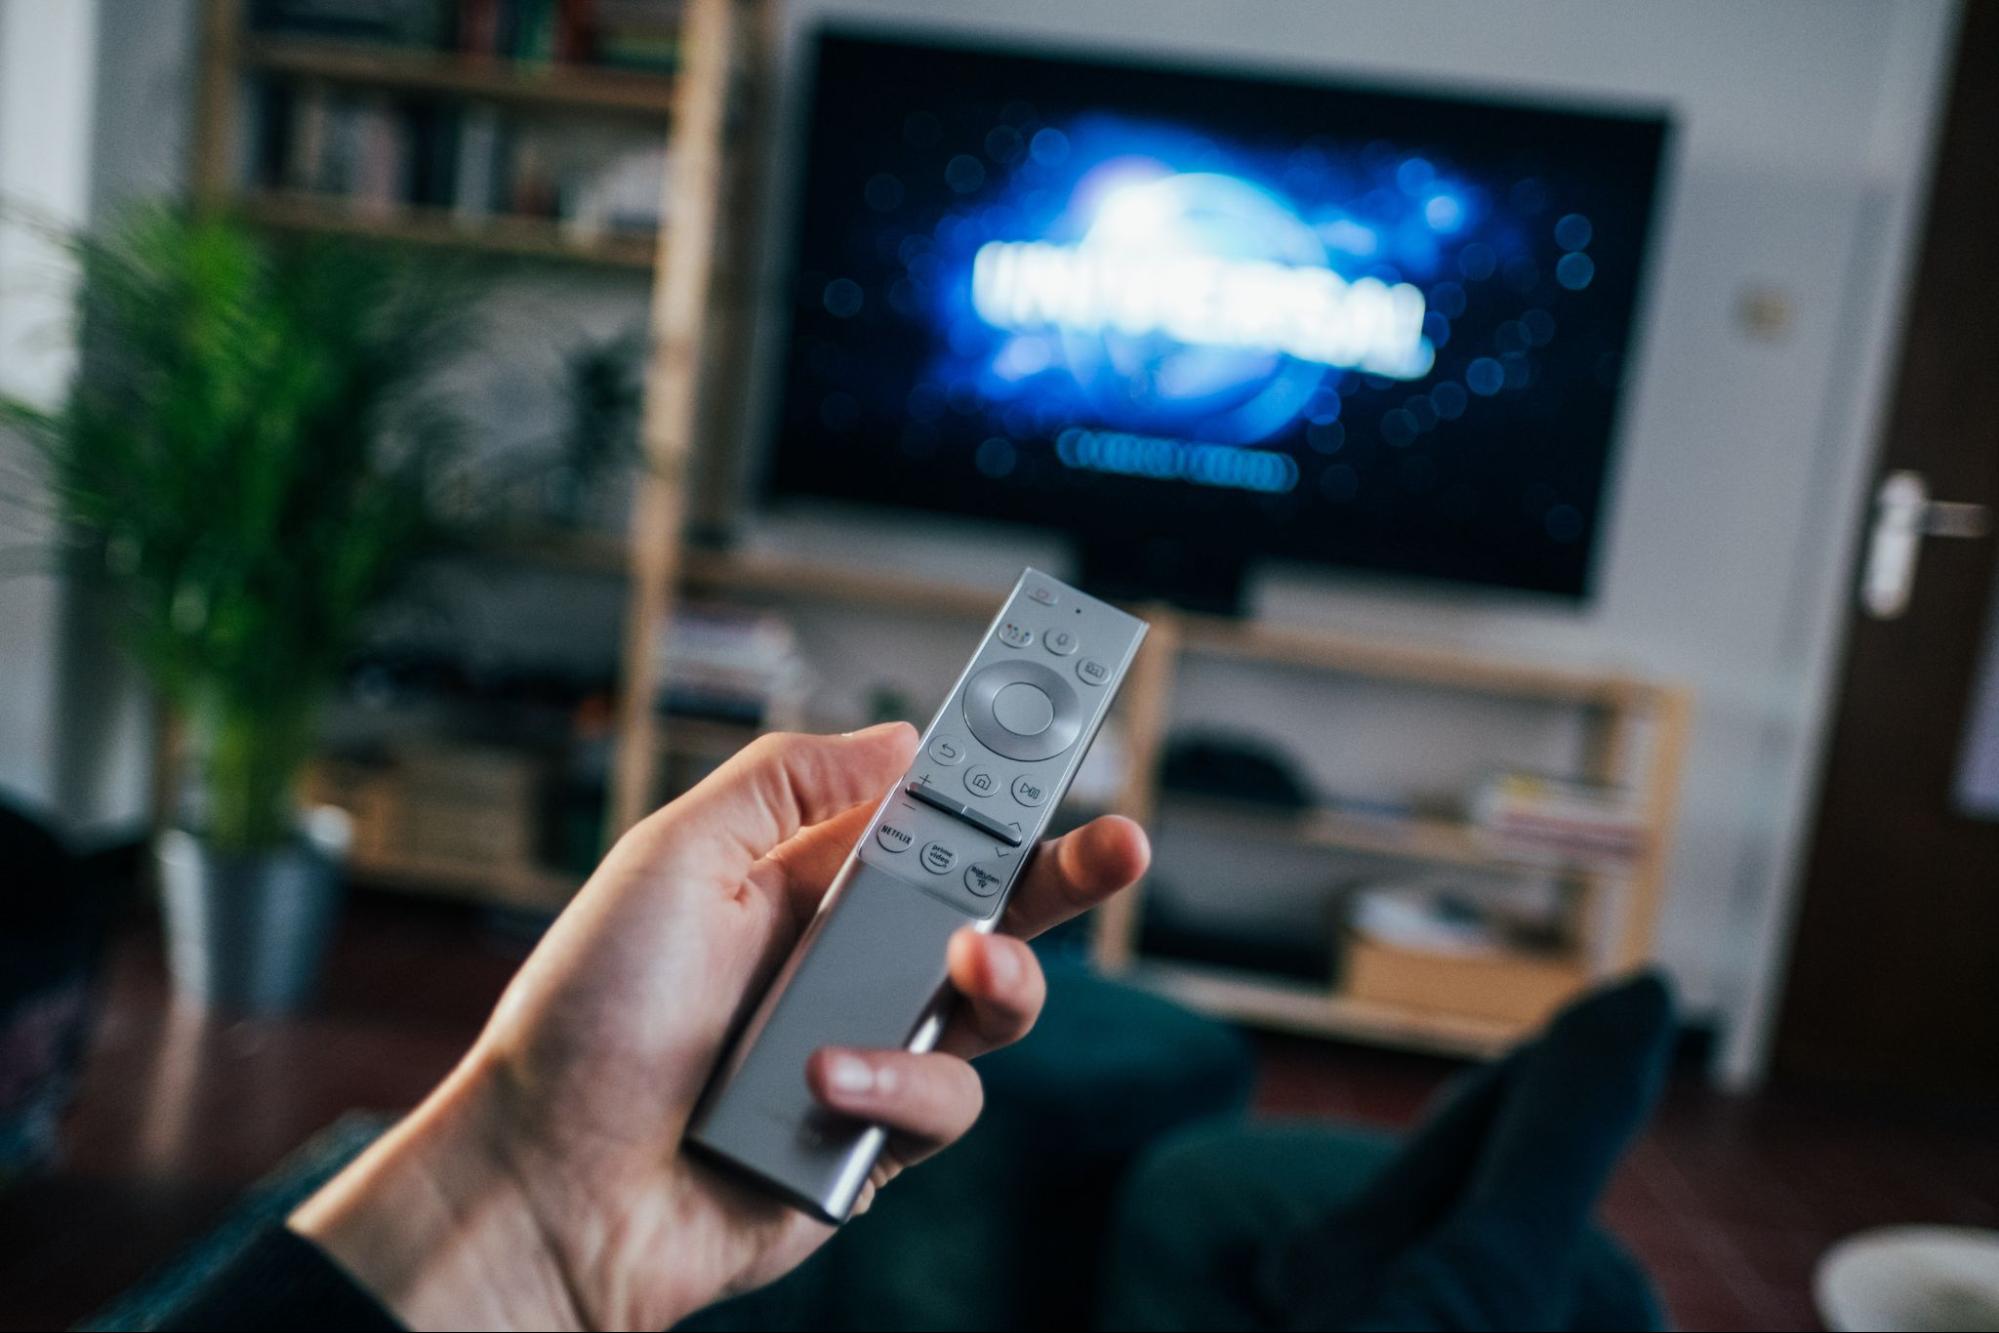
3. Change the TV input source: Use your Samsung TV remote to navigate to the HDMI input you connected the Chromecast to. This is usually done by pressing the “Source” or “Input” button on your remote and selecting the corresponding HDMI input.
4. Follow the on-screen instructions: On your smartphone or tablet, open the Google Home app. The app should automatically detect your Chromecast device and display a setup prompt. Follow the on-screen instructions to proceed with the setup.
5. Connect to the Chromecast’s Wi-Fi network: During the setup process, you’ll be prompted to connect your smartphone or tablet to the Chromecast’s Wi-Fi network. This allows the devices to communicate with each other. Follow the instructions in the Google Home app to connect.
6. Confirm the connection: Once connected, the Google Home app will verify the connection with your Chromecast. If successful, you’ll see a confirmation message. Tap “Next” to proceed.
Congratulations! You have successfully connected your Chromecast device to your Samsung TV. You’re now ready to move on to the next step, which involves setting up Chromecast with Google Home for complete control and customization options.
Remember to keep your Chromecast device and smartphone/tablet connected to the same Wi-Fi network to ensure a seamless casting experience.
Step 4: Set Up Chromecast with Google Home
After successfully connecting your Chromecast device to your Samsung TV, it’s time to set it up with the Google Home app. This will allow you to effortlessly control and customize your casting experience. Follow these steps to complete the setup process:
1. Open the Google Home app: Launch the Google Home app on your smartphone or tablet.
2. Tap on the “+” icon: Look for the “+” icon at the top left or bottom right corner of the app’s home screen and tap on it. This will initiate the device setup process.
3. Select “Set up device”: From the list of available options, choose “Set up device” to begin configuring your Chromecast.
4. Choose your home: If you have previously set up a home within the Google Home app, select it from the list. Otherwise, create a new home by following the on-screen instructions.
5. Tap on “Continue”: Read and accept the Terms of Service displayed within the app, then tap on “Continue” to proceed.
6. Wait for the app to discover devices: The Google Home app will search for available devices on your network, including your Chromecast. Once it finds your Chromecast, tap on it to continue.
7. Verify the code: The Google Home app will display a unique code on both your smartphone or tablet and the TV connected to your Chromecast. Confirm that the codes match and tap on “Yes” to continue.
8. Choose your Wi-Fi network: Select your Wi-Fi network from the list and enter the password if prompted. This will connect your Chromecast to the internet for seamless streaming.
9. Confirm the settings: The Google Home app will display a summary of the setup process. Review the settings and tap on “Next” to proceed.
10. Customize your preferences: Follow the on-screen instructions to personalize your Chromecast settings, such as choosing a device name, enabling Guest Mode, or setting up Voice Match.
Once you’ve completed the setup process, your Chromecast is now fully integrated with the Google Home app. You can now control your Chromecast using the app, cast content from your favorite streaming apps, and enjoy a personalized streaming experience on your Samsung TV.
In the next step, we’ll guide you through connecting your Chromecast to your Wi-Fi network for seamless streaming capabilities.
Step 5: Connect Your Chromecast to Wi-Fi
Now that your Chromecast is set up with Google Home, it’s time to connect it to your Wi-Fi network. This step is crucial as it enables your Chromecast to access the internet and allows you to stream your favorite content. Follow these steps to connect your Chromecast to Wi-Fi:
1. Open the Google Home app: Launch the Google Home app on your smartphone or tablet.
2. Tap on the Chromecast device: From the main screen of the app, locate and tap on your Chromecast device.
3. Tap on the gear icon: In the top right corner of the screen, you’ll find a gear icon representing the settings. Tap on it to access the Chromecast settings.
4. Select “Wi-Fi”: Within the settings menu, select “Wi-Fi” to proceed with the Wi-Fi setup.
5. Tap on “Set up new Wi-Fi”: If your Chromecast is currently not connected to Wi-Fi, tap on “Set up new Wi-Fi” to begin the setup process.
6. Choose your Wi-Fi network: Select your Wi-Fi network from the list of available networks. If your network is hidden, tap on “Add network” and manually enter the network name (SSID) and password.
7. Enter your Wi-Fi password (if necessary): If prompted, enter your Wi-Fi password to authenticate the connection. Make sure to enter the correct password to avoid any connection issues.
8. Wait for the connection: Your Chromecast will connect to the selected Wi-Fi network. This may take a few moments. Once connected, you’ll see a confirmation message on the Google Home app.
Congratulations! Your Chromecast is now connected to your Wi-Fi network, enabling seamless streaming of content from various apps and services. You can now start casting your favorite movies, TV shows, and videos to your Samsung TV using your smartphone or tablet. Ensure that your casting device and Chromecast are connected to the same Wi-Fi network for optimal performance.
In the next step, we’ll discuss how you can customize the settings of your Chromecast to enhance your streaming experience.
Step 6: Customize Chromecast Settings
Once your Chromecast is connected to Wi-Fi, you have the option to customize its settings to tailor your streaming experience to your preferences. Here are some settings you can explore and modify:
1. Device Name: Give a unique name to your Chromecast device. This can be helpful when you have multiple Chromecast devices in your home or when casting content from specific apps.
2. Ambient Mode: Customize the background images displayed on your TV when your Chromecast is idle. You can choose from various categories such as Art Gallery, Google Photos, or Aerial.
3. Backdrop Settings: Control the type of content that appears on the backdrop screensaver, including weather updates, news headlines, or personal photo albums.
4. Guest Mode: Enable or disable Guest Mode, which allows guests or friends to cast content to your Chromecast without connecting to your Wi-Fi network.
5. Voice Match: Set up Voice Match to personalize your Chromecast experience. This feature allows you to use voice commands to control your Chromecast using the Google Assistant.
6. Privacy Settings: Review and manage the privacy settings for your Chromecast. You can choose to enable or disable features such as crash reporting or usage statistics.
7. Preview Program: Join the Chromecast Preview Program to receive early access to new features and updates. Note that participating in the program may result in occasional software updates and experimental features.
To access and modify these settings:
1. Open the Google Home app on your smartphone or tablet.
2. Tap on your Chromecast device from the main screen.
3. Tap on the gear icon to access the Chromecast settings.
4. Explore the available settings and customize them according to your preferences.
By customizing the settings of your Chromecast, you can enhance your streaming experience and make it more personalized. Take some time to browse through the various options and choose the ones that align with your preferences.
Now that your Chromecast settings are customized, let’s move on to the final step – casting content to your Samsung TV.
Step 7: Cast Content to Your Samsung TV
Now that you have successfully connected and customized your Chromecast, it’s time to start casting your favorite content to your Samsung TV. Follow these steps to cast content:
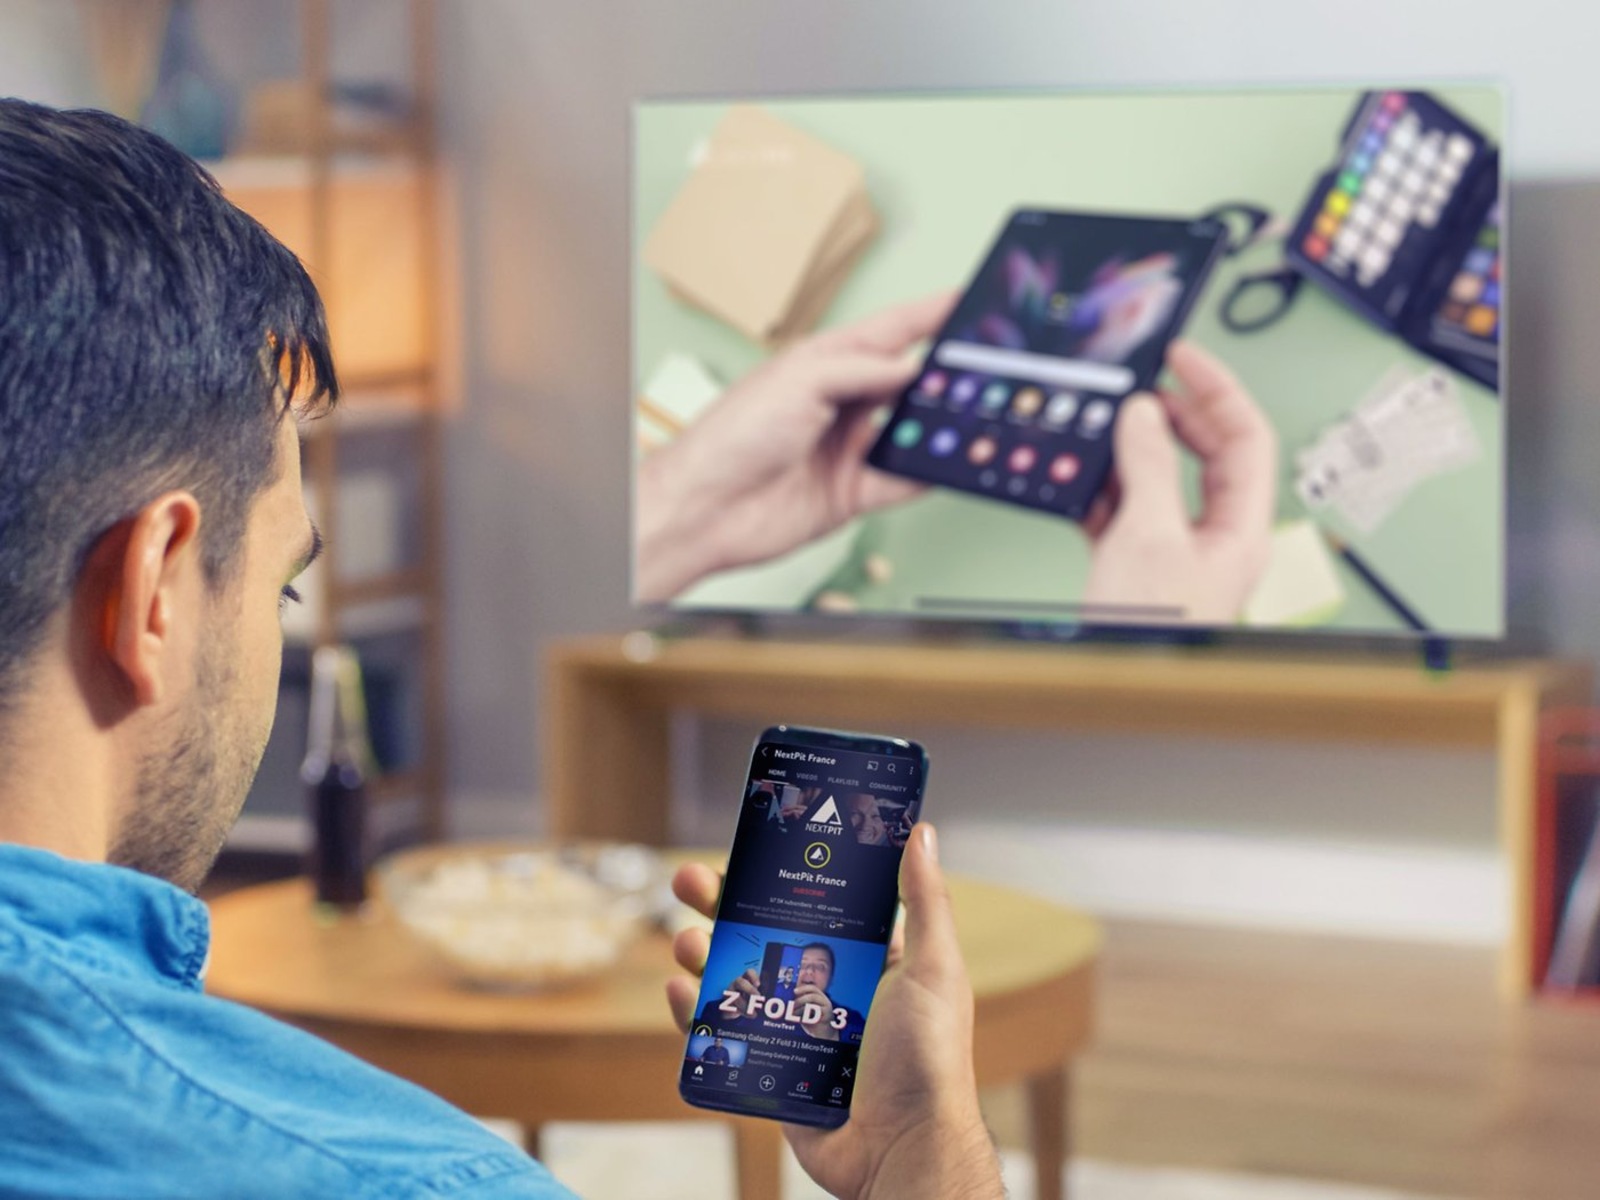
1. Open a supported app: Launch a streaming app on your smartphone or tablet that supports casting, such as Netflix, YouTube, or Spotify.
2. Look for the casting icon: Within the app, look for the casting icon. It is usually represented by a rectangle with a Wi-Fi-like symbol in the corner. Tap on it to proceed.
3. Select your Chromecast device: A list of available devices will appear. Choose your Chromecast device from the list to start casting.
4. Choose the content: Browse through the app and select the movie, TV show, video, or audio track that you want to cast to your TV.
5. Tap on the casting icon again (if necessary): In some apps, you may need to tap the casting icon again and select your Chromecast device to confirm the casting.
6. Enjoy the content: The selected content will start playing on your Samsung TV through the Chromecast. You can control playback using the app on your smartphone or tablet.
7. Disconnect or stop casting: To stop casting, tap on the casting icon in the app again and select “Disconnect” or “Stop Casting.”
You can repeat these steps with any supported app to cast a wide range of content to your Samsung TV. Casting allows you to enjoy your favorite movies, TV shows, music, and more on the big screen, enhancing your overall entertainment experience.
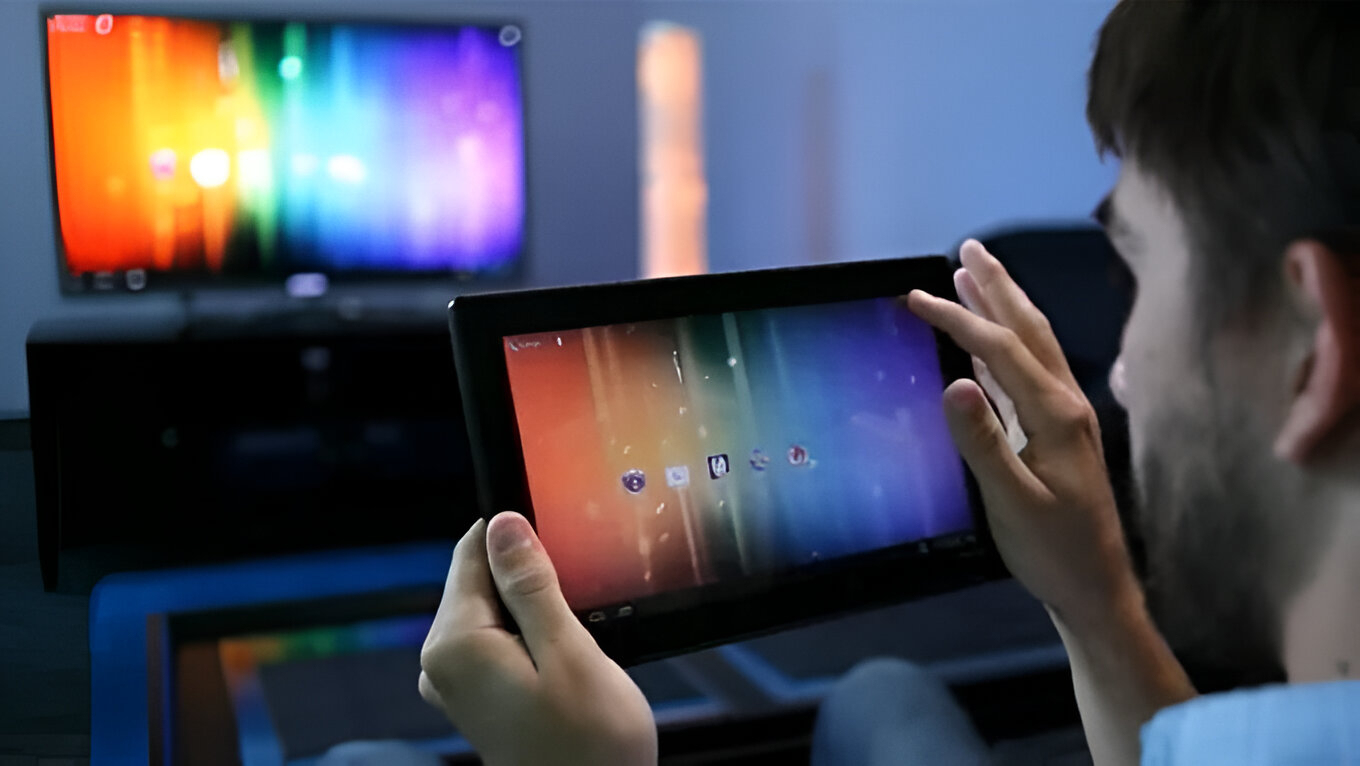
Keep in mind that while casting, your smartphone or tablet acts as the remote control for the Chromecast. You can pause, resume, adjust volume, and even browse for additional content within the app on your device.
Remember to keep your Chromecast, casting device, and Samsung TV connected to the same Wi-Fi network to ensure seamless casting operations.
Congratulations! You have successfully completed the process of connecting your Chromecast to your Samsung TV and casting content. Get ready for an immersive and convenient streaming experience right in the comfort of your living room.
Conclusion
Congratulations on successfully connecting your Chromecast to your Samsung TV! By following the step-by-step guide in this article, you have empowered yourself to enjoy a seamless streaming experience with your favorite apps and content.
Starting from checking the compatibility of your Samsung TV to customizing the settings on your Chromecast, you have learned the essential steps to set up and optimize your streaming device. With the power of the Google Home app and the convenience of casting, you can now effortlessly enjoy movies, TV shows, music, and more on the big screen.
Remember to keep your Chromecast, casting device, and Samsung TV connected to the same Wi-Fi network for optimal performance. This will ensure smooth and uninterrupted streaming of your desired content.
With your Chromecast and Samsung TV connected, you can explore a vast array of streaming services, including Netflix, YouTube, Spotify, and many more. Take advantage of the various customization options available in the Google Home app to personalize your streaming experience.
Whether you’re hosting a movie night, catching up on your favorite TV shows, or enjoying a music playlist, the Chromecast and Samsung TV combo will bring your entertainment to new heights.
So, sit back, relax, and immerse yourself in a world of endless entertainment possibilities with your Chromecast and Samsung TV duo. Enjoy the convenience, simplicity, and high-quality streaming that this setup has to offer.
Thank you for following this guide, and we hope you have a fantastic time streaming your favorite content on your Samsung TV using Chromecast!


