Introduction
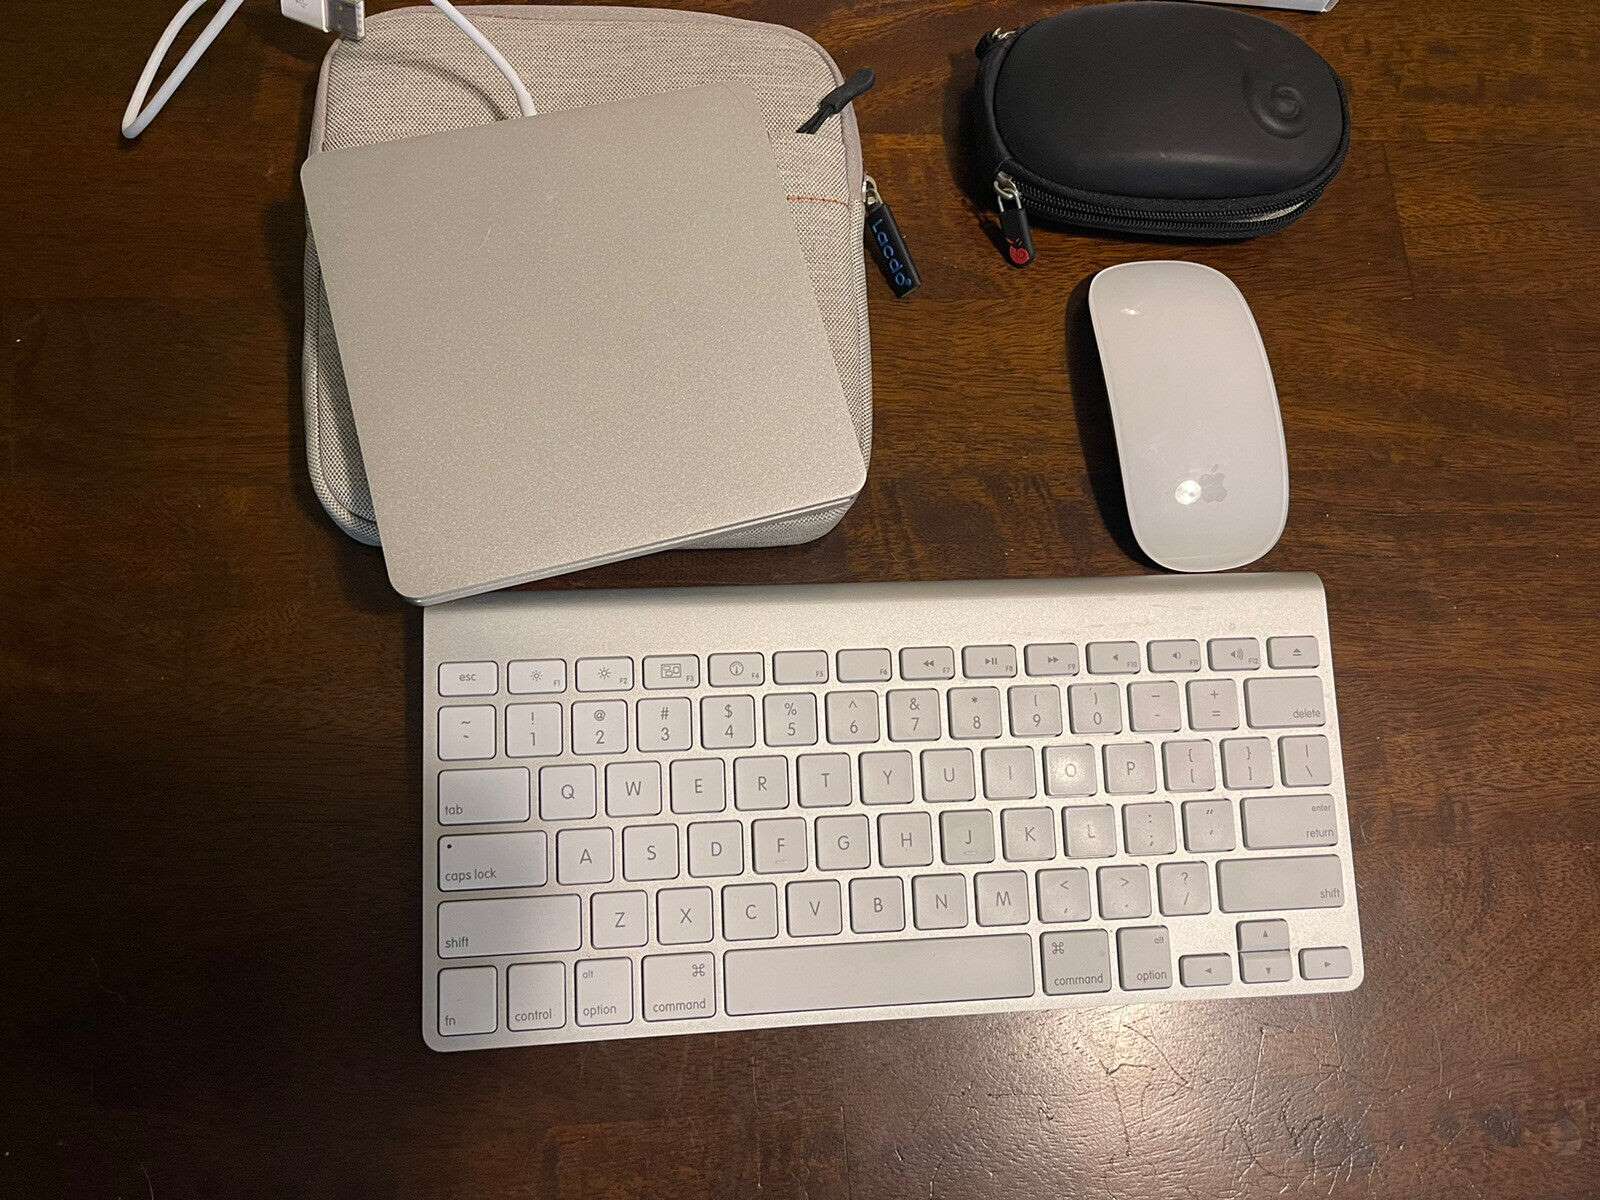
Connecting a Bluetooth mouse to your Mac can greatly enhance your productivity and ease of use. Unlike traditional wired mice, Bluetooth mice offer the freedom to move around without being tethered by cords. Whether you’re a graphic designer, a student, or simply someone who prefers a clutter-free workspace, a Bluetooth mouse is a great addition to your Mac setup.
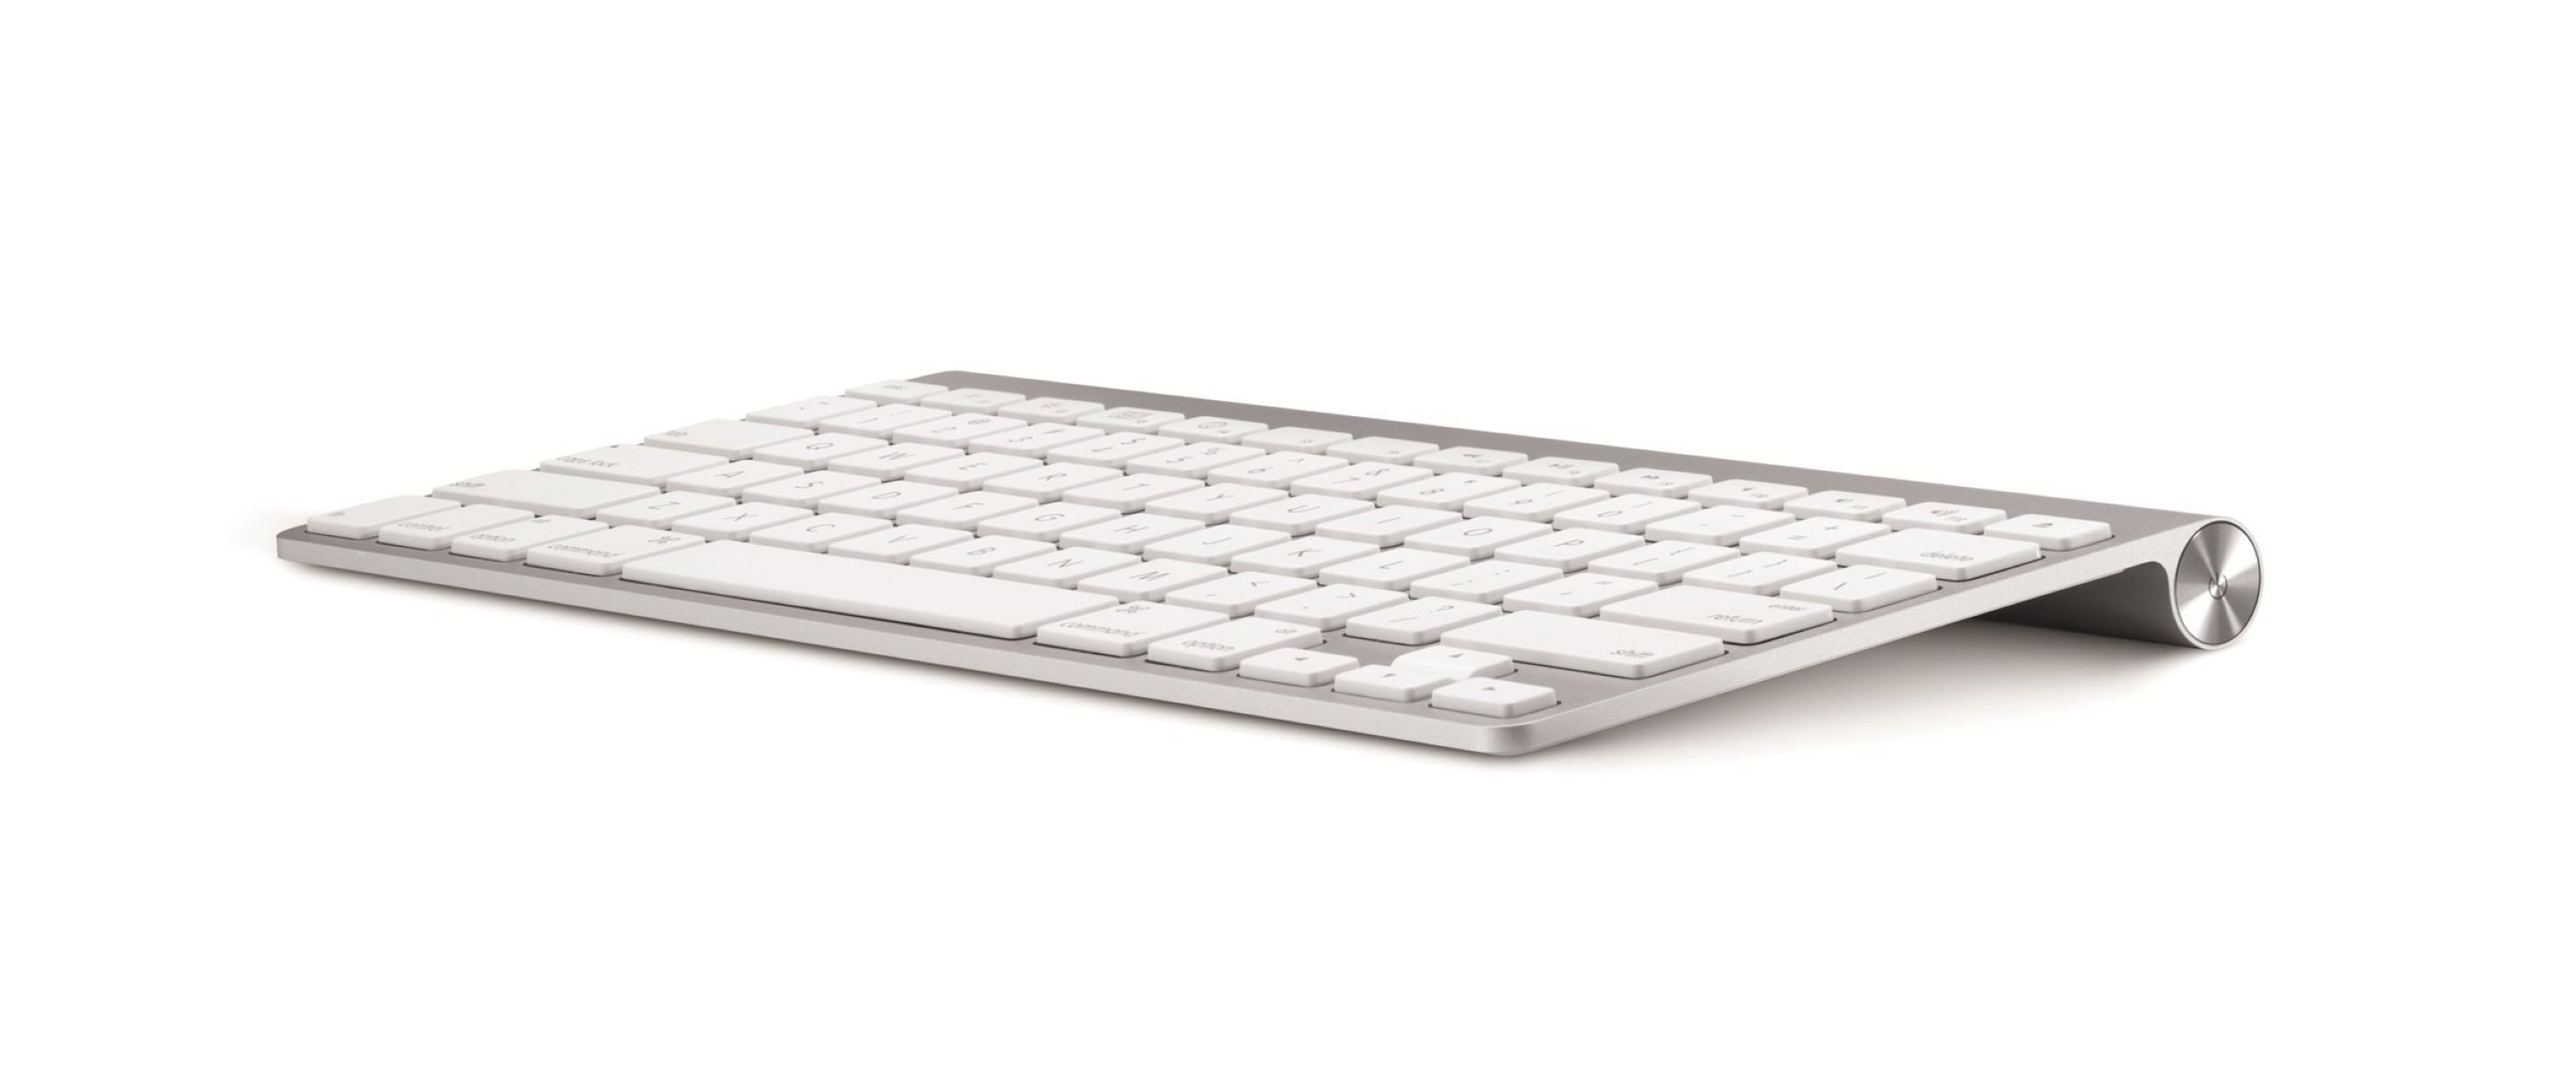
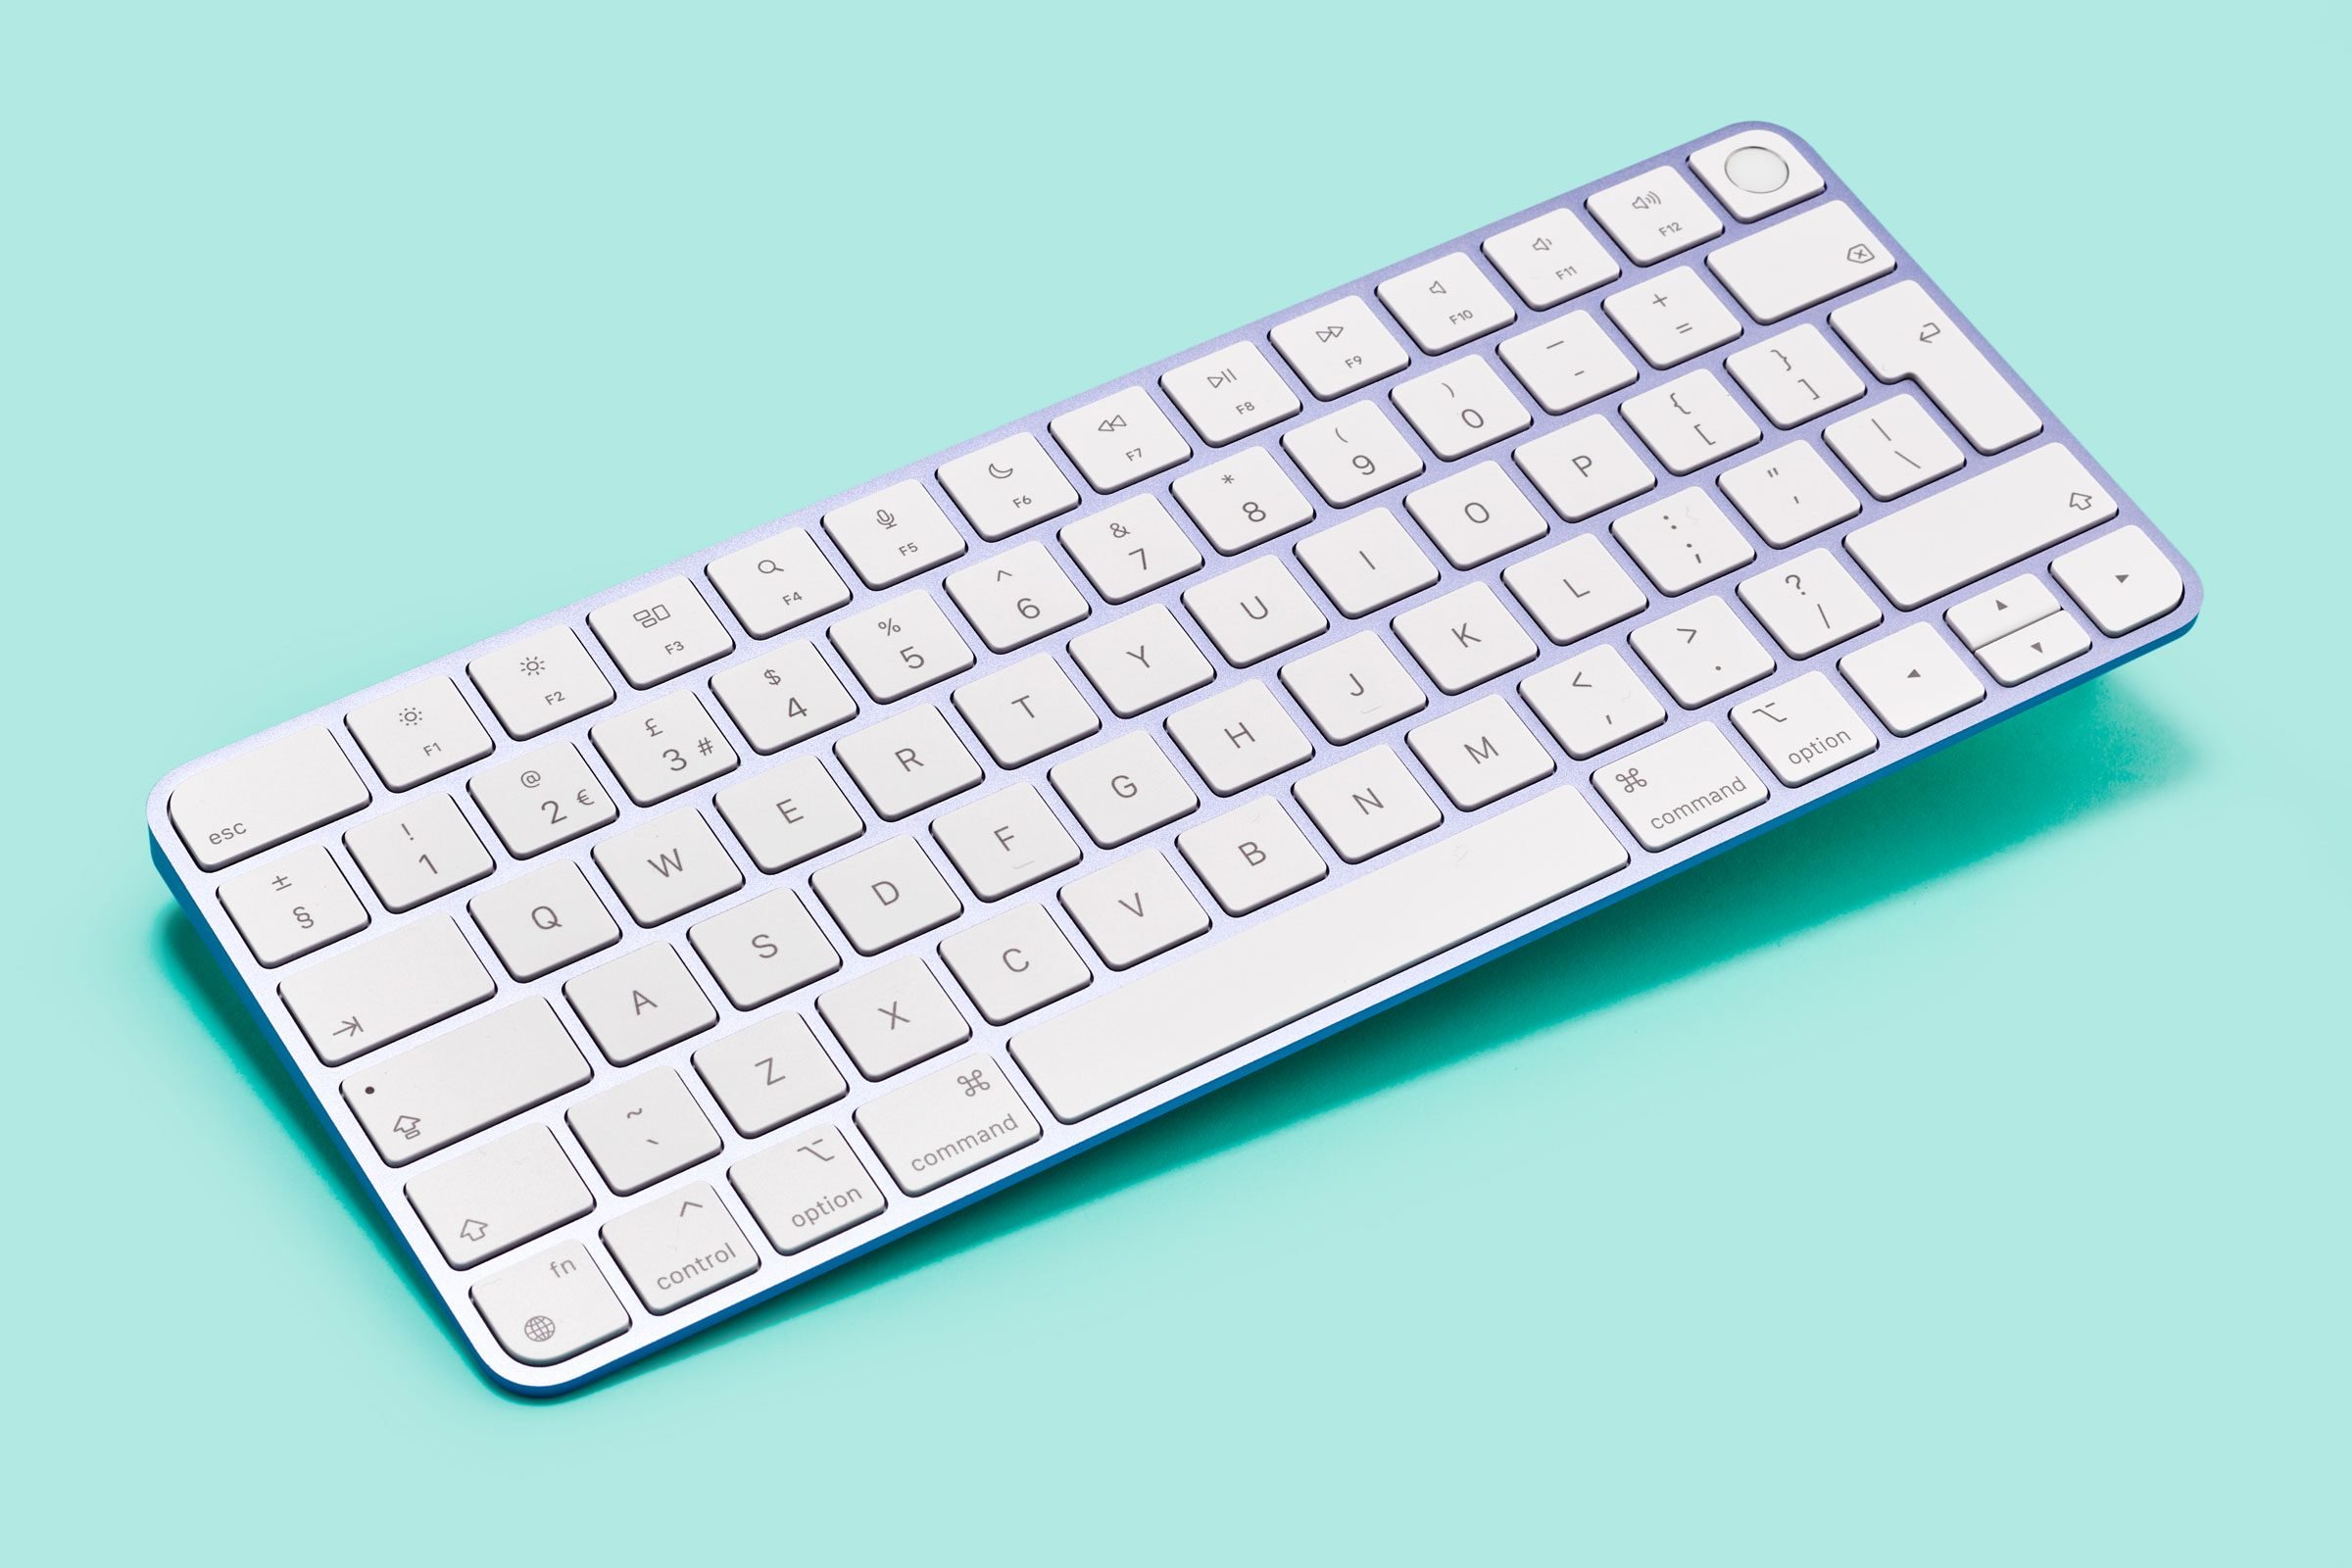
In this guide, we will walk you through the step-by-step process of connecting a Bluetooth mouse to your Mac using the keyboard. This method is especially useful if you’re unable to use the mouse to navigate the settings on your Mac for any reason.
Before we begin, it’s essential to ensure that your Mac is compatible with a Bluetooth mouse. Most Mac laptops and desktops come equipped with Bluetooth capabilities, but if you’re using an older model, you may need to check if it supports Bluetooth connectivity.
Now, let’s dive into the details and learn how to connect a Bluetooth mouse to your Mac using just your keyboard.
Step 1: Check Compatibility
The first step in connecting a Bluetooth mouse to your Mac is to ensure compatibility. Most modern Mac laptops and desktops come with built-in Bluetooth capabilities, but it’s always good to double-check.
To check if your Mac has Bluetooth capabilities, follow these steps:
- Click on the Apple menu in the top-left corner of your screen.
- Select “About This Mac” from the dropdown menu.
- In the window that appears, click on the “Overview” tab.
- Look for the “Bluetooth” option. If it’s present, your Mac has Bluetooth capabilities.
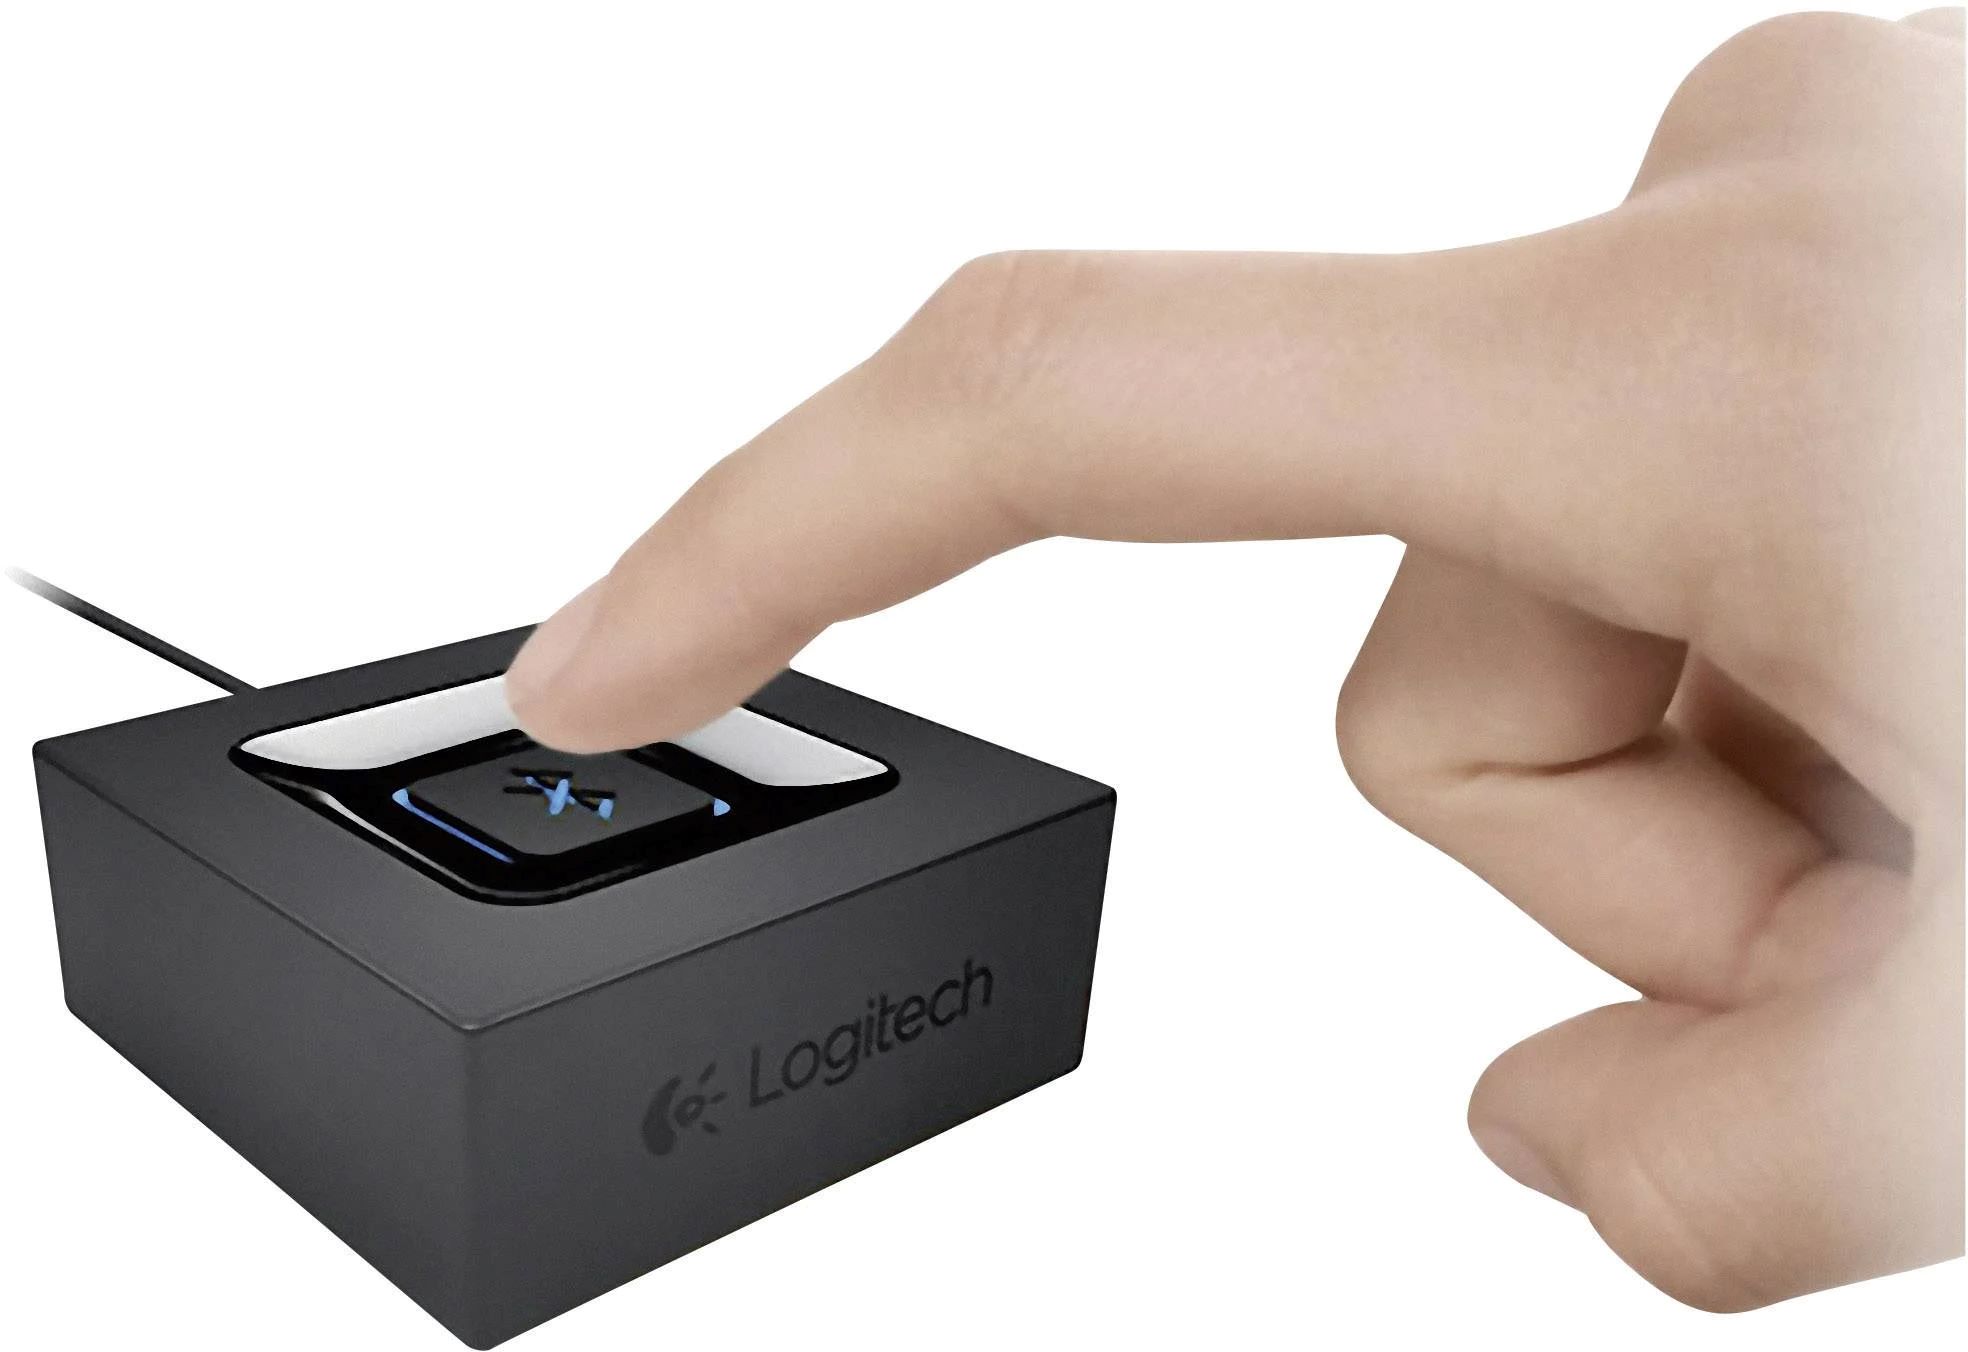
If you don’t see the “Bluetooth” option, it means that your Mac doesn’t have built-in Bluetooth. However, you can still use a Bluetooth mouse by purchasing an external Bluetooth adapter that is compatible with your Mac model.
It’s also worth mentioning that not all Bluetooth mice are compatible with Macs. Some mice may be specifically designed for Windows or other operating systems. Therefore, it’s essential to check the compatibility of the Bluetooth mouse before making a purchase.
You can usually find information about compatibility on the mouse manufacturer’s website or by checking the product specifications. Look for indications that the mouse is compatible with Mac or macOS.
Once you’ve confirmed that your Mac has Bluetooth capabilities and you have a compatible Bluetooth mouse, you’re ready to move on to the next step.
Step 2: Turn on Bluetooth on your Mac
Before you can connect your Bluetooth mouse to your Mac, you need to ensure that Bluetooth is turned on. Here’s how to do it:
- Click on the Apple menu in the top-left corner of your screen.
- Select “System Preferences” from the dropdown menu.
- In the System Preferences window, click on the “Bluetooth” icon.
- In the Bluetooth settings, make sure the “Bluetooth” checkbox is selected, indicating that Bluetooth is turned on. If it’s not, click on the checkbox to enable Bluetooth.
Once you’ve turned on Bluetooth, your Mac will start searching for nearby Bluetooth devices, including your mouse.
Keep the Bluetooth settings window open, as you’ll need it in the next steps to pair your Bluetooth mouse with your Mac.
Now that Bluetooth is enabled on your Mac, let’s proceed to the next step to turn on your Bluetooth mouse.
Step 3: Turn on your Bluetooth Mouse
Before you can connect your Bluetooth mouse to your Mac, make sure the mouse is powered on and ready to pair. Each Bluetooth mouse has a different power button or switch, so refer to the manufacturer’s instructions for your specific mouse model.
Typically, you can turn on the Bluetooth mouse by pressing the power button or sliding the power switch to the “on” position.
Once the mouse is turned on, it will enter the pairing or discovery mode, indicating that it’s ready to establish a connection with your Mac.
It’s important to note that different mice may have different indicators to show pairing or discovery mode. Some mice have LED lights that blink rapidly, while others may have a specific color indicator. Please consult the user manual or check the manufacturer’s instructions for your Bluetooth mouse.
Now that your Bluetooth mouse is powered on and ready to pair, we’ll move on to the next step to put your mouse in discovery mode.
Step 4: Put your Mouse in Discovery Mode
In order for your Mac to detect and connect to your Bluetooth mouse, you need to put your mouse in discovery mode. Here’s how:
- Refer to the user manual or the manufacturer’s instructions for your specific Bluetooth mouse to find out how to activate discovery mode.
- Typically, you’ll need to press and hold a specific button or combination of buttons on the mouse to activate discovery mode. This may vary depending on the mouse model.
- While in discovery mode, the mouse will typically blink or flash to indicate that it is ready to be paired.
It’s important to note that the duration of the discovery mode varies from mouse to mouse. Some mice may remain in discovery mode for a few seconds, while others may remain in discovery mode until they are successfully connected to a device.
Refer to the user manual or the manufacturer’s instructions to ensure you activate discovery mode correctly and within the specified time frame.
Once your mouse is in discovery mode and ready to be paired, let’s move on to the next step to connect your Bluetooth mouse to your Mac using the keyboard.
Step 5: Connect Bluetooth Mouse to Mac using Keyboard
Now that your Bluetooth mouse is in discovery mode, it’s time to connect it to your Mac using the keyboard. Follow these steps:
- On your Mac, press the Command + Space keys simultaneously to open Spotlight Search.
- Type “Bluetooth” using the keyboard and press Enter to open the Bluetooth settings.
- Use the down arrow key to navigate to the list of available Bluetooth devices.
- Using the arrow keys, select the name of your Bluetooth mouse from the list. The mouse name may vary based on the manufacturer and model.
- Press the Enter key to start the pairing process.
Your Mac will now try to establish a connection with your Bluetooth mouse. This may take a few moments.
During the pairing process, you may be prompted to enter a passcode or confirm a code displayed on your Mac or mouse. Follow the on-screen instructions and enter the required information using the keyboard.
Once the pairing is successful, you’ll see a message confirming the connection between your Mac and the Bluetooth mouse.
Congratulations! Your Bluetooth mouse is now connected to your Mac using only the keyboard. Now, it’s time to test the connection to ensure everything is working correctly.
Step 6: Test the connection
After successfully connecting your Bluetooth mouse to your Mac using the keyboard, it’s important to test the connection to ensure everything is functioning as expected. Here’s how:
- Move your Bluetooth mouse around on a flat surface to see if the cursor moves on your Mac’s screen.
- Click the mouse buttons to verify if they register commands on your Mac.
- If your Bluetooth mouse has additional features like scroll wheels or side buttons, test them to ensure they work correctly.
- Try navigating through different applications and folders on your Mac to confirm the responsiveness of the Bluetooth mouse.
If the connection and functionality of your Bluetooth mouse are working as intended, you can start using it for your everyday tasks on your Mac.
If you encounter any issues with the connection or functionality of the mouse, try the following troubleshooting steps:
- Restart your Mac and repeat the pairing process outlined in the previous steps.
- Ensure that your Bluetooth mouse has sufficient battery power. If not, replace or recharge the batteries accordingly.
- Move closer to your Mac to minimize any possible interference between the mouse and the Mac’s Bluetooth receiver.
- If all else fails, consult the user manual or reach out to the manufacturer’s support for further assistance.
Once you’re satisfied with the connection and performance of your Bluetooth mouse, you can enjoy the convenience and freedom it brings to your Mac experience.
Conclusion
Connecting a Bluetooth mouse to your Mac using just the keyboard is a straightforward process that can significantly improve your productivity and comfort while using your Mac. By following the steps outlined in this guide, you can easily pair your Bluetooth mouse and enjoy the freedom of a wireless connection.
First, ensure that your Mac is compatible with a Bluetooth mouse and that you have a compatible mouse. Then, turn on Bluetooth on your Mac and power on your Bluetooth mouse. Put the mouse in discovery mode and proceed to connect it to your Mac using the keyboard. Finally, test the connection to ensure that the mouse is working correctly.
If you encounter any issues during the connection process, refer to the user manual or contact the manufacturer’s support for further assistance. Remember to troubleshoot common problems such as restarting your Mac, checking the battery level of the mouse, and minimizing interference between the mouse and the Bluetooth receiver on the Mac.
With your Bluetooth mouse successfully connected to your Mac, you can enjoy the convenience and freedom it offers. Say goodbye to tangled wires and enjoy effortless navigation and control as you work, browse, or create on your Mac.
We hope this guide has helped you connect your Bluetooth mouse to your Mac with ease. Embrace the wireless experience and make the most of your Mac’s capabilities with your new Bluetooth mouse.


