Introduction
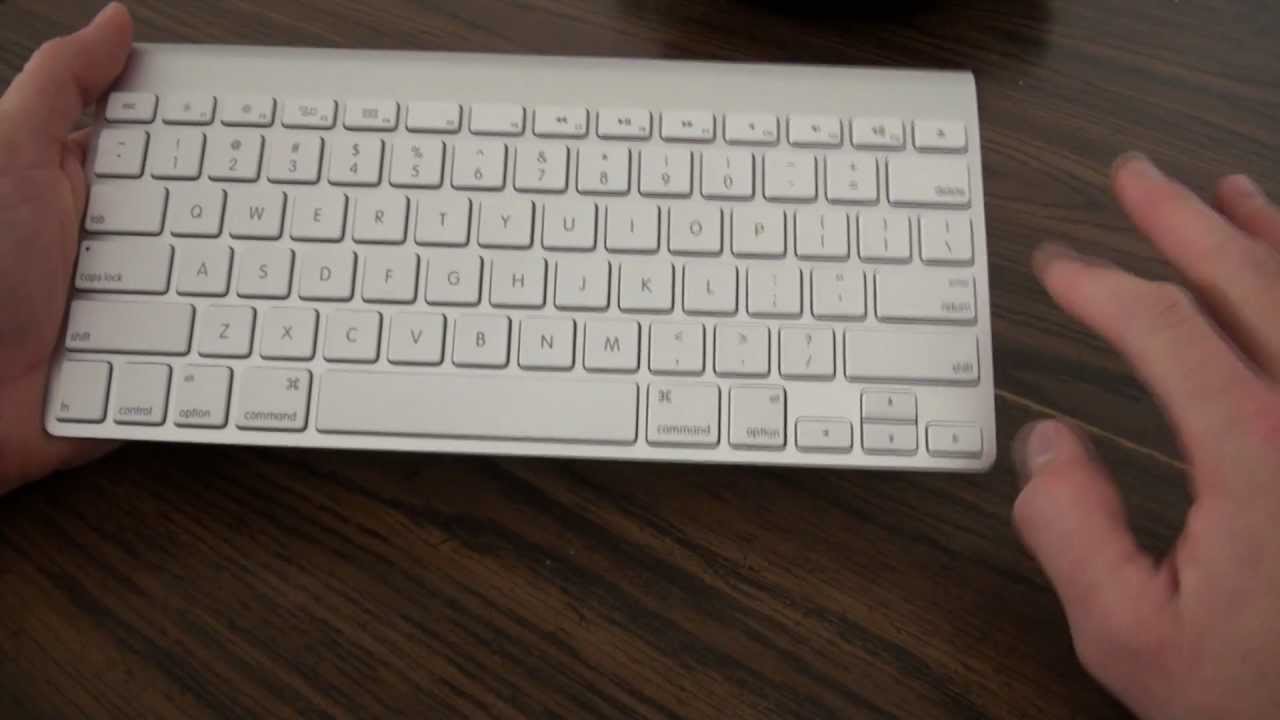
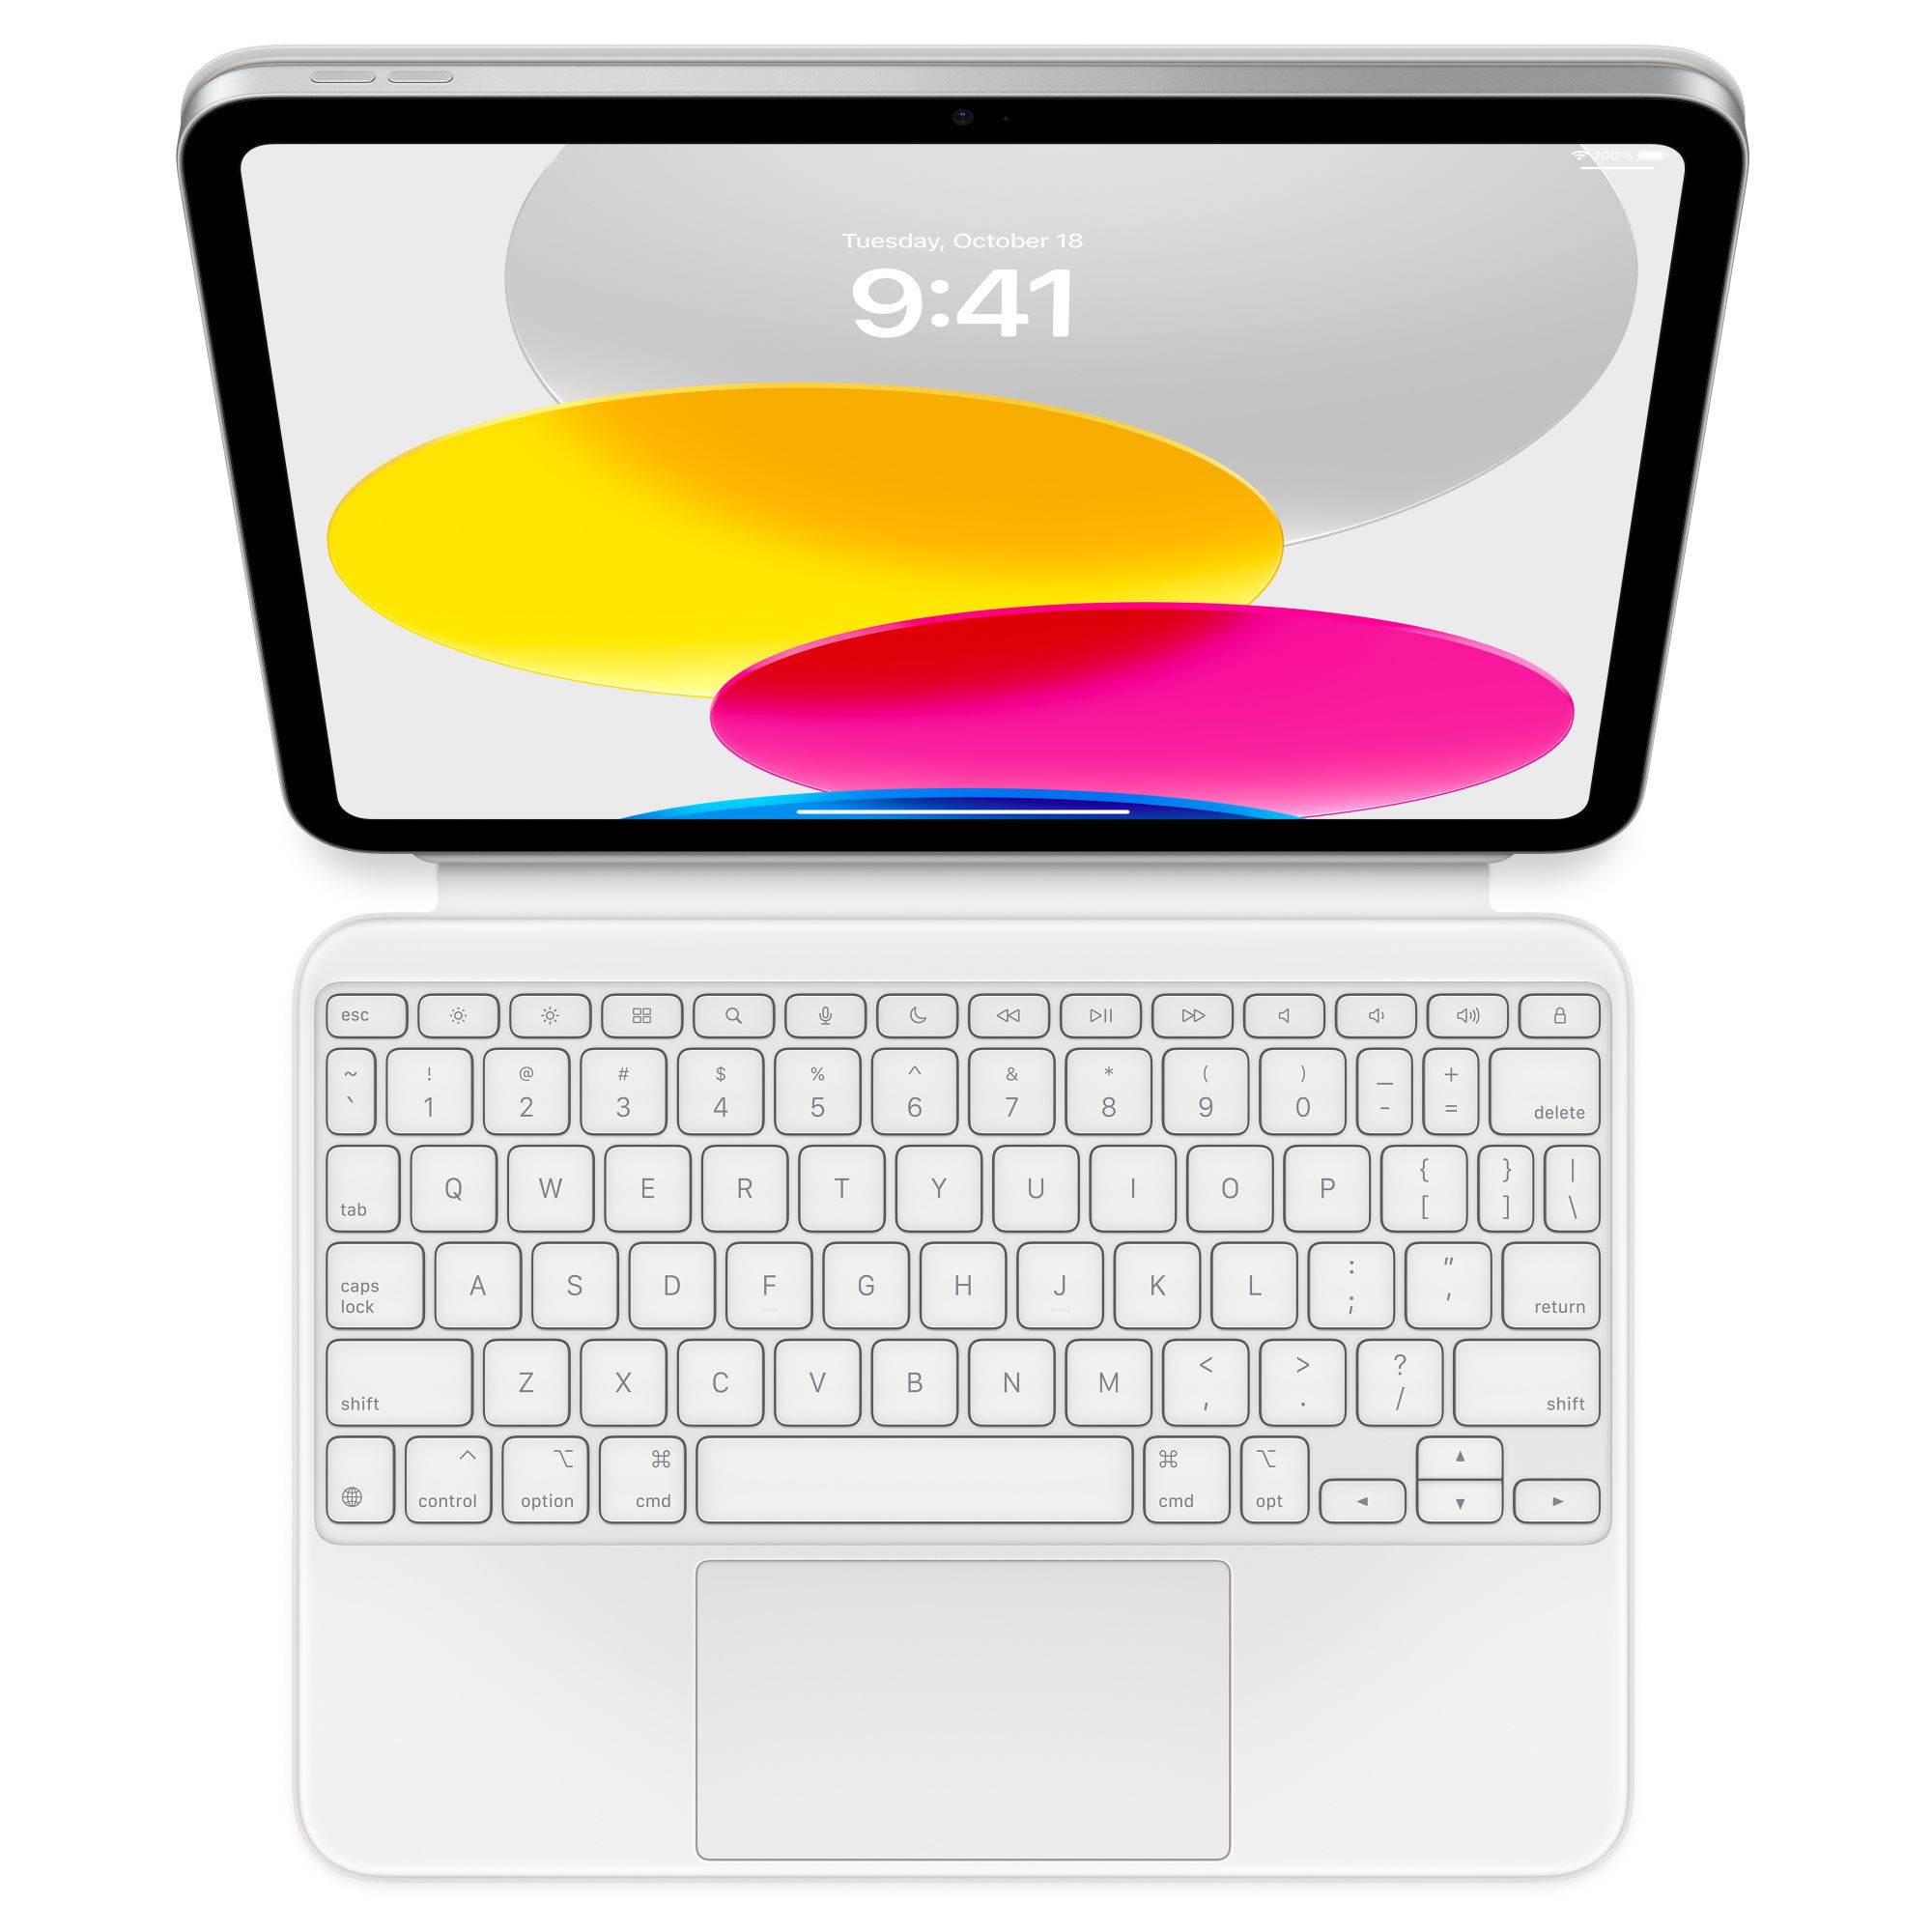
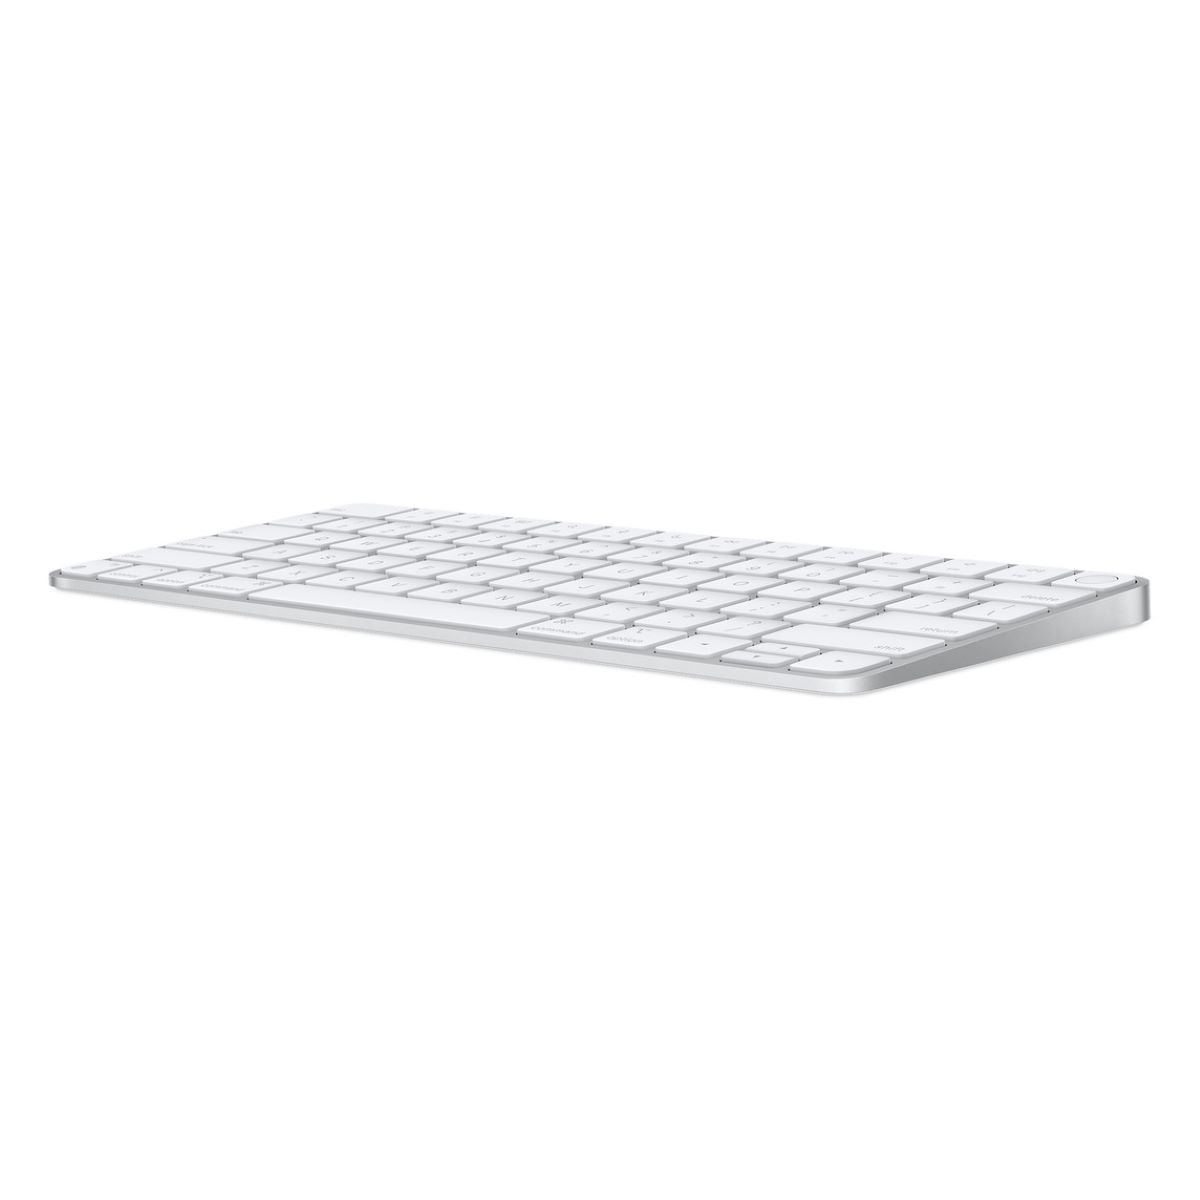
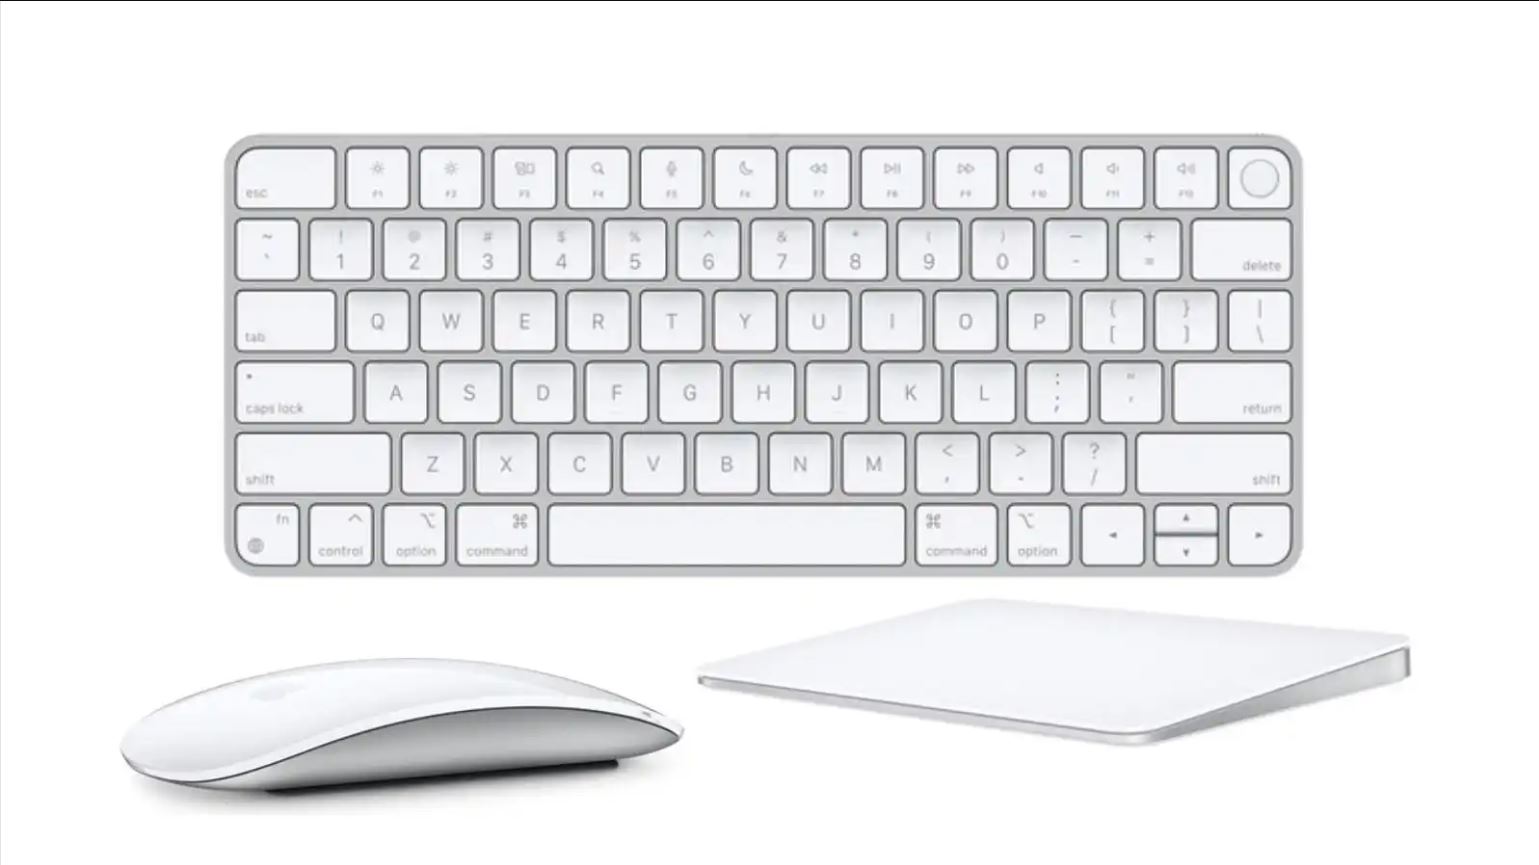
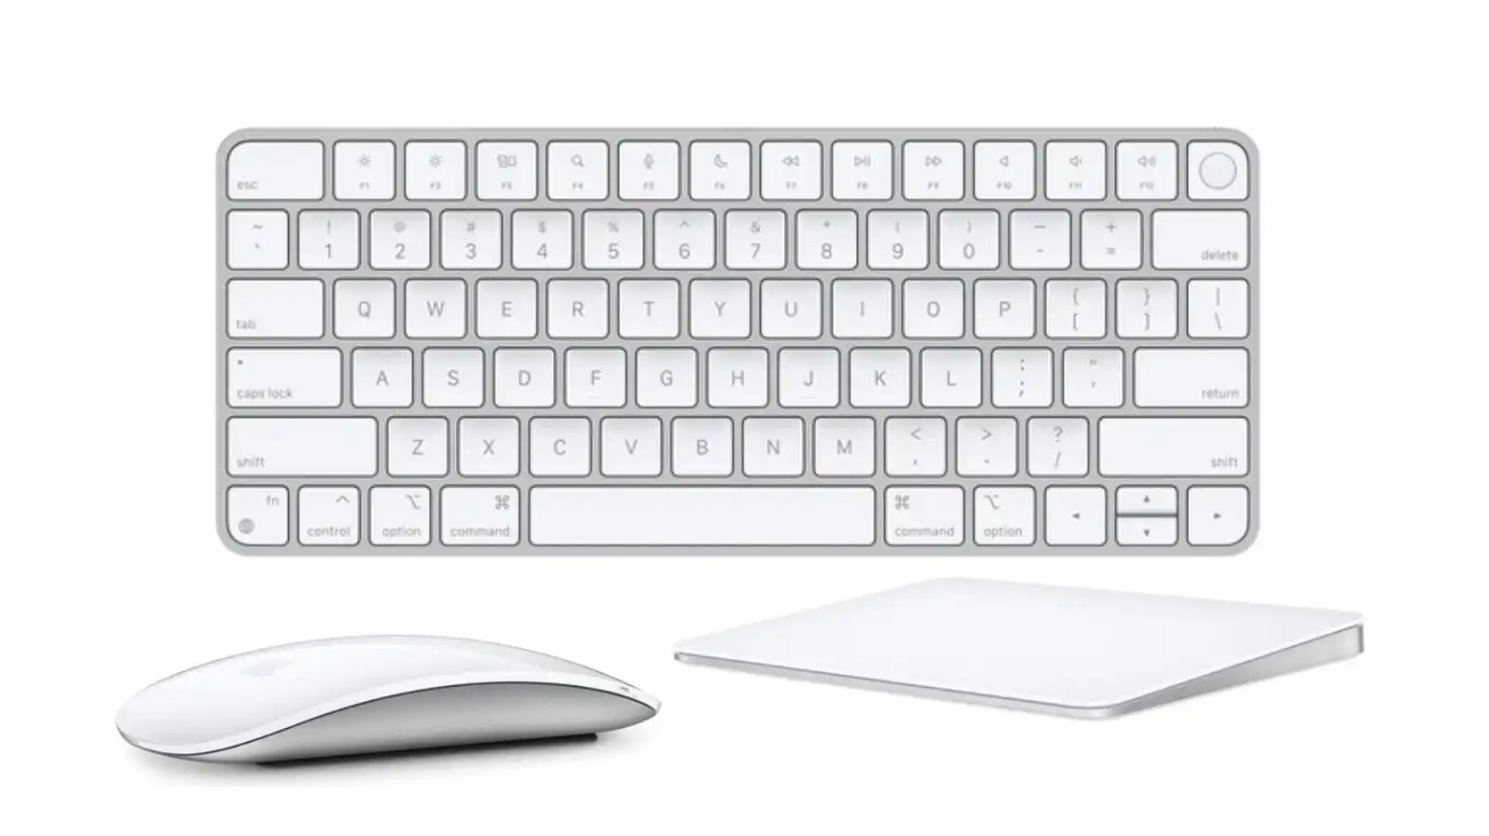
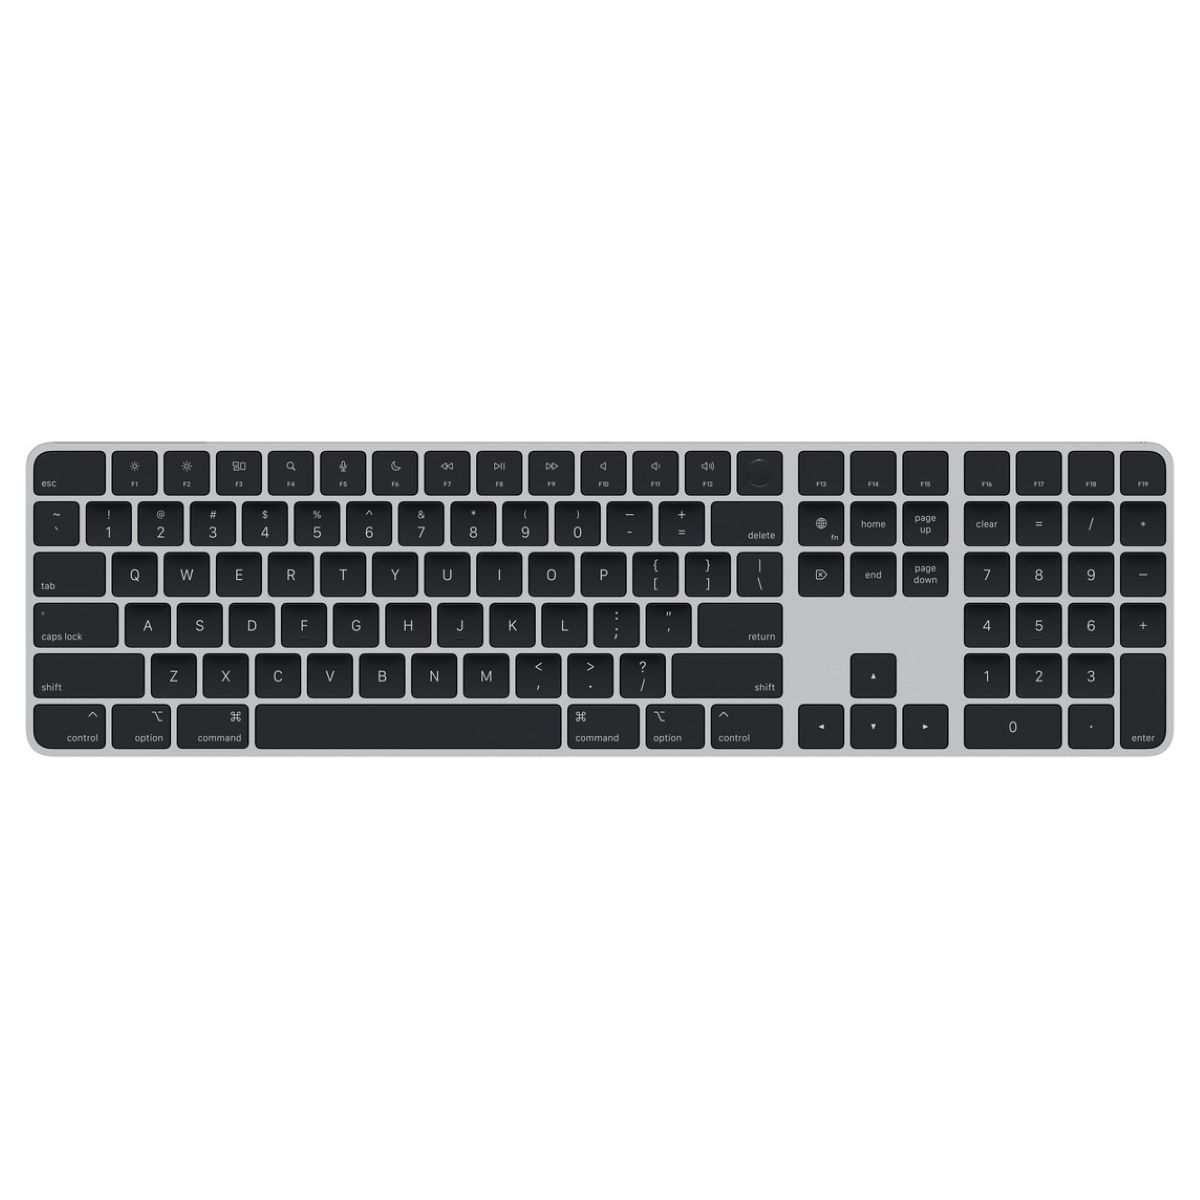
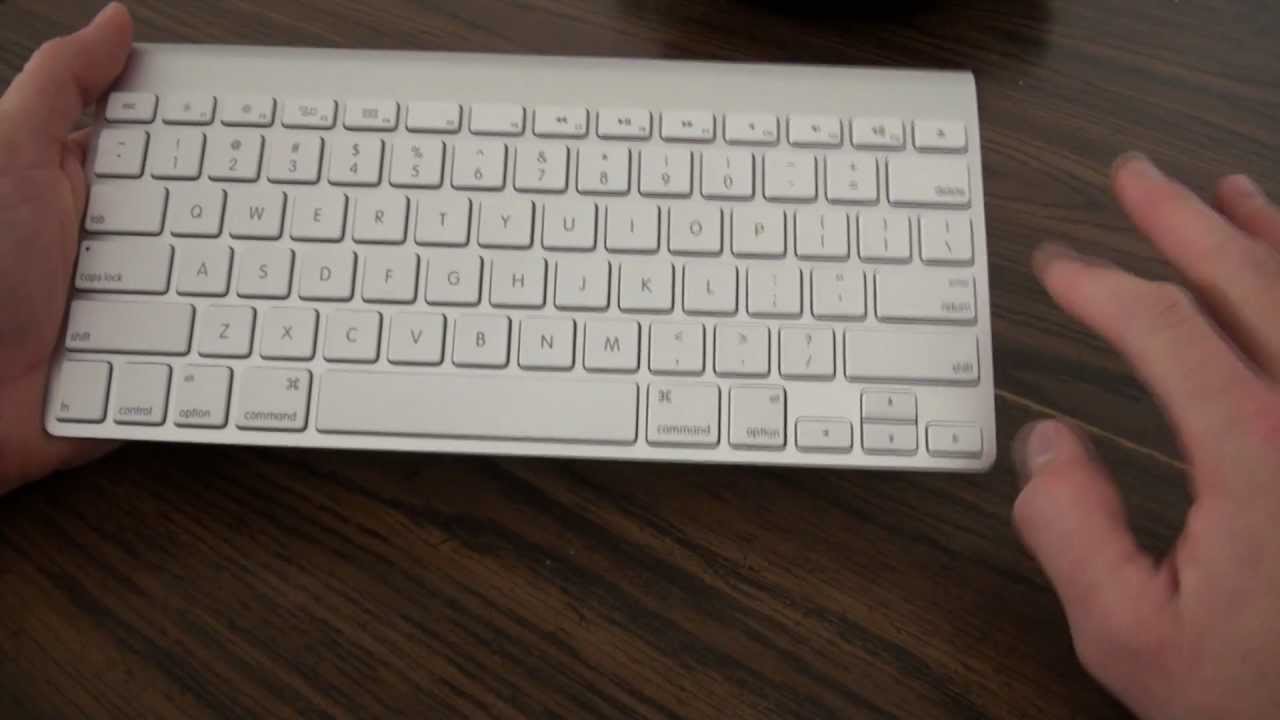
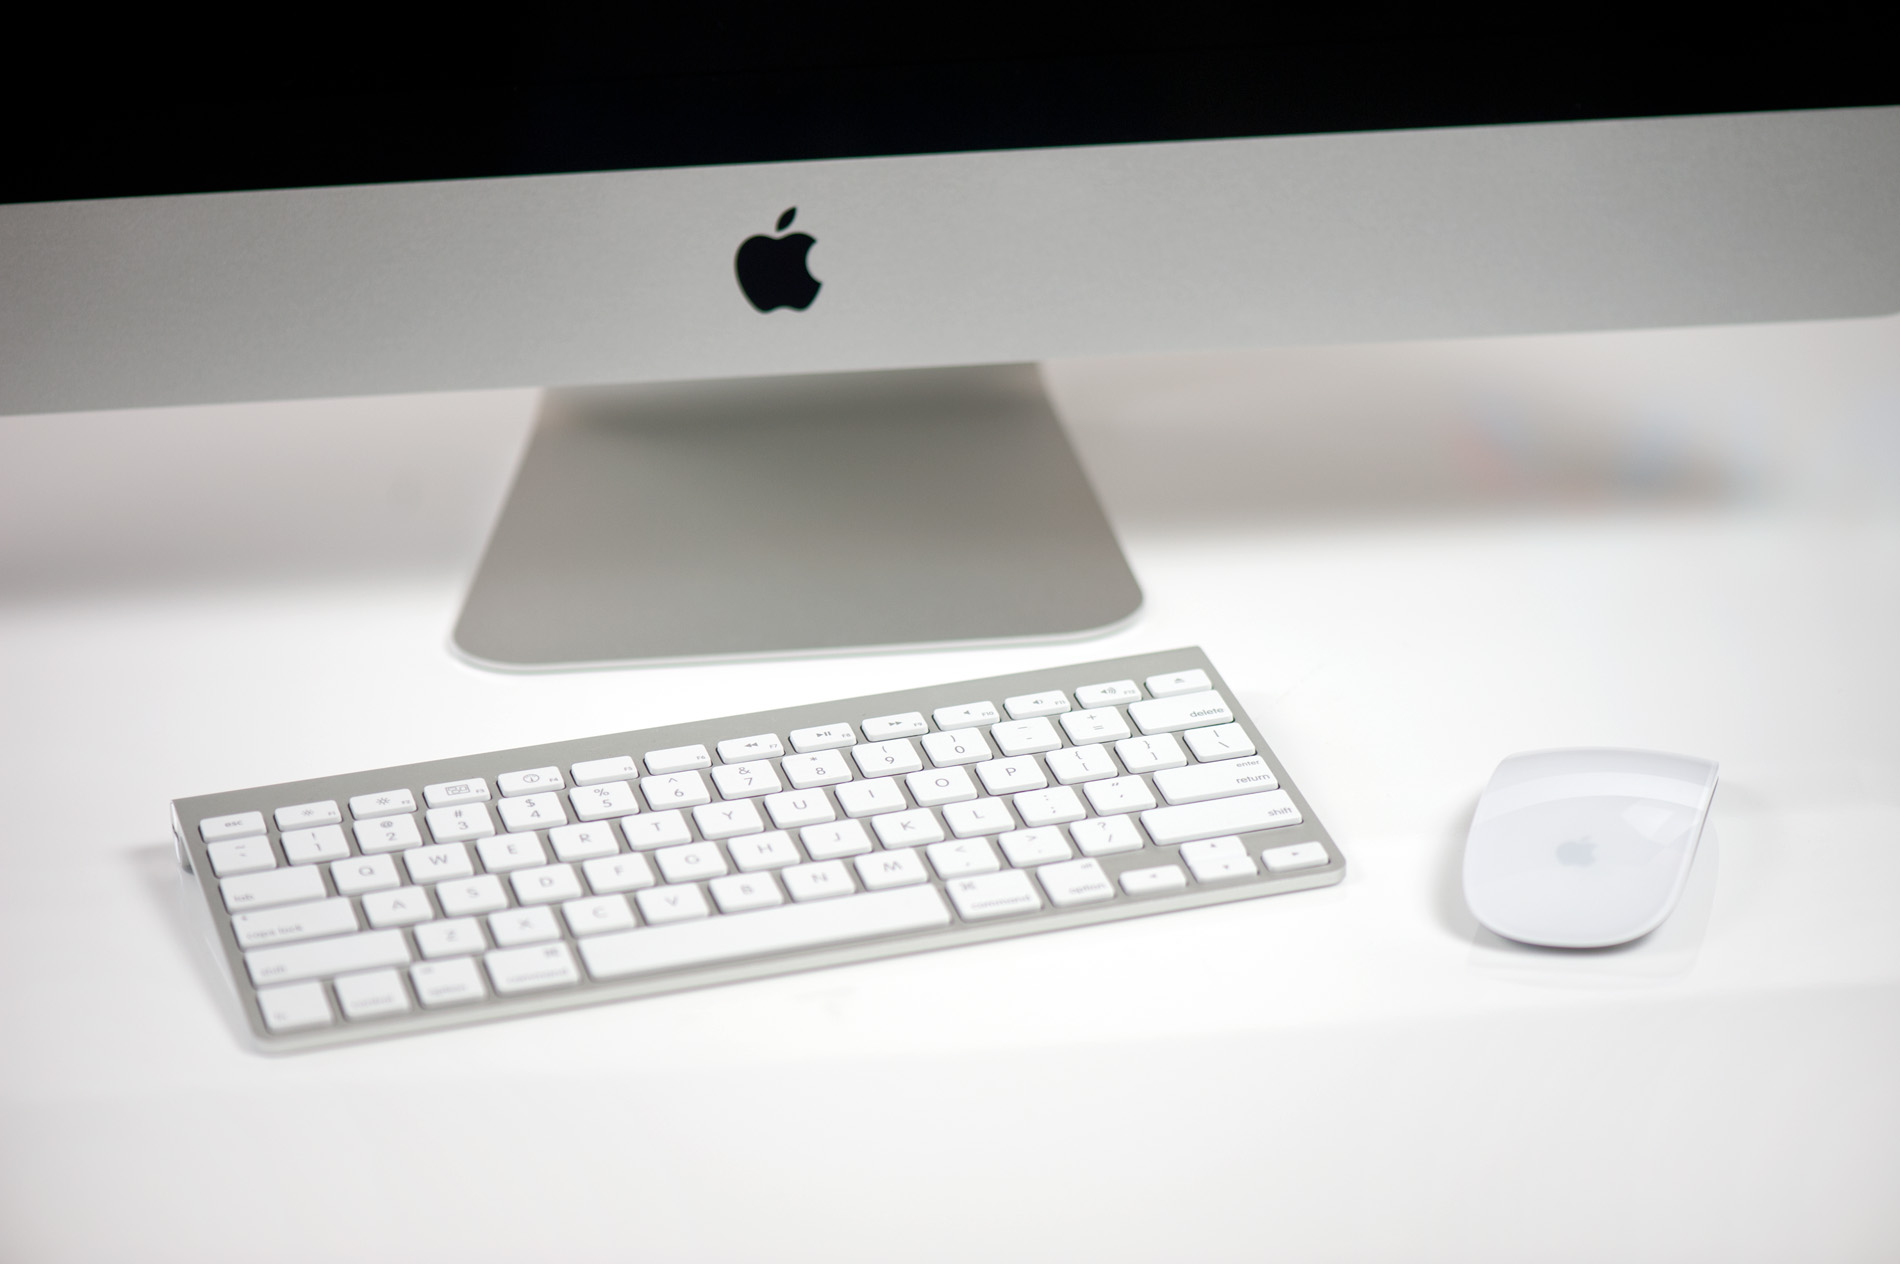
Welcome to the world of Apple wireless keyboards! If you’re tired of dealing with the hassle of cables and cords, an Apple wireless keyboard can provide the freedom and convenience you’re looking for. With its sleek design and effortless connectivity, this keyboard is a perfect companion for your Mac, iPad, or iPhone.
In this guide, we will walk you through the step-by-step process of connecting your Apple wireless keyboard to your device. Whether you’re a new Apple user or simply need a refresher, we’ve got you covered.
Before we dive into the details, it’s important to note that the instructions may vary slightly depending on the model of your Apple wireless keyboard and the operating system of your device. However, the general concepts and steps remain the same, so you can easily adapt the instructions to suit your specific situation.
So, without further ado, let’s get started on connecting your Apple wireless keyboard!
Step 1: Check Compatibility
Before you begin the process of connecting your Apple wireless keyboard, it’s important to ensure that it is compatible with your device. Apple wireless keyboards are designed to work seamlessly with Mac computers, iPads, and iPhones. However, there may be compatibility limitations with certain older models.
To check the compatibility of your Apple wireless keyboard, start by reviewing the specifications and requirements of your device. Check the documentation or online resources provided by Apple to verify if your specific model of keyboard is supported.
If you’re using a Mac computer, make sure it is running on macOS or OS X version that is compatible with your Apple wireless keyboard. Similarly, for iPad and iPhone users, ensure that your device is running on the required iOS version.
If you’re unsure about the compatibility of your device or need additional assistance, you can visit the Apple Support website or reach out to their customer support for guidance.
Ensuring compatibility between your Apple wireless keyboard and your device will save you time and frustration during the connection process. Now that you’ve checked the compatibility, let’s move on to the next step – turning on the keyboard.
Step 2: Turn on the Keyboard
Now that you’ve confirmed the compatibility of your Apple wireless keyboard with your device, it’s time to turn on the keyboard. The process may vary slightly depending on the model of your keyboard, but the general steps are as follows:
- Locate the power switch or button on your Apple wireless keyboard. It is typically located on the side or the back of the keyboard.
- Once you’ve found the power switch or button, slide or press it to turn the keyboard on. Some models may have a LED indicator to signify that the keyboard is powered on.
- After turning on the keyboard, wait for a few seconds to allow it to initialize and establish a connection with your device.
It’s important to note that the keyboard may enter a sleep mode after a period of inactivity to conserve battery life. If you find that the keyboard is not responding, try pressing any key to wake it up. If it still doesn’t work, you may need to replace the batteries or charge the keyboard, depending on its power source.
Now that your Apple wireless keyboard is powered on, let’s move on to the next step – enabling Bluetooth on your device.
Step 3: Enable Bluetooth on your Device
In order for your Apple wireless keyboard to connect to your device, you need to make sure that Bluetooth is enabled. Bluetooth is a wireless technology that allows your devices to communicate with each other without the need for cables or physical connections.
The process of enabling Bluetooth may vary slightly depending on the operating system of your device. Here’s a general guide on how to enable Bluetooth:
- Open the settings menu on your device. This can usually be done by tapping on the settings icon on the home screen or through the system preferences.
- Look for the Bluetooth option in the settings menu and tap on it to open the Bluetooth settings.
- Toggle the Bluetooth switch to turn it on. Once enabled, your device will start scanning for available Bluetooth devices in the vicinity.
After enabling Bluetooth, you may see a list of nearby devices. Your Apple wireless keyboard should appear in this list. If it doesn’t show up immediately, try putting the keyboard in pairing mode. The process for entering pairing mode may vary depending on the model of your keyboard, so refer to the instructions specific to your keyboard model.
Once your device is scanning for Bluetooth devices and your Apple wireless keyboard is in pairing mode, you’re ready to move on to the next step – pairing the keyboard with your device.
Step 4: Pair the Keyboard
Now that you have enabled Bluetooth on your device, it’s time to pair your Apple wireless keyboard. The pairing process establishes a secure wireless connection between the keyboard and your device, allowing you to use the keyboard for typing.
Follow these steps to pair your Apple wireless keyboard with your device:
- Go to the Bluetooth settings on your device. Ensure that Bluetooth is turned on.
- Look for the name of your Apple wireless keyboard in the list of available devices. It may appear as “Apple Keyboard“, followed by a model number.
- Select your Apple wireless keyboard from the list to initiate the pairing process.
- Wait for your device to recognize the keyboard and establish the connection. This may take a few moments.
Once the pairing process is complete, your Apple wireless keyboard should be successfully connected to your device. You may see a confirmation message on your screen or a LED indicator on the keyboard itself.
In some cases, you may be prompted to enter a pairing code while connecting the keyboard. This code is a security measure to ensure that only authorized devices can connect to your keyboard. If prompted, enter the pairing code provided on your device’s screen.
Once the keyboard is paired, you’re ready to move on to the next step – entering the pairing code, if necessary.
Step 5: Enter the Pairing Code
During the pairing process of your Apple wireless keyboard, you may be required to enter a pairing code. This code is used as an additional security measure to ensure that only authorized devices can connect to your keyboard.
Here’s how to enter the pairing code for your Apple wireless keyboard:
- If prompted, look for the pairing code on your device’s screen. It is usually a set of numbers or a combination of numbers and letters.
- Using the keys on your Apple wireless keyboard, carefully enter the pairing code.
- Once you have entered the correct pairing code, press the Enter or Return key on your keyboard to confirm.
If the entered pairing code is incorrect, the connection may not be established. Double-check the code on your device’s screen and try again to ensure accuracy.
If your Apple wireless keyboard does not require a pairing code, you can skip this step and proceed to the next one.
After successfully entering the pairing code, your Apple wireless keyboard should be fully connected to your device. To ensure that everything is functioning correctly, let’s move on to the next step – testing the keyboard.
Step 6: Test the Keyboard
Now that your Apple wireless keyboard is connected to your device, it’s time to test it out and ensure that everything is working as expected. Here’s how to test your keyboard:
- Open an application or document where you can input text, such as a word processor or a text editor.
- Start typing on your Apple wireless keyboard. You should see the text appearing on your device as you type.
- Test all the keys on the keyboard to ensure that they are functioning properly.
- Try out any special function keys or multimedia keys on the keyboard to see if they perform their respective actions.
If you notice any issues or keys that are not working correctly, double-check the connection between your Apple wireless keyboard and your device. Ensure that the keyboard is positioned within the Bluetooth range of your device, which is typically around 30 feet.
If the problem persists after checking the connection, you may need to troubleshoot the issue further. Refer to the user manual or Apple Support resources for specific troubleshooting steps for your keyboard model.
Congratulations! You have successfully connected and tested your Apple wireless keyboard. Now you can enjoy the convenience of a wireless keyboard for typing on your Mac, iPad, or iPhone.
Conclusion
Congratulations on successfully connecting your Apple wireless keyboard to your device! By following the steps outlined in this guide, you have overcome the initial hurdles and can now enjoy the convenience of wireless typing.
Throughout this process, you have checked the compatibility of your keyboard, turned it on, enabled Bluetooth on your device, paired the keyboard, entered the pairing code (if required), and tested the functionality of the keys. Now you can confidently use your Apple wireless keyboard for all your typing needs.
Remember, if you encounter any issues during the connection process or while using your keyboard, don’t hesitate to consult the user manual or the Apple Support website for further assistance. They provide valuable resources and troubleshooting steps to help you resolve any problems.
We hope this guide has been helpful in helping you connect your Apple wireless keyboard. Enjoy the freedom of a cable-free typing experience and maximize your productivity with this sleek and reliable accessory.
Happy typing!


