Introduction
Connecting an Xbox to a projector allows you to enjoy your favorite games on a big screen, immersing yourself in a captivating gaming experience. Whether it’s playing multiplayer games with friends or diving into the latest adventure, the combination of an Xbox and a projector can take your gaming sessions to new heights.
However, setting up this connection might seem like a daunting task for those who are new to the process. Fear not! In this guide, we will walk you through the steps to connect an Xbox to a projector, ensuring you have everything you need and providing you with the necessary instructions to make the setup a breeze.
Before we get started, it’s important to note that there are a few equipment requirements to make this connection possible. You will need an Xbox console, a compatible projector, HDMI cables, and a power supply for both devices. Make sure you have these items handy before proceeding.
Now that you’re ready to dive into the world of gaming on a larger screen, let’s take a look at how to connect your Xbox to a projector, step by step. Following these instructions will allow you to enjoy your favorite games with enhanced visuals, ensuring an extraordinary gaming experience.
Equipment Needed
Before you can connect your Xbox to a projector, ensure that you have the following equipment:
- Xbox Console: You will need an Xbox One, Xbox One S, or Xbox One X console. Ensure that your console is in good working condition.
- Projector: Look for a projector that supports HDMI connectivity. Make sure it has the necessary ports and features to connect to your Xbox.
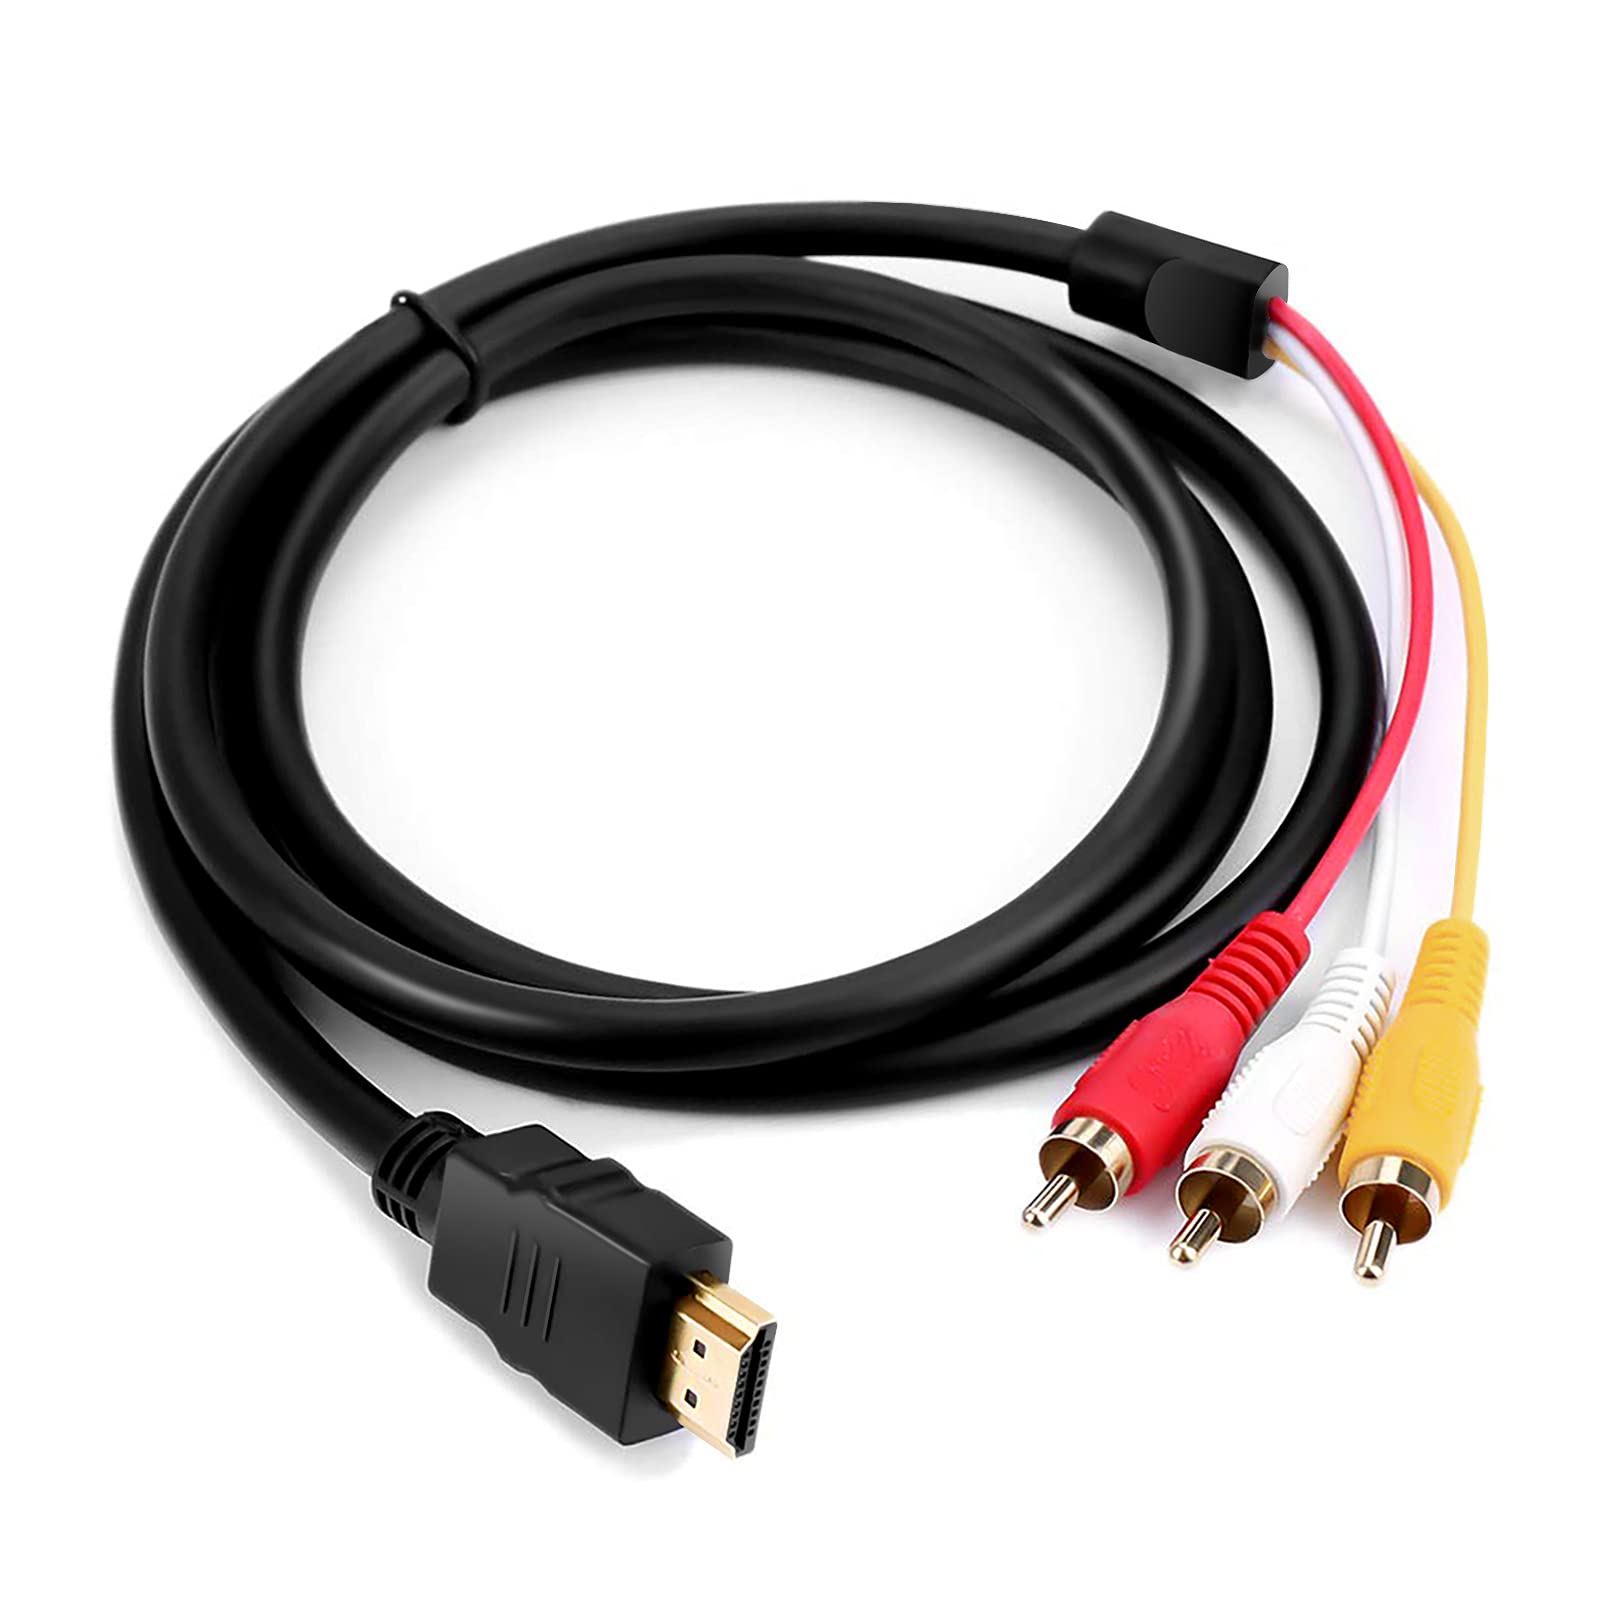
- HDMI Cables: Get high-quality HDMI cables to connect the Xbox to the projector. The length of the cables will depend on the distance between the two devices.
- Power Supply: Ensure that both your Xbox console and projector have a reliable power supply. Check that the power cords are in good condition and can reach the power outlets.
It’s important to have all these items ready before you start the setup process. Double-check to make sure you have everything on hand to avoid any delays or interruptions during the setup.
Additionally, if your projector and Xbox console have any other specific requirements or additional cables, refer to their user manuals for further instructions. It’s always a good idea to familiarize yourself with the requirements and recommendations provided by the manufacturers to ensure optimal performance.
Step 1: Ensure compatibility
Before connecting your Xbox to a projector, it’s crucial to ensure that both devices are compatible with each other. Here’s what you need to consider:
1. Check the HDMI connectivity:
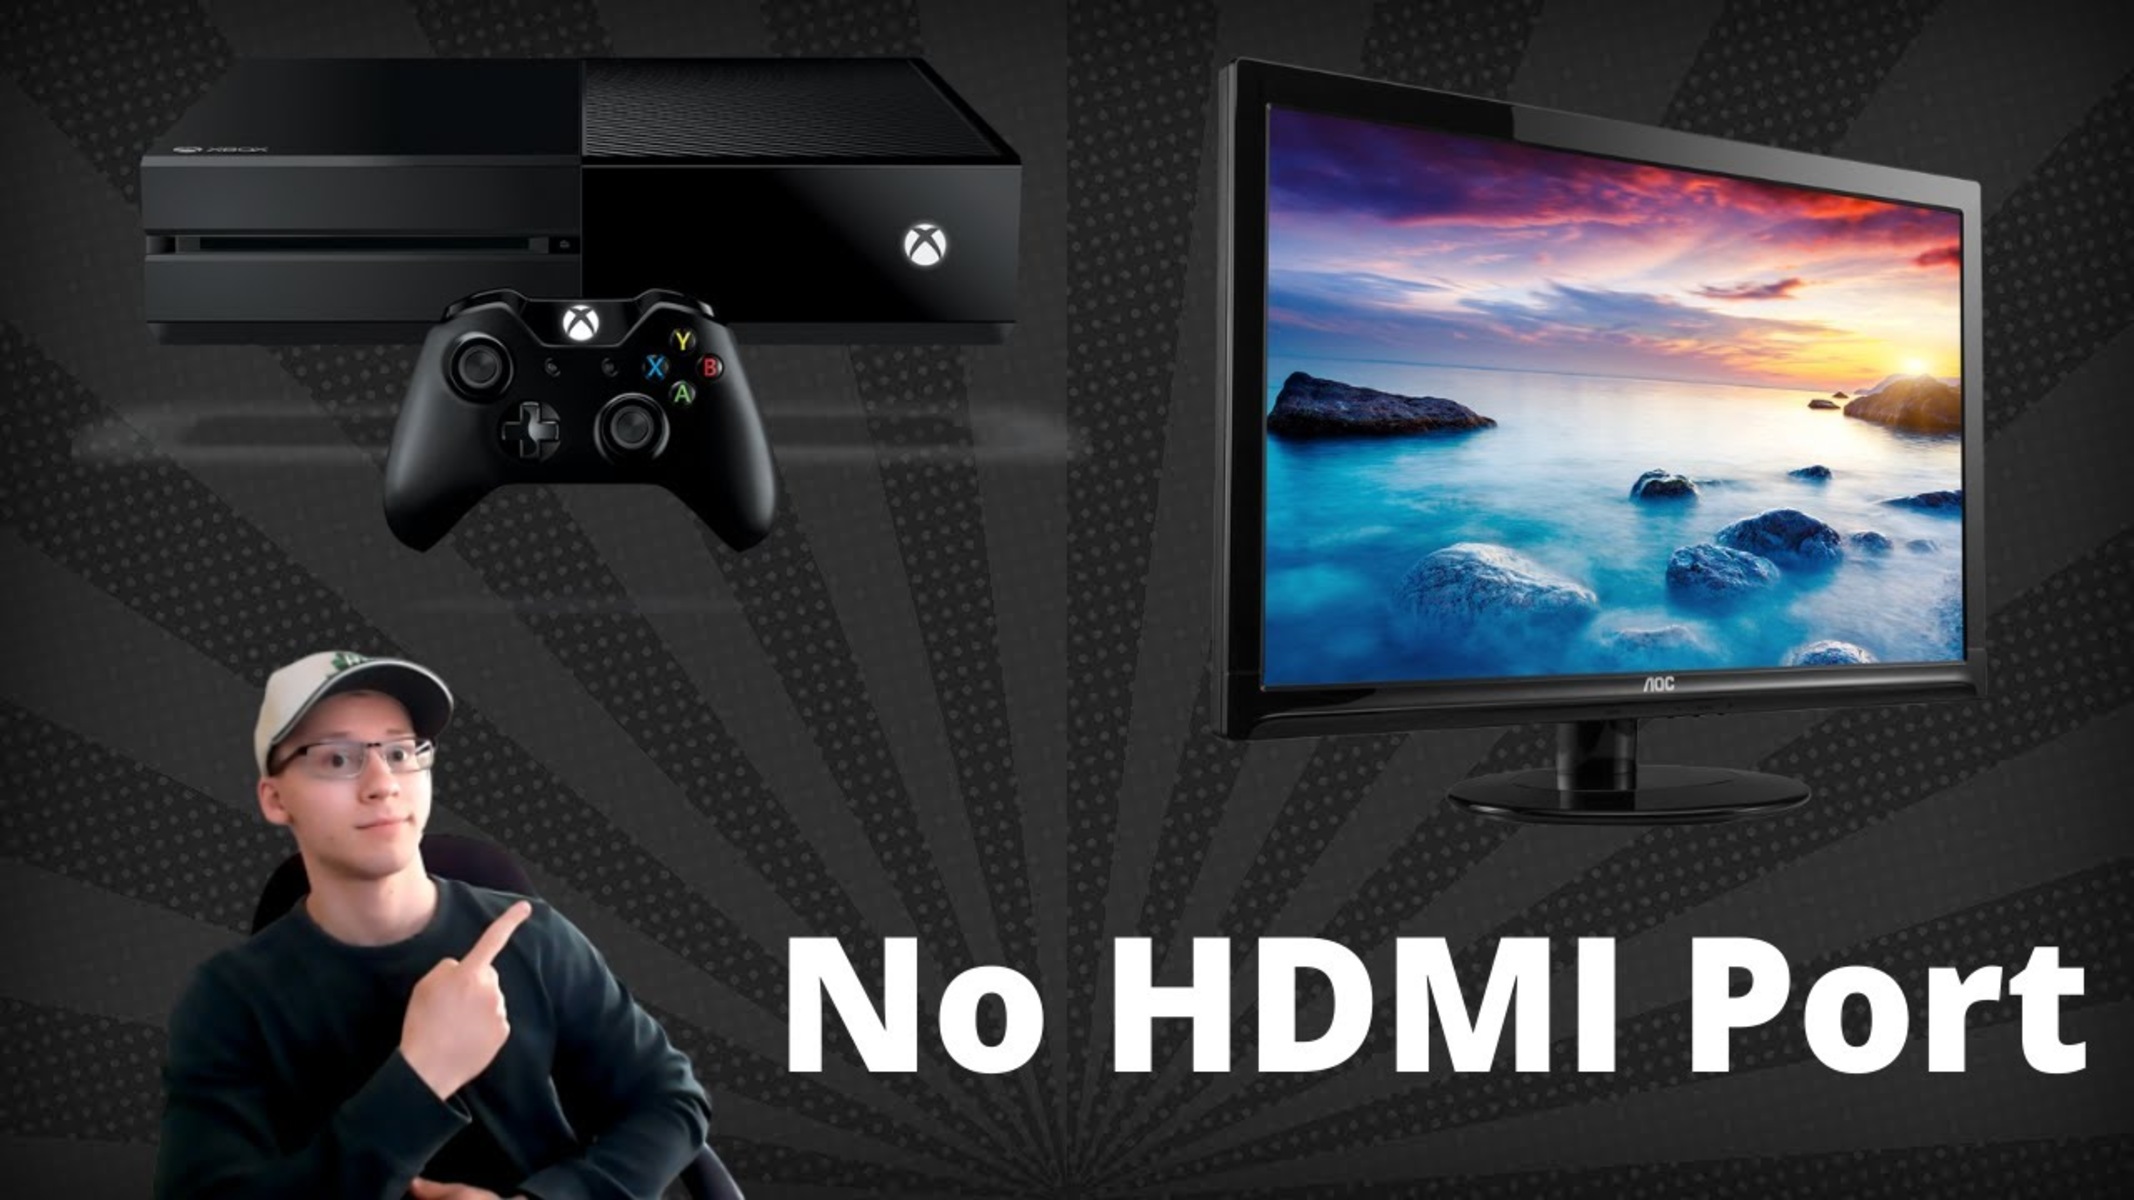
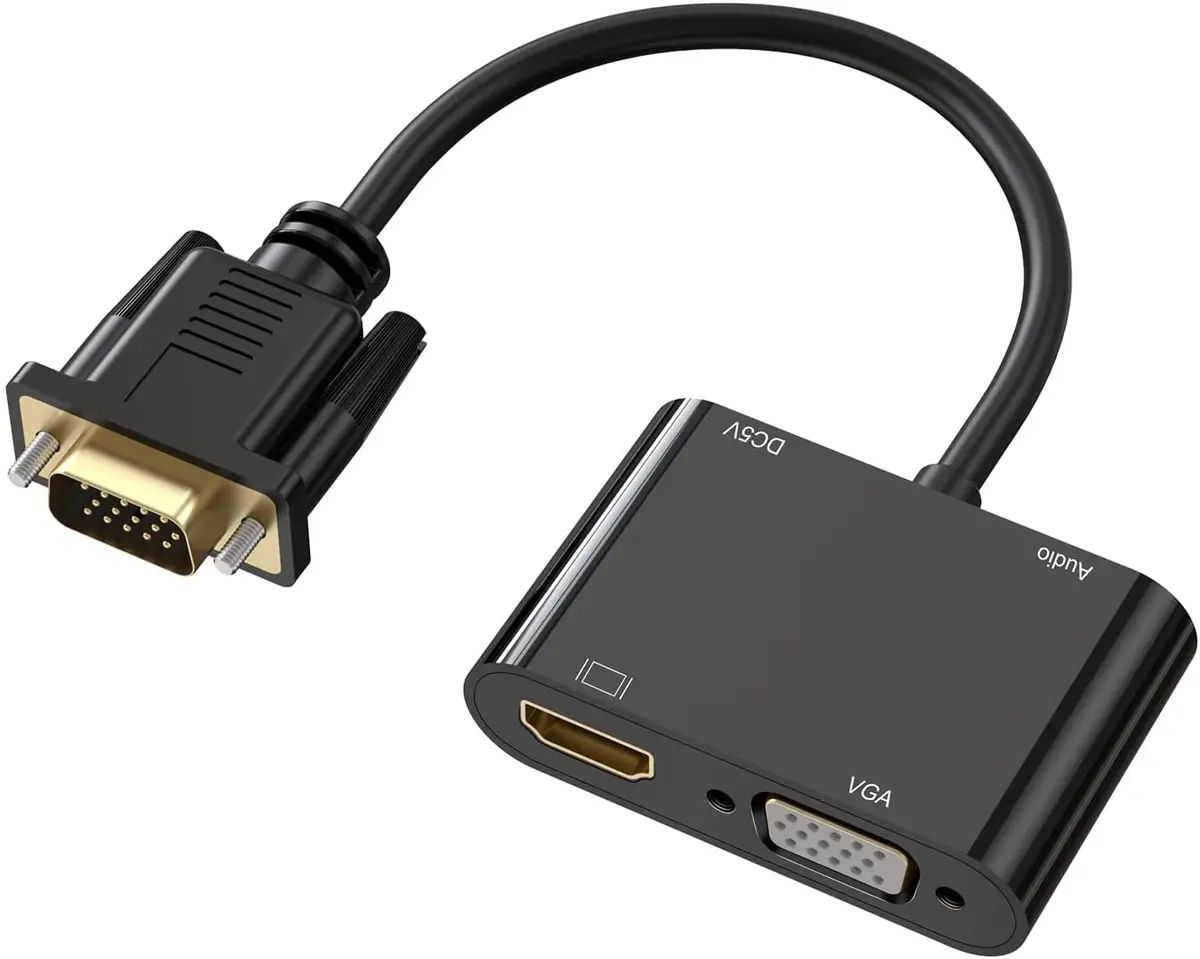
Make sure that your Xbox console and projector have HDMI ports. HDMI (High-Definition Multimedia Interface) is the most common and reliable method of connecting these devices. If your projector doesn’t have an HDMI port, you may need additional adapters or cables to establish the connection.
2. Confirm the resolution support:
Ensure that your projector supports the resolution output of your Xbox console. Most projectors nowadays support a variety of resolutions, including 720p, 1080p, or even 4K. Check the specifications of both the Xbox console and the projector to ensure they are compatible in terms of resolution.
3. Verify HDCP compatibility:
HDCP (High-bandwidth Digital Content Protection) is a form of digital copy protection that prevents unauthorized duplication of copyrighted content. Some projectors might have HDCP restrictions, so check if your projector supports HDCP to ensure you can play games and stream content without any issues.
Once you ensure that your Xbox console and projector are compatible, you can move on to the next steps of the setup process. If you encounter any compatibility issues, refer to the user manuals of your devices or contact the manufacturers for further assistance.
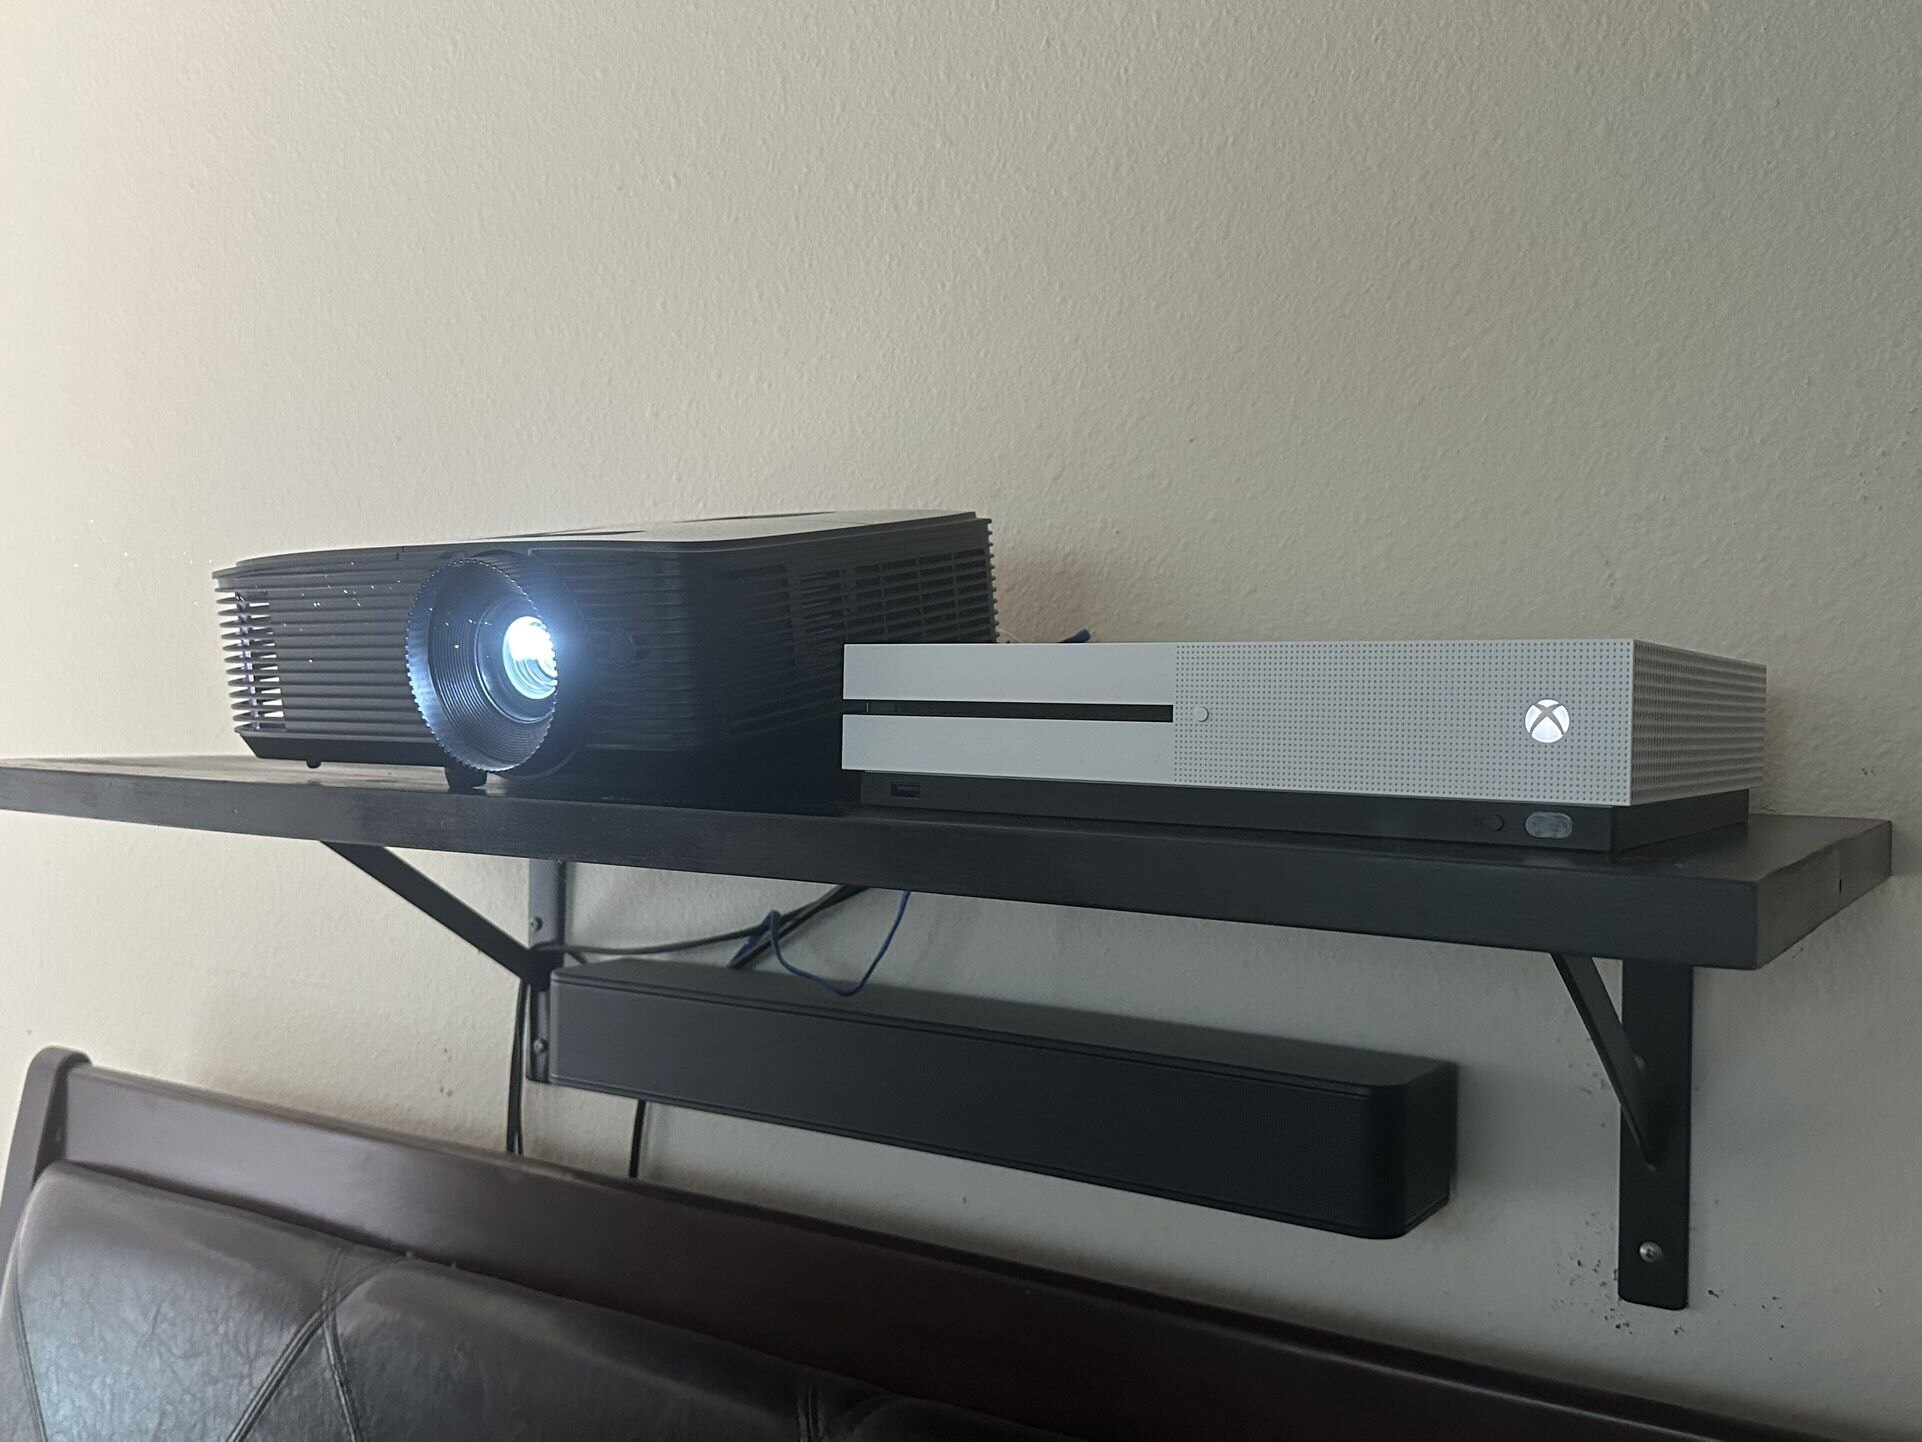
Step 2: Connect the Xbox to the projector
Now that you have confirmed compatibility, it’s time to connect your Xbox console to the projector. Follow these steps:
1. Power off your Xbox and projector:
Before making any connections, ensure that both your Xbox console and the projector are turned off. This will prevent any potential damage to the devices and ensure a safe setup process.
2. Locate the HDMI ports:
Identify the HDMI port on your Xbox console and the corresponding HDMI input port on the projector. These ports are usually labeled, making them easy to find. Some projectors may have multiple HDMI ports, so choose the one you prefer to use.
3. Connect the HDMI cable:
Take one end of the HDMI cable and plug it into the HDMI output port on the Xbox console. Then, connect the other end of the cable to the HDMI input port on the projector.
4. Power on the devices:
Once the HDMI cable is securely connected, power on both the Xbox console and the projector. Allow them a few seconds to initialize.
5. Select the correct input on the projector:
Using the projector’s remote control or control panel, navigate to the input/source selection option and choose the HDMI input you connected the Xbox console to. This will ensure that the projector receives the signal from the console.
6. Turn on the Xbox console:
Press the power button on the Xbox console or its controller to turn it on. Wait for the console to boot up and establish the connection with the projector.
7. Adjust any necessary settings:
Depending on the projector model and Xbox console, you may need to adjust some display settings. This can include options for screen resolution, aspect ratio, or color settings. Refer to the user manuals of both devices to customize the settings according to your preferences.
Now that your Xbox console is connected to the projector, you’re one step closer to enjoying gaming on a big screen. Proceed to the next steps to configure the display settings and optimize the gaming experience.
Step 3: Adjust display settings on the Xbox
After connecting your Xbox console to the projector, it’s essential to configure the display settings to ensure the best gaming experience. Follow these steps to adjust the display settings on your Xbox:
1. Navigate to the settings:
On your Xbox console, press the Xbox button on the controller to open the guide. From there, scroll right and select the “Settings” option.
2. Access the display settings:
In the “Settings” menu, select “System” and then choose “Display & sound”. This will provide you with options to adjust the display settings.
3. Adjust resolution and refresh rate:
In the “Display & sound” menu, go to the “TV resolution” option. Here, you can select the desired resolution that matches your projector’s capabilities. Choose the highest resolution available for optimal visuals.
If your projector supports a higher refresh rate, you can also adjust it under the “Refresh rate” option. Higher refresh rates provide smoother motion in games, so select the highest refresh rate supported by your projector.
4. Configure aspect ratio and overscan:
In the “Display & sound” menu, navigate to the “Aspect ratio” option. Select the appropriate aspect ratio that matches your projector’s settings. The most common aspect ratio for projectors is 16:9, but it may vary depending on the model.
If you notice that the edges of the screen are cut off, you can adjust the overscan option to fit the entire display on the projector’s screen. This ensures that no content is cropped or lost.
5. Customize color and audio settings:
Explore the “Display & sound” menu for additional settings, such as color depth, color space, and audio output settings. Adjust these options according to your personal preferences and the capabilities of your projector.
6. Test the display settings:
Once you have made the necessary adjustments, select “Test display” to verify that the Xbox console is correctly detecting the projector and displaying the content as intended. Make sure the test pattern appears on the projector’s screen.
By adjusting these display settings, you can optimize the visual quality and ensure the best gaming experience when playing on a projector.
Step 4: Configure projector settings
Now that you have adjusted the display settings on your Xbox console, it’s time to configure the settings on your projector to further enhance your gaming experience. Follow these steps to configure the projector settings:
1. Access the projector’s settings menu:
Use your projector’s remote control or control panel to navigate to the settings menu. Look for options related to image or display settings.
2. Adjust brightness and contrast:
Locate the brightness and contrast settings in the projector’s menu. Adjust these settings according to your preference and the lighting conditions in your gaming environment. Increase the brightness for well-lit spaces and adjust the contrast for better details and clarity.
3. Modify color and color temperature:
Explore the color settings on your projector and make adjustments based on your personal preference. You can tweak the saturation, hue, and color temperature to achieve the desired color balance and vibrancy. Experiment with these settings until you find the optimal visual experience.
4. Enable gaming mode (if available):
Some projectors have a gaming mode specifically designed to reduce input lag and enhance the responsiveness of the display. If your projector has this feature, enable gaming mode to ensure a smooth and lag-free gaming experience.
5. Set keystone correction (if required):
If your projector is not placed perfectly perpendicular to the screen, you may need to use the keystone correction feature. This corrects any distortion caused by the projector’s angle, making the image appear square and aligned. Adjust the keystone correction until the projected image appears straight and properly proportioned.
6. Save and test the settings:
Once you have made the necessary adjustments to the projector settings, save the changes. Test the projector by launching a game or playing a video on your Xbox console. Make sure the image appears clear, vibrant, and properly aligned on the projector’s screen.
By configuring the projector settings, you can fine-tune the visuals to suit your preferences and create an immersive gaming environment.
Step 5: Test the connection
After setting up the Xbox console and configuring the projector settings, it’s essential to perform a test to ensure that the connection is working correctly. Here’s how to test the connection:
1. Launch a game or video:
Start a game or play a video on your Xbox console. Choose content that showcases a variety of visuals and action scenes to thoroughly test the connection.
2. Check for audio and video:
As the game or video starts playing, verify that both the audio and video are coming through the projector. Ensure that the audio is playing from the correct speakers and that the visuals are displayed clearly on the projector’s screen.
3. Assess the input lag:
While playing the game, pay attention to the responsiveness of the controls. Check for any noticeable delay between pressing a button on the controller and the corresponding action on the screen. Minimal input lag ensures a smooth gaming experience.
4. Monitor visual quality:
Observe the visual quality of the game or video. Look for any issues such as blurriness, distortion, or color inaccuracies. Confirm that the visuals are sharp, vibrant, and properly aligned on the projector’s screen.
5. Test different resolutions and settings:
Experiment with different resolutions, aspect ratios, and display settings on your Xbox console to see how they affect the visuals on the projector. Find the settings that provide the best balance between visual quality and performance.
6. Make any necessary adjustments:
If you encounter any issues during the test, such as audio problems, visual artifacts, or input lag, revisit the relevant settings on both the Xbox console and the projector. Make adjustments as needed until you achieve the desired performance and visual experience.
By thoroughly testing the connection between your Xbox console and the projector, you can ensure the reliability and quality of the setup. Enjoy your gaming sessions on the big screen with an immersive experience!
Conclusion
Connecting an Xbox console to a projector allows you to elevate your gaming experience, immersing yourself in larger-than-life visuals and creating a truly immersive environment. While the setup process may seem intimidating at first, by following the steps outlined in this guide, you can easily connect your Xbox to a projector and enjoy gaming on a grand scale.
Ensuring compatibility between your Xbox console and the projector is the first crucial step. Verify that both devices have the necessary HDMI ports and support the desired resolutions. Confirming HDCP compatibility is also important to avoid any playback issues.
Once compatibility is established, connecting the Xbox to the projector is a straightforward process. Use high-quality HDMI cables to establish the connection and make sure both devices are powered off before making the connections. Then, power on the devices and select the correct input source on the projector.
Adjusting the display settings on your Xbox console is vital to optimize the gaming experience. Set the resolution and refresh rate, configure the aspect ratio, and customize other display settings according to your preferences and the projector’s capabilities. Be sure to test the display settings and make any necessary adjustments for optimal visuals.
Configuring the projector’s settings is equally important. Adjust brightness, contrast, color, and other settings to enhance the visual quality. Enabling gaming mode, if available, helps reduce input lag and provides a smoother gaming experience.
Finally, it’s essential to test the connection by launching a game or playing a video. Confirm that both audio and video are functioning properly, assess input lag, and monitor visual quality. Make any necessary adjustments to achieve the desired performance and visual experience.
By following these steps, you can successfully connect your Xbox to a projector and enjoy gaming on a larger screen. Immerse yourself in the world of gaming with a stunning visual display that will enhance your enjoyment of your favorite games. Get ready to embark on an extraordinary gaming journey in a bigger, more immersive way!