Introduction
Welcome to our guide on how to connect a case fan with a Molex connector. If you’re a computer enthusiast or someone who enjoys building their own PC, you know the importance of proper cooling. Case fans play a vital role in maintaining optimal temperatures inside your computer case, preventing overheating and ensuring reliable performance.
The Molex connector is a type of power connector commonly found in computer systems. It provides power to devices like case fans, hard drives, and optical drives. Connecting a case fan with a Molex connector is a straightforward process that requires a few tools, some basic knowledge, and a little patience.
In this guide, we will walk you through the step-by-step process of connecting a case fan with a Molex connector. We’ll cover everything from identifying the Molex connector pins to stripping and connecting the wires. By following these instructions, you’ll be able to effectively power and cool your case fan without any hassle.
It’s important to note that before you begin, you should have a basic understanding of computer components and be comfortable working with electronics. Make sure to read the entire guide before attempting to connect your case fan to avoid any potential issues or mistakes. Now, let’s get started!
Understanding the Molex Connector
Before we dive into the process of connecting a case fan with a Molex connector, it’s important to understand what exactly a Molex connector is and how it functions. The Molex connector, also known as a four-pin peripheral connector, is a type of electrical connector commonly used in computer hardware.
The Molex connector is designed to provide a reliable power connection between the power supply unit (PSU) and various components inside the computer case. It consists of four pins arranged in a square pattern and a connector housing that holds the pins in place.
One of the distinguishing features of the Molex connector is its versatility. It can deliver both power (12V and 5V) and ground (0V) to devices such as case fans, hard drives, and optical drives. This makes it an ideal choice for connecting a case fan, as it provides the necessary power to keep the fan running smoothly.
In addition to power delivery, the Molex connector also features a locking mechanism that ensures a secure connection. The connector housing has small tabs that align with notches on the socket, allowing you to firmly attach the connector. This locking feature enhances stability and prevents accidental disconnection, especially when dealing with moving components such as case fans.
It’s worth noting that Molex connectors come in different variants, including 3-pin and 4-pin configurations. The 3-pin version provides power and ground but lacks the speed control functionality of the 4-pin variant. For the purpose of this guide, we will focus on the 4-pin Molex connector commonly found in case fans.
Now that we have a better understanding of what a Molex connector is and its key features, let’s proceed to the next section, where we’ll gather the necessary tools and supplies for connecting the case fan.
Step 1: Gather the Necessary Tools and Supplies
Before you begin connecting the case fan with a Molex connector, it’s essential to gather all the tools and supplies you’ll need for a smooth and successful process. Having everything ready will make the installation process more efficient and minimize the chances of any delays or complications.
Here’s a list of the tools and supplies you’ll need:
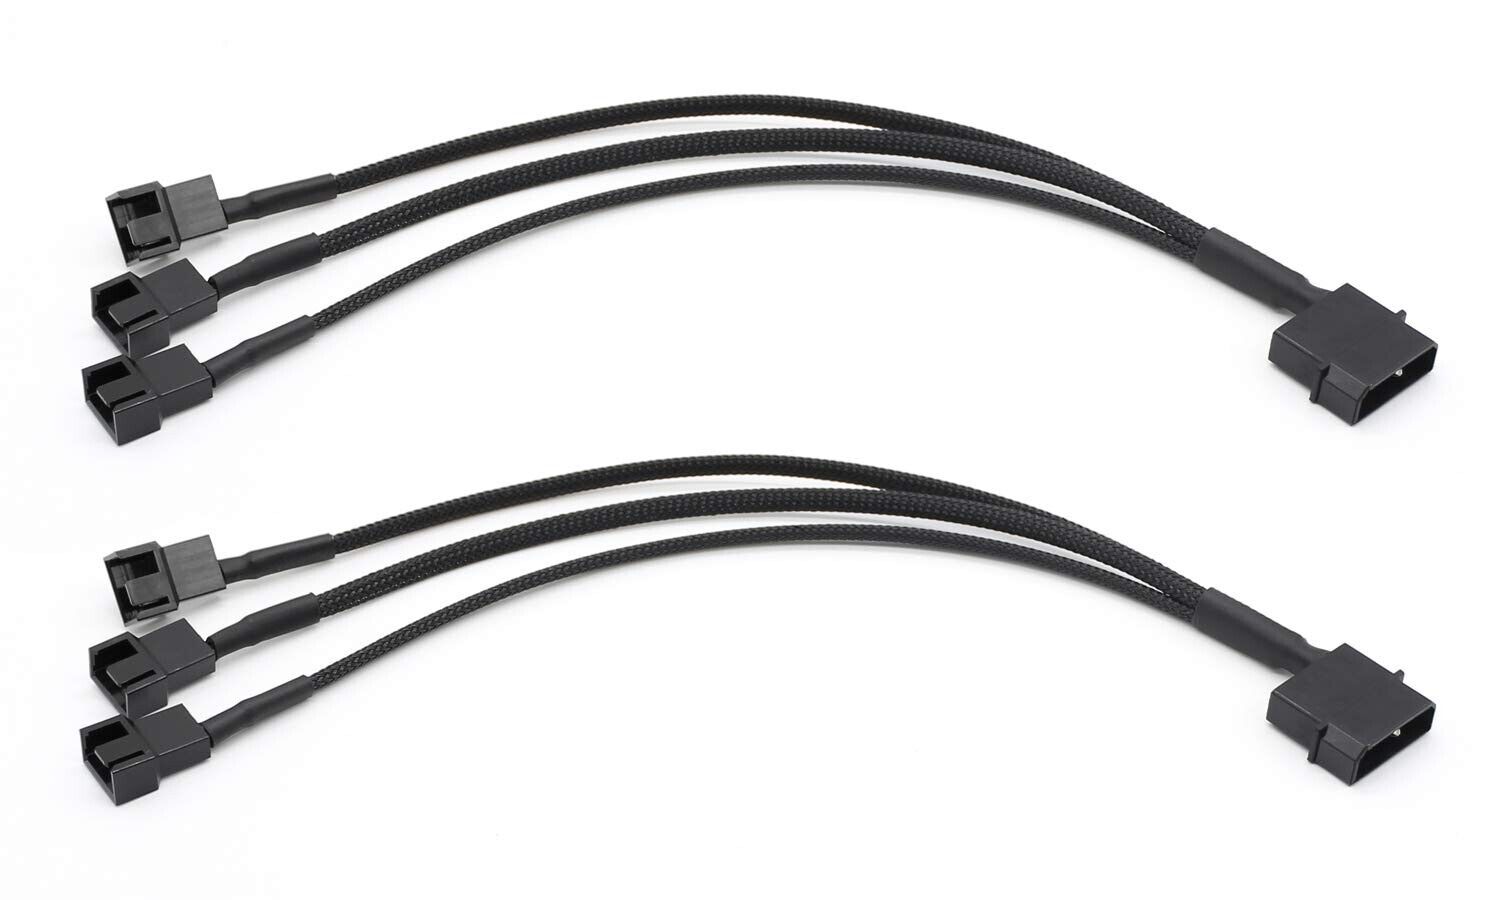
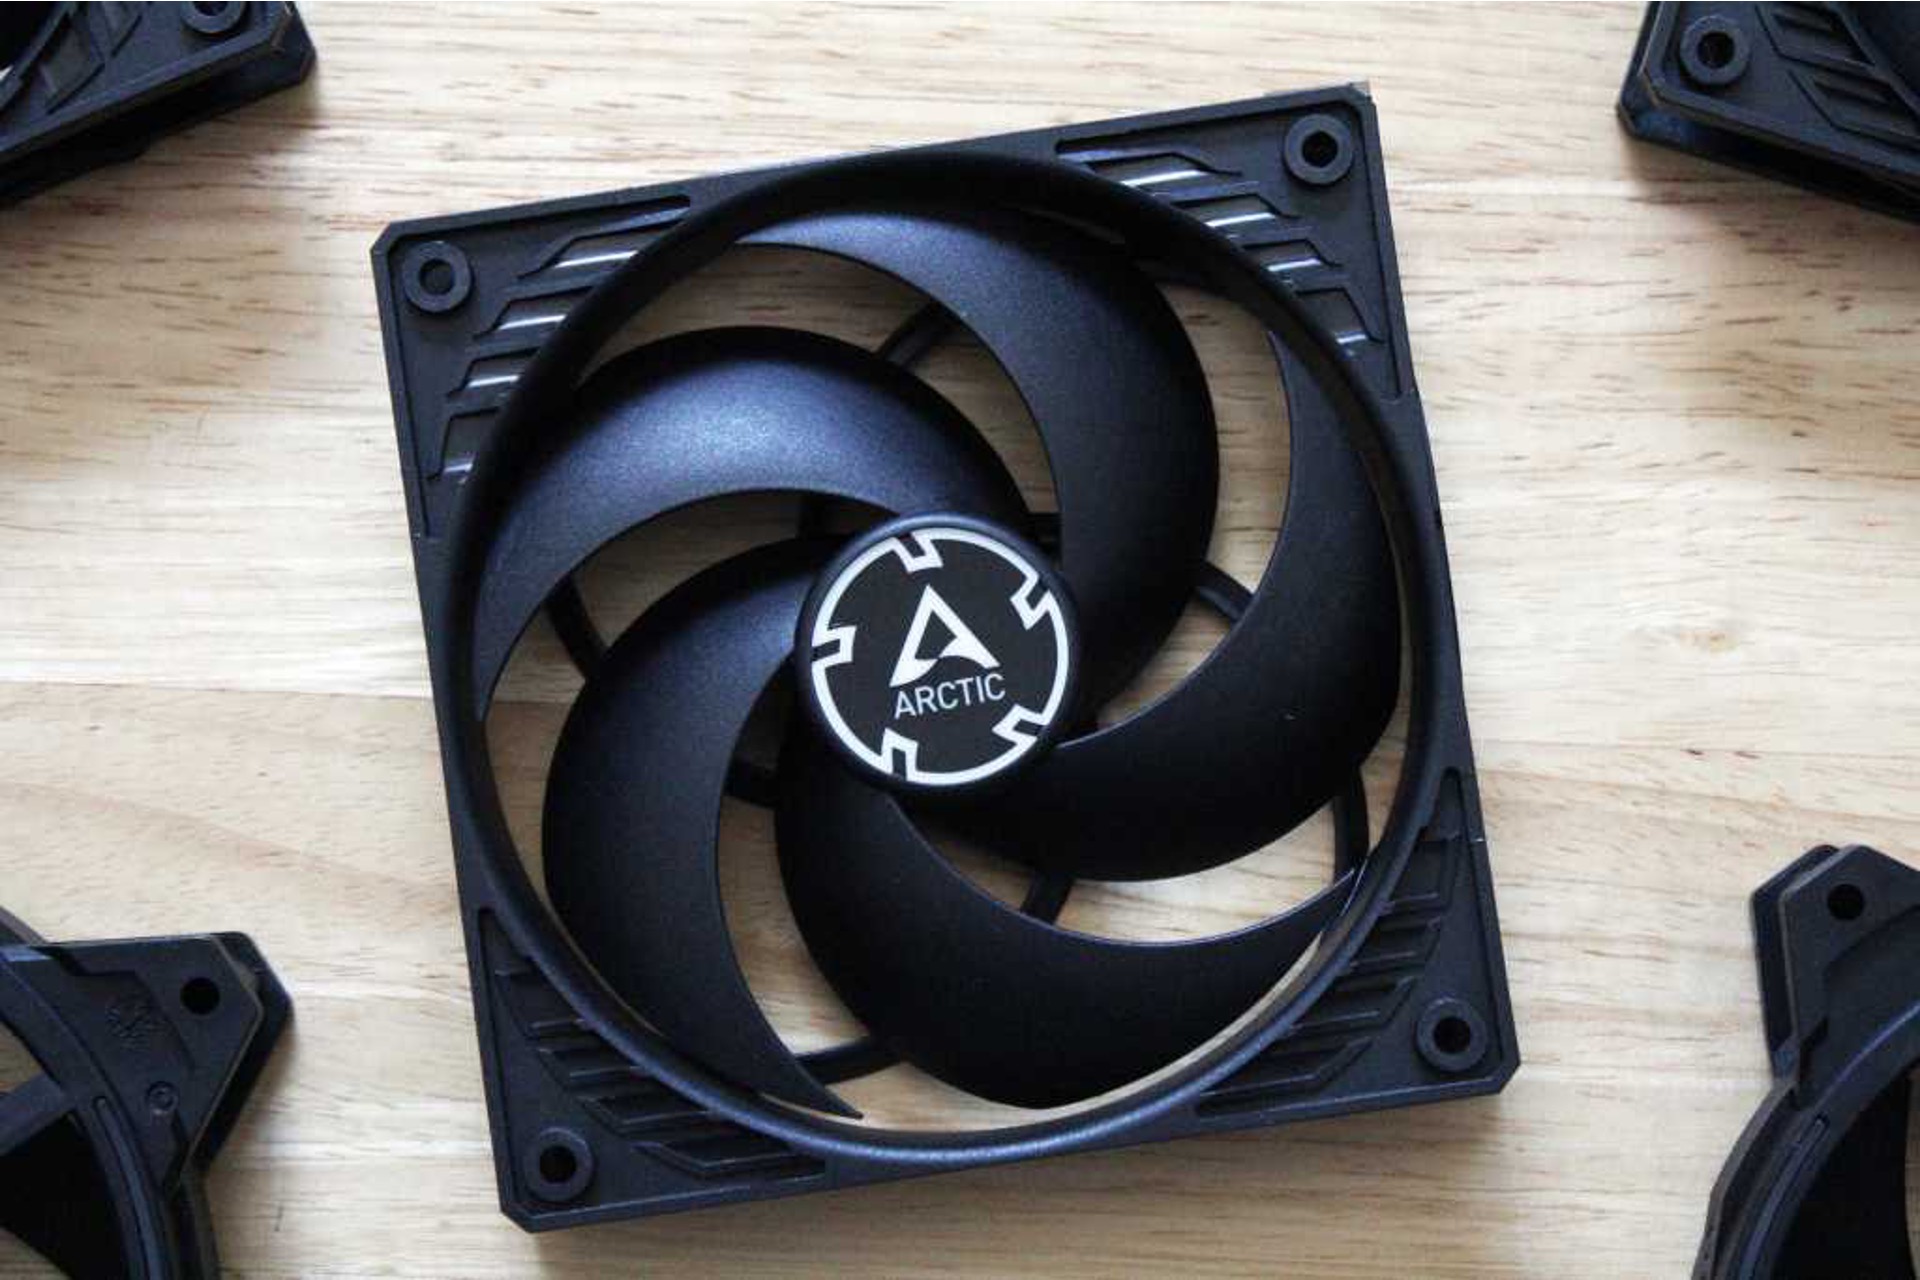
- Case fan with a Molex connector: Ensure that you have a case fan with a 4-pin Molex connector. This type of connector is distinguishable by its square configuration and four pins.
- Screwdriver: Depending on your computer case, you may need a Phillips or flathead screwdriver to remove the side panel or any necessary components to access the fan connectors.
- Wire strippers: These specialized tools are used to remove the insulation from the wires without damaging them. Make sure to choose wire strippers that are suitable for the gauge of the wires in your case fan.
- Electrical tape or heat shrink tubing: These materials are used to insulate and protect the exposed wires after connecting them to the Molex pins.
- Additional fan screws (optional): If your case fan doesn’t come with screws or you need additional ones to secure it in your case, make sure to have some spare fan screws on hand.
Once you have gathered all the necessary tools and supplies, you can move on to the next step of locating the Molex connector on the case fan. By being prepared and organized, you’ll have a much smoother and more enjoyable experience connecting your case fan with a Molex connector.
Step 2: Locate the Molex Connector on the Case Fan
Now that you have gathered all the necessary tools and supplies, the next step is to locate the Molex connector on the case fan. The Molex connector is usually found on one of the fan cables extending from the fan itself.
Follow these steps to locate the Molex connector:
- Identify the fan cables: Take a close look at the cables attached to your case fan. Most case fans have two cables extending from them – one for power and one for controlling fan speed (if applicable). The power cable is the one you’ll focus on, as it will have the Molex connector.
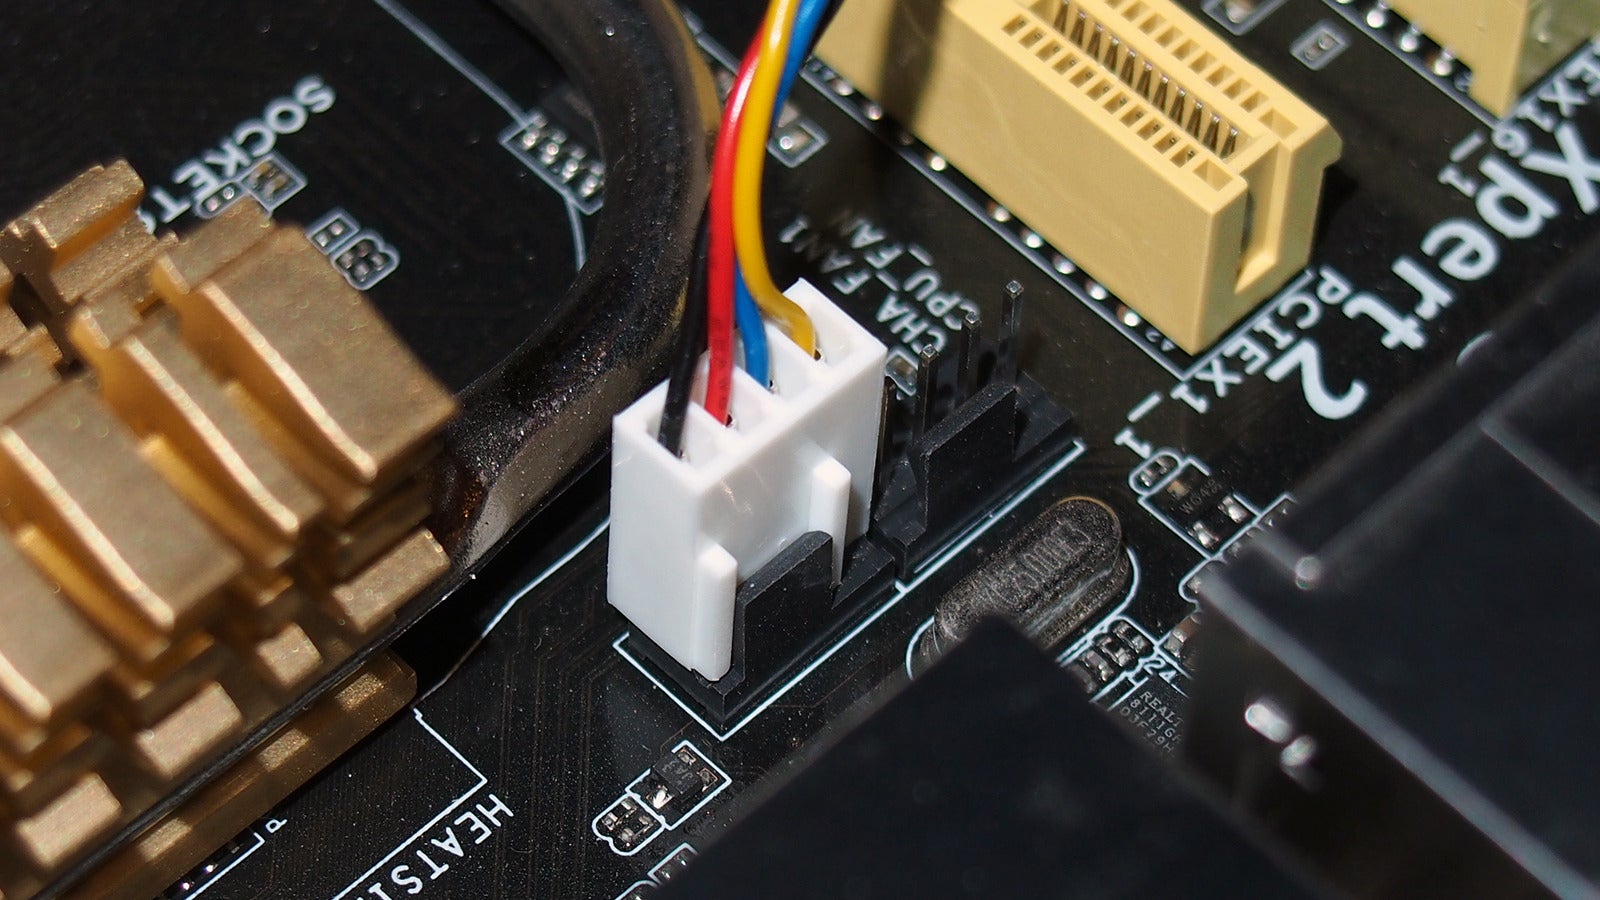
- Check for a rectangular connector: Look for a rectangular-shaped connector on the power cable. The Molex connector consists of four pins arranged in a square pattern, enclosed in a plastic housing with tabs that align with notches on the socket.
- Inspect the cables: Ensure that the cables are in good condition, without any visible damage or fraying. It’s crucial to have intact cables for a secure and reliable connection.
Remember to exercise caution when handling the case fan and its cables. Gentle handling will prevent accidental damage and prolong the lifespan of the fan.
Once you have located the Molex connector on the case fan, you are ready to move on to the next step, where we will discuss how to identify the pin configuration of the Molex connector.
Step 3: Identify the Pin Configuration
After locating the Molex connector on the case fan, the next step is to identify the pin configuration. The pin configuration refers to the arrangement and purpose of each pin within the Molex connector.
Follow these steps to identify the pin configuration:
- Observe the Molex connector: Take a closer look at the Molex connector on the case fan. You will notice four pins arranged in a square pattern. Each pin serves a specific purpose – two for power and two for ground.
- Note the color coding: Pay attention to the color coding of the wires leading to the Molex connector. Usually, the yellow wire is for 12V power, the red wire is for 5V power, and the two black wires are for ground.
- Refer to the manufacturer’s documentation: If available, consult the case fan’s manufacturer documentation or user manual for more precise pin configuration details. This information can be helpful, particularly if the colors of the wires do not align with the standard coloring.
It’s important to correctly identify the pin configuration to ensure a proper and secure connection. Misconnecting the wires could lead to malfunctions or damage to the case fan or other components in your computer.
Once you have identified the pin configuration, you are ready to move on to the next step – removing the Molex connector housing. We will discuss this in detail in the following section.
Step 4: Remove the Molex Connector Housing
Now that you have identified the pin configuration of the Molex connector, you can proceed to remove the Molex connector housing. Removing the housing will expose the individual pins and wires, allowing you to connect them properly in the next steps.
Follow these steps to remove the Molex connector housing:
- Examine the Molex connector housing: Take a close look at the Molex connector housing. You’ll notice that it has small tabs on the sides that align with notches on the socket.
- Press the tabs: Gently press the tabs on the housing using your thumb and index finger. Applying slight pressure will release the locking mechanism and allow you to remove the housing.
- Slide out the housing: While holding the tabs, carefully slide the housing away from the pins. Move it back and forth if needed until it comes off entirely.
- Inspect the pins and wires: Once the housing is removed, examine the pins and wires. Ensure that the pins are straight and not bent or damaged. Check the wires for any signs of fraying or damage as well.
Removing the Molex connector housing may require a bit of finesse, so take your time and be gentle. It’s important not to force the housing, as it could lead to damage to the connector or wires.
With the Molex connector housing successfully removed, you are now ready for the next step – stripping the wires. We will cover this process in detail in the following section.
Step 5: Strip the Wires
With the Molex connector housing removed, the next step is to strip the wires. Stripping the wires involves removing a small portion of the insulation from the end of each wire to expose the bare conductive metal.
Follow these steps to strip the wires:
- Select the appropriate stripping tool: Use wire strippers that are suitable for the gauge of the wires in your case fan. The stripping tool should have a cutting edge and different-sized notches to accommodate various wire sizes.
- Measure the length for stripping: Determine the ideal length for stripping the wires. The length should be long enough to make a secure connection but not too long that it protrudes beyond the pins.
- Position the wire in the stripping tool: Place the wire inside the appropriate-sized notch on the stripping tool. Ensure that the insulation is positioned against the cutting edge of the tool.
- Apply pressure and rotate: With the wire in place, press the handles of the stripping tool together to apply gentle pressure. While maintaining pressure, rotate the tool around the wire in a circular motion. This action will cut through the insulation without damaging the underlying metal.
- Remove the insulation: Once you have made a full rotation, release the pressure on the handles and carefully pull the stripped section of insulation away from the wire. The bare metal should be exposed.
- Repeat for each wire: Repeat the stripping process for each wire in the case fan. Take your time and ensure that each wire is properly stripped.
Stripping the wires allows for a clean and reliable connection. However, it’s crucial to be cautious while stripping the wires to prevent accidentally damaging the conductive metal or cutting into nearby wires.
With the wires stripped, you are now ready to move on to the next step, where we will discuss how to connect the wires to the Molex connector pins.
Step 6: Connect the Wires to the Molex Connector Pins
With the wires stripped, it’s time to connect them to the Molex connector pins. This step involves aligning the wires with the correct pins and securing them in place to establish a proper electrical connection.
Follow these steps to connect the wires to the Molex connector pins:
- Identify the corresponding pins: Refer to the pin configuration you identified earlier to understand which wire corresponds to each pin. Typically, the yellow and red wires represent 12V and 5V power, while the black wires serve as ground.
- Align the wires with the pins: Carefully align each wire with its corresponding pin on the Molex connector. Ensure that the stripped end of each wire is facing away from the connector, as it will be inserted into the pins.
- Insert the wires into the pins: With the wires aligned, gently insert each wire into its respective pin. Apply slight pressure to ensure that each wire is securely inserted into the pin. You may also hear a slight click, indicating that the wire is properly seated.
- Verify the connections: Once all the wires are inserted into their respective pins, double-check to make sure each wire is securely seated. Ensure that no wires are loose or partially inserted.
It’s essential to be gentle and precise when connecting the wires to the Molex connector pins. Mishandling the wires or forcing them into the wrong pins could lead to faulty connections and potential damage to your case fan or other components.
Once the wires are securely connected to the Molex connector pins, you can proceed to the next step – securing the connection. We will discuss this process in detail in the following section.
Step 7: Secure the Connection
After connecting the wires to the Molex connector pins, it’s crucial to secure the connection to ensure stability and prevent any accidental disconnections. Securing the connection will provide reliable power delivery to your case fan and ensure it operates efficiently.
Follow these steps to secure the connection:
- Check for any loose wires: Before proceeding, visually inspect the wires and pins to ensure they are securely connected. Look for any signs of loose wires or pins that may need to be adjusted.
- Use electrical tape or heat shrink tubing: To insulate and protect the exposed wires, wrap each individual wire with electrical tape or slide a piece of heat shrink tubing over the exposed portion. Ensure that the insulation covers the bare metal and extends beyond the connection point with the Molex connector.
- Apply gentle pressure to secure the insulation: Once the wires are insulated, apply gentle pressure to the insulation to ensure it adheres firmly to the wires. This will prevent the insulation from unraveling or sliding off the wires over time.
- Organize the wires: If needed, carefully organize the wires to ensure they are neatly arranged and do not interfere with any other components or obstruct airflow inside the computer case. Securing the wires with cable ties or cable management solutions can help keep them tidy.
Securing the connection and properly insulating the wires is essential for maintaining a stable and safe electrical connection within your computer system. It prevents any accidental short circuits or damage caused by loose connections.
With the connection secured and the wires properly organized, you can proceed to the next step – testing the fan to verify its functionality. We will cover this step in detail in the following section.
Step 8: Test the Fan
After completing the previous steps, it’s time to test the fan to ensure that it is functioning properly. Testing the fan will verify that the connection is secure and that the fan is receiving power from the Molex connector.
Follow these steps to test the fan:
- Ensure your computer is powered off: Before testing the fan, make sure your computer is powered off and unplugged from the power source. This is a necessary safety precaution to prevent any accidents or electrical damage.
- Reconnect the power supply to your computer: Plug your computer back into the power source and turn it on.
- Listen for the fan’s operation: As your computer starts up, listen for the sound of the fan spinning. You should be able to hear the fan’s operation, indicating that it is receiving power and functioning correctly.
- Monitor the fan’s movement: Observe the movement of the fan blades to ensure they are spinning smoothly. Check for any irregularities or obstructions that may hinder the fan’s operation.
- Monitor the temperatures: Once your computer is booted, monitor the temperatures of your components using software or BIOS monitoring tools. Ensure that the case fan is effectively cooling the system and helping maintain optimal temperatures.
If the fan is spinning smoothly, generating airflow, and effectively cooling your system, then your connection and installation were successful. Congratulations! Your case fan is now connected and functioning as intended.
If you encounter any issues during testing, double-check your connections, ensuring that the wires are properly connected and the fan is securely powered. If the issue persists, consult your computer’s user manual or seek assistance from a knowledgeable technician.
Testing the fan ensures that your computer will remain cool and perform optimally. With the fan successfully tested, you can now enjoy the benefits of improved airflow and cooling within your computer case.
Conclusion
Connecting a case fan with a Molex connector is a relatively simple process that can significantly enhance the cooling capabilities of your computer. By following the steps outlined in this guide, you can ensure that your case fan is securely connected and receiving the necessary power.
We began by understanding the Molex connector’s purpose and its role in powering various components within a computer. We then moved on to gathering the necessary tools and supplies, locating the Molex connector on the case fan, identifying the pin configuration, removing the Molex connector housing, stripping the wires, connecting the wires to the Molex connector pins, securing the connection, and finally testing the fan.
Remember, throughout the process, it’s important to exercise caution, handle the wires and components gently, and verify your connections. By doing so, you can avoid any potential damage to your case fan or other computer components. Additionally, organizing and securing the wires will contribute to a neat and efficient computer case setup.
Now that you have successfully connected your case fan with a Molex connector, you can enjoy improved airflow, reduced temperatures, and enhanced overall system performance. Regularly monitor and maintain the fan to ensure it continues to operate optimally and extend its lifespan.
We hope this guide has been helpful in simplifying the process and empowering you to connect a case fan with a Molex connector confidently. Enjoy the benefits of a well-ventilated and cool computer system!