Introduction
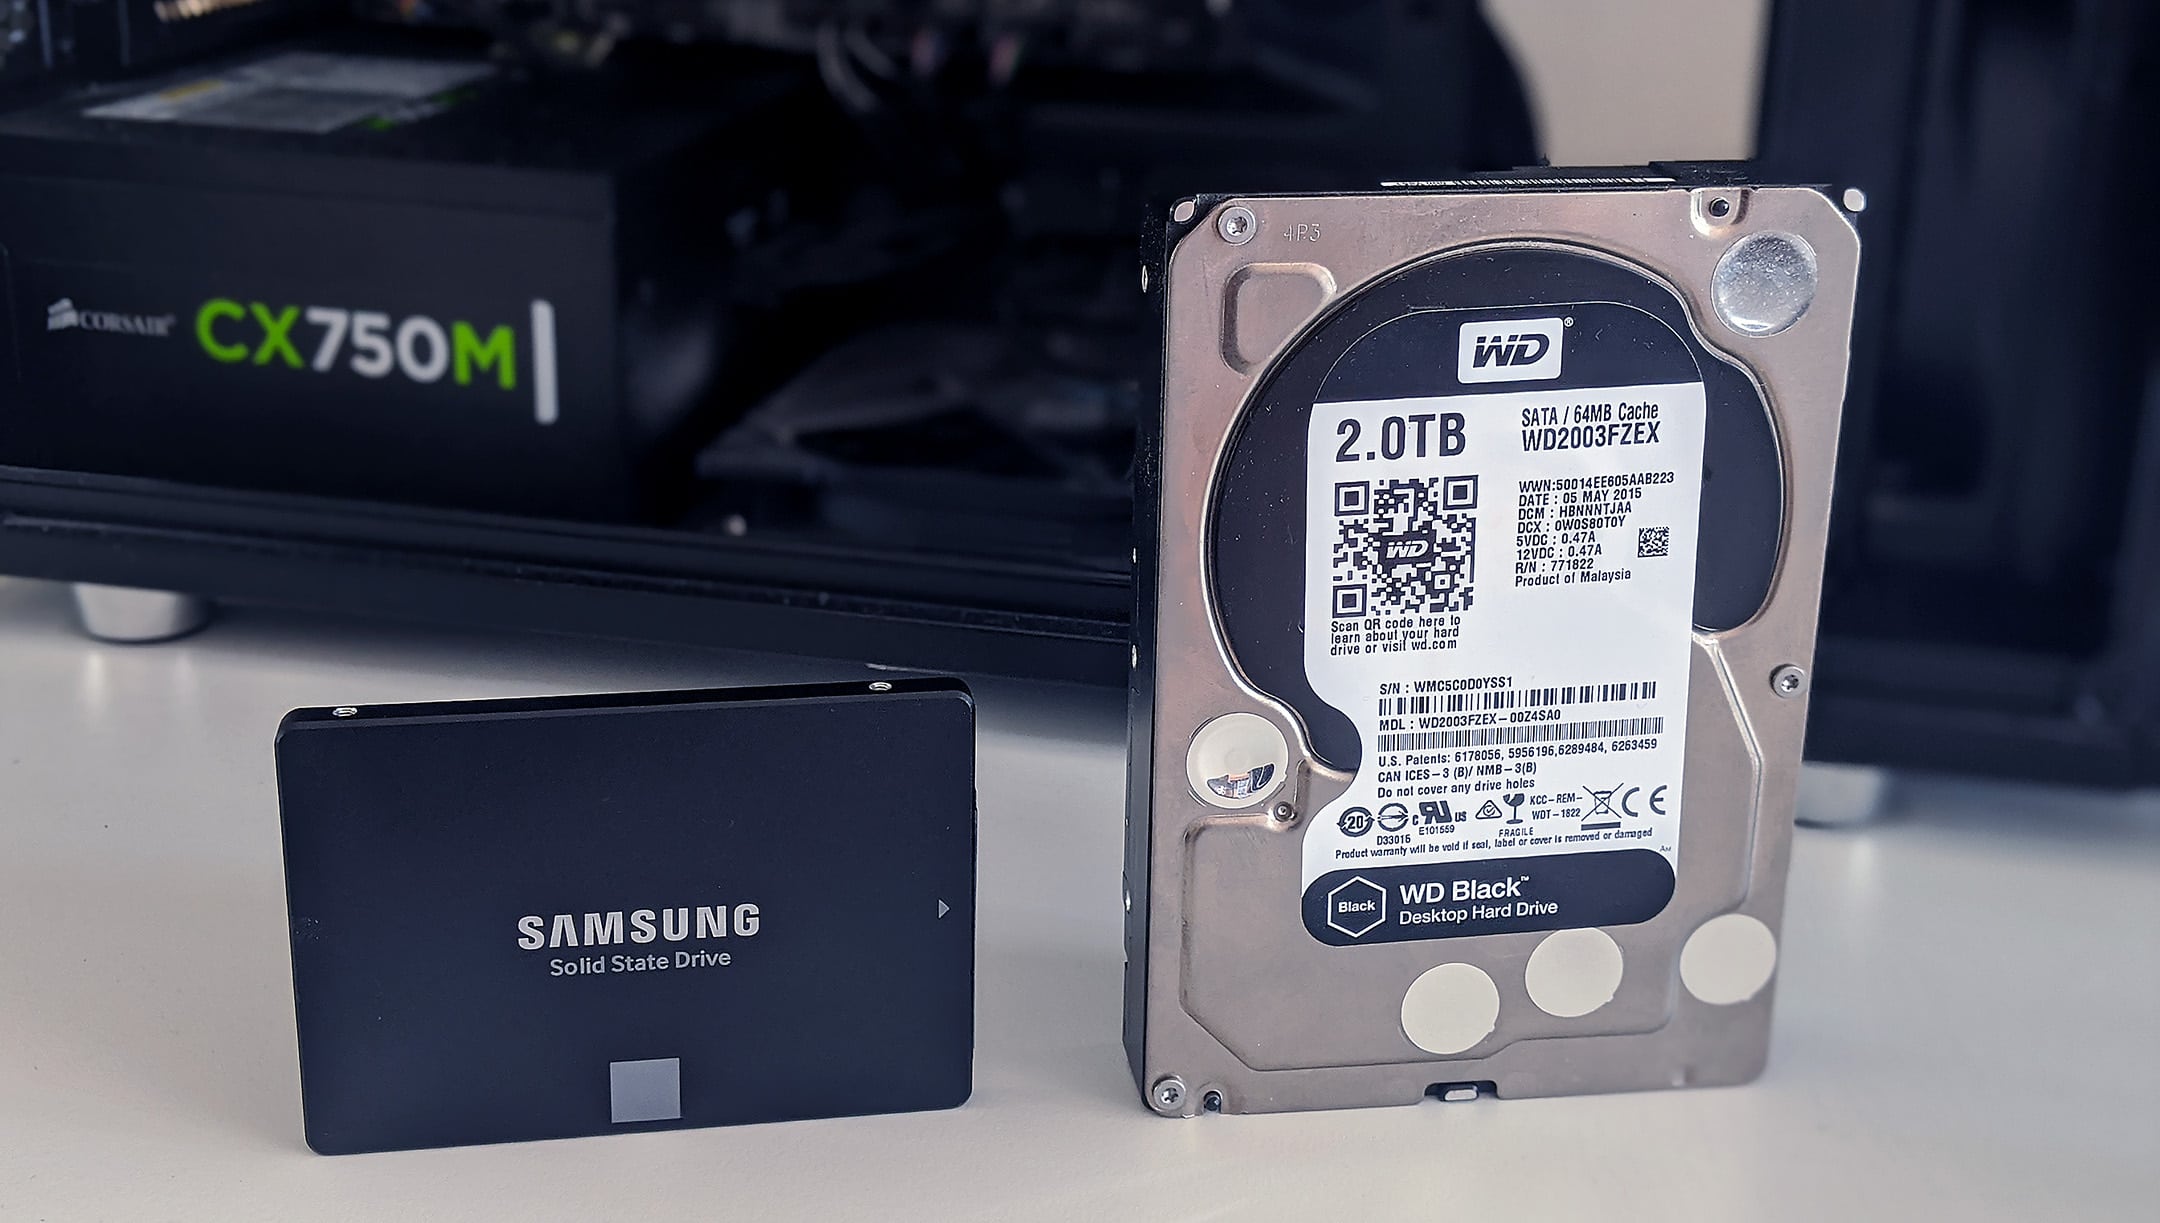
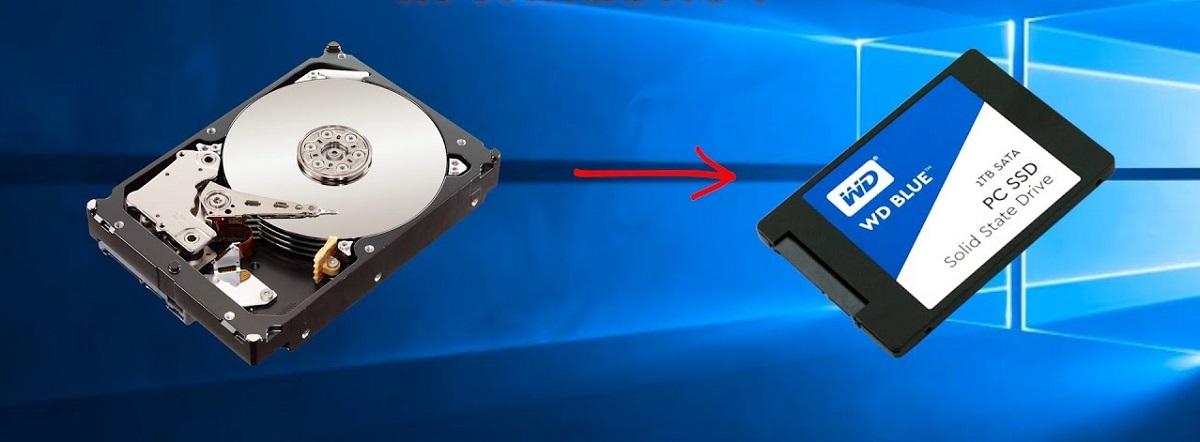
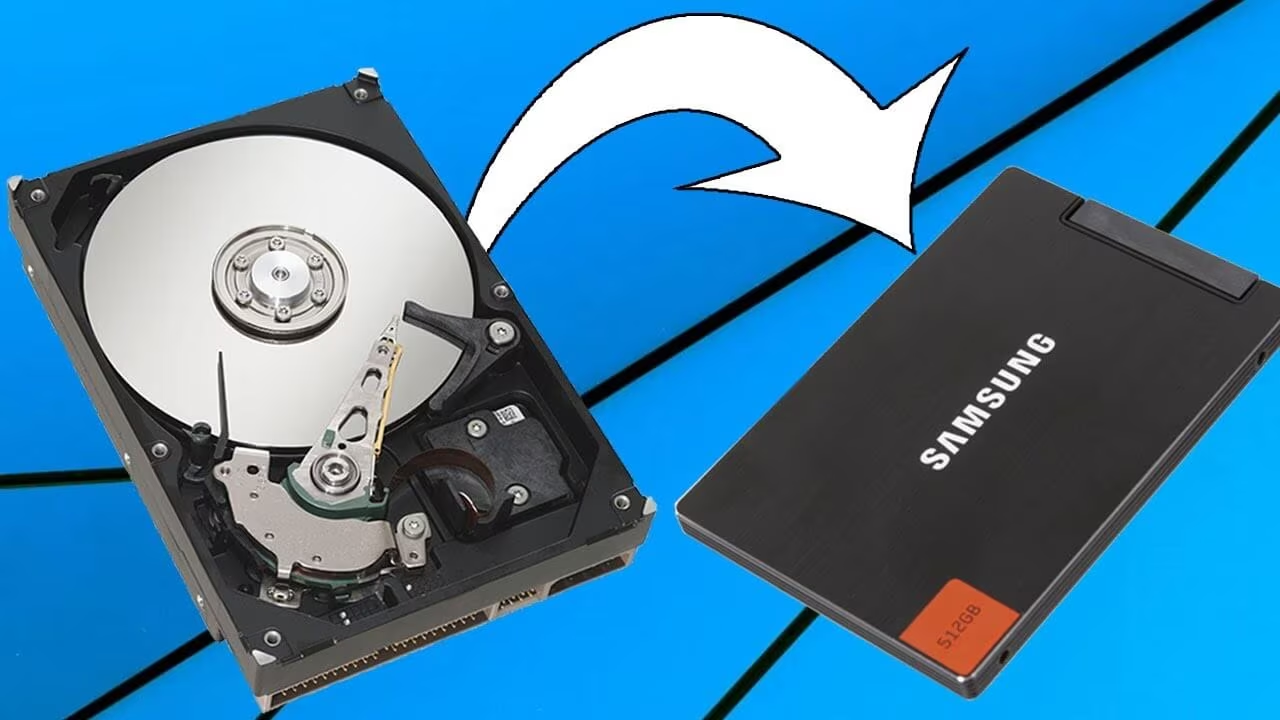
Upgrading from a traditional HDD (Hard Disk Drive) to an SSD (Solid State Drive) can significantly boost the performance and speed of your Windows 11 computer. With an SSD installed, you can enjoy faster boot times, smoother application launches, and quicker file transfers. To make the switch, you’ll need to clone your HDD to the SSD, ensuring a seamless transition without reinstalling your operating system or applications.
Cloning your HDD to an SSD involves creating an exact copy of your existing drive, including the operating system, files, and settings. This process eliminates the need to reconfigure your system or reinstall programs. Once completed, you can simply replace the old HDD with the new SSD and enjoy the benefits of improved speed and responsiveness.
While it may seem like a complex task, cloning your HDD to an SSD with Windows 11 is relatively straightforward, thanks to advancements in technology and user-friendly software. In this guide, we’ll walk you through the step-by-step process, ensuring a successful and hassle-free transfer of your data.
Before we dive into the details of cloning your HDD to an SSD, it’s essential to note that this process will erase all the data on your SSD. Therefore, it’s crucial to back up your files and applications beforehand to ensure you don’t lose any valuable data. Additionally, you’ll need to gather the necessary tools, including a SATA-to-USB adapter or dock, depending on the type of SSD you have.
Now that we’ve covered the basics, let’s proceed to the step-by-step process of cloning your HDD to an SSD in Windows 11. By following this guide, you’ll be able to make a smooth transition to your new SSD, maximizing the performance and efficiency of your computer.
Step 1: Backup Your Data
Before you begin the cloning process, it’s vital to back up your data to ensure it’s safe and secure. While the cloning process is generally reliable, there’s always a small risk of data loss. By having a backup, you can have peace of mind knowing that your important files are protected.
There are several methods you can use to backup your data. One option is to manually copy your files to an external storage device, such as a USB drive or an external HDD. Simply select the files and folders you want to back up, right-click, and choose the “Copy” option. Then, navigate to your external storage device, right-click, and select “Paste” to transfer the files.
Another convenient option is to use cloud storage services like Google Drive, Dropbox, or Microsoft OneDrive. These services allow you to store your files securely in the cloud, accessible from any device with an internet connection. Simply upload your files to the cloud storage provider of your choice and ensure they’re synced and up to date.
If you have a large amount of data to back up, you may consider using specialized backup software. These tools offer advanced features like automatic scheduling, incremental backups, and encryption for added security.
Remember to include all important files, documents, photos, videos, and any other data you can’t afford to lose. It’s better to be safe than sorry, so take the time to verify that your backup is complete and error-free before proceeding to the next step.
Once you’ve successfully backed up your data, you’re ready to move on to the next step: choosing the right cloning software.
Step 2: Choose the Right Cloning Software
Choosing the right cloning software is crucial to ensure a successful HDD to SSD migration. There are several reliable options available, each with its own set of features and user interface. Here are a few popular choices to consider:
- Macrium Reflect: Macrium Reflect is a powerful and user-friendly cloning software that offers both free and paid versions. It allows you to clone your HDD to an SSD with just a few clicks. The software provides additional features like scheduled backups, disk imaging, and incremental backups.
- AOMEI Backupper: AOMEI Backupper is another reliable cloning tool that offers a straightforward interface and various cloning options. It supports HDD to SSD cloning, system cloning, and disk/partition cloning. The software also includes features like file sync, disk backup, and system restore.
- Acronis True Image: Acronis True Image is a comprehensive backup and cloning software that provides reliable HDD to SSD migration. It offers features like disk cloning, system migration, and automated backups. Acronis True Image also includes extras like disk cleanup, secure file deletion, and cloud storage integration.
When choosing the right cloning software, consider your specific needs, budget, and level of technical expertise. Ensure that the software you select is compatible with Windows 11 and supports HDD to SSD cloning. It’s also a good idea to read reviews and compare features to find the option that best suits your requirements.
Once you’ve chosen the cloning software that meets your needs, you’re ready to proceed to the next step: preparing your SSD for the cloning process.
Step 3: Prepare Your SSD
Before you can proceed with cloning your HDD to the SSD, it’s important to properly prepare the SSD for the process. Here are the steps to follow:
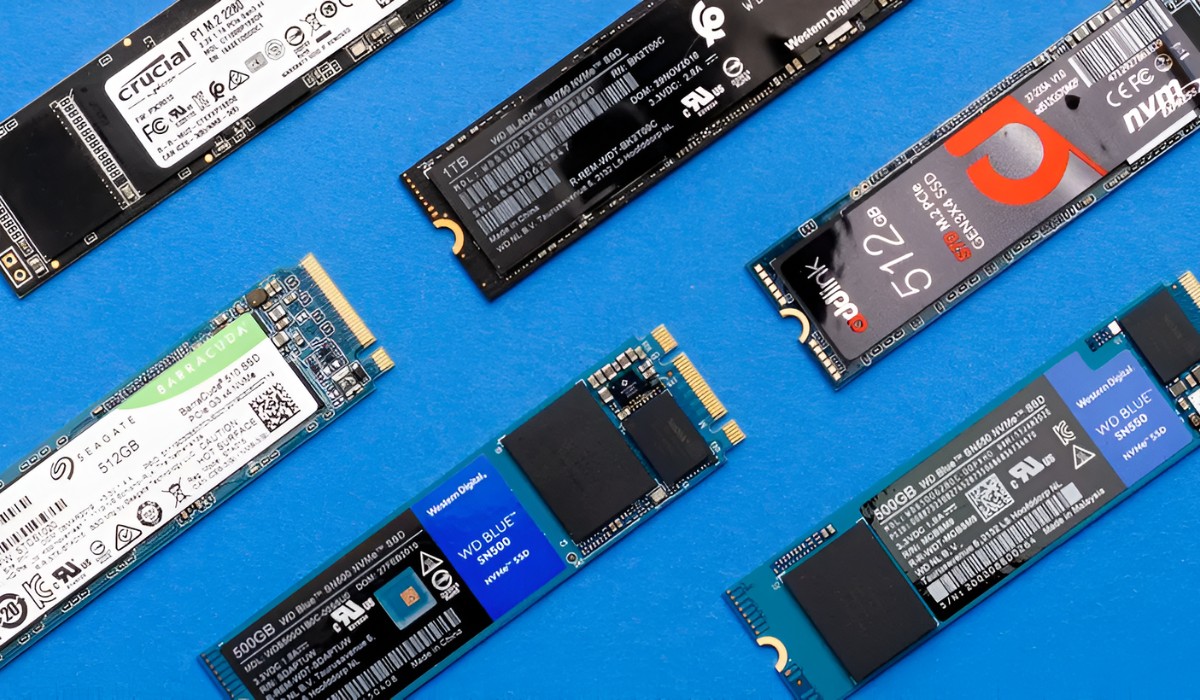
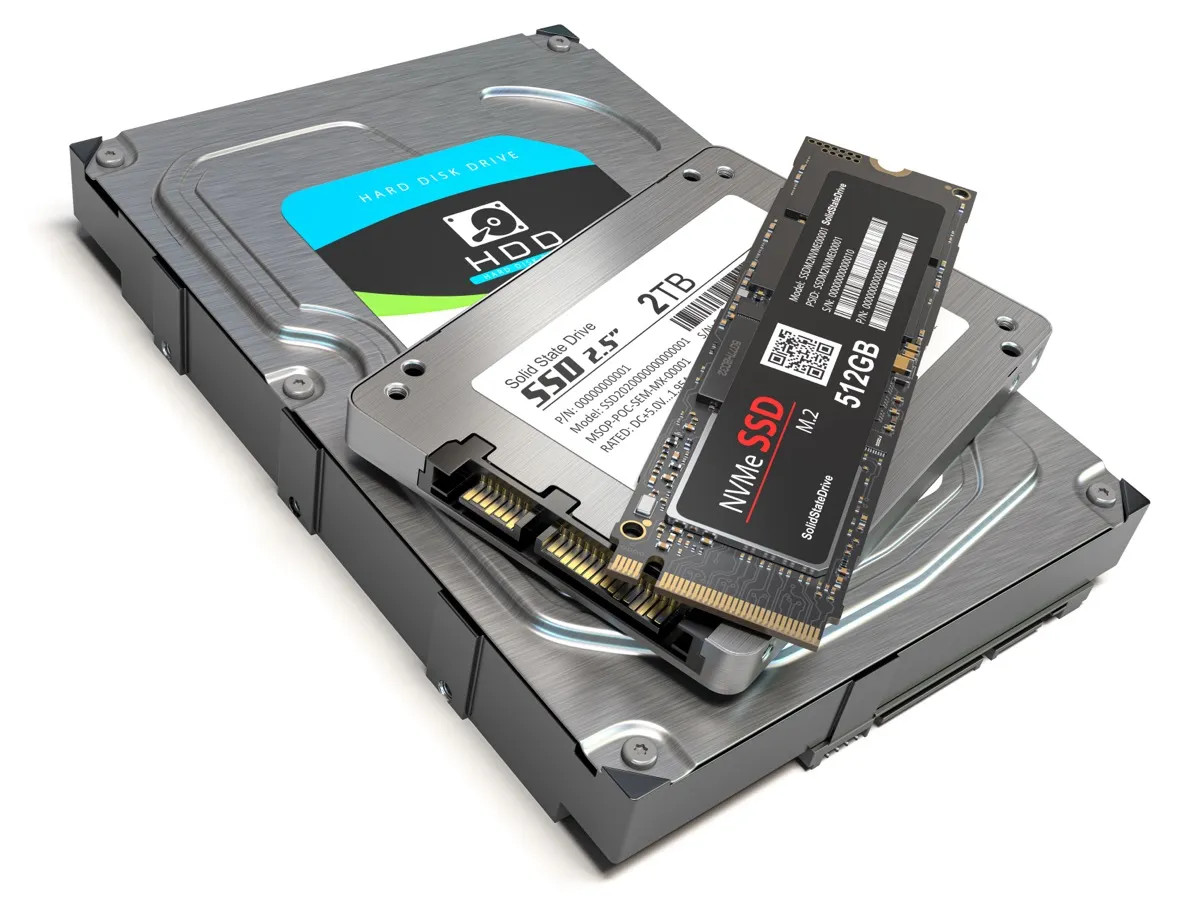
- Ensure Compatibility: Check the specifications of your SSD to ensure it is compatible with your computer and operating system. Pay attention to factors such as the form factor (e.g., 2.5-inch, M.2) and the interface (e.g., SATA, NVMe). Make sure your computer has the necessary connections and slots to accommodate the SSD.
- Check Capacity: Ensure that the capacity of the SSD is equal to or greater than the used storage space on your HDD. This will ensure that all data can be transferred without any issues.
- Erase the SSD: If your SSD is not brand new, it’s recommended to perform a secure erase to remove any existing data and prepare it for the cloning process. Most SSD manufacturers provide specialized software that allows you to securely erase the drive. Follow the instructions provided by the manufacturer to complete this step.
- Update Firmware: Check if there are any firmware updates available for your SSD. Updating the firmware can improve compatibility, performance, and reliability. Visit the manufacturer’s website or use their software to check for and install any available updates.
- Connectivity: If you are using a SATA SSD, connect it to your computer using a SATA cable or docking station. For an M.2 SSD, insert it into the appropriate slot on your motherboard. Ensure that the SSD is securely connected and recognized by your computer.
Taking the time to properly prepare your SSD ensures a smooth and error-free cloning process. By following these steps, you’ll be ready to move on to the next stage: connecting the SSD to your computer and launching the cloning software.
Step 4: Connect the SSD to Your Computer
Now that you have prepared your SSD, it’s time to connect it to your computer to begin the cloning process. Depending on the type of SSD you have, the steps may vary slightly. Here’s how to connect different types of SSDs to your computer:
- SATA SSD: If you have a SATA SSD, you can connect it directly to your computer using a SATA cable. Locate an available SATA port on your motherboard and connect one end of the SATA cable to the SSD and the other end to the SATA port. Make sure the connection is secure.
- M.2 SSD: If you have an M.2 SSD, locate the M.2 slot on your motherboard. Depending on the motherboard, there may be different types of M.2 slots, so make sure you use the correct one. Insert the M.2 SSD into the slot at an angle and gently press it down until it is firmly in place.
Once you have connected the SSD to your computer, ensure that it is detected by your system. You can check this by accessing the computer’s BIOS or using the Disk Management tool in Windows. If the SSD is properly connected and recognized, you are ready to move on to the next step – launching the cloning software.
Step 5: Launch the Cloning Software
With your SSD connected to your computer, it’s time to launch the cloning software you chose in Step 2. Follow these steps to start the cloning process:
- Open the Cloning Software: Locate the cloning software you installed on your computer and open it. Most cloning software will have a recognizable icon on your desktop or can be accessed through the Start menu.
- Select Cloning Option: Once the software is launched, you will be presented with various options. Look for the HDD to SSD cloning or disk cloning option and select it. This option allows you to clone your entire HDD to the SSD.
- Choose Source Drive: In the cloning software, you will need to select the source drive, which is your HDD. Ensure that you choose the correct drive with your operating system and data.
- Select Destination Drive: Next, you will need to choose the destination drive, which is your SSD. Select the SSD you connected in Step 4. Double-check to ensure that you don’t accidentally select your existing HDD as the destination.
- Configure Cloning Options: Depending on the cloning software, you may have additional options to configure. These can include options like sector-by-sector cloning, intelligent sector copying, or automatic resizing of partitions. Review the available options and choose the settings that best suit your needs.
- Start the Cloning Process: Once you have set the source and destination drives and configured the options, you are ready to start the cloning process. Look for a “Clone” or “Start” button and click on it to begin the cloning process.
The time it takes to complete the cloning process depends on the size of your HDD and the performance of your computer. During the cloning process, it’s important not to interrupt or disconnect any of the drives. Allow the software to complete the process, which may take some time.
Once the cloning process is finished, you can proceed to the next step – waiting for the cloning process to complete successfully.
Step 6: Select the Source and Destination Drives
In this step, you need to choose the source and destination drives in the cloning software. This step ensures that the data from your HDD is accurately copied to the SSD. Follow these instructions to select the appropriate drives:
- Select the Source Drive: In the cloning software, you will be prompted to choose the source drive, which is your HDD. Locate the option to select the source drive and ensure that you choose the correct drive where your operating system and data are currently stored. It should be labeled with the appropriate size and drive letter.
- Choose the Destination Drive: After choosing the source drive, you will need to select the destination drive, which is your SSD. The cloning software should provide a list of available drives to choose from. Locate your SSD in the list and double-check to make sure you select the correct drive. The SSD should be labeled with its size and drive letter.
It’s crucial to be extremely careful when selecting the source and destination drives to prevent any data loss. Verifying the sizes and drive letters can help ensure that you are making the correct choices. It’s also a good idea to double-check that you have backed up your data before proceeding, as a mistake in this step could potentially result in data loss.
Once you have successfully selected the source and destination drives, you can proceed to the next step – starting the cloning process. Review your choices one last time and make sure they are correct before proceeding with the cloning process.
Step 7: Start the Cloning Process
In this step, you will initiate the cloning process to transfer the data from your HDD to the SSD. Once you have selected the source and destination drives in the cloning software, follow these steps to start the cloning process:
- Review Cloning Options: Before proceeding, review the cloning options one final time. Ensure that you have selected the correct drives and any other specific settings you want to apply.
- Initiate the Cloning Process: Look for a “Clone” or “Start” button in the cloning software interface. Click on this button to initiate the cloning process.
- Wait for the Cloning to Complete: Once the cloning process begins, you will need to be patient and allow the software to complete the task. The time required for the cloning process can vary depending on the size of your HDD and the performance of your computer. During this time, it’s crucial not to interrupt or disconnect any drives, as this could lead to data loss or an incomplete cloning process.
- Monitor the Progress: Some cloning software may provide a progress bar or status indicator to keep you informed about the cloning progress. It’s a good idea to monitor the progress to ensure that the process is proceeding smoothly.
- Completion Notification: Once the cloning process is complete, the software will display a notification or status update informing you about the successful completion of the cloning process. At this point, you can proceed to the next step.
During the cloning process, it’s important to refrain from using your computer for other tasks to ensure that the process completes without any interruptions. Once the cloning is finished, you are one step closer to enjoying the enhanced performance of your SSD. The next step involves shutting down your computer and disconnecting the HDD, which will be covered in Step 9.
Step 8: Wait for the Cloning Process to Complete
After initiating the cloning process in the previous step, it’s important to allow the software to complete the task without interruption. The duration of the cloning process can vary depending on the size of your HDD, the amount of data being transferred, and the speed of your computer. Here’s what you need to do while waiting for the cloning process to complete:
- Be Patient: The cloning process may take some time, so it’s important to be patient and avoid interrupting the process. Avoid performing any other tasks on your computer that could slow down the cloning process or cause errors.
- Monitor the Progress: Some cloning software provides a progress bar or status indicator that shows the percentage of completion. Keep an eye on the progress to get an idea of how much time is remaining. This will help you estimate when the cloning process is likely to finish.
- Avoid Power Loss: Ensure that your computer is connected to a reliable power source to avoid any abrupt shutdowns. Sudden power loss during the cloning process can lead to data corruption or an incomplete clone.
- Stay Informed: If the cloning software provides any notifications or alerts during the process, pay attention to them. These messages can provide important information about the status of the cloning process or any potential issues that may arise. Take note of any instructions or recommendations provided by the software.
It’s important to remain patient and let the cloning process run its course. Avoid interrupting or canceling the process, as this can lead to incomplete cloning or data loss. Once the process is complete, you can proceed to the next step, which involves shutting down your computer and disconnecting the HDD.
Step 9: Shut Down Your Computer and Disconnect the HDD
After the cloning process is complete and you have verified that the data has been successfully transferred to the SSD, it’s time to shut down your computer and disconnect the HDD. Follow these steps to ensure a proper transition:
- Save and Close Applications: Before shutting down your computer, save any open files and close all running applications. This will prevent any data loss or corruption during the shutdown process.
- Shut Down Your Computer: Click on the Start menu and select the “Shut Down” option. Allow your computer to complete the shutdown process.
- Disconnect the Power Cable: Unplug the power cable from your computer to ensure it is completely powered off. This step is essential for safety reasons and to prevent any accidental data loss or damage.
- Open Your Computer Case: Carefully open your computer case to gain access to the internal components. Refer to your computer’s user manual or online resources for specific instructions on how to open your case.
- Identify and Disconnect the HDD: Locate the HDD that you cloned in Step 4. It is typically secured with screws or mounting brackets. Remove any necessary screws or brackets and carefully disconnect the SATA or power cables from the HDD.
- Store the HDD Safely: Once the HDD is disconnected, it’s important to store it in a safe and secure location. Consider using an anti-static bag or an HDD storage case to protect it from moisture, dust, and physical damage. It can serve as a backup or be repurposed for other uses.
With the HDD removed, your computer is now ready to be powered on with the SSD as the primary drive. Close the computer case properly and connect the power cable. The next step involves installing the SSD as the boot drive, which will be covered in Step 10.
Step 10: Install the SSD as the Boot Drive
In this final step, you will install the SSD as the boot drive, ensuring that your computer starts up from the new SSD instead of the old HDD. Follow these instructions to set up your SSD as the primary boot device:
- Power On Your Computer: Connect the power cable and switch on your computer.
- Access the BIOS or UEFI Settings: During the boot-up process, there is usually a specific key or combination of keys that you need to press to access the BIOS or UEFI settings. Common keys include Del, F2, F12, or Esc. Refer to your computer’s user manual or manufacturer’s website to determine the correct key(s) to enter the settings.
- Navigate to the Boot Options: Once in the BIOS or UEFI settings, locate the “Boot” or “Boot Options” section. This section contains settings related to the boot sequence of your computer.
- Set the SSD as the First Boot Device: Look for an option to change the boot order or boot priority. Select the SSD as the first boot device or move it to the top of the boot priority list. This ensures that your computer will boot from the SSD rather than the HDD.
- Save and Exit: Once you have set the SSD as the first boot device, save your changes in the BIOS or UEFI settings. This is typically done by pressing a specific key such as F10 or by selecting an option to save and exit.
- Restart Your Computer: With the changes saved, restart your computer. Your system should now boot up using the SSD as the primary drive.
Congratulations! You have successfully installed the SSD as the boot drive in your computer. With the new SSD as the primary drive, you can now experience faster boot times, improved system responsiveness, and enhanced overall performance.
It’s a good practice to verify that the SSD is detected and functioning correctly. You can check this by accessing your computer’s operating system and checking the system information or storage settings. Additionally, make sure all your data and applications are intact on the SSD.
Remember to keep the old HDD disconnected or repurpose it for additional storage or backup purposes. Regularly backup your data to ensure its safety and consider enabling automatic backups to avoid any future data loss.
Conclusion
Congratulations on successfully cloning your HDD to an SSD in Windows 11! By following the step-by-step process outlined in this guide, you have upgraded your computer’s storage and improved its performance and responsiveness. Here’s a quick recap of the steps you followed:
- Backed up your data to ensure its safety.
- Chose the right cloning software suitable for your needs.
- Prepared your SSD by ensuring compatibility, erasing any existing data, and updating its firmware.
- Connected the SSD to your computer using the appropriate method for your SSD type.
- Launched the cloning software and selected the source (HDD) and destination (SSD) drives.
- Started the cloning process and patiently waited for it to complete.
- Shut down your computer, disconnected the HDD, and stored it safely.
- Installed the SSD as the boot drive by adjusting the BIOS or UEFI settings.
Now that your computer is up and running with the SSD as the primary drive, you can enjoy faster boot times, quicker application launches, and improved overall performance. The switch from HDD to SSD also offers greater durability, energy efficiency, and noise reduction.
Remember to regularly back up your data to prevent any loss and keep your SSD clean by removing unnecessary files and performing regular maintenance. This will help maintain its performance and longevity.
Thank you for following this guide on how to clone your HDD to an SSD in Windows 11. We hope this information has been helpful and has made your transition to an SSD a smooth and successful one. Enjoy the improved speed and performance of your upgraded computer!