Introduction
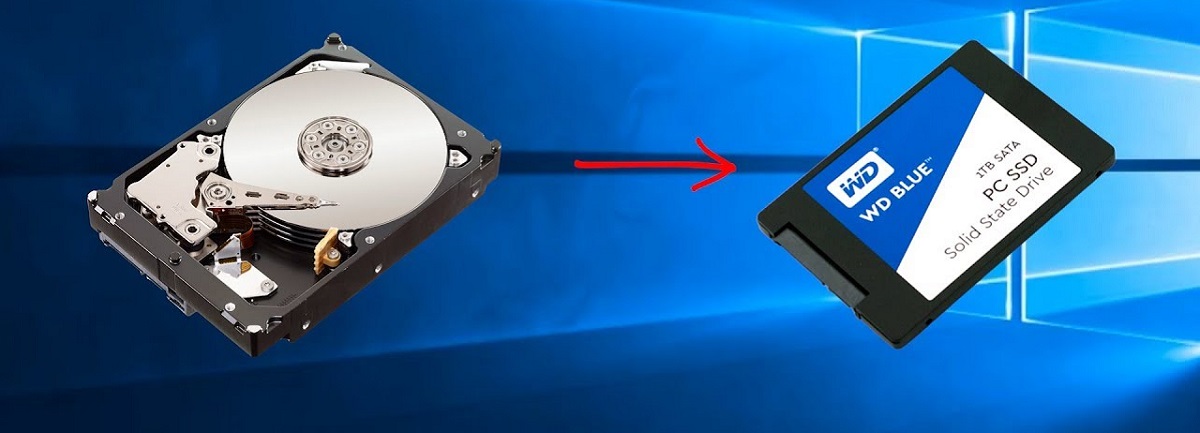
Welcome to this guide on how to clone a hard drive to an SSD on Windows 7. If you’re looking to improve the performance and speed of your computer, cloning your hard drive to an SSD is a fantastic option. An SSD (Solid State Drive) is much faster than a traditional hard drive, as it uses flash memory for storage instead of the spinning platters found in HDDs. This means that your computer will boot up faster, programs will load quicker, and overall system responsiveness will be greatly improved.
There are several reasons why you might want to clone your hard drive to an SSD. Firstly, it can be a cost-effective solution to upgrade your computer’s performance without having to buy a brand new system. By cloning your hard drive, you can transfer all your data, settings, and applications to the SSD, making the transition seamless. Secondly, it allows you to keep your current operating system and applications intact, without having to reinstall everything from scratch. This can save you a significant amount of time and effort.
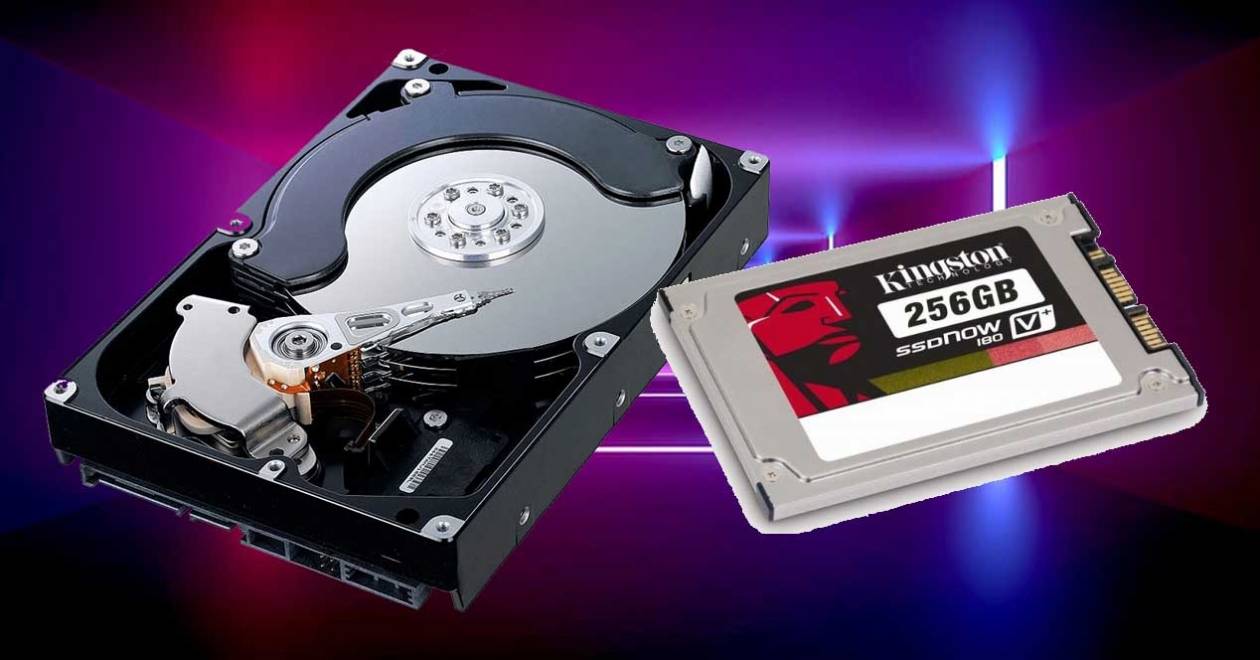
Before we delve into the actual steps of cloning a hard drive to an SSD, let’s take a moment to discuss what you’ll need for this process. First and foremost, you’ll need a compatible SSD with sufficient capacity to accommodate your existing data. Make sure to choose an SSD that matches the form factor of your current hard drive (typically 2.5 inches for laptops and 3.5 inches for desktops) and has enough storage space to fit all your files and applications.
In addition to the SSD, you’ll need a USB-to-SATA adapter or a SATA-to-SATA cable to connect the SSD to your computer. This will allow you to transfer data between the hard drive and the SSD. Lastly, you’ll need cloning software. There are several reliable options available, such as Acronis True Image, Clonezilla, and Macrium Reflect, just to name a few. Choose the one that best suits your needs and download it onto your computer.
Now that we’ve covered the basics, let’s move on to the step-by-step process of cloning your hard drive to an SSD on Windows 7. Remember to follow the instructions carefully and backup your data before proceeding with the cloning process.
Why Clone a Hard Drive to an SSD?
Cloning your hard drive to an SSD offers numerous benefits that can greatly enhance your computer’s performance and user experience. Let’s explore why you might want to consider this upgrade:
1. Speed and Performance: One of the primary advantages of an SSD is its lightning-fast speed. Unlike traditional hard drives that rely on mechanical components to read and write data, SSDs utilize flash memory technology, resulting in significantly faster access times. By cloning your hard drive to an SSD, you can experience quicker boot times, faster application launches, and overall system responsiveness.
2. Improved Productivity: With an SSD, you can say goodbye to long loading times and frustrating lag. Tasks that used to take minutes or even hours can now be completed in a fraction of the time. Whether you’re working on complex projects, editing multimedia files, or running resource-intensive applications, an SSD will optimize your workflow and improve your productivity.
3. Reliability and Durability: Unlike traditional hard drives, SSDs lack the moving parts that can become susceptible to wear and tear over time. This means that SSDs are more resistant to mechanical failures and are generally more reliable. Additionally, their shock-resistant design makes them ideal for laptops and other portable devices that may experience physical jolts or vibrations.
4. Energy Efficiency: SSDs consume less power compared to traditional hard drives. This not only translates into longer battery life for laptops but also reduces overall power consumption, contributing to a greener and more energy-efficient computing experience.
5. Streamlined Data Transfer: Cloning your hard drive to an SSD allows for a seamless transition of all your data, settings, and applications. Instead of the time-consuming process of reinstalling programs and transferring files manually, cloning ensures that everything remains intact and in its proper place, saving you valuable time and effort.
6. Cost-Effective Upgrade: Investing in a new computer can be expensive. However, by cloning your hard drive to an SSD, you can enjoy the benefits of improved performance and speed without breaking the bank. Upgrading to an SSD is often more cost-effective than purchasing a new computer altogether, allowing you to get the most out of your existing system.
As you can see, there are compelling reasons to clone your hard drive to an SSD. Whether you’re seeking to enhance your computer’s performance, increase productivity, or simply improve your overall computing experience, upgrading to an SSD is a worthwhile investment.
What You’ll Need
Before you begin the process of cloning your hard drive to an SSD, it’s important to gather the necessary tools and equipment. Here’s what you’ll need:
1. SSD: First and foremost, you’ll need a compatible SSD (Solid State Drive) with sufficient storage capacity to accommodate all your data. Ensure that the SSD you choose matches the form factor of your current hard drive (typically 2.5 inches for laptops and 3.5 inches for desktops) and has ample space to store your files, applications, and operating system.
2. USB-to-SATA Adapter or SATA-to-SATA Cable: To connect the SSD to your computer, you’ll need either a USB-to-SATA adapter or a SATA-to-SATA cable. These tools allow you to establish a connection between your computer and the SSD, facilitating the transfer of data during the cloning process. Make sure the adapter or cable is compatible with your system’s specifications.
3. Cloning Software: To clone your hard drive to the SSD, you’ll require specialized cloning software. There are several reliable options available, such as Acronis True Image, Clonezilla, and Macrium Reflect. Each software has its own unique features and interface, so choose the one that best suits your needs and download it onto your computer. Ensure that the software is compatible with Windows 7 and supports disk cloning functionality.
4. Screwdriver (if necessary): In some cases, you may need a screwdriver to physically install the new SSD in your computer. This is typically required for desktop systems where the SSD needs to be securely mounted in a drive bay. Refer to your computer’s user manual or the SSD manufacturer’s instructions for guidance on the installation process.
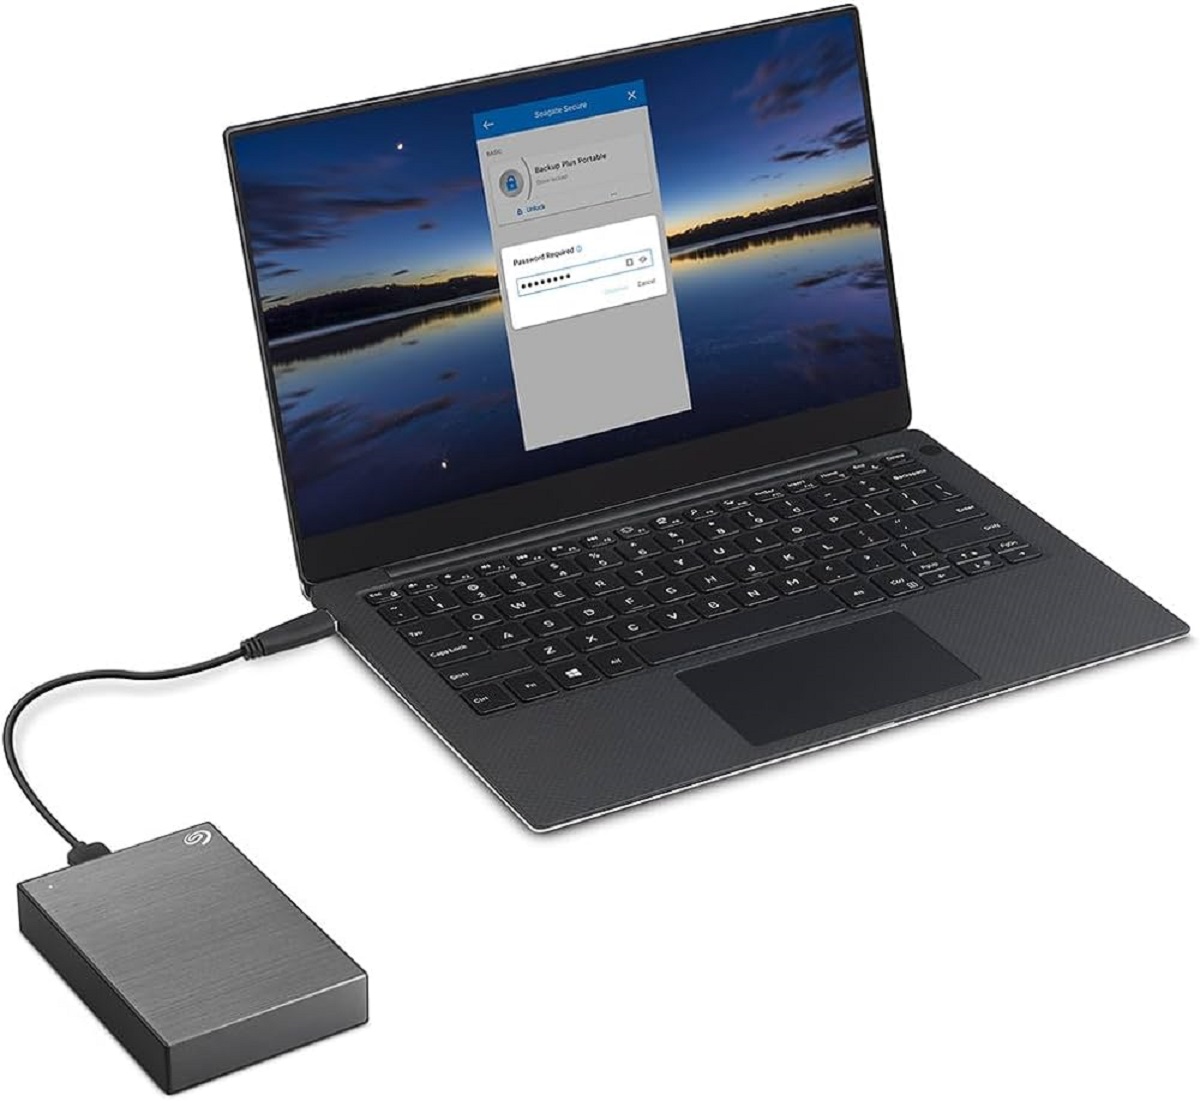
5. Backup Storage Device: Before initiating the cloning process, it is highly recommended to backup your data. This can be done using an external hard drive, a USB flash drive, or cloud storage options. Creating a backup ensures that your precious files remain safe and accessible in case of any unexpected issues during the cloning process.
6. Preparation Time: Cloning a hard drive to an SSD may require some time to complete, especially if you have a large amount of data. Allocate enough time to ensure that the process can be carried out without interruptions or time constraints.
By gathering these necessary tools and equipment, you’ll be well prepared to successfully clone your hard drive to an SSD. Remember to consult the user manuals and guides provided with your specific hardware and software to ensure a smooth and efficient cloning process.
Step 1: Backup Your Data
Before you begin the process of cloning your hard drive to an SSD, it is crucial to create a backup of all your important data. This step ensures that your files remain safe and accessible in case of any unforeseen issues during the cloning process.
Here’s how you can backup your data:
1. Select a Backup Method: Determine the backup method that suits your needs best. You can choose to back up your data to an external hard drive, a USB flash drive, or even cloud storage services like Google Drive or Dropbox. Consider the amount of data you have and the available storage space when selecting your backup method.
2. Copy Important Files: Manually copy and paste your critical files, such as documents, photos, videos, music, and any other data you want to preserve, to the backup storage device. Organize your files into folders to ensure ease of access and restore during the cloning process.
3. Use Backup Software: Alternatively, you can use backup software to automate the process. Software programs like Acronis True Image, EaseUS Todo Backup, or Windows Backup and Restore can facilitate the backup process by creating disk images or incremental backups. Explore the features and instructions of the selected software to perform a successful backup.
4. Verify the Backup: Once you have completed the backup process, it is essential to ensure that your backup files are accessible and intact. Double-check that all the necessary data has been successfully copied and that you can restore it if needed.
5. Secure the Backup: Store your backup storage device in a safe and secure location to prevent any accidental damage or loss of your valuable data. Consider keeping multiple copies of your backup, especially if the data is irreplaceable or essential for your work or personal life.
Backing up your data is an essential precautionary measure before initiating the cloning process. It provides you with peace of mind, knowing that your files are protected, even in the event of unforeseen complications during the cloning process.
With your data securely backed up, you’re now ready to move on to the next step: connecting the SSD to your computer.
Step 2: Connect the SSD to Your Computer
Once you’ve backed up your data, the next step in cloning your hard drive to an SSD is to connect the SSD to your computer. Here’s how you can do it:
1. Power Off Your Computer: Before proceeding with any hardware installation, make sure to power off your computer completely. This will prevent any electrical mishaps and ensure your safety.
2. Identify the SATA Connectors: Locate the SATA connectors on your computer’s motherboard. These connectors are typically rectangular and have a small metal pin array in the center. There are two types of SATA connectors: one for data (usually labeled SATA) and the other for power (usually labeled SATA power).
3. Prepare the SSD: If the SSD you purchased is a new unit, remove it from its packaging. If it’s a previously used SSD, ensure that it’s in good condition and compatible with your computer. Also, check if any additional adapters or mounting brackets are necessary to fit the SSD into your computer’s drive bay.
4. Connect the SATA Data Cable: Take the SATA data cable and connect one end to the SATA data connector on your SSD. Make sure to align the notches on the cable and connector, and firmly push the cable into place. Connect the other end of the SATA data cable to an unused SATA data connector on your computer’s motherboard.
5. Connect the SATA Power Cable: Take the SATA power cable and connect one end to the SATA power connector on your SSD. Again, align the notches and ensure a secure connection. Connect the other end of the SATA power cable to an available SATA power connector from your power supply unit (PSU).
6. Secure the SSD (if necessary): If mounting brackets or drive bays are required, carefully secure the SSD in the designated area within your computer case. Use screws or any other fastening mechanism provided with your computer or the SSD itself, following the instructions provided by the manufacturer.
7. Double-Check Connections: Before closing your computer case, verify that all connections are secure and properly inserted. Ensure that the SATA data and power cables are firmly attached to both the SSD and the appropriate connectors on the motherboard and PSU.
With the SSD successfully connected to your computer, you’re now ready to move on to the next step: cloning the hard drive using specialized software. This process will ensure that all your data, including your operating system and applications, are transferred to the SSD seamlessly.
Step 3: Clone the Hard Drive Using Software
With the SSD connected to your computer, it’s time to clone your hard drive using specialized software. This step will transfer all the data, settings, and applications from your hard drive to the SSD. Follow these instructions to clone your hard drive:
1. Install and Launch the Cloning Software: Start by installing the cloning software you selected earlier. Follow the instructions provided by the software developer to complete the installation process. Once installed, launch the software on your computer.
2. Select the Source Drive: In the cloning software interface, select your existing hard drive (the one you want to clone) as the source drive. This drive will be the one from which all the data will be copied.
3. Choose the Destination Drive: Next, select your SSD as the destination drive. This is where all the data from your hard drive will be cloned onto. Ensure that you choose the correct drive to avoid accidentally overwriting any important data.
4. Configure Any Additional Settings: Some cloning software may offer additional options and settings, such as the ability to resize partitions or exclude certain files from the cloning process. Review the available settings and choose the options that fit your preferences.
5. Start the Cloning Process: Once you have selected the source and destination drives and configured any necessary settings, initiate the cloning process. Depending on the size of your hard drive and the amount of data on it, this process may take some time to complete. Be patient and avoid interrupting the process to ensure a successful clone.
6. Verify the Cloned Drive: After the cloning process is complete, the software will notify you. Take this opportunity to double-check and ensure that the cloning was successful. Verify that all your data, settings, and applications have been transferred to the SSD correctly.
7. Safely Shut Down Your Computer: Once you have confirmed the successful cloning of your hard drive onto the SSD, shut down your computer completely. Disconnect any external storage devices and ensure that the SSD is securely connected inside your computer’s casing.
Now that you’ve successfully cloned your hard drive onto the SSD, you can proceed to the next step: installing the SSD into your computer and preparing it for use.
Step 4: Install the SSD
Now that you have successfully cloned your hard drive onto the SSD, it’s time to install the SSD into your computer. Follow these steps to ensure a smooth installation process:
1. Power Off Your Computer: Before proceeding with any hardware installation, power off your computer completely to prevent any electrical mishaps or damage.
2. Open Your Computer Case: Depending on your computer model, you may need to remove screws, slide a latch, or press release buttons to open the computer case. Refer to the manufacturer’s instructions or the user manual for your specific computer model.
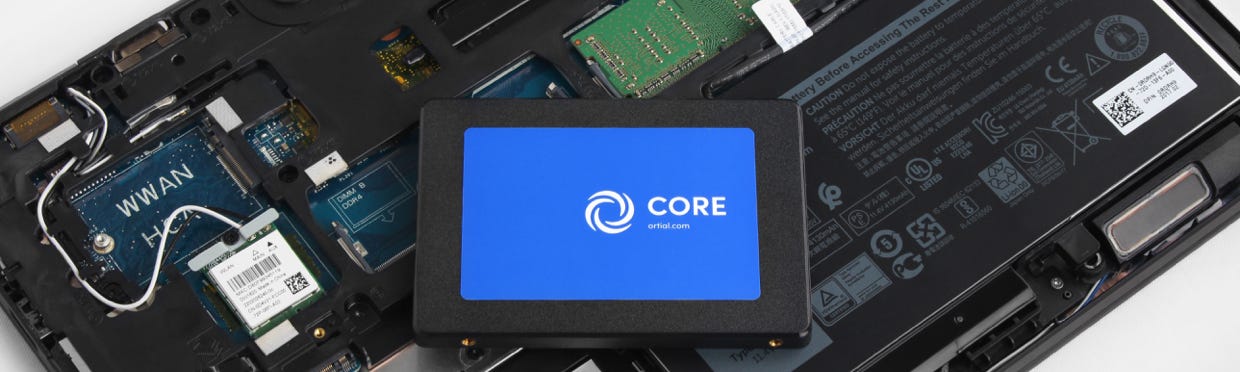
3. Locate an Available Drive Bay: Identify an available drive bay where you can install the SSD. Modern computers often have dedicated slots or drive cages specifically designed to hold SSDs. If no dedicated slot is available, you can use mounting brackets or adapters to securely install the SSD in an existing drive bay.
4. Secure the SSD: If your SSD requires mounting brackets or adapters, attach them to the SSD following the manufacturer’s instructions. Once attached, carefully slide the SSD into the drive bay, aligning the screw holes or connectors with the corresponding slots in the drive bay. If necessary, use screws or any other fastening mechanism provided with your computer or the SSD itself to secure the SSD in place.
5. Connect the Necessary Cables: Take the SATA data cable and connect it to the SATA data connector on the SSD. Ensure a secure connection by aligning the notches and firmly pushing the cable into place. Connect the other end of the SATA data cable to an unused SATA data connector on your computer’s motherboard.
6. Connect the SATA Power Cable: Take the SATA power cable and connect it to the SATA power connector on the SSD. Align the notches and securely plug the cable in. Connect the other end of the SATA power cable to an available SATA power connector from your power supply unit (PSU).
7. Close the Computer Case: Once you have connected all cables and secured the SSD in place, carefully close the computer case by aligning the edges and screwing it back together. Ensure that all screws are tightened, but be cautious not to overtighten, as this may cause damage to the case or components.
8. Power On Your Computer: With the SSD installed, plug in your computer’s power cord and switch it on. The computer should detect the new SSD during the boot-up process. If everything is properly connected, your computer will recognize the SSD as a storage device.
Congratulations! You have successfully installed the SSD into your computer. Now, you’re ready to move on to the final step: testing the cloned SSD to ensure that everything is working properly.
Step 5: Test the Cloned SSD
After installing the SSD and transferring all the data from your hard drive, it’s essential to test the cloned SSD to ensure it is working correctly. Follow these steps to verify the functionality and performance of the SSD:
1. Boot Up Your Computer: Power on your computer and allow it to boot up from the SSD. The boot time should be significantly faster compared to your previous hard drive.
2. Check Operating System and Applications: Once your computer has finished booting up, verify that your operating system (e.g., Windows 7) is running smoothly on the SSD. Open some applications and ensure they load quickly and without any issues.
3. Test File Access and Transfer Speed: Copy some files between different directories on the SSD to confirm that file access is fast and seamless. Test transferring files to and from external storage devices to assess the read and write speeds of the SSD.
4. Run Diagnostic Software: Utilize diagnostic software, such as CrystalDiskInfo or HD Tune, to confirm the health and performance of your SSD. These tools can provide valuable insight into the SSD’s temperature, remaining lifespan, and overall functionality.
5. Benchmark the SSD: Perform a benchmark test on the SSD using software like CrystalDiskMark or AS SSD Benchmark. These tests measure the sequential and random read/write speeds, helping you evaluate the performance of your SSD compared to its specifications.
6. Verify Data Integrity: Double-check the integrity of your data by opening various files and ensuring that they are intact and readable. Pay particular attention to crucial files, such as documents, photos, and videos, to confirm their accessibility and usability.
7. Monitor Temperature: Monitor the temperature of the SSD during operation using software like HWMonitor or SSD health tools. Ensure that the SSD remains within the manufacturer’s recommended temperature range to prevent overheating and potential performance issues.
8. Test Trim Support (if applicable): If your SSD supports Trim technology, verify that it is enabled. Trim helps maintain the SSD’s long-term performance by allowing the operating system to inform the SSD which blocks of data are no longer in use.
By following these testing steps, you can ensure that the cloned SSD is functioning properly and providing the improved performance you expect. Should you encounter any issues during testing, refer to your SSD manufacturer’s troubleshooting guide or seek technical support for further assistance.
Conclusion
Congratulations! You have successfully completed the process of cloning your hard drive to an SSD on Windows 7. By upgrading to an SSD, you can experience significant improvements in speed, performance, and overall system responsiveness. Here’s a quick recap of the steps you took:
1. You started by backing up your data to ensure its safety during the cloning process. Creating a backup is essential to prevent data loss and ensure that your files are recoverable.
2. Next, you connected the SSD to your computer, using the necessary cables and connectors. This step established a physical connection between the SSD and your system, enabling data transfer.
3. With the SSD connected, you used specialized cloning software to copy all your data, settings, and applications from your hard drive to the SSD. This ensured that everything on your original hard drive was replicated on the SSD.
4. After successfully cloning the hard drive, you installed the SSD into your computer. This involved securely mounting the SSD in an available drive bay and connecting the necessary cables.
5. Finally, you tested the cloned SSD to confirm its functionality and performance. You verified that the operating system, applications, and files were accessible and that the SSD was performing as expected.
By following these steps, you have transformed your computer’s performance, enjoying faster boot times, quicker application launches, and improved overall system responsiveness.
Remember to regularly update and maintain your SSD by installing the latest firmware updates provided by the manufacturer. This will ensure continued optimal performance and compatibility with your system.
Thank you for following this guide on how to clone a hard drive to an SSD on Windows 7. We hope that this process has helped you enhance the performance and efficiency of your computer. If you have any further questions or need additional assistance, don’t hesitate to reach out to the SSD manufacturer or consult technical support for guidance.