Introduction
A 3D printer is a remarkable technological invention that allows us to bring our ideas to life by creating three-dimensional objects. Whether you’re a hobbyist or a professional, owning a 3D printer can offer endless possibilities for creativity and innovation. However, in order to maintain optimal performance and achieve high-quality prints, it is essential to properly clean the bed of your 3D printer.
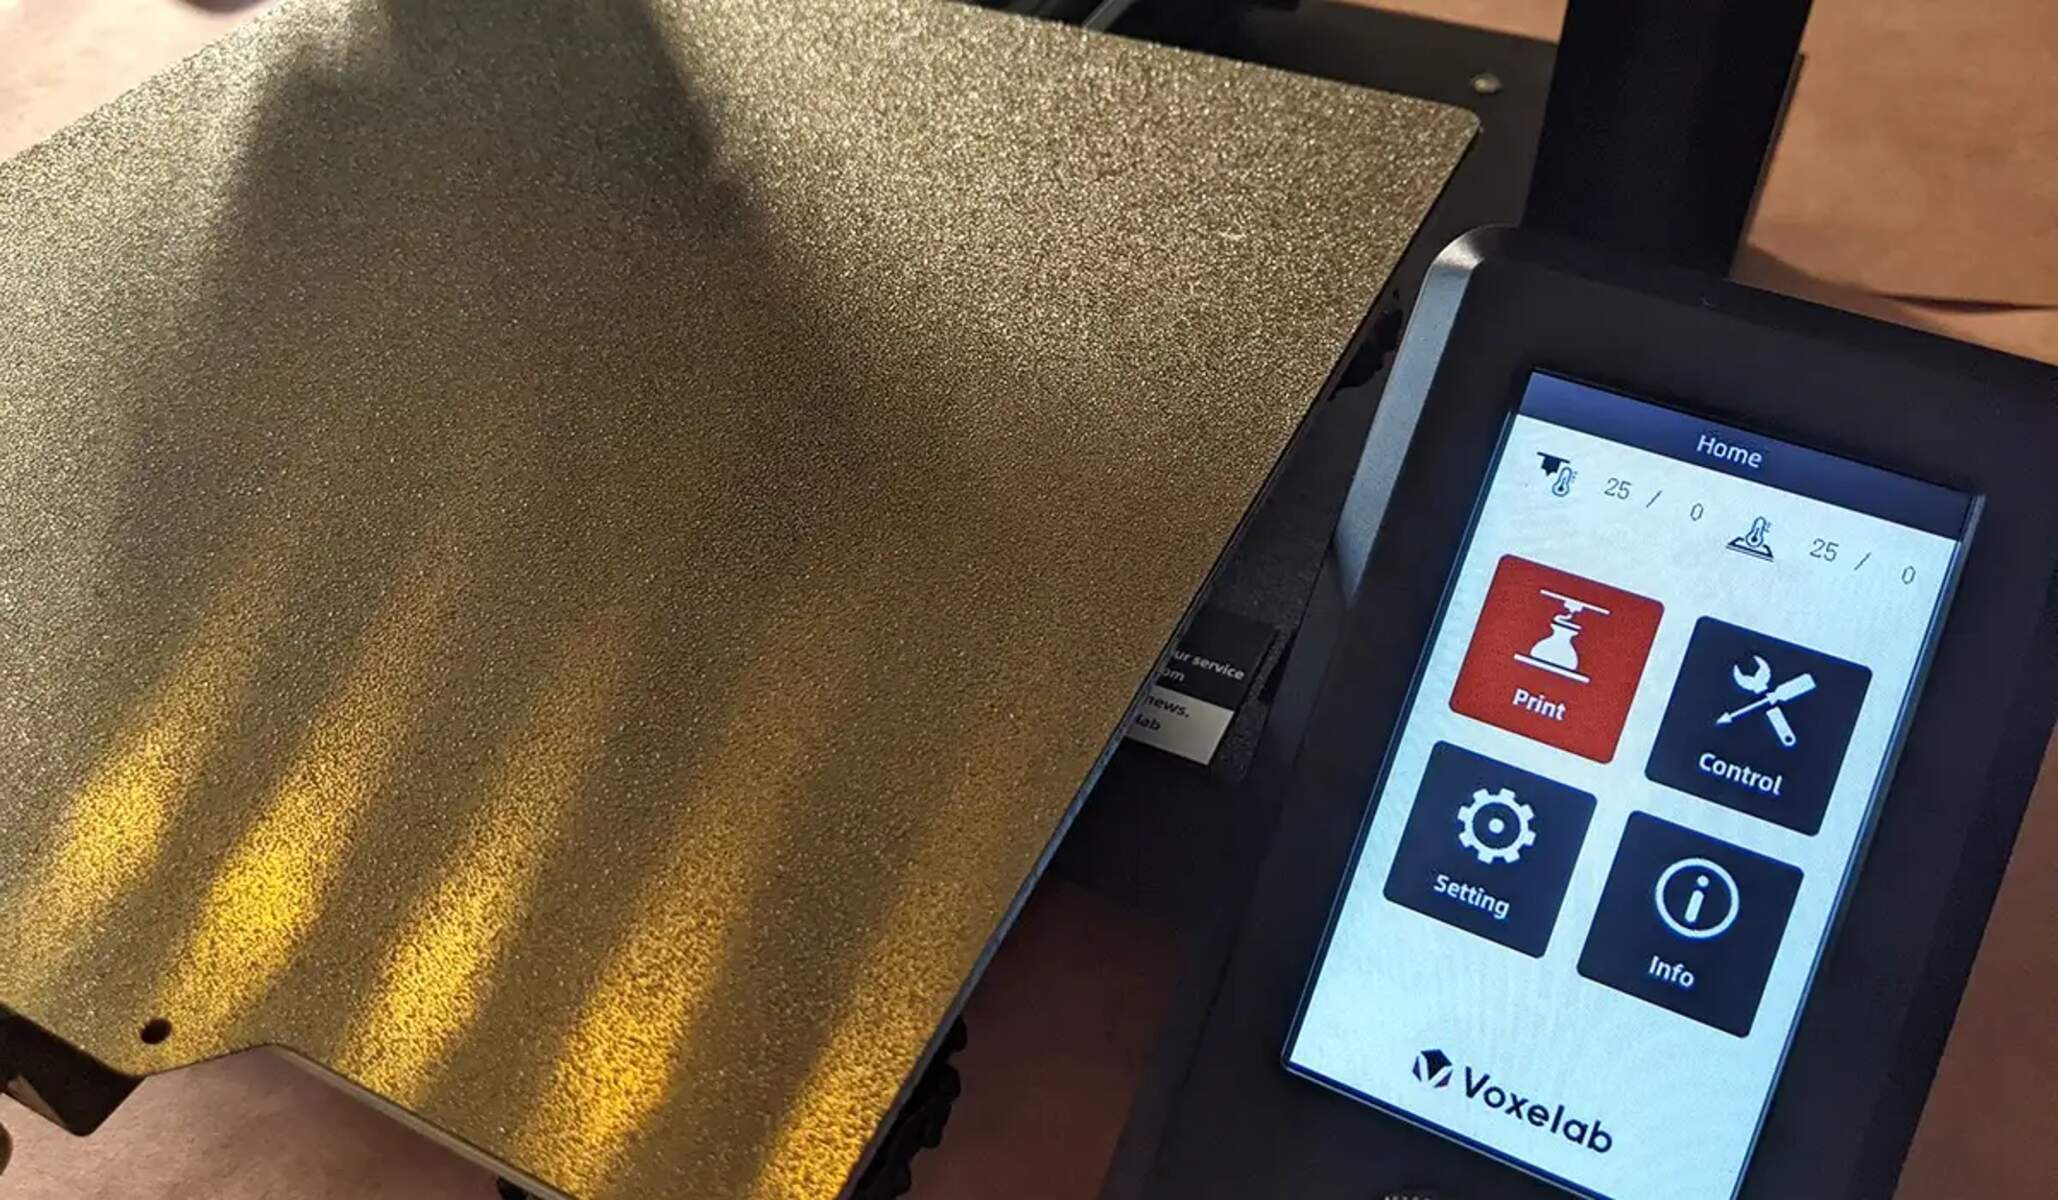
The bed is the foundation upon which your prints are created. It provides a flat and stable surface for the filament to adhere to during the printing process. Over time, residue from previous prints, such as leftover filament and adhesives, can accumulate on the bed, leading to potential issues like poor adhesion, warped prints, and nozzle clogs. In addition, a dirty bed can result in uneven layer heights and overall reduced print quality.
Cleaning the bed of your 3D printer not only ensures smooth printing but also prolongs the lifespan of your machine. Regular maintenance and proper cleaning practices will contribute to consistent, successful prints and prevent costly repairs or replacements.
In this guide, we will walk you through the step-by-step process of cleaning the bed of a 3D printer, including the tools and materials you’ll need. We’ll also provide some helpful tips for maintaining a clean bed, allowing you to optimize the performance of your 3D printer and unlock its full potential.
Why It’s Important to Clean the Bed of a 3D Printer
Keeping the bed of your 3D printer clean is crucial for maintaining print quality and ensuring successful prints. Here are several reasons why regular bed cleaning is important:
- Improved Adhesion: A clean bed provides a smooth and even surface for the filament to adhere to during printing. Any residue or debris on the bed can prevent proper adhesion, leading to print failures or warping. By cleaning the bed, you remove any potential barriers to adhesion and create a clean slate for your prints.
- Prevention of Nozzle Clogs: Filament residue on the bed can transfer onto the nozzle during printing, potentially leading to clogs. When the nozzle becomes partially or completely blocked, it can interrupt the filament flow and ruin your prints. Regularly cleaning the bed helps prevent this buildup and ensures a clear pathway for the filament.
- Consistent Layer Heights: If the bed is not properly cleaned, uneven residue or particles can accumulate and affect the overall layer height of your prints. This can lead to inconsistencies in the printed object’s dimensions and surface finish. A clean bed helps maintain a consistent layer height, resulting in more accurate and visually appealing prints.
- Longevity of the Printer: Dust, debris, and filament residue can accumulate over time and affect the mechanical parts of the 3D printer. This can cause unnecessary wear and tear on components such as the bed leveling mechanism and the print head. By regularly cleaning the bed, you prevent the buildup of contaminants that could potentially damage your printer and extend its overall lifespan.
- Quality Control: Maintaining a clean bed helps you better control the printing process and overall print quality. Without any obstructions or residue on the bed, you can spot and address any issues with the print early on. This ensures that your final printed objects meet your desired specifications and standards.
By understanding the importance of keeping the bed of your 3D printer clean, you can ensure optimal performance, consistent print quality, and a prolonged lifespan for your machine. Now let’s move on to the tools and materials you’ll need to clean the bed effectively.
Tools and Materials Needed for Cleaning
Before you begin cleaning the bed of your 3D printer, it’s important to gather the necessary tools and materials. Having the right equipment at hand will make the cleaning process more efficient and ensure that you can tackle any type of residue or debris. Here are the tools and materials you’ll need:
- Microfiber Cloth: A soft microfiber cloth is an essential tool for cleaning the bed of your 3D printer. It is gentle enough to avoid scratching the surface of the bed while effectively removing residue.
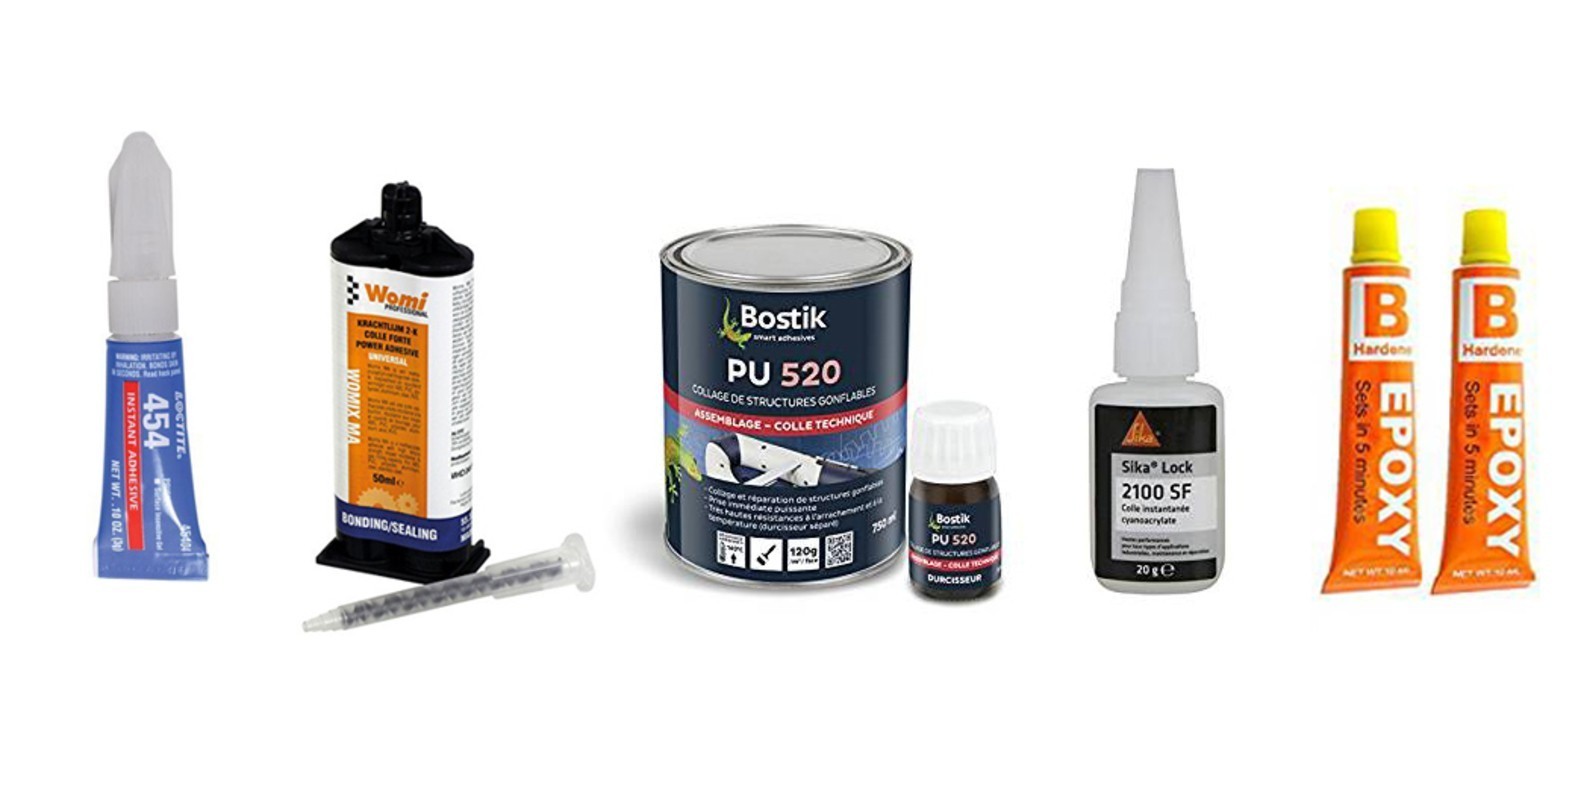
- Isopropyl Alcohol (IPA): Isopropyl alcohol, also known as rubbing alcohol, is a commonly used cleaning agent for 3D printer beds. It helps dissolve and remove leftover filament, adhesives, and other contaminants. Choose a high percentage (between 90-99%) to ensure optimal cleaning power.
- Cotton Swabs: Cotton swabs are useful for targeting small and hard-to-reach areas on the print bed. They can be dipped in isopropyl alcohol to remove stubborn residue or clean intricate details.
- Scraper or Spatula: A scraper or spatula can be handy for removing larger pieces of hardened filament or adhesive. Make sure to use a tool specifically designed for 3D printing to avoid damage to the bed surface.
- Tweezers: Tweezers can be useful for precision cleaning, especially when dealing with small particles or residue that is difficult to remove with other tools.
- Protective Gloves: It’s a good idea to wear protective gloves, such as nitrile gloves, when handling isopropyl alcohol or any other cleaning agents. This helps protect your skin and prevents contamination.
- Safety Glasses: When using a scraper or spatula, it’s important to protect your eyes from any potential flying debris or fragments. Safety glasses provide an extra layer of safety during the cleaning process.
By gathering these tools and materials, you’ll be fully equipped to clean the bed of your 3D printer effectively and efficiently. Now let’s move on to the step-by-step guide on how to clean the bed.
Step-by-Step Guide to Cleaning the Bed of a 3D Printer
Now that you have the necessary tools and materials, let’s dive into the step-by-step process of cleaning the bed of your 3D printer. Follow these instructions to ensure a thorough and effective cleaning:
- Power Off and Cool Down: Before starting the cleaning process, make sure your 3D printer is turned off and has cooled down completely. Safety is paramount, and working with a cool printer reduces the risk of accidental burns or damage.
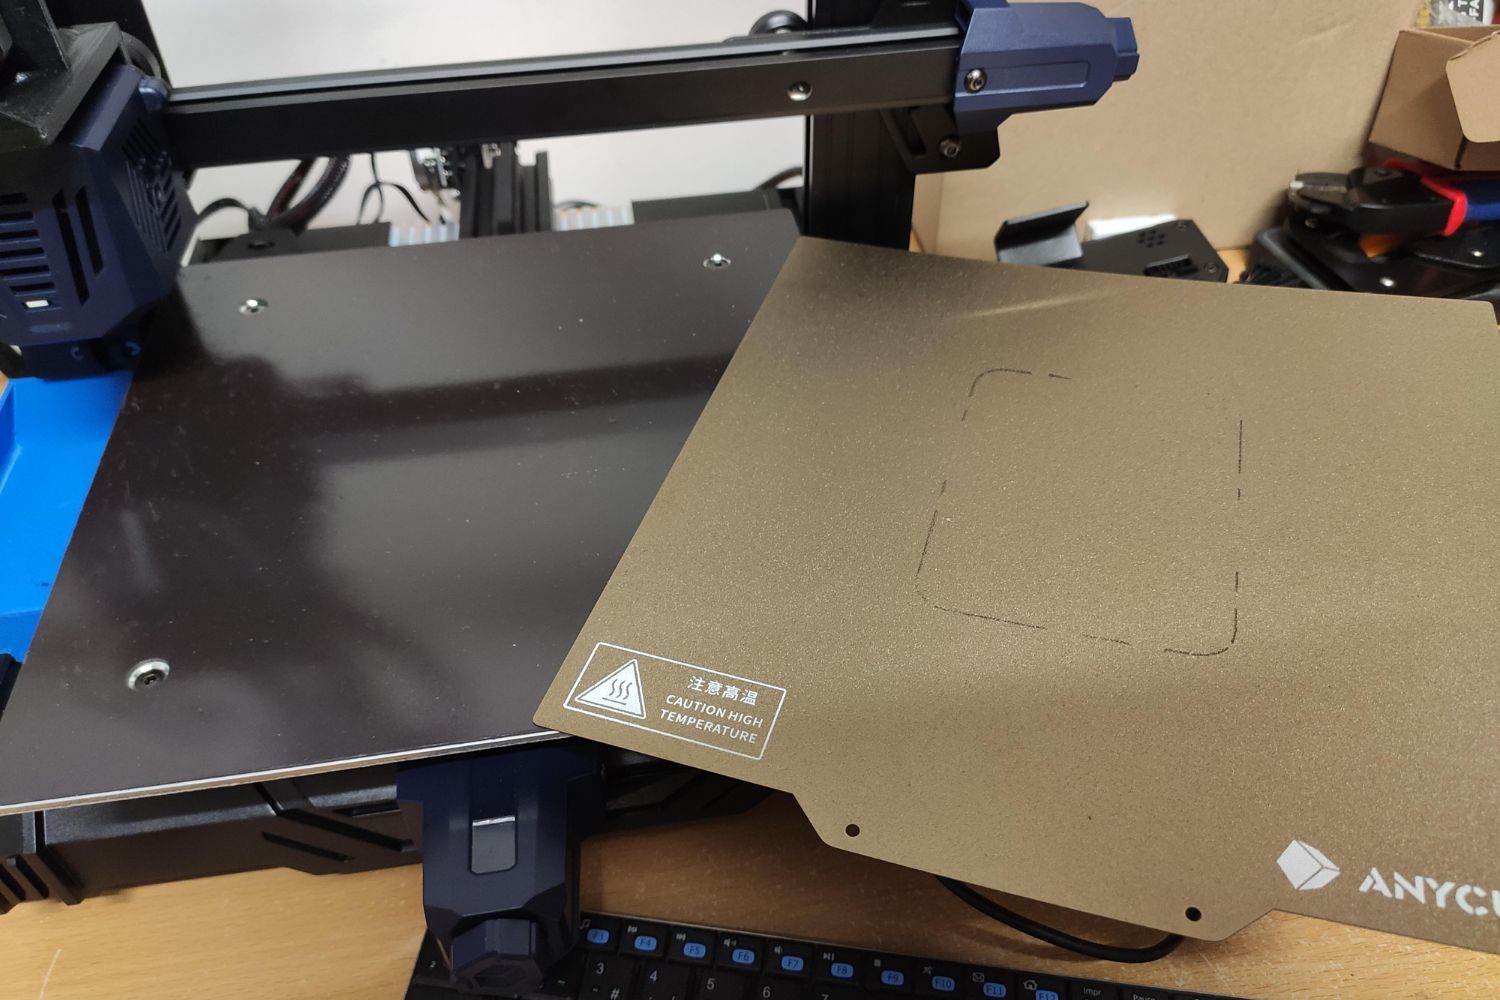
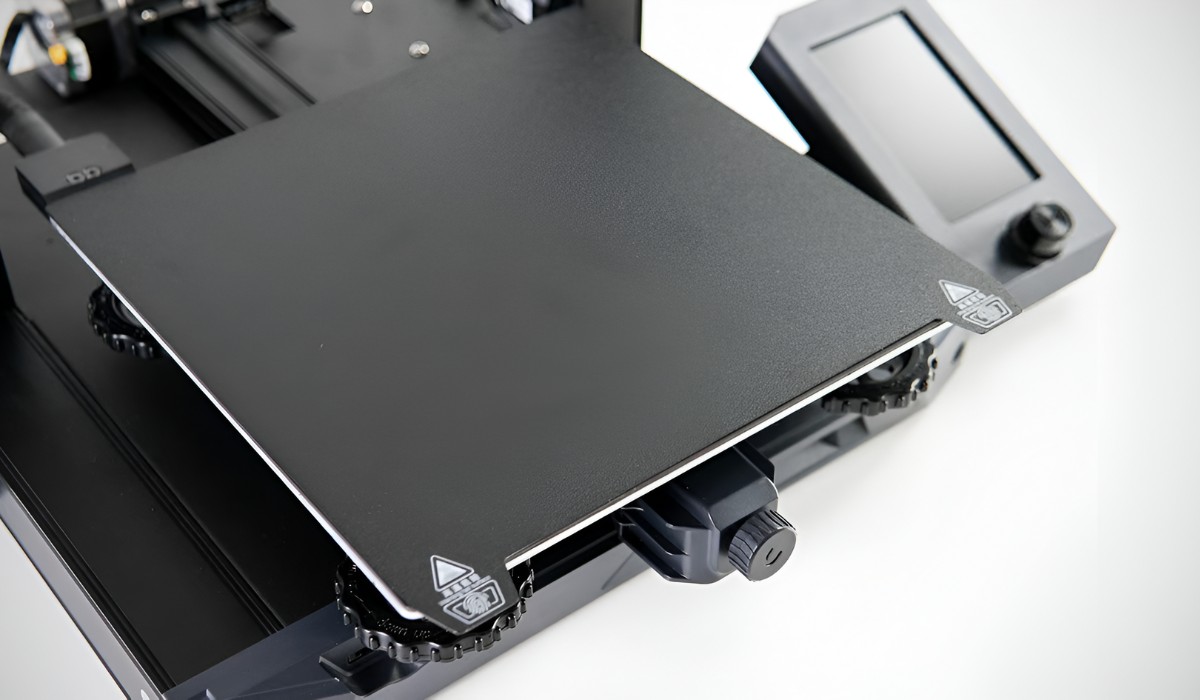
- Remove the Print Surface: If your 3D printer has a removable print surface, such as a glass plate or a removable bed liner, carefully detach it from the printer. This will allow for easier access and cleaning.
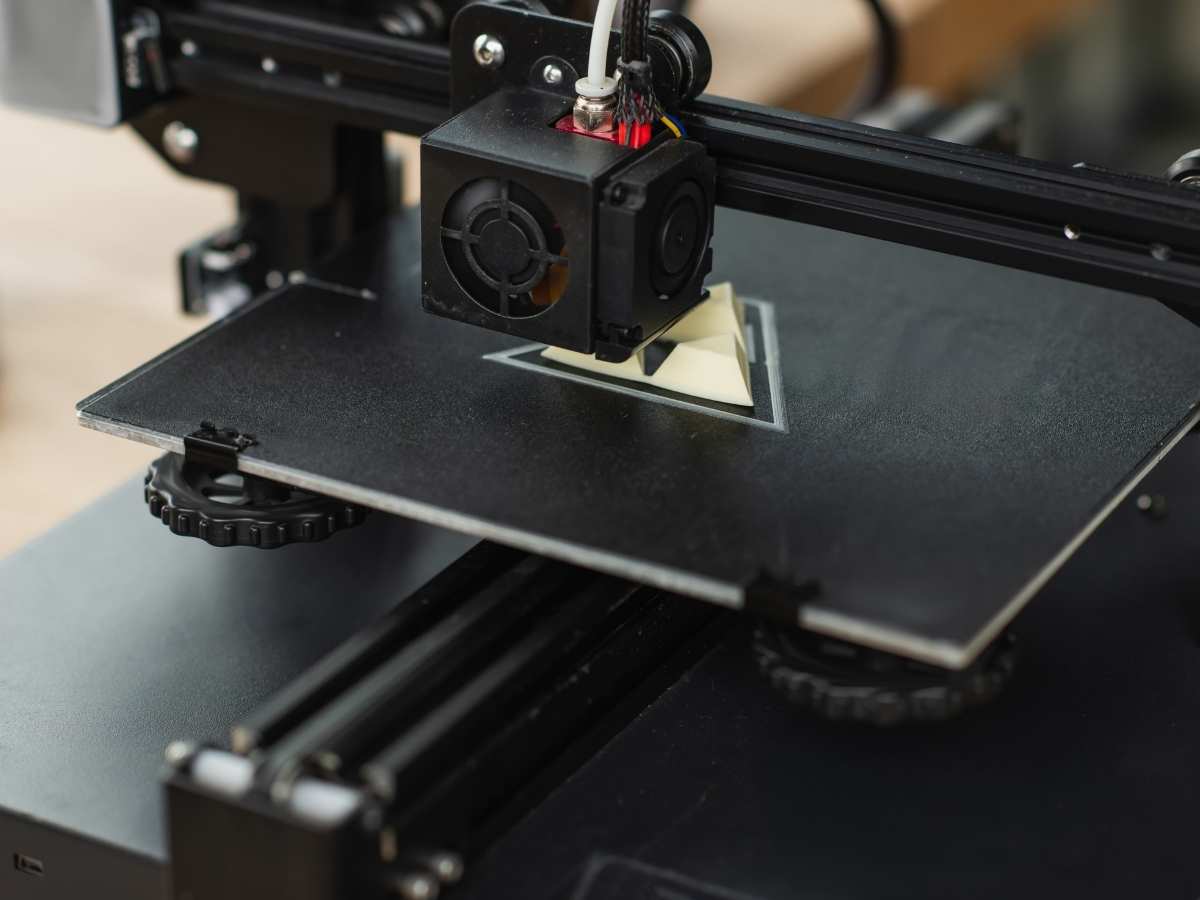
- Wipe the Surface: Take a microfiber cloth and gently wipe the bed surface to remove any loose debris or particles. This helps prepare the bed for deeper cleaning.
- Apply Isopropyl Alcohol (IPA): Moisten a clean section of the microfiber cloth with isopropyl alcohol. Gently rub the bed surface with the cloth, focusing on areas with residue or stubborn stains. The alcohol helps dissolve and remove the filament residue effectively. Be careful not to saturate the bed with excessive alcohol.
- Clean Hard-to-Reach Areas: Use cotton swabs dipped in isopropyl alcohol to clean hard-to-reach crevices or corners of the bed. This ensures that all parts of the bed are thoroughly cleaned.
- Remove Stubborn Residue: If there are any hardened filament or adhesive spots on the bed, carefully use a scraper or spatula to scrape them off. Be gentle to avoid scratching the surface, and periodically wipe the debris away with the microfiber cloth.
- Inspect and Repeat: After cleaning, inspect the bed surface to ensure all residue has been removed. If necessary, repeat the cleaning process in areas that require additional attention. It’s important to achieve a spotless, clean bed before proceeding.
- Replace the Print Surface: Once the bed is clean and dry, securely place the print surface back into the 3D printer. Ensure it is properly aligned and attached according to the manufacturer’s instructions.
- Power On and Level the Bed: Power on your 3D printer and follow the necessary steps to level the bed. This is crucial to ensure proper printing and adhesion in future prints.
By following these step-by-step instructions, you can effectively clean the bed of your 3D printer, removing residue and ensuring optimal print results. Now, let’s move on to some helpful tips for maintaining a clean bed.
Tips for Maintaining a Clean Bed
Cleaning the bed of your 3D printer is just the first step in maintaining a clean printing environment. Here are some tips to help you keep your bed clean and prevent residue buildup:
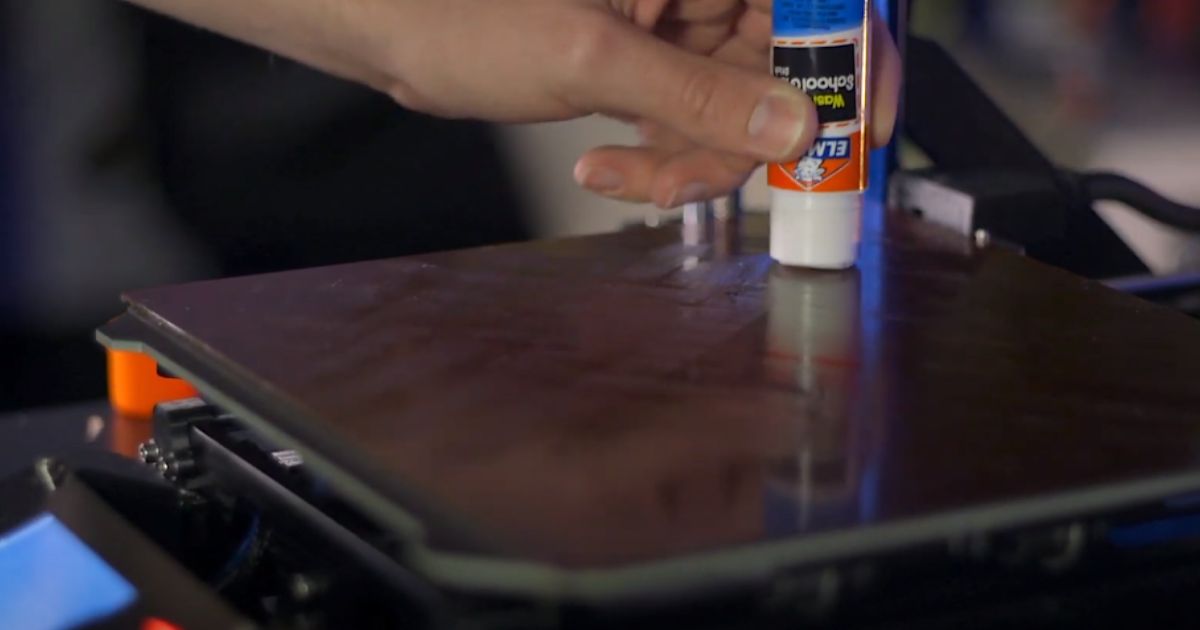
- Use a Print Surface Adhesive: If you find that your prints consistently fail to adhere to the bed, consider using a print surface adhesive like glue stick, hairspray, or specialized bed adhesives. These adhesives can improve print adhesion and make it easier to clean the bed afterward.
- Level the Bed Regularly: A properly leveled bed ensures that the nozzle is at the correct distance from the bed surface, resulting in successful adhesion. Make it a habit to regularly check and adjust the bed level before starting a new print. This ensures optimal print quality and reduces the chance of residue buildup.
- Remove Prints Carefully: When removing prints from the bed, be gentle to avoid scratching or damaging the surface. Use a scraper or spatula, if necessary, to carefully lift the print without exerting excessive force that may damage the bed.
- Clean the Bed Between Prints: Even if there is no visible residue on the bed, it’s a good practice to wipe the surface with a clean microfiber cloth between prints. This helps remove any dust or particles that may have settled and prepares the bed for the next print.
- Keep the Printing Environment Clean: Maintain a clean and dust-free environment around your 3D printer. Dust particles can settle on the bed surface and affect print quality. Regularly dust the surrounding area and cover the printer when not in use to minimize the accumulation of debris.
- Use a Protective Cover: Consider using a removable protective cover for your 3D printer bed. This cover can act as a barrier between the bed surface and the printed object, making it easier to clean any residual adhesive or filament. Clean or replace the cover regularly to maintain cleanliness.
- Follow Filament Recommendations: Different filaments may require different bed temperatures or surface treatments for optimal adhesion. Always follow the manufacturer’s recommendations for bed temperature and any specific guidelines when using a particular filament type.
- Regularly Inspect and Clean Nozzle: Clogs or residue buildup on the nozzle can lead to the transfer of contaminants to the bed surface. Regularly inspect and clean the nozzle to ensure it remains free of debris. This reduces the likelihood of residue ending up on the print bed.
By implementing these tips, you can maintain a clean and well-functioning bed for your 3D printer. Keeping the bed clean not only improves print quality but also extends the lifespan of your printer. Now, take these tips into consideration and enjoy hassle-free 3D printing!
Conclusion
Maintaining a clean bed is essential for achieving high-quality prints and prolonging the life of your 3D printer. By regularly cleaning the bed and following the tips provided, you can ensure optimal adhesion, prevent nozzle clogs, and maintain consistent print quality.
Throughout this guide, we have discussed the importance of cleaning the bed of a 3D printer and provided a step-by-step process for effective cleaning. We have also shared valuable tips for maintaining a clean bed and a smooth printing experience.
Remember, a clean bed provides a solid foundation for successful prints. It enhances adhesion, prevents clogs, maintains consistent layer heights, and contributes to overall print quality. Taking the time to clean your bed and implementing good maintenance practices will save you time, money, and frustration in the long run.
So, make sure to gather the necessary tools and materials, follow the step-by-step cleaning process, and incorporate the provided tips into your printing routine. With a clean bed, you’ll be able to unleash the full potential of your 3D printer and bring your ideas to life with precision and accuracy.
Happy printing and may your clean bed pave the way for extraordinary creations!