Introduction
Welcome to the world of 3D printing! If you own a 3D printer, chances are you’ve encountered the need to clean its resin vat. The resin vat is a crucial component of the printer that holds the liquid resin used to create your 3D prints. Over time, resin can build up on the surface of the vat, affecting the quality of your prints and potentially causing damage to the vat itself.
Keeping your resin vat clean is essential for maintaining the longevity and performance of your 3D printer. Regular cleaning not only ensures the smooth operation of the printer but also helps in achieving high-quality prints with excellent detail and accuracy.
In this guide, we will explore the step-by-step process of cleaning a 3D printer resin vat. We will cover the necessary materials, precautions to take, and provide detailed instructions on how to clean the vat effectively.
Whether you are new to 3D printing or a seasoned enthusiast, understanding the proper cleaning techniques will help you get the most out of your printer and create outstanding prints every time.
So, let’s dive into the world of resin vat cleaning and unleash the full potential of your 3D printer!
Importance of Cleaning the Resin Vat
The resin vat of a 3D printer plays a critical role in the printing process. It holds the liquid resin that is necessary for creating intricate and detailed 3D prints. However, over time, the resin can leave behind residue or become contaminated, affecting print quality and potentially causing damage to the vat if not properly maintained.
Regularly cleaning the resin vat is essential to ensure optimal printing performance. Here are a few key reasons why maintaining a clean resin vat is crucial:
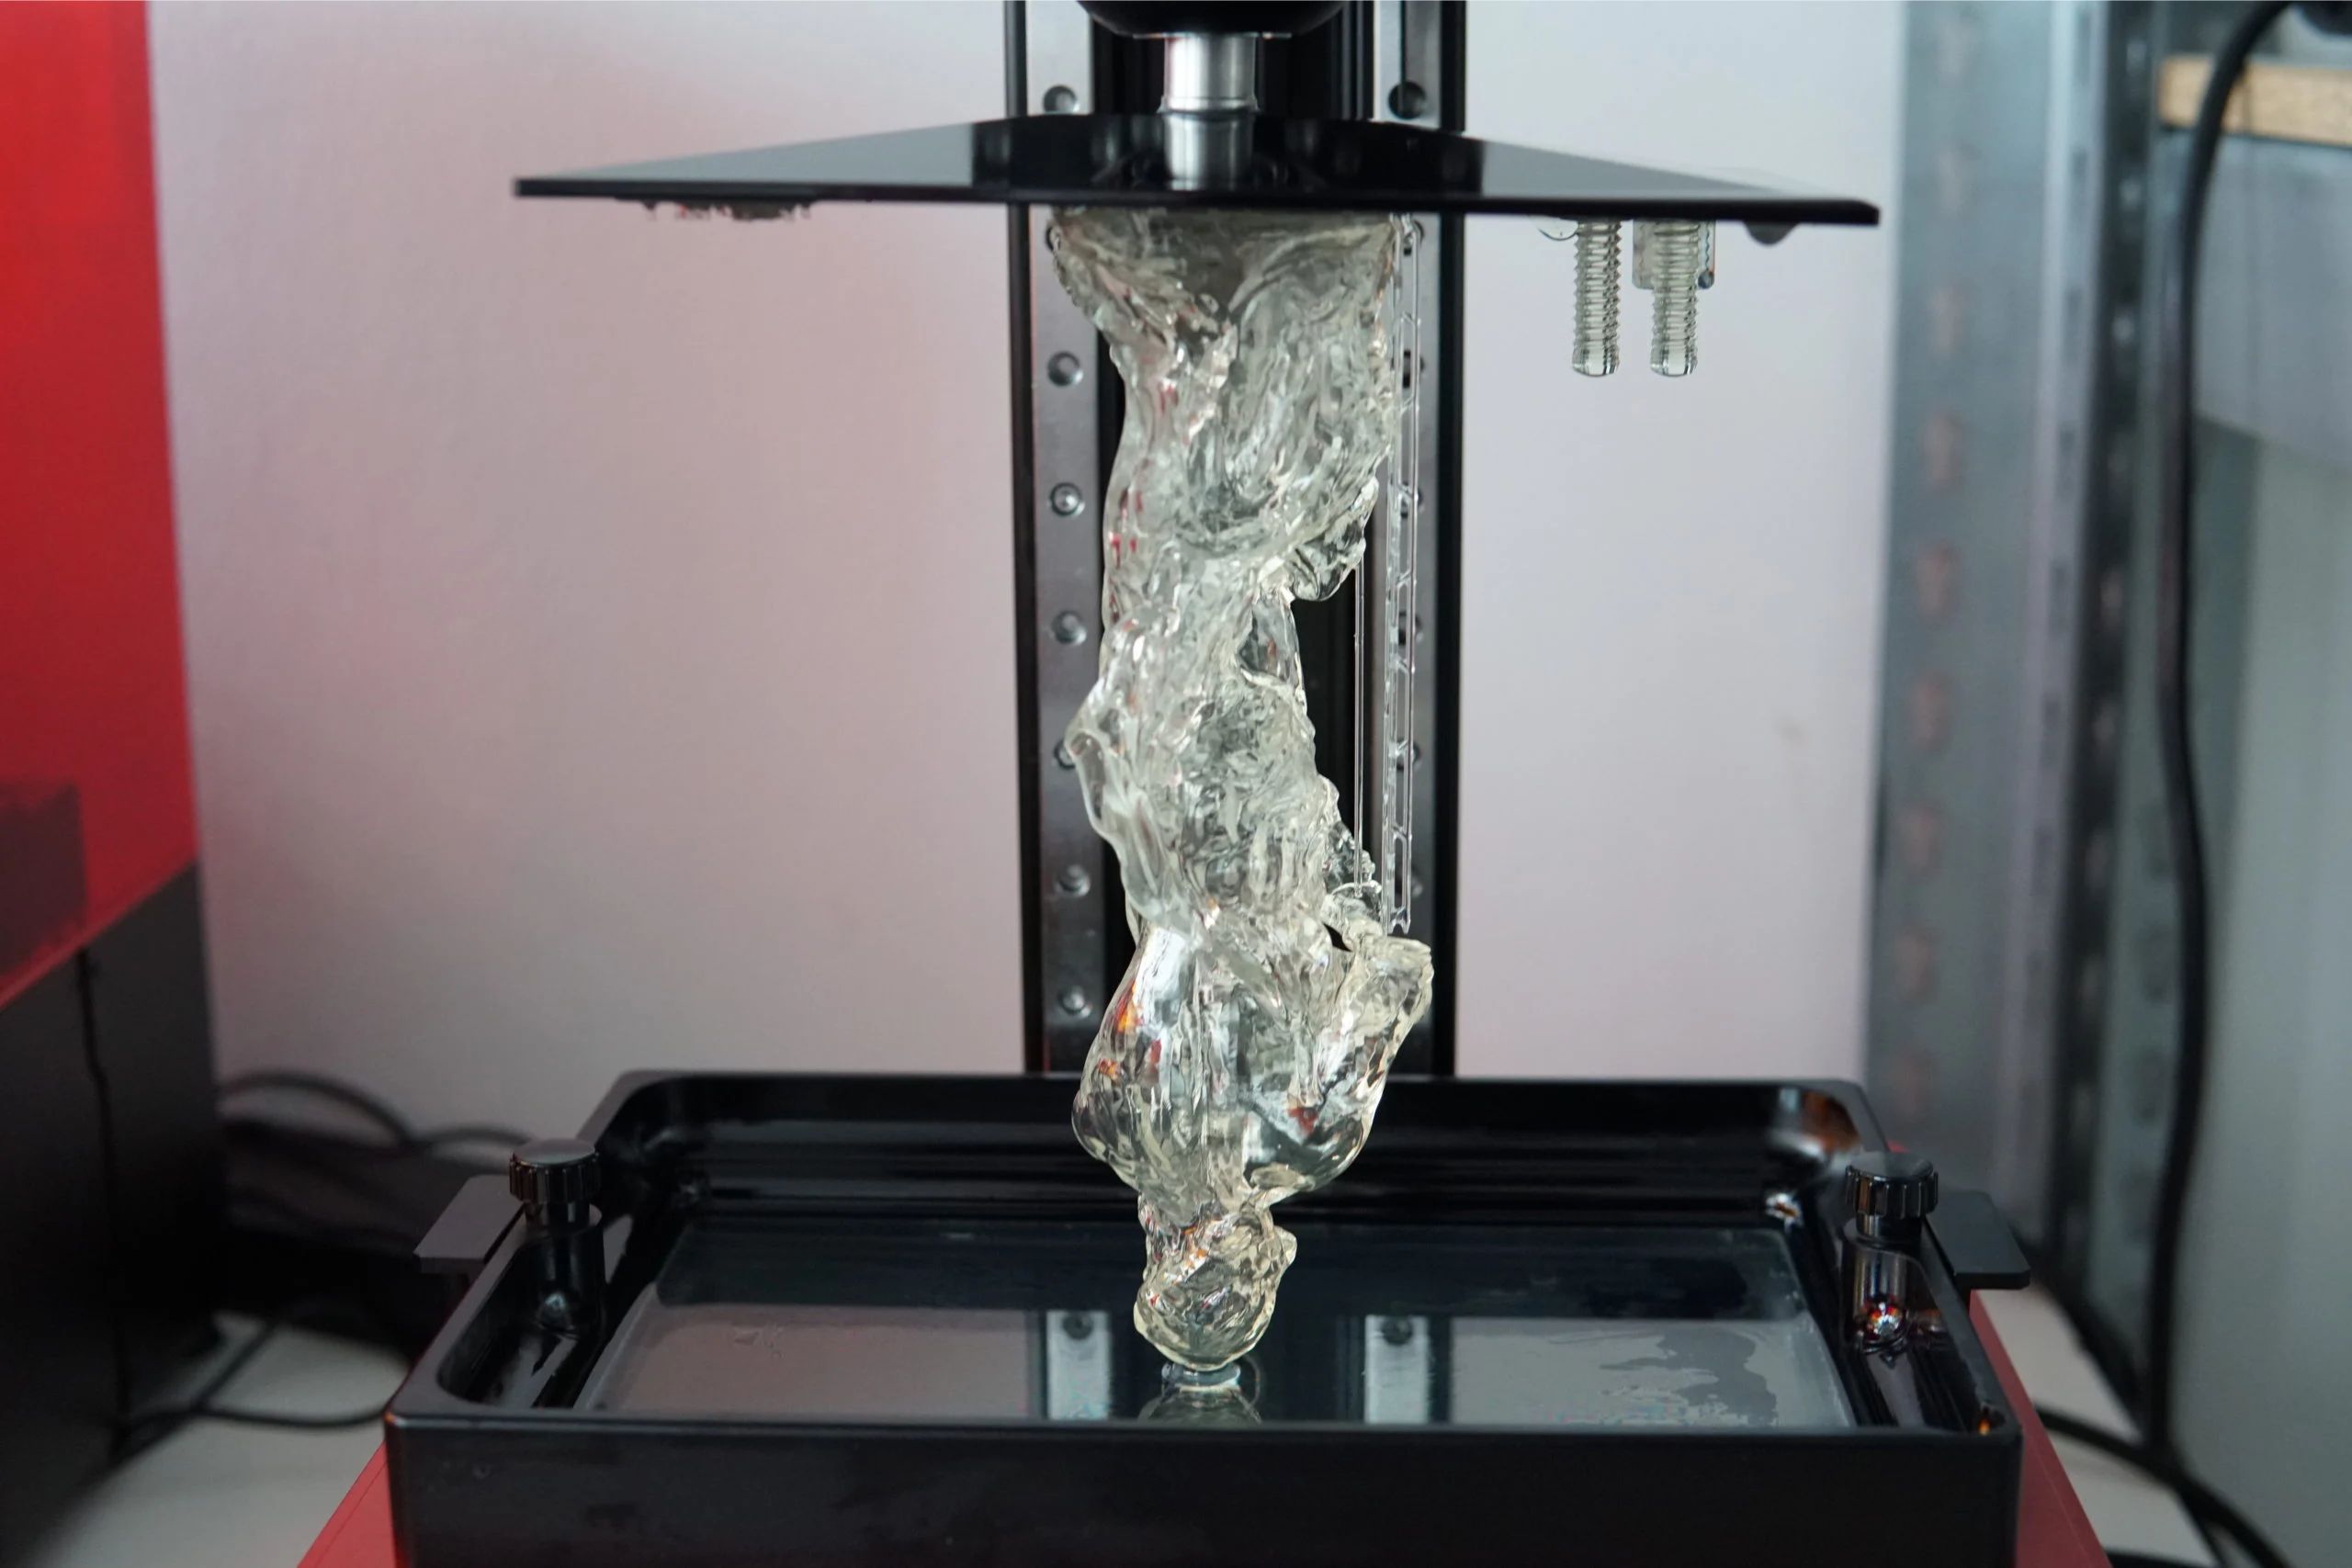
- Preventing print defects: Residue or leftover cured resin in the vat can lead to print defects such as failed adhesion, layer shifting, or uneven surfaces. Cleaning the vat thoroughly helps to eliminate any potential contaminants that may impact the quality of your prints.
- Extending the lifespan of the vat: Resin can be corrosive and may degrade the material of the vat over time, especially if allowed to build up. Regular cleaning helps to remove any residue that could potentially weaken or damage the vat, prolonging its lifespan.
- Avoiding cross-contamination: If you use different types or colors of resin for your prints, it’s crucial to clean the vat between material changes to avoid cross-contamination. Residual resin from a previous print can mix with a new resin, altering its properties and affecting the outcome of your prints.
- Maintaining print accuracy: A clean resin vat ensures a smooth and even surface for your prints. Any debris or residue can cause irregularities that result in misaligned or distorted prints. By keeping the vat clean, you can maintain the accuracy and precision of your 3D prints.
To fully unleash the capabilities of your 3D printer and achieve the best print results, it’s vital to prioritize the cleaning of the resin vat. Regular maintenance not only improves print quality but also extends the lifespan of the vat, ultimately saving you time and money in the long run.
Now that we understand the importance of cleaning the resin vat, let’s explore the necessary materials and precautions to consider before starting the cleaning process.
Necessary Materials
Before you begin cleaning your 3D printer resin vat, it’s essential to gather the necessary materials to ensure a thorough and effective cleaning process. Here are the items you will need:
- Isopropyl Alcohol (IPA): IPA is a commonly used cleaning agent for resin vats. It helps to dissolve and remove the resin residue without damaging the vat. Opt for a high concentration of IPA, preferably 90% or higher, for best results.
- Disposable Gloves: Wearing gloves is crucial to protect your hands from direct contact with the resin and cleaning agents. Nitrile gloves are recommended as they provide good chemical resistance.
- Lint-Free Microfiber Cloths or Paper Towels: These soft and absorbent materials are ideal for wiping and drying the resin vat. Make sure they are lint-free to avoid leaving any fibers behind on the vat’s surface.
- Plastic Scrapers or Spatulas: These tools are useful for gently removing any cured resin or residue from the vat’s surface. Choose non-abrasive plastic scrapers to prevent scratching or damaging the vat.
- Empty Container: You will need a suitable container to collect the used IPA and any cleaned resin particles. Ensure that the container is resistant to IPA and has a tight-sealing lid to prevent evaporation or leakage.
- Protective Eyewear: Safety glasses or goggles should be worn to shield your eyes from potential splashes or splatters of cleaning solutions.
Having these materials ready will allow you to carry out the cleaning process smoothly and efficiently. It’s important to note that the specific materials required may vary depending on the manufacturer’s guidelines or specific instructions for your 3D printer model. Always refer to the printer’s user manual or consult the manufacturer’s recommendations before proceeding with the cleaning process.
Now that you have gathered the necessary materials, let’s move on to the precautions you should take before cleaning your 3D printer resin vat.
Precautions
Before diving into the process of cleaning your 3D printer resin vat, it’s important to take certain precautions to ensure your safety and the longevity of your equipment. Here are some key precautions to keep in mind:
- Wear protective gloves and eyewear: When handling resin and cleaning agents, always wear disposable gloves to protect your skin from direct contact. Additionally, wear safety glasses or goggles to shield your eyes from potential splashes or splatters.
- Work in a well-ventilated area: Cleaning resin vats may involve the use of chemicals such as isopropyl alcohol. Ensure you are working in a well-ventilated area to prevent inhaling fumes. If possible, use a fume hood or open windows and doors to improve ventilation.
- Follow manufacturer’s guidelines: Different 3D printers may have specific cleaning instructions provided by the manufacturer. It’s crucial to refer to the printer’s user manual or the manufacturer’s guidelines to ensure you adhere to their recommended cleaning procedures.
- Avoid direct exposure to UV light: Resin is sensitive to UV light. While cleaning, ensure that the resin vat is not exposed to direct sunlight or UV rays, as it can prematurely cure the resin or affect its properties.
- Handle the resin vat with care: The resin vat is a delicate component of your 3D printer. Handle it with care and avoid applying excessive force or pressure, as it can lead to cracks or damages.
- Dispose of cleaning waste responsibly: After cleaning the resin vat, dispose of the used IPA and any resin particles collected in a proper and responsible manner. Check with your local regulations regarding the disposal of chemical waste to ensure compliance.
By taking these precautions, you can ensure a safe and effective cleaning process for your 3D printer resin vat. Remember, always prioritize your safety and follow the manufacturer’s recommendations to avoid any damage to your equipment.
Now that you are aware of the precautions to take, let’s move on to the step-by-step guide for cleaning a 3D printer resin vat.
Step-by-Step Guide to Cleaning a 3D Printer Resin Vat
Properly cleaning your 3D printer resin vat is essential for maintaining its performance and ensuring high-quality prints. Follow these step-by-step instructions to effectively clean your resin vat:
- Prepare your workspace: Start by setting up a clean and well-lit workspace. Ensure you have all the necessary materials mentioned earlier on hand.
- Wear protective gear: Put on disposable gloves and protective eyewear to protect your skin and eyes throughout the cleaning process.
- Remove the resin vat from the printer: Carefully remove the resin vat from your 3D printer according to the manufacturer’s instructions. Take care not to spill any resin during the removal process.
- Dispose of excess resin: If there is any excess resin in the vat, it’s important to carefully pour it back into its original container or another suitable resin storage vessel. Be cautious not to spill or contaminate the surroundings.
- Remove solidified resin: Use a plastic scraper or spatula to gently remove any solidified resin or residue from the vat’s surface. Be gentle to avoid scratching or damaging the vat.
- Prepare the cleaning solution: Fill a container with enough isopropyl alcohol (IPA) to fully submerge the resin vat. Ensure the container is resistant to IPA and has a tight-sealing lid to prevent evaporation.
- Soak the resin vat: Place the resin vat into the container with the IPA, ensuring it is fully submerged. Let it soak for around 10-15 minutes. This allows the IPA to dissolve and loosen any remaining resin residue.
- Gently agitate the vat: With gloves on, gently agitate the resin vat in the IPA solution to further dislodge any stubborn resin particles.
- Remove the vat from the IPA: Carefully lift the resin vat out of the IPA solution, allowing any excess solution to drip back into the container.
- Rinse the vat: Rinse the resin vat under running water to remove any remaining IPA or resin residue. Use a soft brush if necessary to scrub away any stubborn residue.
- Dry the vat: Use a lint-free microfiber cloth or paper towels to gently dry the cleaned resin vat. Ensure that the vat is completely dry before reassembling it with the 3D printer.
- Reassemble the resin vat: Once the vat is thoroughly dry, carefully reinsert it back into the 3D printer according to the manufacturer’s instructions.
Following these steps will help you maintain a clean and well-functioning resin vat for your 3D printer. Regular cleaning ensures optimal printing performance and extends the lifespan of your equipment.
Now, let’s wrap up with some final thoughts on cleaning a 3D printer resin vat.
Removing Resin from the Vat
Before you can clean your 3D printer resin vat, it’s important to remove any excess resin that may be present. Follow these steps to safely and effectively remove resin from the vat:
- Prepare your workspace: Set up a clean and well-lit area to work in. Ensure you have all the necessary materials mentioned earlier for a smooth cleaning process.
- Remove the resin vat from the printer: Carefully remove the resin vat from your 3D printer according to the manufacturer’s instructions. Take caution not to spill any resin during the removal process.
- Inspect the vat: Check the resin vat for any visible chunks or solidified resin. Use a plastic scraper or spatula to gently remove any large pieces of resin that are stuck to the vat’s surface. Be careful not to scratch or damage the vat.
- Pour excess resin back into the container: If there is any excess resin in the vat, carefully pour it back into its original container or another suitable resin storage vessel. This will help prevent wastage and contamination.
- Wipe the vat’s edges: Using a lint-free microfiber cloth or paper towel, wipe the edges and sides of the resin vat. Pay attention to any resin drips or spills that may have occurred during the printing process.
- Dispose of waste resin: Dispose of any resin scraps or drips in a safe and responsible manner, according to your local regulations for chemical waste disposal.
By following these steps, you can effectively remove excess resin from the vat, preparing it for the cleaning process. This initial step ensures that the cleaning process is more efficient and maintains the cleanliness of your 3D printer resin vat.
Now that we’ve covered the resin removal process, let’s move on to the next step: cleaning the vat with isopropyl alcohol.
Cleaning the Vat with Isopropyl Alcohol
Once you have removed the excess resin from your 3D printer resin vat, the next step is to clean it using isopropyl alcohol (IPA). IPA is an excellent cleaning agent that effectively dissolves and removes resin residue from the vat’s surface. Follow these steps to clean the vat using IPA:
- Prepare your workspace: Ensure you are working in a well-ventilated area to avoid inhaling fumes. Gather all the necessary materials, including the resin vat and a container of high-concentration IPA (preferably 90% or higher).
- Wear protective gloves: Put on disposable gloves to protect your hands from direct contact with IPA and to maintain proper hygiene throughout the cleaning process.
- Submerge the vat in IPA: Place the resin vat into a container filled with enough IPA to fully submerge it. Ensure the container is resistant to IPA and has a tight-sealing lid.
- Let it soak: Allow the resin vat to soak in the IPA for approximately 10-15 minutes. This gives the IPA enough time to dissolve and loosen any remaining resin residue.
- Gently agitate the vat: With your gloved hand, gently swirl or agitate the resin vat in the IPA solution. This helps to dislodge any stubborn resin particles and further aids the cleaning process.
- Remove the vat from the IPA: Carefully lift the resin vat out of the IPA solution, allowing any excess IPA to drip back into the container.
- Rinse the vat: Rinse the resin vat under running water to remove any remaining IPA or resin residue. Use a soft brush or cloth if needed to gently scrub away any stubborn residue.
- Dry the vat: Use a lint-free microfiber cloth or paper towel to gently dry the cleaned resin vat. Ensure that the vat is completely dry before reassembling it with the 3D printer.
By following these steps, you can effectively clean your 3D printer resin vat using isopropyl alcohol. This process helps remove any leftover resin residue and ensures a clean surface for your next printing job.
Now that we have covered cleaning the vat with isopropyl alcohol, it’s time to move on to the final step: drying the vat.
Drying the Vat
After cleaning your 3D printer resin vat, it’s crucial to ensure that it is properly dried before reassembling it with the printer. Follow these steps to effectively dry the vat:
- Gather the necessary materials: Make sure you have a lint-free microfiber cloth or paper towels on hand for drying the vat.
- Clean any remaining water droplets: Check the resin vat for any water droplets or moisture. Use a lint-free cloth or paper towel to gently wipe the vat’s surface, removing any remaining water.
- Air-dry the vat: Leave the resin vat in a clean and dry area, allowing it to air-dry naturally. Avoid using heat sources or compressed air, as excessive heat or air pressure can damage the vat.
- Inspect for dryness: Once the vat appears to be dry, examine its surface to ensure there are no visible signs of moisture. It’s important to completely dry the vat before reassembling it to prevent any potential issues during the printing process.
- Reassemble the resin vat: Once you are confident that the vat is completely dry, carefully reinsert it back into the 3D printer according to the manufacturer’s instructions.
By following these steps, you can ensure that your 3D printer resin vat is thoroughly dried and ready for the next printing job. Properly drying the vat helps prevent any water-related issues, such as print adhesion problems or resin contamination.
Now that we have covered drying the vat, let’s move on to the final section with some concluding thoughts on cleaning a 3D printer resin vat.
Final Thoughts
Cleaning your 3D printer resin vat is an important maintenance task that should not be overlooked. By following the step-by-step guide outlined in this article, you can effectively clean and maintain your resin vat, ensuring optimal printing performance and high-quality prints.
Regularly cleaning your resin vat offers several benefits, including preventing print defects, extending the lifespan of the vat, avoiding cross-contamination, and maintaining print accuracy. By removing resin residue and keeping the vat clean, you can enhance the overall printing experience and the longevity of your 3D printer.
Remember to gather the necessary materials, take precautions, and handle the resin vat with care throughout the cleaning process. Wear protective gear, work in a well-ventilated area, and follow the manufacturer’s guidelines to ensure safety and avoid any damage to your equipment.
Always make sure to remove excess resin from the vat before cleaning and use isopropyl alcohol (IPA) as a cleaning agent. Soak the vat, agitate it gently, and rinse it thoroughly to remove any resin residue. Then, take the time to dry the vat completely before reassembling it with the printer.
By incorporating regular cleaning into your 3D printing routine, you can maintain the performance and longevity of your resin vat, allowing you to consistently produce high-quality prints. Remember to consult the manufacturer’s guidelines specific to your 3D printer model for any additional cleaning recommendations.
Now that you have the knowledge and understanding of how to clean your 3D printer resin vat, it’s time to put it into practice. Enjoy the benefits of a clean resin vat and unleash your creativity as you continue your exciting 3D printing journey!


