Introduction
Checking the RAM (Random Access Memory) in a Linux system is a valuable task that can help you monitor your system’s performance, diagnose issues, and determine if there is a need for memory upgrades. While there are several methods you can use to check the RAM in Linux, each with its own advantages, this article will explore six commonly used methods.
Understanding the available memory and usage can provide insights into how efficiently your system is operating and can help you identify any potential bottlenecks. By monitoring RAM utilization, you can determine whether your system has enough memory to handle the tasks it is currently performing or if it is maxing out its capacity.
In this article, we will discuss various methods to check the RAM in a Linux system, ranging from basic to advanced commands. Whether you are a beginner or an experienced Linux user, these methods will provide you with the necessary tools to assess and optimize your system’s RAM usage.
As you explore these methods, keep in mind that some commands might not be pre-installed on your Linux distribution. In such cases, you will need to install the required packages using the package manager specific to your distribution.
So, let’s dive in and explore these different methods to check the RAM in Linux.
Method 1: Using the free Command
One of the simplest and most commonly used methods to check the RAM in a Linux system is by using the free command. This command provides a concise summary of the memory utilization, including the total, used, free, and shared memory.
To use the free command, open a terminal and type the following command:
free -hThe -h option stands for “human-readable,” which formats the output in a readable format, using units such as GB, MB, or kB.
Once you run the command, you will see an output similar to this:
      total        used        free      shared  buff/cache   available
Mem:   15Gi       2.3Gi       9.4Gi       141Mi       3.6Gi       12Gi
Swap:  2.0Gi       116Mi        1.9Gi
The output displays the total memory, used memory, free memory, shared memory, buffer/cache, and available memory. This information allows you to monitor how your system is utilizing memory.
The free command also provides the option to view the memory utilization in a more detailed manner. By using the -s option followed by an interval in seconds, you can get real-time memory usage updates:
free -s 1The above command will display memory utilization every one second. To stop the continuous output, press Ctrl + C.
As you can see, the free command provides a quick and easy way to check the RAM in your Linux system, allowing you to monitor memory usage and make informed decisions about system resources.
Method 2: Using the top Command
Another powerful command-line tool to check the RAM in a Linux system is the top command. This command provides a dynamic, real-time view of system processes, including memory usage.
To use the top command, open a terminal and simply type:
topBy default, the top command displays real-time information about the system’s CPU usage. However, you can also view memory information by pressing Shift + M while in the top interface.
Once you switch to the memory view, you will see an output similar to this:
  PID   USER      PR   NI     VIRT    RES    SHR  S %CPU %MEM     TIME+ COMMAND
 1943  john      20   0    20.1g   9.5g   2148 R  86.2 61.7  35:29.84 chrome
 1784  john      20   0   830.4m 377.6m  43408 S   1.6  2.5   0:30.48 gnome-terminal
 1899  john      20   0   710.8m  25.5m  20248 S   0.7  0.2   0:03.14 nautilus
 2015  john      20   0    47.6m   3.1m   1216 S   0.3  0.0   0:00.79 gedit
...
The output provides information about the process ID (PID), user, virtual memory (VIRT), resident memory (RES), shared memory (SHR), CPU usage (%CPU), memory usage (%MEM), and command.
The top command also offers various options and interactive controls to customize the displayed information. For example, you can sort the processes by memory usage by pressing Shift + F and selecting the %MEM field to sort by memory utilization.
By using the top command, you can easily monitor the memory usage of processes on your Linux system in real-time. This can be particularly useful when troubleshooting performance issues or identifying memory-hungry processes.
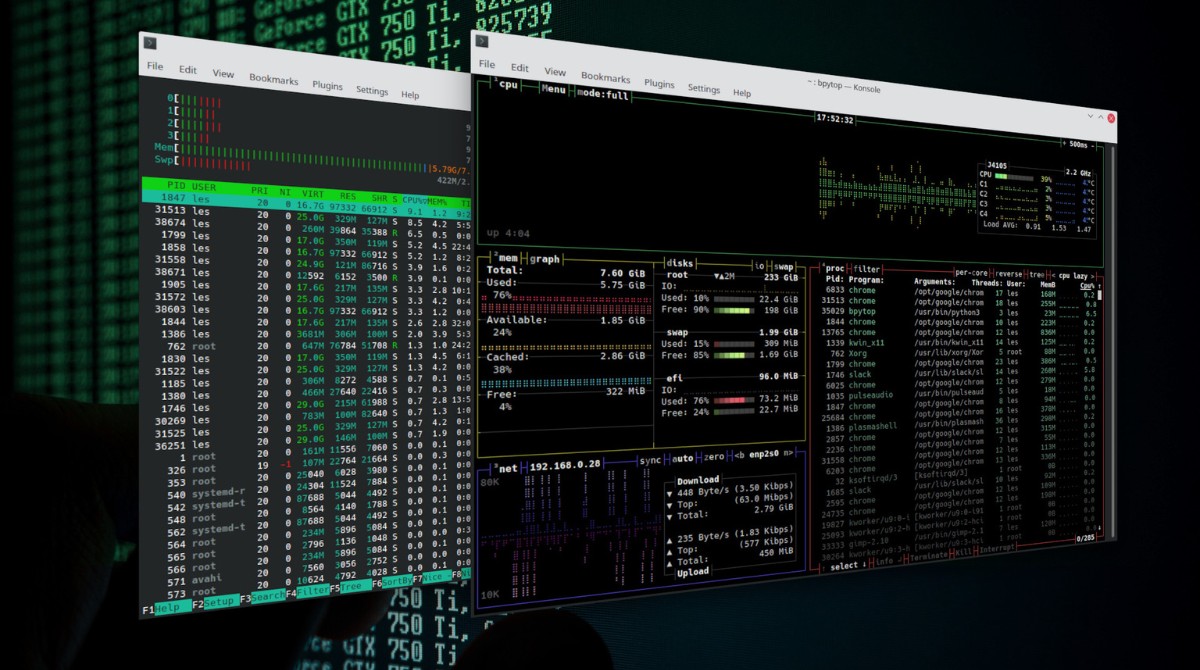
Method 3: Using the htop Command
When it comes to monitoring system resources, the htop command is a popular alternative to the traditional top command. htop provides a more user-friendly and interactive interface, making it easier to check the RAM in a Linux system.
To use the htop command, first, make sure it is installed on your system. If not, you can install it using your package manager. Once installed, open a terminal and simply type:
htopThe htop command will launch an interactive interface that displays a list of running processes, CPU usage, and memory utilization.
In the memory section of the htop interface, you can see a visual representation of memory usage, including the total physical memory, used memory, available memory, and memory shared among processes. Additionally, htop provides a color-coded bar graph to easily identify the memory usage of each process.
By default, the processes are sorted based on CPU usage, but you can easily sort them based on memory usage by pressing the F6 key and selecting the MEM% option.
Furthermore, htop offers several interactive functionalities, such as the ability to kill processes, search for specific processes, and customize the display settings.
With its user-friendly interface and robust features, the htop command is an excellent choice for monitoring RAM usage in a Linux system. Its intuitive design and interactive nature make it especially useful for quickly identifying resource-hungry processes and optimizing system performance.
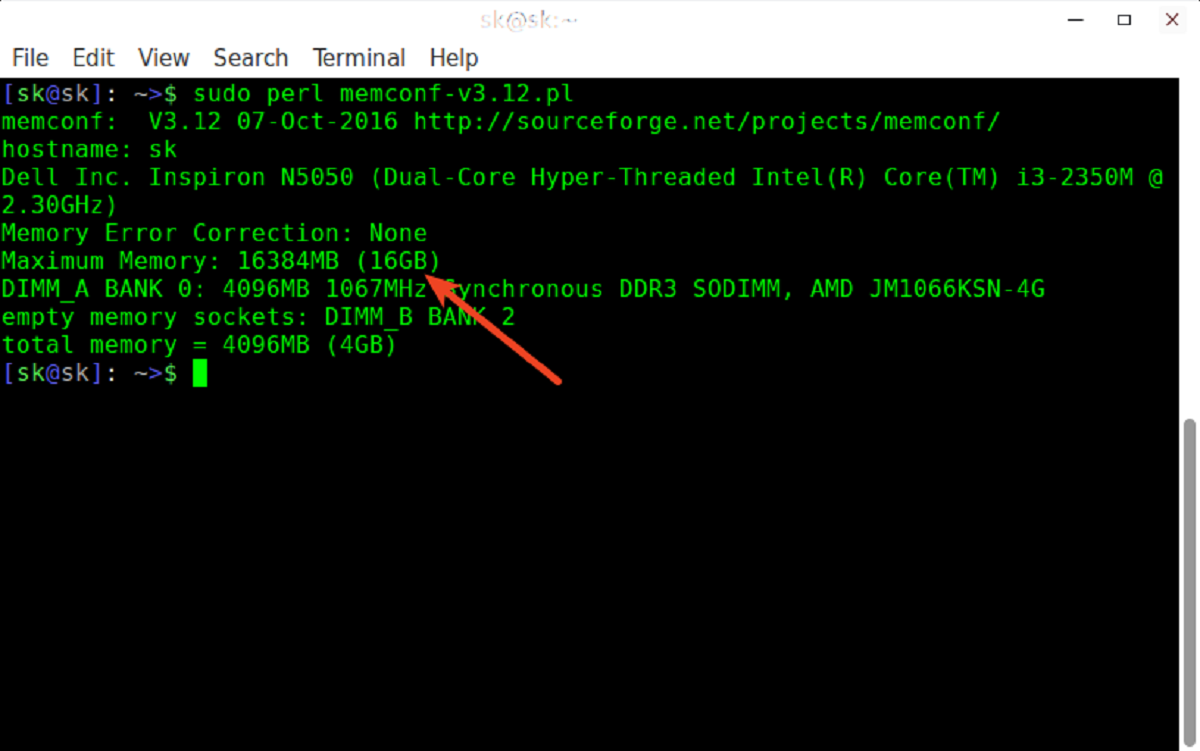
Method 4: Using the dmidecode Command
The dmidecode command is a powerful tool for retrieving information about a computer’s hardware components, including memory. By utilizing the dmidecode command, you can extract detailed information about your RAM modules in a Linux system.
To check the RAM using the dmidecode command, open a terminal and type the following command:
sudo dmidecode --type memoryThis command retrieves the memory-related information from the system’s DMI (Desktop Management Interface) table and presents it in a readable format.
The output will include details such as the type, size, speed, manufacturer, and serial number of each RAM module installed on your system.
Here is an example of the output you might get:
Type: DDR4
Size: 8 GB
Speed: 2666 MT/s
Manufacturer: Samsung
Serial Number: AB123456CD7890
By utilizing the dmidecode command, you can gather comprehensive information about your system’s RAM configuration, including essential specifications like the type, size, and speed of the installed RAM modules.
Note that the dmidecode command requires root privileges to access the system’s DMI information. Therefore, it is prefixed with sudo in the command mentioned above.
Using the dmidecode command can be particularly useful when investigating hardware configurations and checking the compatibility of RAM modules with your system. It provides in-depth insights into the memory attributes, helping you make informed decisions regarding upgrades or compatibility issues.
Method 5: Using the lshw Command
The lshw command is a powerful utility that provides comprehensive information about the hardware configuration of a Linux system. It can be used to check various hardware components, including RAM.
To check the RAM using the lshw command, open a terminal and type the following command:
sudo lshw -class memoryThis command retrieves detailed information about the memory class and presents it in a hierarchical format.
The output will include details about each memory device, including the physical description, capacity, size, clock speed, and bank information.
The lshw command provides a wealth of information about your system’s RAM, allowing you to gather important details about the memory configuration.
Here is an example of the output you might see:
*-memory
       description: System Memory
       physical id: 0
       size: 8GiB
     *-bank:0
          description: DIMM DDR4 Synchronous Unbuffered (Unregistered) 2666 MHz (0.4 ns)
          vendor: Samsung
          physical id: 0
          serial: AB123456CD7890
          slot: DIMM 0
          size: 4GiB
          width: 64 bits
          clock: 2666MHz (0.4ns)
     *-bank:1
          ... (additional memory banks)
The lshw command provides a detailed breakdown of the memory hierarchy, including information about the system memory and individual memory banks.
By leveraging the lshw command, you can gain valuable insights into your system’s RAM configuration, allowing you to determine the installed memory capacity, speed, and other relevant details.
Note that the lshw command requires root privileges to access the hardware information. Hence, it is prefixed with sudo in the mentioned command.
Utilizing the lshw command can be beneficial when you need to gather in-depth information about the memory hardware in your Linux system, whether for troubleshooting purposes or system upgrades.
Method 6: Using the hwinfo Command
The hwinfo command is a versatile hardware information tool that provides detailed insights into the hardware components of a Linux system. It can be used to examine various hardware aspects, including RAM.
To check the RAM using the hwinfo command, open a terminal and type the following command:
sudo hwinfo --short memoryThis command retrieves a condensed summary of the memory-related information and presents it in an easy-to-read format.
The output will include details such as the total installed memory, available memory, memory modules, memory type, capacity, clock speed, and more.
Here is an example of the output you might see:
Memory Size: 8 GiB
Memory Device 1: DDR4 SDRAM, 2666 MHz (0.4 ns)
Memory Device 2: DDR4 SDRAM, 2666 MHz (0.4 ns)
The hwinfo command provides a concise overview of the memory configuration in your Linux system. It can be particularly useful when you need quick access to vital memory-related information in a simplified format.
Note that the hwinfo command requires root privileges to access the hardware information. Therefore, it is prefixed with sudo in the mentioned command.
Using the hwinfo command allows you to obtain essential details about your system’s RAM, such as its total size, memory modules, and clock speed, providing valuable insights into the memory configuration of your Linux system.
Conclusion
Checking the RAM in a Linux system is essential for monitoring system performance, diagnosing issues, and ensuring optimal resource management. In this article, we explored six different methods to check the RAM in Linux, each offering its own advantages.
The free command provides a quick overview of memory utilization, while the top and htop commands offer real-time monitoring of both CPU and memory usage. By using the dmidecode and lshw commands, you can gather detailed hardware information, including specifications about the installed RAM modules. Lastly, the hwinfo command provides a condensed summary of memory-related information.
These methods allow you to gain insights into your system’s memory configuration, monitor memory usage, and make informed decisions about system resources, such as upgrading memory modules or optimizing system performance.
Remember to select the method that best suits your needs, taking into consideration the level of detail required, the command’s availability on your Linux distribution, and your comfort level with command-line tools.
Whether you are a beginner or an advanced Linux user, these methods equip you with the necessary tools to check the RAM in your Linux system effectively. By monitoring and understanding memory utilization, you can ensure efficient system performance and avoid potential memory-related bottlenecks.
Now that you are familiar with these methods, feel free to explore and experiment with them to optimize your Linux system’s RAM usage and ensure a smooth computing experience.