Introduction
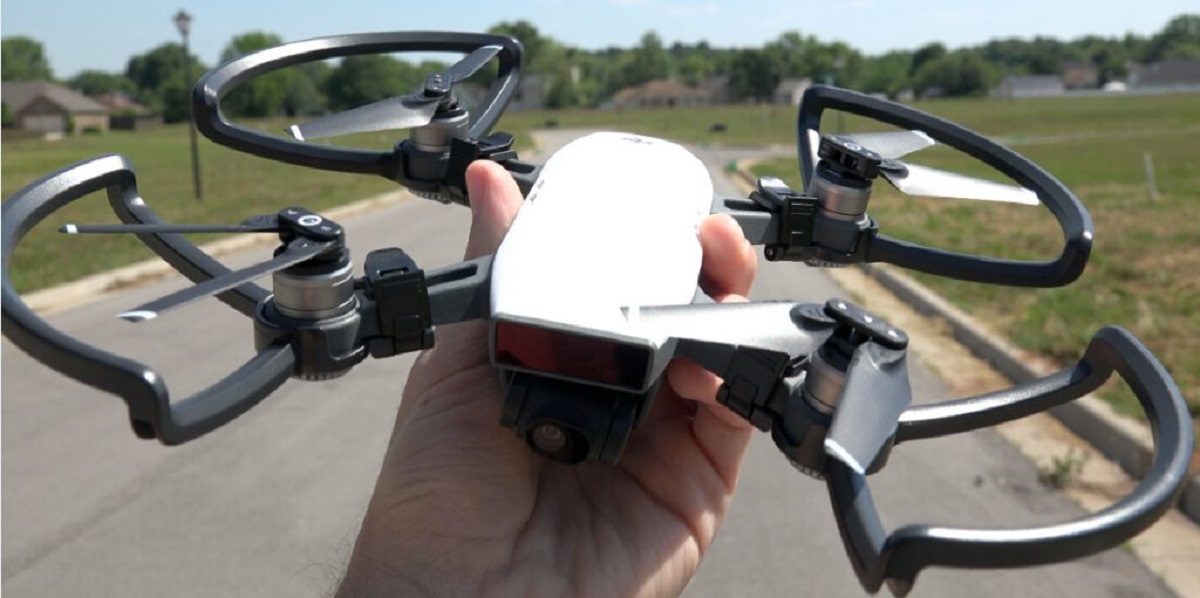
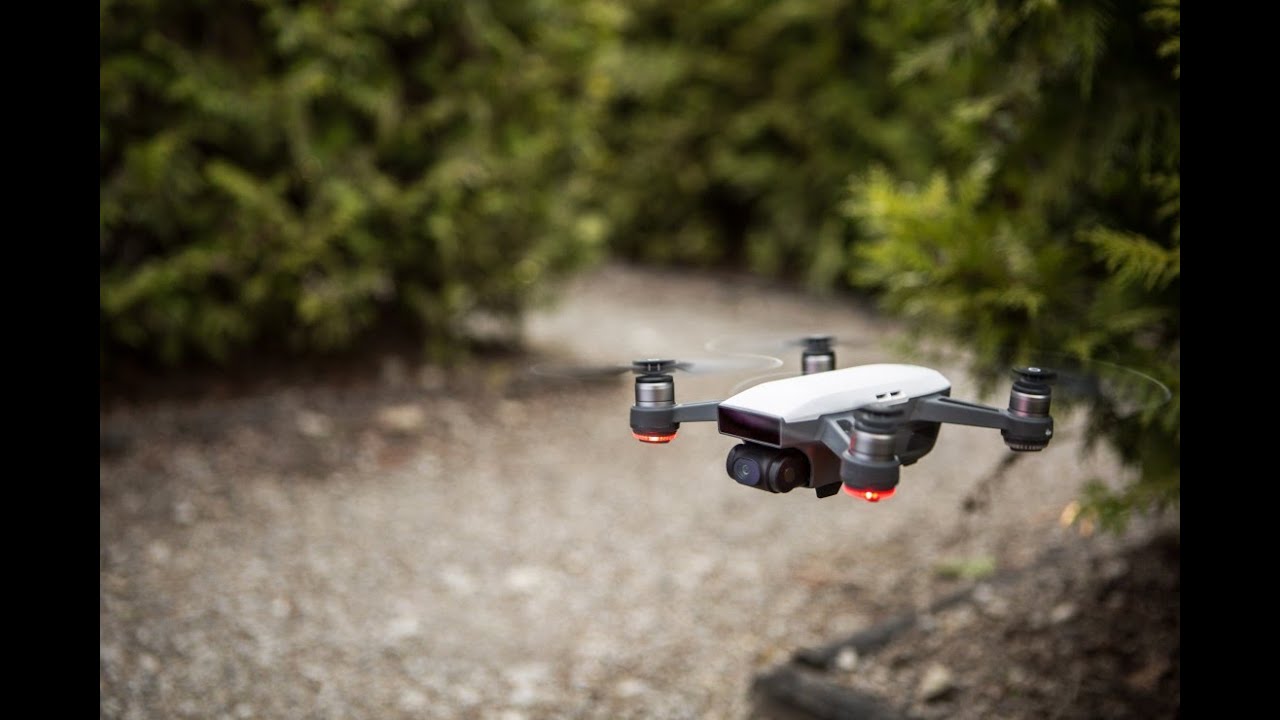
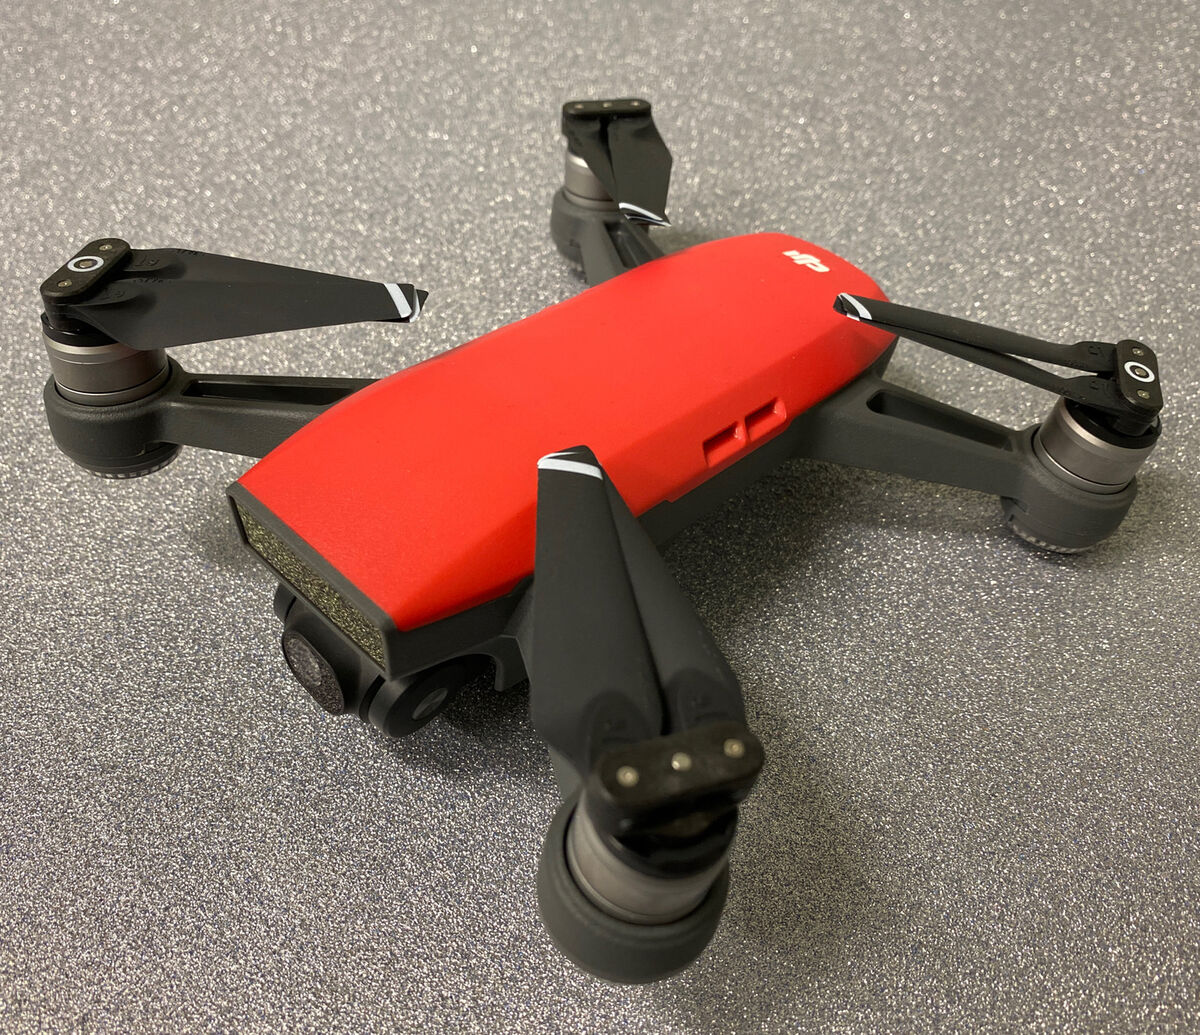
Welcome to this guide on how to charge the DJI Spark battery! The DJI Spark is a compact and versatile drone that allows you to capture stunning aerial footage and photos. To ensure that your drone is always ready for its next flight, it is crucial to understand the correct way to charge its battery.
Charging the DJI Spark battery is a simple process that requires a few easy steps. By following these steps, you can ensure the safety of your battery and prolong its lifespan. This guide will provide you with a step-by-step walkthrough of the charging process, along with important safety precautions to keep in mind.
Before we begin, it is important to note that the DJI Spark battery is a lithium-polymer (LiPo) battery. LiPo batteries are known for their high energy density and superior performance, but they require special care during charging to prevent any mishaps. It is vital to follow the instructions mentioned in this guide and adhere to the safety precautions to avoid any potential hazards.
Throughout this guide, we will cover each step in detail, from checking the battery status to disconnecting the charging hub. By the end, you will have a clear understanding of how to properly charge your DJI Spark battery, ensuring that it is ready for your next adventure.
Now, let’s dive into the safety precautions you should keep in mind before charging your DJI Spark battery.
Safety Precautions
Before you begin charging your DJI Spark battery, it is critical to follow these safety precautions to avoid any accidents or damage:
- Read the manual: Familiarize yourself with the DJI Spark’s user manual and the battery manufacturer’s instructions. This will provide you with valuable information on proper charging procedures and any specific precautions for your battery.
- Use a certified charger: Only use the charger provided by DJI or a certified third-party charger designed for the DJI Spark battery. Using an incorrect or unapproved charger can lead to battery damage, overheating, or even fire.
- Charge in a well-ventilated area: Find a clean and properly ventilated area to charge your DJI Spark battery. Avoid charging it near flammable materials or in an enclosed space to minimize the risk of fire hazards.
- Avoid overcharging: Do not leave the battery plugged in for an extended period. Once the battery is fully charged, disconnect it from the charger. Overcharging can degrade the battery’s performance or, in extreme cases, cause it to swell or ignite.
- Inspect the battery: Before charging, examine the battery for any signs of damage, swelling, or leakage. If you notice any abnormalities, do not charge the battery and contact DJI for further assistance.
- Keep the battery away from water: Ensure that the battery and charging components are kept away from any liquids. Water exposure can damage the battery and pose a safety risk.
- Monitor the charging process: While the battery is charging, periodically check on its progress. If you notice any unusual behavior, such as excessive heat or smoke, immediately stop charging and disconnect the battery.
- Store the battery properly: When the battery is not in use, store it in a cool and dry place. Avoid exposing it to extreme temperatures or direct sunlight, as it can degrade the battery’s performance.
By adhering to these safety precautions, you can ensure a safe and smooth charging process for your DJI Spark battery. Ready to begin charging? Let’s move on to the first step: checking the battery status.
Step 1: Check the Battery Status
Before you start charging the DJI Spark battery, it’s essential to check its current status to ensure there are no issues or potential risks. Follow these steps:
- Power off the DJI Spark: Make sure the DJI Spark drone is powered off by pressing and holding the power button until it shuts down completely. This ensures that the battery is not in use during the charging process.
- Inspect the battery: Carefully examine the DJI Spark battery for any signs of physical damage, swelling, or leakage. If you notice any abnormalities, do not proceed with charging and contact DJI for guidance.
- Press the power button: Locate the power button on the battery and briefly press it. The battery level indicator LEDs will light up to display the current charge level. The number of LEDs that light up indicates the battery’s charge capacity.
- Interpret the battery level: The battery level indicator LEDs will show one to four lit LEDs, representing the charge level as follows:
- One LED: The battery has a charge level between 0-25%.
- Two LEDs: The battery has a charge level between 25-50%.
- Three LEDs: The battery has a charge level between 50-75%.
- Four LEDs: The battery has a charge level between 75-100%.
By checking the battery status before charging, you can ensure that the battery has enough charge remaining and is in good condition. It is recommended to charge the battery when it reaches 20% or below to maximize its lifespan. Now that you have assessed the battery’s status, let’s move on to powering off the DJI Spark drone in Step 2.
Step 2: Power off the DJI Spark
Before you begin charging the DJI Spark battery, it is crucial to power off the drone to ensure safety and prevent any power-related issues. Follow these steps to power off the DJI Spark:
- Ensure a stable surface: Place the DJI Spark on a stable and level surface to prevent it from falling or accidentally starting up.
- Press and hold the power button: Locate the power button on the DJI Spark, typically found on the rear side of the aircraft. Press and hold the power button until the drone’s indicators turn off and it shuts down completely.
- Verify the drone is powered off: Look for any remaining lights or indicators to confirm that the DJI Spark is completely powered off. Ensure the propellers are not spinning and that there are no signs of power or activity.
Powering off the DJI Spark drone is an essential step in the charging process to avoid any accidental power-on incidents while handling the battery or charger. With the drone safely powered off, you are ready to move on to the next step: connecting the battery to the charging hub in Step 3.
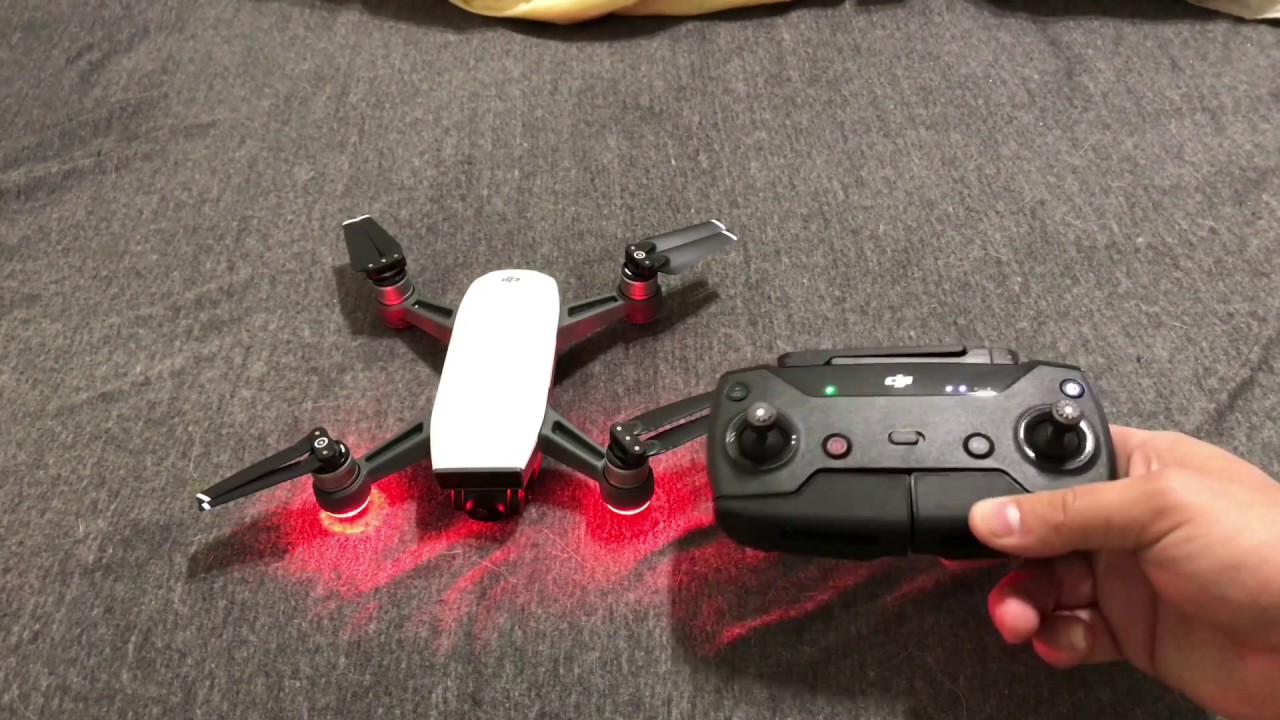
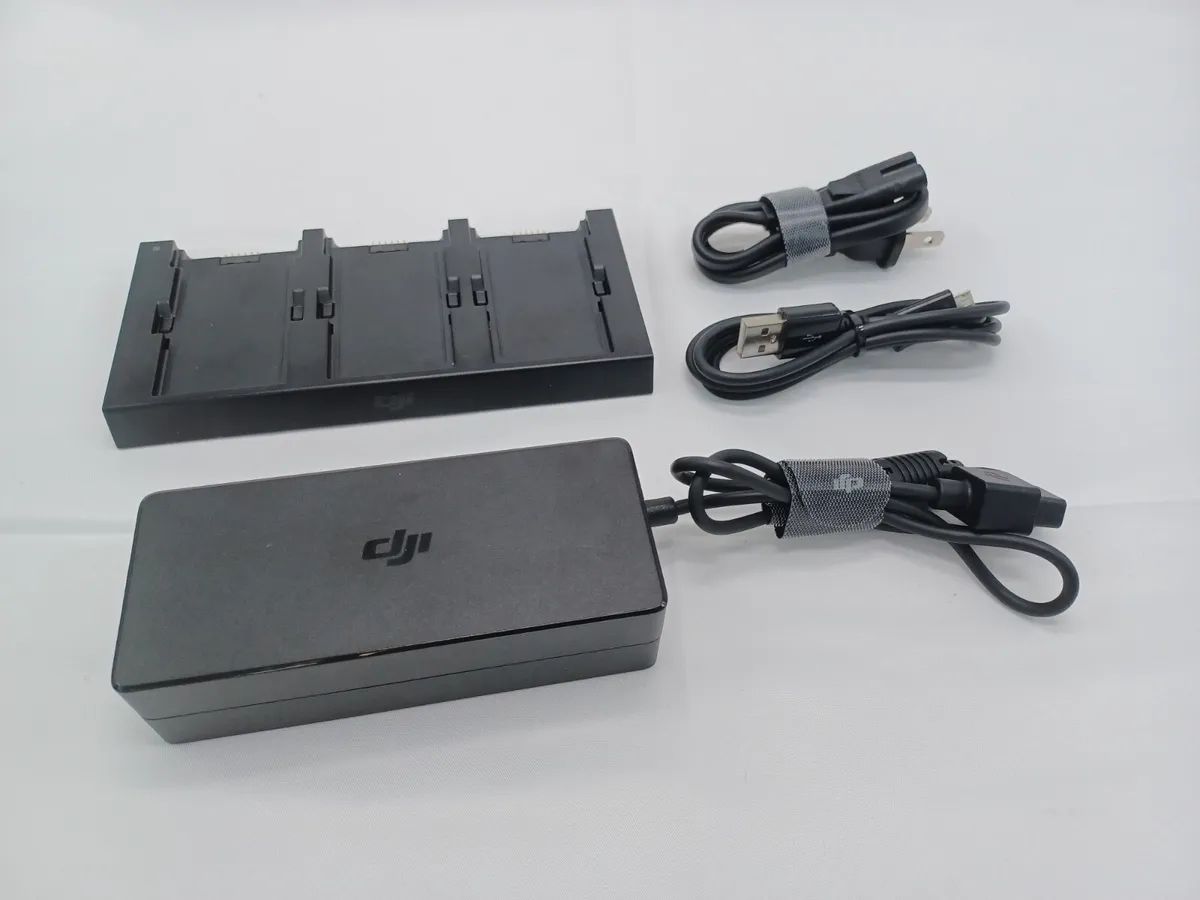
Step 3: Connect the Battery to the Charging Hub
Now that you have powered off the DJI Spark, it’s time to connect the battery to the charging hub. The charging hub is designed to safely charge and balance the DJI Spark battery. Here’s how to do it:
- Locate the charging hub: Find the DJI Spark charging hub, which is a small rectangular device with multiple charging ports.
- Open the charging hub: Gently open the charging hub by sliding the cover or lifting the flap, depending on the model. This will expose the charging ports where you’ll connect the battery.
- Identify the battery connector: On the DJI Spark battery, locate the battery connector, which is a small rectangular plug at the base of the battery.
- Align and insert the battery: Take the DJI Spark battery and align the battery connector with one of the charging ports on the charging hub. Insert the battery into the corresponding port, ensuring a secure connection.
- Repeat for multiple batteries: If you have multiple DJI Spark batteries to charge, repeat the same process for each battery, connecting them to separate charging ports on the charging hub.
By connecting the DJI Spark battery to the charging hub, you are now ready to power up the charging process. In the next step, we will connect the charging hub to a power source to initiate the charging process. Let’s move on to Step 4.
Step 4: Connect the Charging Hub to a Power Source
With the DJI Spark battery securely connected to the charging hub, the next step is to connect the charging hub to a power source. This will provide the necessary electricity to charge the battery effectively. Follow these steps:
- Locate a power outlet: Find a nearby power outlet or power strip that is easily accessible and can handle the power requirements of the charging hub.
- Check the charging hub input: Before connecting the charging hub to the power source, make sure to check the input requirements of the charging hub. It should match the voltage and frequency of the local power supply.
- Connect the charging hub to the power source: Take the power cable that came with the charging hub and plug it into the appropriate power input socket on the charging hub. Then, plug the other end of the power cable into the power outlet or power strip.
- Verify the charging hub power status: After connecting the charging hub to the power source, check the status indicators on the charging hub. These may include LEDs or other indicators that show if the hub is receiving power.
Once the charging hub is connected to the power source, it will begin supplying power to the connected DJI Spark batteries and initiate the charging process. It is important to ensure that the power source remains stable and uninterrupted throughout the charging process.
Now that you have connected the charging hub to the power source, it’s time to monitor the charging process in the next step: Step 5.
Step 5: Monitor the Charging Process
Once the charging hub is connected to the power source, it’s time to monitor the charging process of your DJI Spark battery. While the battery is charging, it is essential to keep an eye on its progress to ensure everything is running smoothly. Here’s what you need to do:
- Observe the battery indicators: Look at the battery level indicators on the DJI Spark battery or the charging hub. These indicators may include LEDs or a digital display that shows the current charge level.
- Track the charging time: Take note of the time when you started charging the battery. This will allow you to estimate the charging time and ensure that it is not excessively long or taking longer than expected.
- Monitor the battery temperature: Pay attention to the temperature of the DJI Spark battery as it charges. If the battery feels unusually hot to the touch or emits an excessive amount of heat, it could indicate a problem. In such a case, immediately disconnect the battery and seek assistance from DJI.
- Check for any abnormalities: Keep an eye out for any unusual behavior during the charging process, such as flickering lights or erratic charging indicators. If you notice anything out of the ordinary, don’t hesitate to stop the charging process and consult the DJI Spark user manual or contact DJI support.
It is important to ensure the safety and proper functioning of your DJI Spark battery during the charging process. By monitoring the charging process closely, you can address any issues or potential risks promptly, ensuring the longevity and performance of your battery.
As the battery continues to charge, you can look forward to reaching a full charge. In the next step, we will discuss how to identify when the battery is fully charged in Step 6.
Step 6: Full Charge Indication
As the DJI Spark battery continues to charge, you’ll want to know when it has reached a full charge. Recognizing the full charge indication is crucial to avoid overcharging the battery and ensure its longevity. Here’s how to identify when your DJI Spark battery is fully charged:
- Watch for a solid green light: Many DJI Spark batteries have a built-in LED light indicator that turns solid green when the battery is fully charged. This indicates that the battery has reached its maximum capacity and is ready for use.
- Check the charging hub indicators: If your charging hub has LEDs or other indicators, they may display a specific color or pattern when the battery is fully charged. Consult your DJI Spark user manual or the charging hub’s documentation to identify the full charge indication for your specific model.
- Verify the battery levels: If your DJI Spark battery has a digital display, it may show a full charge icon or a specific battery percentage, such as 100%, when it is fully charged. This is another way to confirm that the battery has reached its maximum capacity.
It is important to note that the charging time may vary depending on the battery level, charger type, and power source. Typically, it takes approximately 50-60 minutes to fully charge a DJI Spark battery. However, it is recommended to let the battery charge for a bit longer after reaching a full charge, helping balance the cells and ensuring optimal performance.
Once you have identified that your DJI Spark battery is fully charged, it is crucial to disconnect the charging hub and remove the battery to avoid overcharging. In the next step, we will discuss how to do that in Step 7.
Step 7: Disconnect the Charging Hub
Once your DJI Spark battery is fully charged, it’s important to disconnect the charging hub to ensure the safety of both the battery and the charging equipment. Here’s how to properly disconnect the charging hub:
- Unplug the power cable: Start by unplugging the power cable from the power source or the power strip. This will cut off the electricity supply to the charging hub and prevent any potential hazards.
- Remove the battery connectors: Carefully detach each DJI Spark battery from their respective charging ports on the charging hub. Gently pull out the battery connector from the charging port, ensuring a smooth and proper disconnection.
It’s worth noting that you should disconnect the charging hub only after the battery is fully charged. Disconnecting the battery prematurely can result in an incomplete charge and reduced battery performance.
Once the charging hub is disconnected, it is a good practice to store it in a safe and dry place, away from any potential damage or moisture. Properly storing the charging hub ensures its longevity and ensures that it will be ready for the next charging session.
With the charging hub safely disconnected, you are now ready to remove the DJI Spark battery from the charging hub in the next step: Step 8.
Step 8: Disconnect the Battery from the Charging Hub
Now that the DJI Spark battery has fully charged and the charging hub is disconnected from the power source, it’s time to remove the battery from the charging hub. Follow these steps to safely disconnect the battery:
- Confirm power-off status: Ensure that the DJI Spark drone is powered off and that the battery is not actively in use before disconnecting it from the charging hub.
- Identify the battery connector: Locate the battery connector on the DJI Spark battery, which is a small rectangular plug at the base of the battery.
- Hold the battery firmly: Firmly grasp the battery, making sure to support it from the bottom to prevent any accidental drops or damage.
- Gently pull out the battery connector: Carefully pull out the battery connector from the charging port on the charging hub, ensuring a smooth and straight disconnection without applying excessive force.
- Repeat for multiple batteries (if applicable): If you have multiple DJI Spark batteries connected to the charging hub, repeat the same process for each battery, disconnecting them one by one.
By following these steps, you can safely disconnect the DJI Spark battery from the charging hub without causing any damage to either the battery or the charging equipment.
Remember to handle the battery with care and avoid dropping or mishandling it, as this can lead to physical damage or a reduction in battery capacity.
Once the battery is disconnected, store it in a cool and dry place until you’re ready to use it. Storing the battery properly helps maintain its performance and ensures it remains in good condition for future flights.
Now that you have successfully disconnected the battery from the charging hub, you can proceed with your DJI Spark’s next adventure.
Conclusion
Congratulations! You have successfully learned how to charge your DJI Spark battery. Following the proper charging procedures is essential to ensure the longevity and performance of your battery, as well as to prioritize safety. Let’s recap the steps we covered:
- Checked the battery status by powering off the DJI Spark drone and examining the battery level indicators.
- Powered off the DJI Spark to prevent accidental power-on during the charging process.
- Connected the battery to the charging hub, ensuring a secure connection.
- Connected the charging hub to a power source, such as a power outlet or power strip.
- Monitored the charging process by observing the battery indicators, tracking the charging time, and checking for any abnormalities.
- Identified the full charge indication, such as a solid green light or specific display on the battery or charging hub.
- Disconnected the charging hub from the power source to safely end the charging process.
- Disconnected the battery from the charging hub by gently pulling out the battery connectors.
By following these steps, you can ensure that your DJI Spark battery is properly charged and ready for your aerial adventures. Remember to always prioritize safety by adhering to the provided safety precautions and guidelines outlined in your DJI Spark user manual.
Now that you have mastered the process of charging your DJI Spark battery, it’s time to get out there and capture breathtaking aerial footage with your fully charged DJI Spark. Enjoy your flights and happy droning!