Introduction
Changing your IP address on your computer can be a useful technique for a variety of reasons. Whether you want to protect your privacy, access region-restricted content, or troubleshoot network connectivity issues, being able to change your IP address gives you greater control over your online presence.
An IP address serves as a unique identifier for your computer on a network. It is assigned by your Internet Service Provider (ISP) and typically remains static unless manually changed. Changing your IP address involves altering this identifier, either temporarily or permanently.
In this article, we will guide you through the process of changing your IP address on different operating systems and devices, including Windows, Mac, Linux, Android, and iOS. We’ll provide step-by-step instructions to help you navigate through each platform and make the necessary changes easily.
Before we dive into the specific instructions, it’s essential to note that changing your IP address can have implications and limitations. It may not always be possible to change your IP address, depending on your network setup and ISP policies. Additionally, some methods discussed may require advanced technical knowledge or administrative access to your device.
With that said, let’s explore how you can change your IP address on various operating systems and devices to suit your needs.
Why would you want to change your IP address?
There are several reasons why you might want to change your IP address. Let’s explore some of the most common scenarios:
- Bypassing geographic restrictions: Certain websites and online services have geographic restrictions that limit access based on your IP address. By changing your IP address to one from a different location, you can bypass these restrictions and access content that might otherwise be unavailable to you.
- Enhancing privacy and security: Your IP address can reveal information about your location and online activities. If you’re concerned about the privacy and security of your online presence, changing your IP address can provide an additional layer of anonymity and protection. It makes it harder for advertisers, trackers, and potential hackers to track your online behavior.
- Troubleshooting network issues: When experiencing connectivity problems, changing your IP address can help resolve network conflicts or issues caused by a congested network. By obtaining a new IP address, you can establish a fresh connection and troubleshoot connectivity problems more effectively.
- Preventing targeted attacks: If you believe that your IP address has been targeted by malicious individuals or organizations, changing your IP address can help thwart their efforts. By changing your IP, you can make it harder for attackers to locate and target your devices.
- Testing website accessibility: Web developers may need to test the accessibility and functionality of their websites from different IP addresses. By changing your IP, you can simulate different user locations and verify that your website works correctly for a global audience.
While changing your IP address can offer various benefits, it’s important to note that it is not a foolproof method for complete anonymity or protection. Other measures, such as using a virtual private network (VPN) or implementing strong security practices, should also be considered for a comprehensive approach to online privacy and security.
Now that we understand the reasons why you might want to change your IP address, let’s move on to the step-by-step guides for different operating systems and devices.
How to change your IP address on Windows
If you’re using a Windows operating system, changing your IP address can be done by following these steps:
- Open Network and Sharing Center: Click on the network icon in the system tray and select “Open Network and Sharing Center.”
- Change adapter settings: In the Network and Sharing Center, click on “Change adapter settings” on the left-hand side of the window.
- Select the network connection: Right-click on the network connection you want to modify and select “Properties.”
- Access TCP/IP settings: In the properties window, locate the “Internet Protocol Version 4 (TCP/IPv4)” or “Internet Protocol Version 6 (TCP/IPv6)” entry and double-click on it.
- Choose manual IP assignment: In the TCP/IP properties window, select the option to “Use the following IP address.”
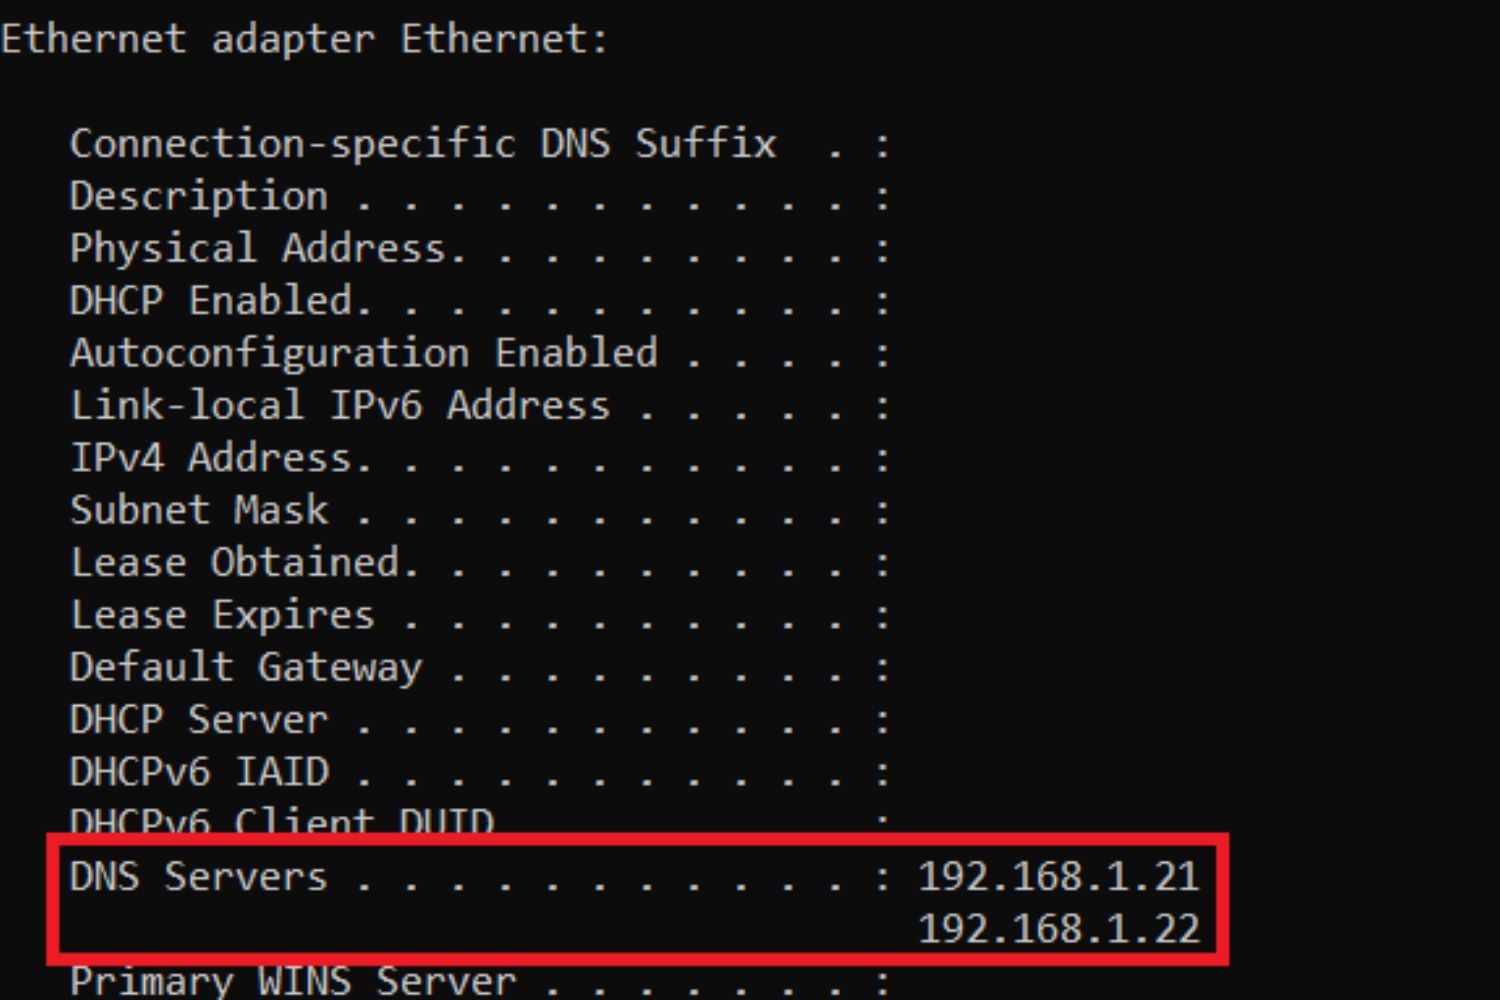
- Assign a new IP address: Enter the desired IP address, subnet mask, default gateway, and DNS server addresses provided by your network administrator or ISP.
- Save changes: Click “OK” to save the changes and close all open windows.
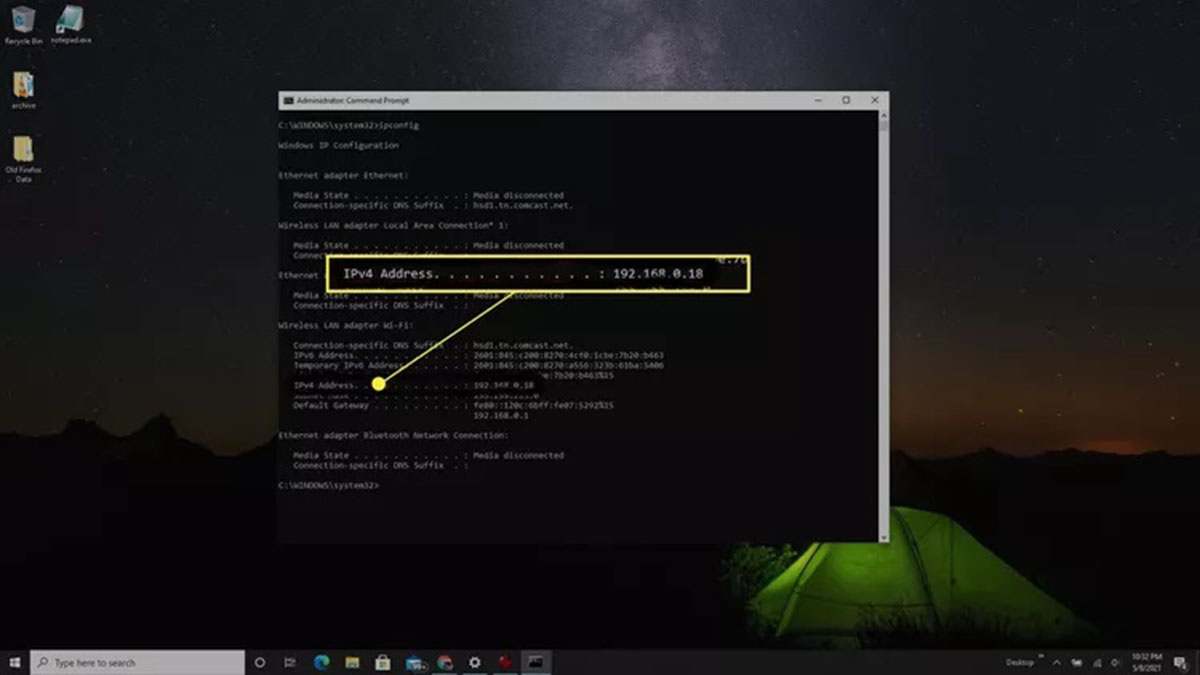
- Renew IP address: To activate the new IP address, open the Command Prompt as an administrator and type “ipconfig /renew” without the quotation marks. Press “Enter” to execute the command.
It’s important to note that the process may vary slightly depending on the version of Windows you are using. Additionally, if you’re connected to a network via a router, changing your IP address on your computer may not affect your public IP address, as it is assigned by the router.
By following the steps above, you can easily change your IP address on a Windows computer and enjoy the benefits of a new online identity and improved network connectivity.
How to change your IP address on Mac
If you’re using a Mac computer, changing your IP address can be done by following these steps:
- Open System Preferences: Click on the Apple menu at the top left corner of the screen and select “System Preferences.”
- Select Network: In the System Preferences window, choose “Network” to access the network settings.
- Choose the network connection: From the list of network connections on the left-hand side, select the network connection you want to modify.
- Click on “Advanced”: Click on the “Advanced” button located at the bottom right corner of the Network preferences window.
- Go to TCP/IP settings: In the Advanced settings, navigate to the “TCP/IP” tab.
- Choose manual IP configuration: From the “Configure IPv4” or “Configure IPv6” dropdown menu, select “Manually.
- Input the new IP address: Enter the desired IP address, subnet mask, router address, and DNS server addresses provided by your network administrator or ISP.
- Save changes: Click “OK” to save the changes and close the network settings window.
Once you’ve followed these steps, your Mac will be assigned the new IP address you entered. Keep in mind that your public IP address, which is visible to websites and external devices, may still be determined by your Internet Service Provider (ISP) or router configuration.
By changing your IP address on your Mac, you can enjoy the benefits of a new online identity, overcome geographic restrictions, and troubleshoot network issues more effectively.
How to change your IP address on Linux
If you’re using a Linux-based operating system, changing your IP address can be achieved through the following steps:
- Open the Terminal: Launch the Terminal by pressing
Ctrl+Alt+Tor by searching for “Terminal” in the Applications menu. - Access network settings: In the Terminal, type
nm-connection-editorand pressEnterto open the Network Manager settings. - Select the network connection: From the “Network Connections” window, choose the network connection you want to modify and click on the “Edit” button.
- Access IP settings: In the connection settings window, navigate to the “IPv4 Settings” or “IPv6 Settings” tab, depending on the IP version you wish to modify.
- Select manual IP assignment: From the “Method” dropdown menu, choose “Manual.”
- Enter the new IP address: Set the desired IP address, subnet mask, default gateway, and DNS server addresses provided by your network administrator or ISP in the appropriate fields.
- Save changes: Click on the “Save” button to apply the new IP settings.
Once you’ve completed these steps, your Linux system will have the updated IP address. However, please note that these changes may not affect your public IP address, which is assigned by your ISP or router.
By following these instructions, you can easily change your IP address on a Linux computer and gain better control over your network connectivity and online activities.
How to change your IP address on Android
If you’re using an Android device, such as a smartphone or tablet, changing your IP address can be done by following these steps:
- Access the Wi-Fi settings: Open the Settings app and navigate to the Wi-Fi or Network & Internet section.
- Connect to a Wi-Fi network: Make sure your device is connected to a Wi-Fi network.
- Long-press the connected network: Long-press on the Wi-Fi network you are connected to until a menu appears.
- Modify network settings: Tap on “Modify network” or “Manage network settings” from the menu.
- Advanced options: Scroll down and tap on “Advanced” or “Advanced options.”
- Change IP settings: Locate the “IP settings” or “IP address” option and select “Static.”
- Input the new IP address: Enter the desired IP address, subnet mask, default gateway, and DNS server addresses provided by your network administrator or ISP.
- Save changes: Tap on “Save” or “Apply” to save the new IP settings.
Once you’ve completed these steps, your Android device will be assigned the new IP address you entered. Keep in mind that these changes may not affect your public IP address, as it is assigned by your Internet Service Provider (ISP).
By changing your IP address on your Android device, you can overcome geo-restrictions, enhance your privacy and security, and troubleshoot network issues more effectively.
How to change your IP address on iOS
If you’re using an iOS device, such as an iPhone or iPad, changing your IP address can be done by following these steps:
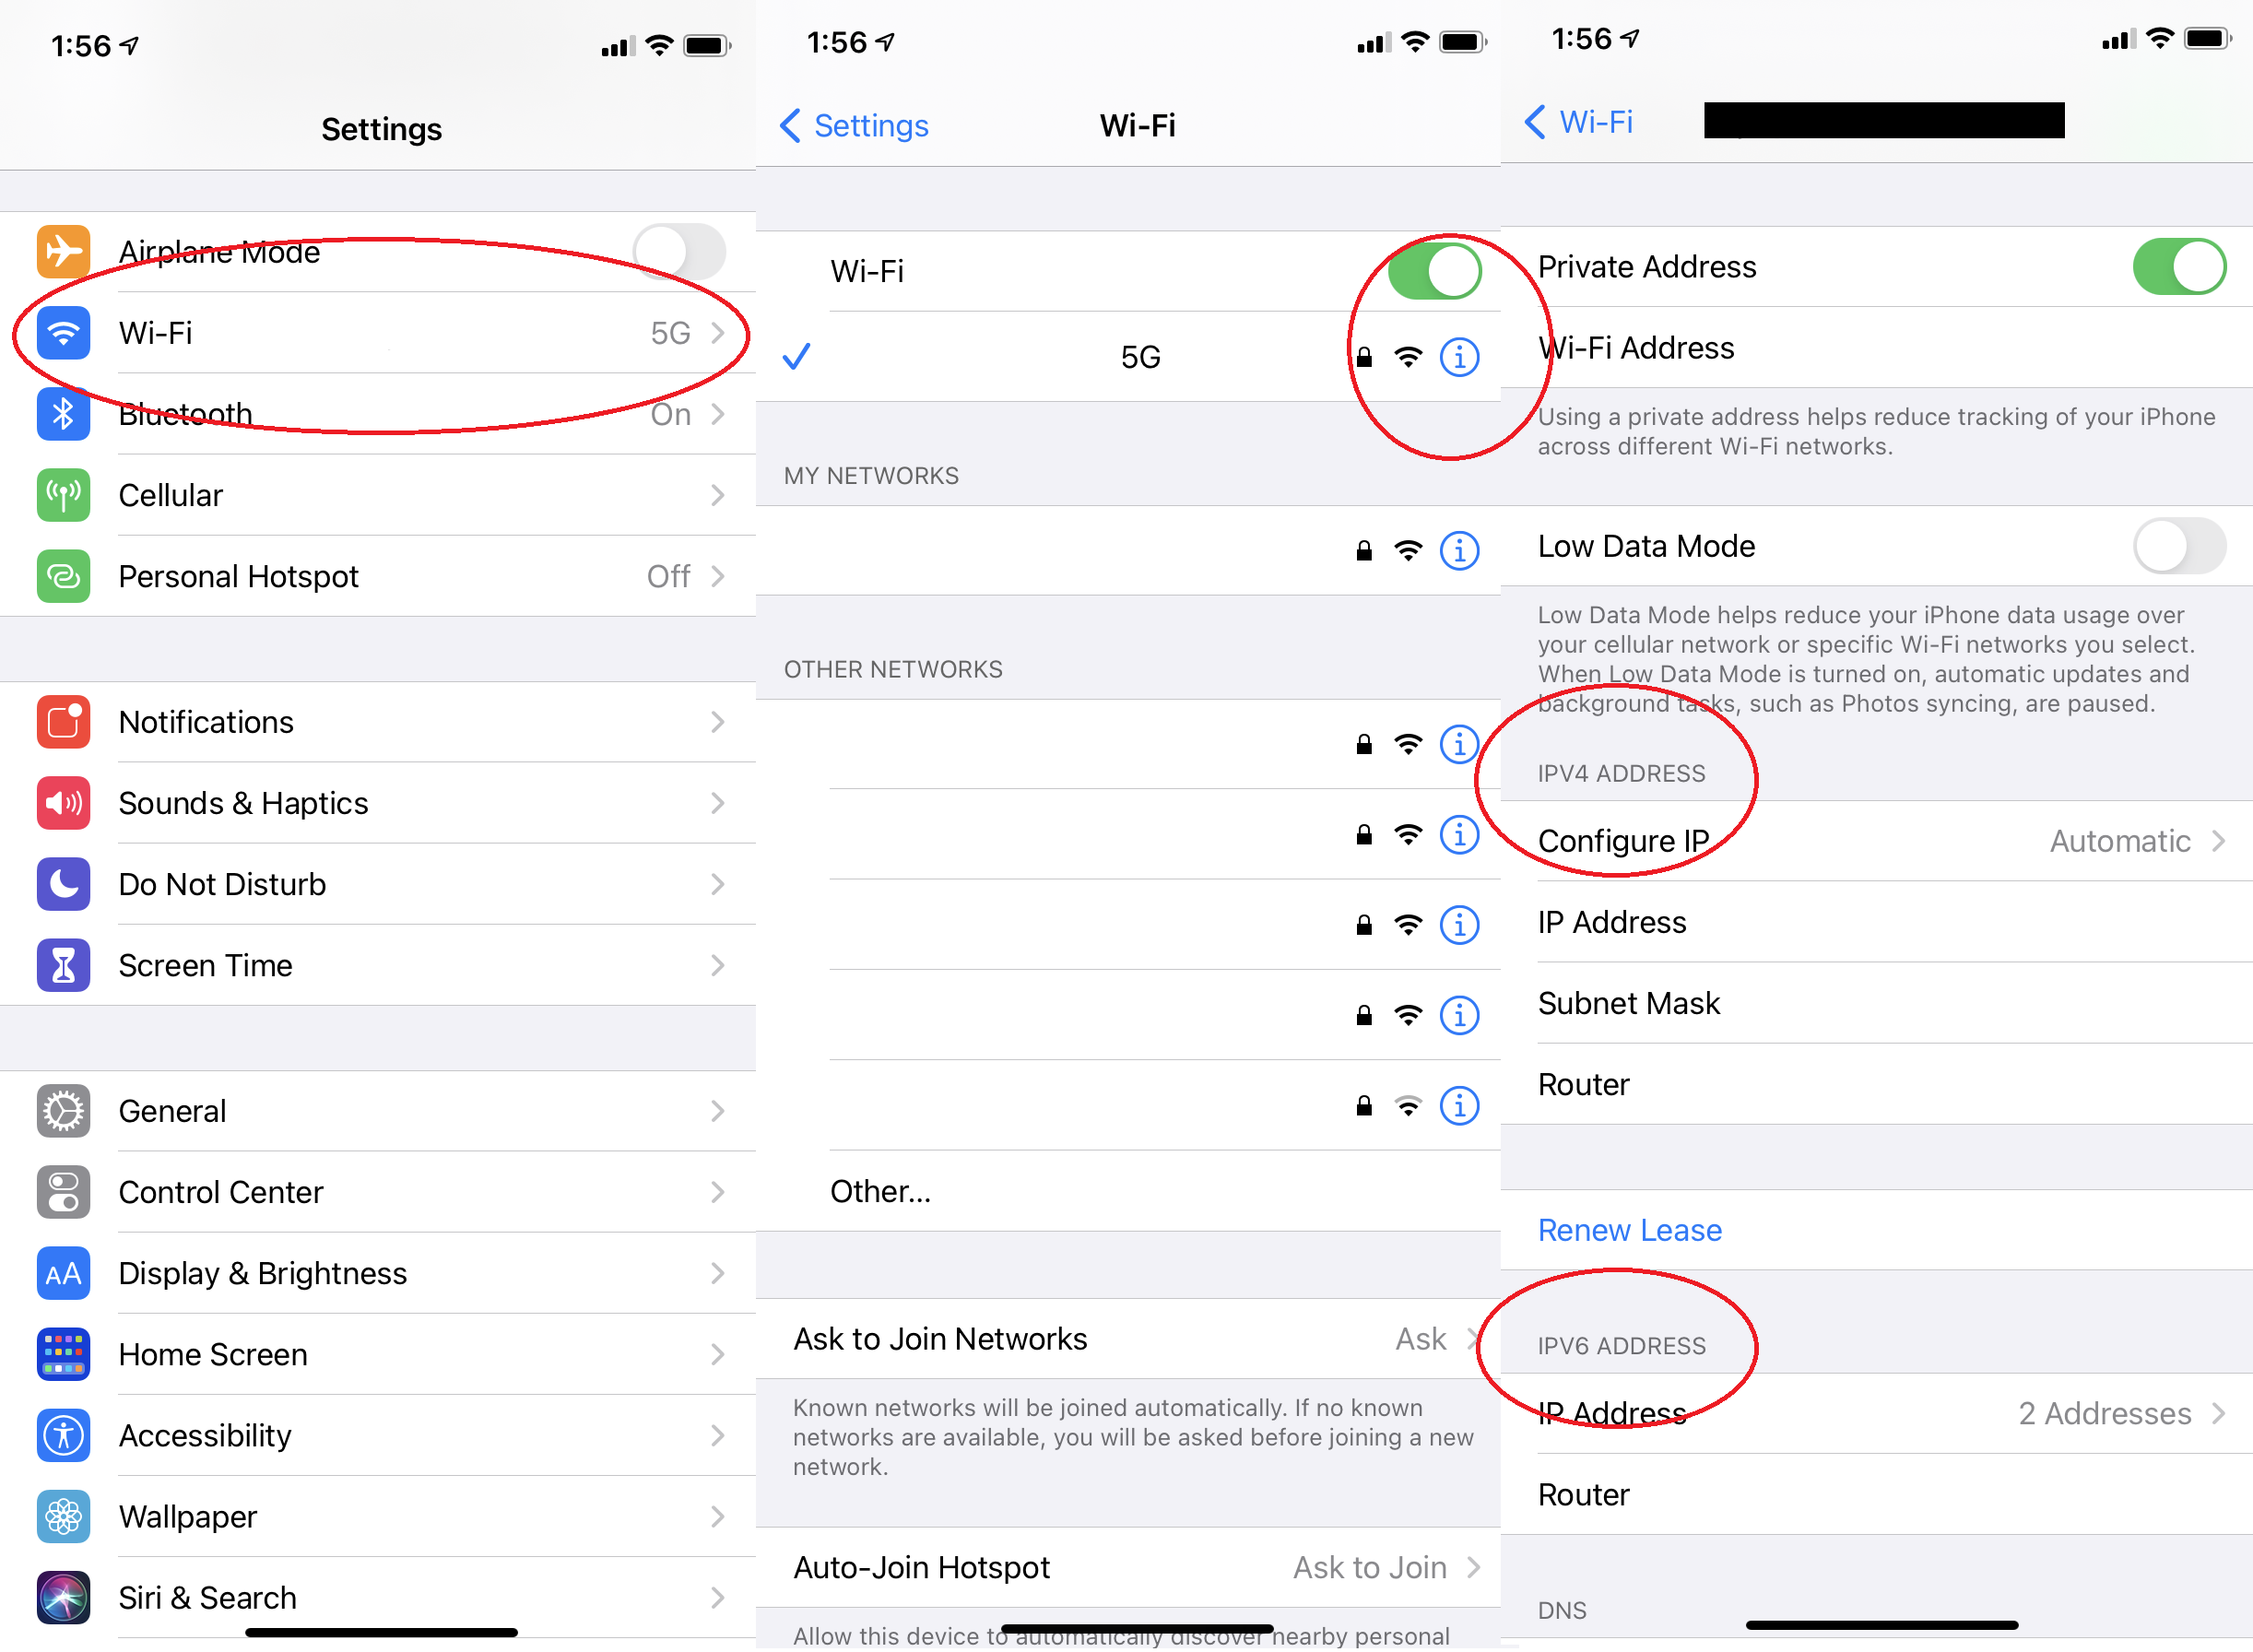
- Open the Settings app: Tap on the Settings app icon on your home screen to open the device settings.
- Access the Wi-Fi settings: In the Settings menu, tap on “Wi-Fi” to access the Wi-Fi settings.
- Connect to a Wi-Fi network: Make sure your device is connected to a Wi-Fi network.
- Tap on the connected network: Tap on the Wi-Fi network you are connected to, which has a checkmark next to it.
- Configure network settings: Tap on “Configure IP” or “Renew Lease” to access the network configuration options.
- Change IP settings: Choose “Manual” or “Static” to manually configure the IP settings.
- Enter the new IP address: Enter the desired IP address, subnet mask, default gateway, and DNS server addresses provided by your network administrator or ISP.
- Save changes: Tap on “Save” or “Apply” to save the new IP settings.
After following these steps, your iOS device will be assigned the new IP address you entered. It is important to note that changing your IP address on your device may not impact your public IP address, as it is assigned by your Internet Service Provider (ISP).
By changing your IP address on your iOS device, you can overcome geo-restrictions, enhance your privacy and security, and troubleshoot network issues more effectively.
Additional tips and considerations
Here are some additional tips and considerations when it comes to changing your IP address:
- Use a VPN: Consider using a Virtual Private Network (VPN) to change your IP address. A VPN not only masks your IP but also encrypts your internet traffic, providing an extra layer of privacy and security.
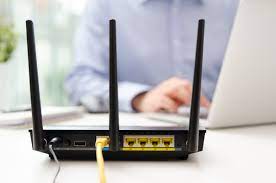
- Check router settings: If you are connected to a home or office network, changing the IP address of your computer or device may not affect the public IP assigned by the router. In such cases, you may need to access the router’s settings and configure the IP address from there.
- Consider dynamic IP addresses: Some ISPs assign dynamic IP addresses that change periodically. If your IP address changes automatically, you may not need to manually modify it.
- Restart your device: After making changes to your IP address, you may need to restart your device to ensure the changes take effect.
- Understand the limitations: While changing your IP address can offer certain benefits, it is important to note that it is not a foolproof method for complete anonymity or protection. Other measures, such as using secure internet protocols, strong passwords, and updated antivirus software, should also be implemented for a comprehensive approach to online security.
- Consult your ISP or network administrator: If you are unsure about changing your IP address or encounter any issues, it is advisable to seek guidance from your Internet Service Provider (ISP) or network administrator. They can provide specific instructions or assist in troubleshooting network settings.
By following these additional tips and considerations, you can make the most of changing your IP address while ensuring a secure and seamless online experience.
Conclusion
Changing your IP address on your computer or device can provide you with greater control over your online presence, privacy, and access to content. Whether you’re looking to bypass geographic restrictions, enhance your security, troubleshoot network issues, or simulate different user locations, the ability to change your IP address gives you the flexibility to achieve these goals.
In this article, we explored the step-by-step process of changing your IP address on various operating systems and devices, including Windows, Mac, Linux, Android, and iOS. We discussed the importance of understanding the reasons why you might want to change your IP address, such as accessing restricted content, protecting your privacy, or resolving network conflicts.
Additionally, we provided some valuable tips and considerations to keep in mind when changing your IP address, such as using a VPN for enhanced security, checking router settings, and understanding the limitations of IP address changes.
It is important to note that changing your IP address is just one aspect of maintaining online privacy and security. Implementing additional measures, such as using secure internet protocols, strong passwords, and updated security software, is crucial in safeguarding your digital presence.
By following the instructions and tips outlined in this article, you can confidently change your IP address on your preferred operating system or device. This empowerment allows you to navigate the internet with greater freedom, security, and flexibility.
Remember to consult your network administrator or Internet Service Provider (ISP) if you encounter any issues or have further questions regarding IP address changes.