


Introduction
Are you looking to change the owner on your Samsung tablet? Whether you’re selling your tablet or simply handing it down to someone else, it’s important to properly transfer ownership. This process ensures that the new owner can set up their own account and personalize the device to their liking.
In this guide, we will walk you through the steps to change the owner on your Samsung tablet. From backing up important data to factory resetting the tablet and setting up a new owner account, we’ve got you covered. By following these steps, you can pass on your tablet with peace of mind, knowing that your personal information has been properly removed.
Before we dive into the process, it’s essential to note that changing the owner will erase all data on the tablet. Therefore, it’s crucial to back up any important files, photos, or documents to avoid losing them. Additionally, make sure you have the necessary login credentials for your Google account, as you will need to remove it from the tablet during the process.
Now that you’re aware of what to expect, let’s get started with changing the owner on your Samsung tablet.
Step 1: Back up your data
Before you proceed with changing the owner on your Samsung tablet, it’s essential to back up your data. This step is crucial to ensure that you don’t lose any important files or personal information during the process.
There are a few different ways you can back up your data on a Samsung tablet. One option is to use Samsung’s built-in backup feature. To do this, go to the Settings menu and look for the “Cloud and accounts” or “Backup and restore” section. From there, you can enable the backup feature and select the types of data you want to back up, such as photos, contacts, and apps.
Another option is to use a cloud storage service, such as Google Drive or Dropbox, to upload your files and sync them across devices. This can be particularly useful if you have a large amount of data to backup or if you want to access your files from different devices.
If you prefer a more manual approach, you can also connect your tablet to a computer using a USB cable and transfer your files directly. This method allows you to selectively choose which files to back up and gives you greater control over the process.
Regardless of the method you choose, make sure to double-check that all of your important data is backed up before proceeding to the next step. This will ensure that you can easily restore your files once the owner transfer is complete.
Once you have successfully backed up your data, you can proceed to the next step: removing your Google account from the Samsung tablet.
Step 2: Remove your Google account
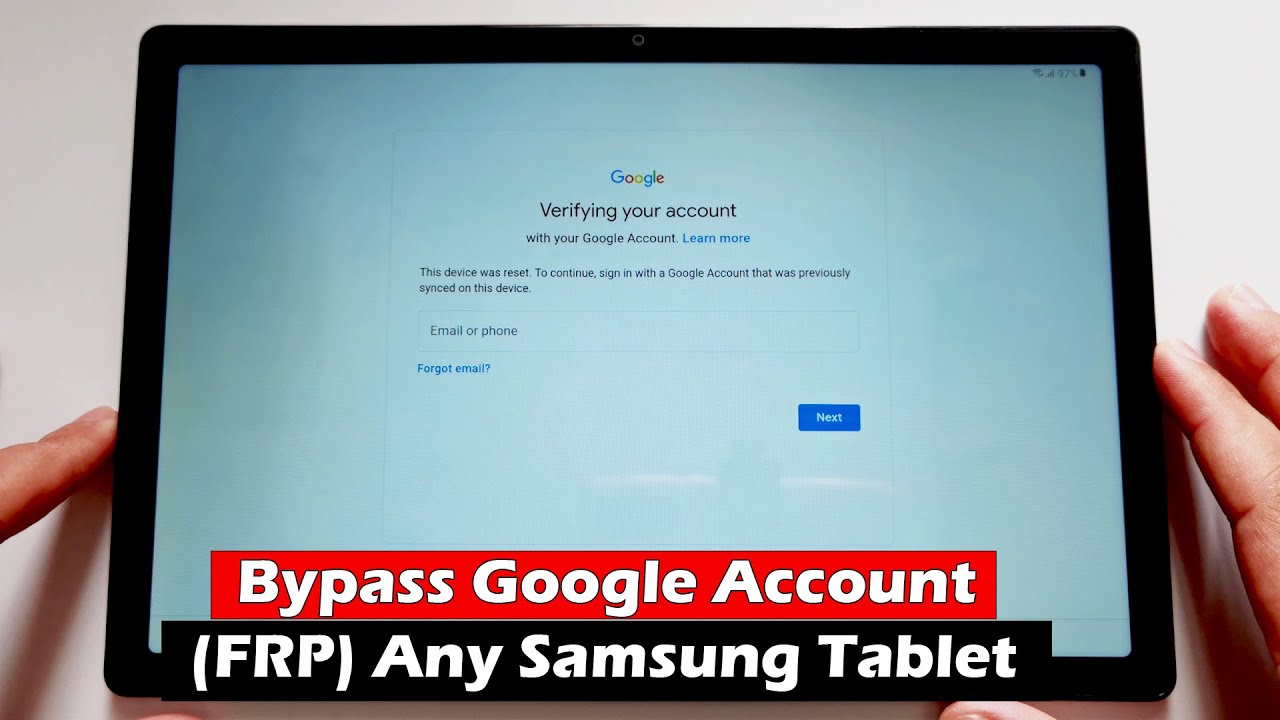
Now that you have successfully backed up your data, the next step is to remove your Google account from the Samsung tablet. This is an important step in the owner transfer process, as it allows the new owner to set up their own Google account on the device.
To remove your Google account, start by navigating to the Settings menu on your Samsung tablet. Look for the “Accounts” or “Cloud and accounts” section and tap on it. From there, you should see a list of all the accounts associated with your tablet.
Locate your Google account in the list and tap on it to access the account settings. Next, you will see an option to “Remove account” or “Sign out”. Tap on this option and follow any prompts or confirmation messages that appear.
Keep in mind that removing your Google account will also remove any associated data and settings, such as contacts, calendar events, and app data. However, this will not affect the data that you have already backed up in the previous step.
Once you have successfully removed your Google account, you can proceed to the next step: factory resetting your Samsung tablet.
It’s important to note that after removing your Google account, you will no longer have access to certain Google services, such as Gmail and Google Play Store, on the Samsung tablet. However, the new owner will be able to set up their own Google account and access these services.
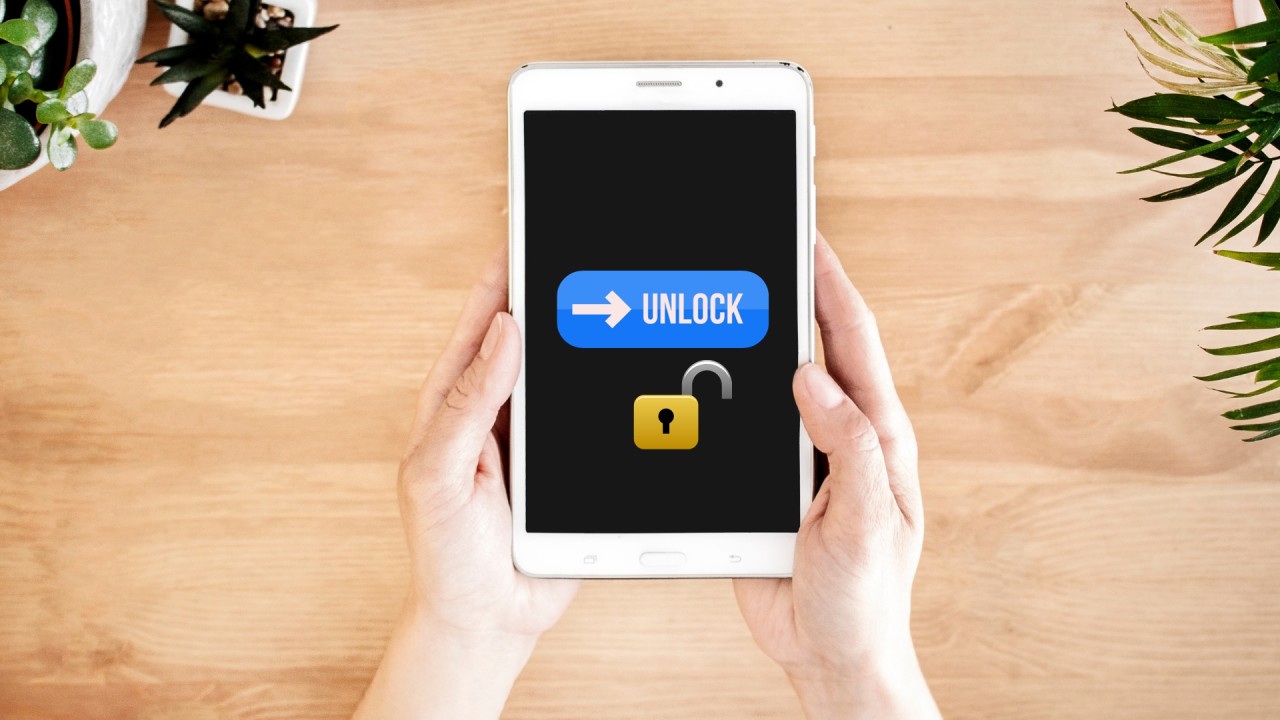
Step 3: Factory reset your Samsung tablet
After removing your Google account, the next step in changing the owner of your Samsung tablet is to perform a factory reset. This process will erase all data and settings on the tablet, returning it to its original factory state.
Before proceeding with the factory reset, make sure your tablet is charged or connected to a power source to avoid any interruptions during the process. Ensure that you have backed up all your important data, as this step will permanently delete everything on the tablet.
To initiate the factory reset, go to the Settings menu on your Samsung tablet. Look for the “General Management” or “Backup and Reset” section, and tap on it. From there, you should see an option to “Factory data reset” or “Reset”. Tap on this option to begin the reset process.
You may be prompted to enter your device’s PIN, pattern, or password to confirm the factory reset. This is a security measure to prevent accidental or unauthorized resets. After entering the required information, you will typically be presented with a final confirmation message before the reset is initiated.
Once you confirm the factory reset, the tablet will begin the process. It may take a few minutes for the reset to complete, and the device may restart multiple times during the process. Avoid interrupting the reset or turning off the tablet prematurely, as this can cause issues with the device.
After the factory reset is complete, your Samsung tablet will be restored to its original factory settings. All data, settings, and apps will be erased, and the tablet will be ready for the new owner to set up their account and personalize the device.
With the factory reset complete, you can move on to the next step: setting up a new owner account on the Samsung tablet.
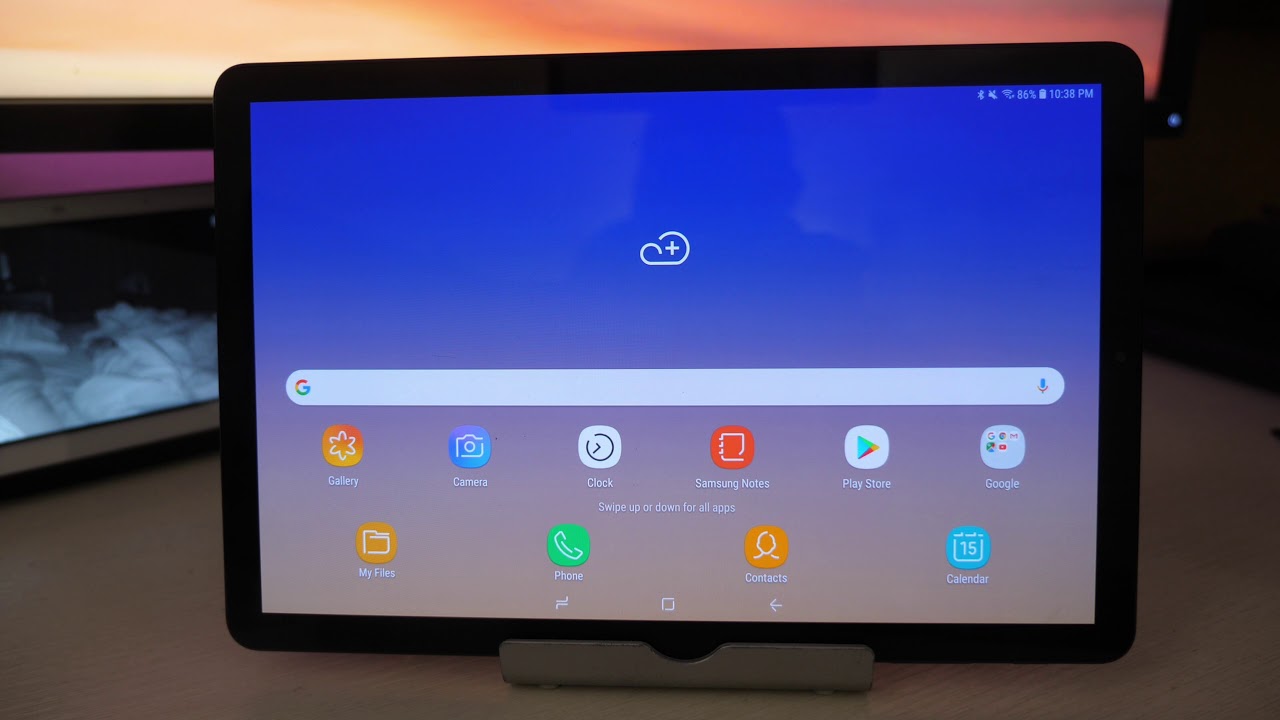
Step 4: Set up a new owner account
After performing a factory reset on your Samsung tablet, it’s time to set up a new owner account. This step allows the new owner to personalize the device, install their preferred apps, and access various features and services.
When you turn on the tablet after the factory reset, you will be greeted with the initial setup screen. Follow the on-screen prompts to select your preferred language, connect to a Wi-Fi network, and agree to the terms and conditions.
Next, you will be prompted to sign in with a Google account. If the new owner already has a Google account, they can sign in with their credentials. If not, they will need to create a new Google account by selecting the “Create account” option.
Follow the instructions to enter the necessary information, such as name, email address, password, and phone number. Once the account setup is complete, the new owner can proceed to personalize their settings, such as choosing a device name and setting up additional security measures like PIN, pattern, or fingerprint lock.
After setting up the new owner account and configuring the desired settings, the Samsung tablet will be ready for use. The new owner can now explore the device, download apps from the Google Play Store, and customize it according to their preferences.
It is important to emphasize that the new owner will have full control over the tablet, and any previous data, apps, or settings associated with your account will no longer be accessible. They will have a fresh start on the tablet, making it truly their own.
With the new owner account set up, you can proceed to the next step: restoring your data from the backup you created earlier.
Step 5: Restore your data from backup
Now that you have set up a new owner account on the Samsung tablet, it’s time to restore your data from the backup you created earlier. By doing this, you can transfer your files, photos, contacts, and other important information to the device.
To begin the data restoration process, you will need to access the same backup method you used to back up your data. If you used Samsung’s built-in backup feature, navigate to the Settings menu and look for the “Cloud and accounts” or “Backup and restore” section. From there, enable the backup feature and select the types of data you want to restore.
If you used a cloud storage service like Google Drive or Dropbox, you can simply sign in to your account on the tablet and download your files from the cloud. Make sure you have the necessary login credentials for the cloud service you used.
If you transferred your files manually using a USB cable, connect the tablet to a computer and copy the files back onto the device. You can use the tablet’s file management app or simply drag and drop the files from your computer to the tablet’s storage.
During the data restoration process, take your time to ensure that all the desired files and data are properly transferred to the Samsung tablet. Double-check that everything is in place before moving on to the next step.
Once the data restoration is complete, your Samsung tablet will now have all your important files, contacts, and settings restored. The new owner can access and use this data, or they can choose to delete or rearrange it to suit their preferences.
With the data successfully restored, you can move on to the final step of the owner transfer process: updating your device and apps.
Step 6: Update your device and apps
After restoring your data, it’s important to ensure that your Samsung tablet is up to date with the latest software and app updates. Updating your device and apps improves performance, enhances security, and provides access to new features and functionalities.
To update your device, go to the Settings menu on your Samsung tablet and look for the “Software update” or “About phone/tablet” section. Tap on it and select “Check for updates” to see if any new software updates are available.
If there are updates available, follow the on-screen prompts to download and install them. Depending on the size of the update and your internet connection, this process may take some time.
In addition to updating your device, it’s also important to update your apps. Outdated apps can be vulnerable to security threats and may not work properly with the latest device software.
To update your apps, open the Google Play Store on your Samsung tablet and tap on the three horizontal lines in the top-left corner to open the menu. From there, select “My apps & games” or “Updates” to see a list of apps that have pending updates.
Tap on “Update all” to update all the apps at once, or individually select the apps you want to update. If you have auto-updates enabled, your apps will be updated automatically in the background.
Once you have updated both your device software and apps, your Samsung tablet will have the latest features, security patches, and performance improvements.
With this final step complete, the owner transfer process for your Samsung tablet is finished. You have successfully changed the owner on your tablet, ensuring that the new owner can enjoy a fresh, personalized experience with the device.
Remember, it’s important to provide any necessary information, such as login credentials or instructions, to the new owner so they can easily access and use the tablet.
Thank you for following this guide, and we hope it has been helpful in changing the owner on your Samsung tablet.
Conclusion
Changing the owner on your Samsung tablet may seem like a complex process, but by following these steps, you can ensure a smooth transition of ownership. From backing up your data to removing your Google account, factory resetting the device, setting up a new owner account, restoring your data, and updating your device and apps, each step plays a crucial role in the owner transfer process.
Remember to take the time to back up your important files and documents before proceeding with the owner transfer. This will help to prevent any data loss during the factory reset. Removing your Google account is essential to allow the new owner to personalize the tablet with their own account. Factory resetting the tablet ensures that all personal data is removed, providing a clean slate for the new owner.
Setting up a new owner account allows the new owner to customize the tablet according to their preferences and access various features and services. Restoring your data from backup ensures that all your important files and information are transferred to the tablet for the new owner’s use.
Finally, updating your device and apps ensures that your Samsung tablet is up to date with the latest software, security patches, and performance improvements. This step is essential for a smooth user experience on the tablet.
By following these steps and properly transferring ownership, you can pass on your Samsung tablet with peace of mind, knowing that your personal information has been removed and the new owner can enjoy a fresh and personalized device.
Thank you for reading this guide, and we hope it has been helpful in changing the owner on your Samsung tablet. If you have any further questions or need additional assistance, don’t hesitate to reach out to Samsung’s support team or consult the user manual for your specific tablet model.


![[Full Guide] How to Bypass Google Account Verification After Reset](https://robots.net/wp-content/uploads/2023/11/How-to-Bypass-Google-Account-Verification-After-Reset-300x180.png)


