Introduction
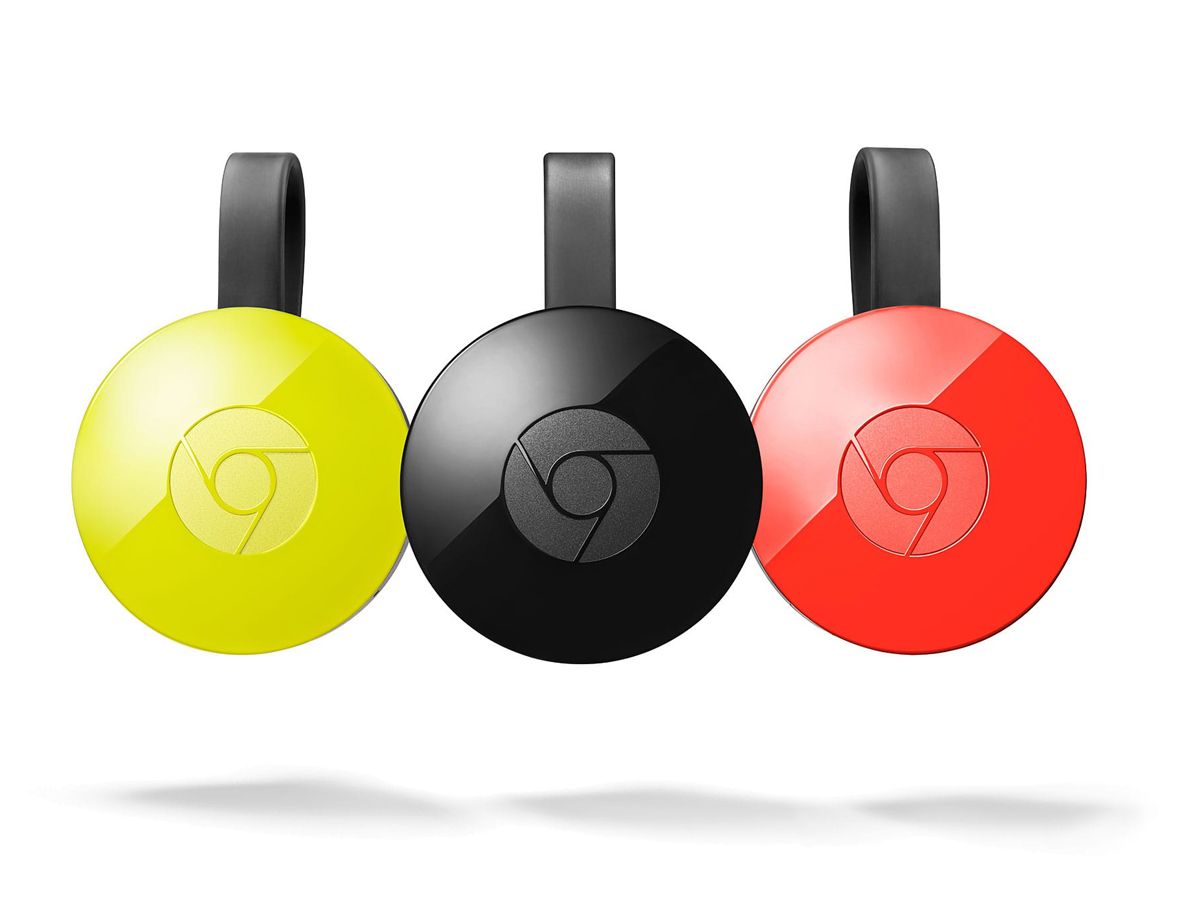
Welcome to this guide on how to change the name of your Chromecast! Chromecast is a popular streaming device developed by Google that allows you to cast content from your smartphone, tablet, or computer to your TV screen. By default, your Chromecast is assigned a generic name such as “Living Room TV” or “Bedroom TV”. However, you have the option to customize the name of your device to something more personal or descriptive.
Changing the name of your Chromecast can be useful if you have multiple Chromecast devices in your home or if you want to easily identify the device when casting content. It’s a simple process that can be done through the Google Home app, which is used to set up and manage your Chromecast devices.
In this step-by-step guide, we will walk you through the process of changing the name of your Chromecast. Whether you want to give it a unique name that reflects its location or simply want to personalize it, we’ve got you covered. So let’s dive in and learn how to change the name of your Chromecast!
Step 1: Connect to Chromecast
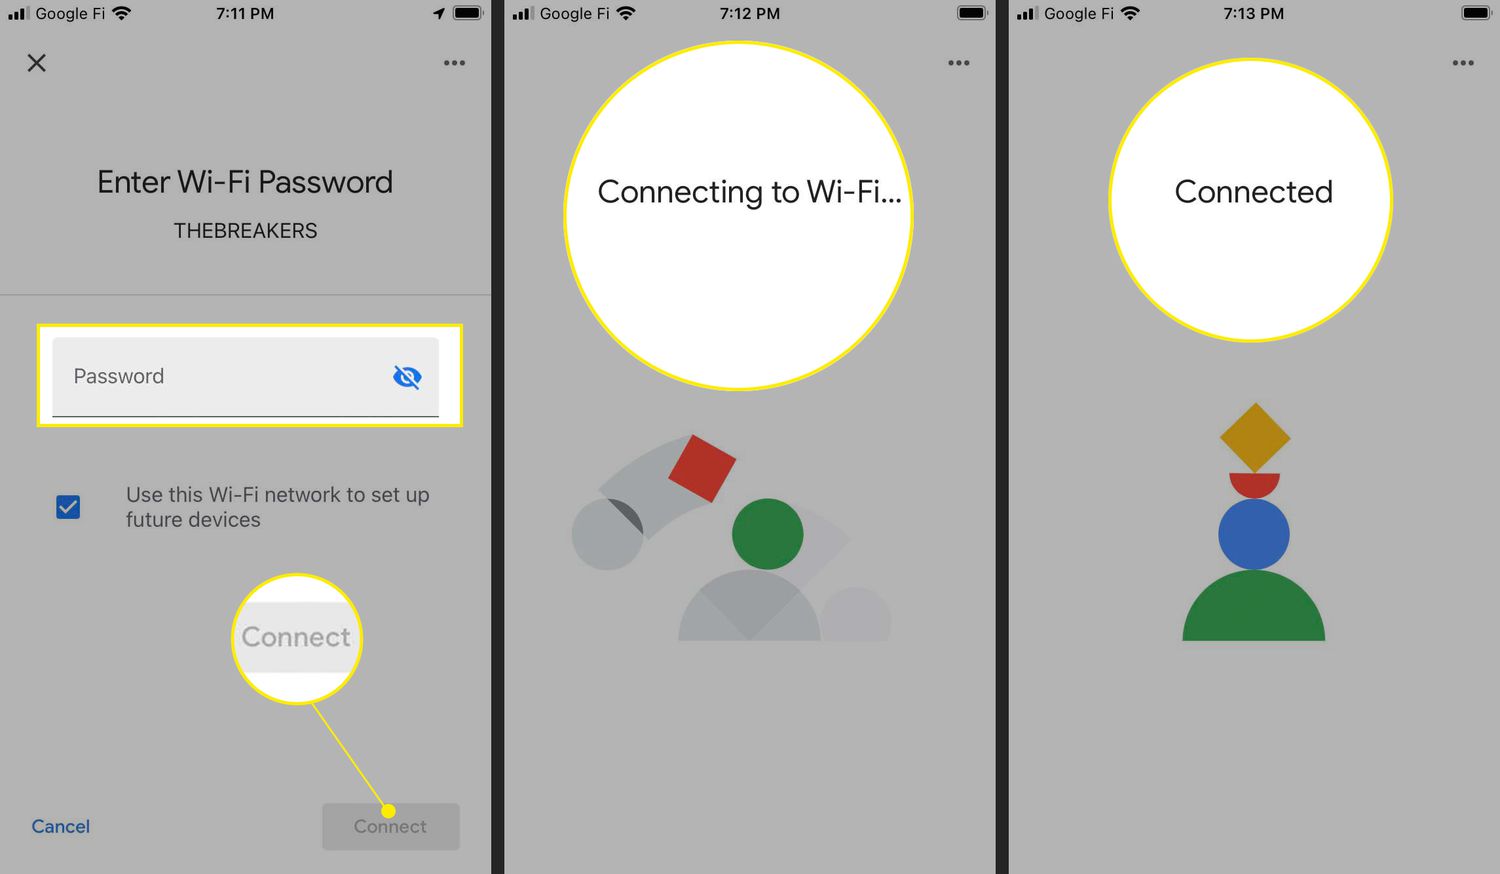
The first step in changing the name of your Chromecast is to ensure that your device is connected to the Chromecast through Wi-Fi. Make sure that your Chromecast and the device you’re using to control it (phone, tablet, or computer) are connected to the same Wi-Fi network.
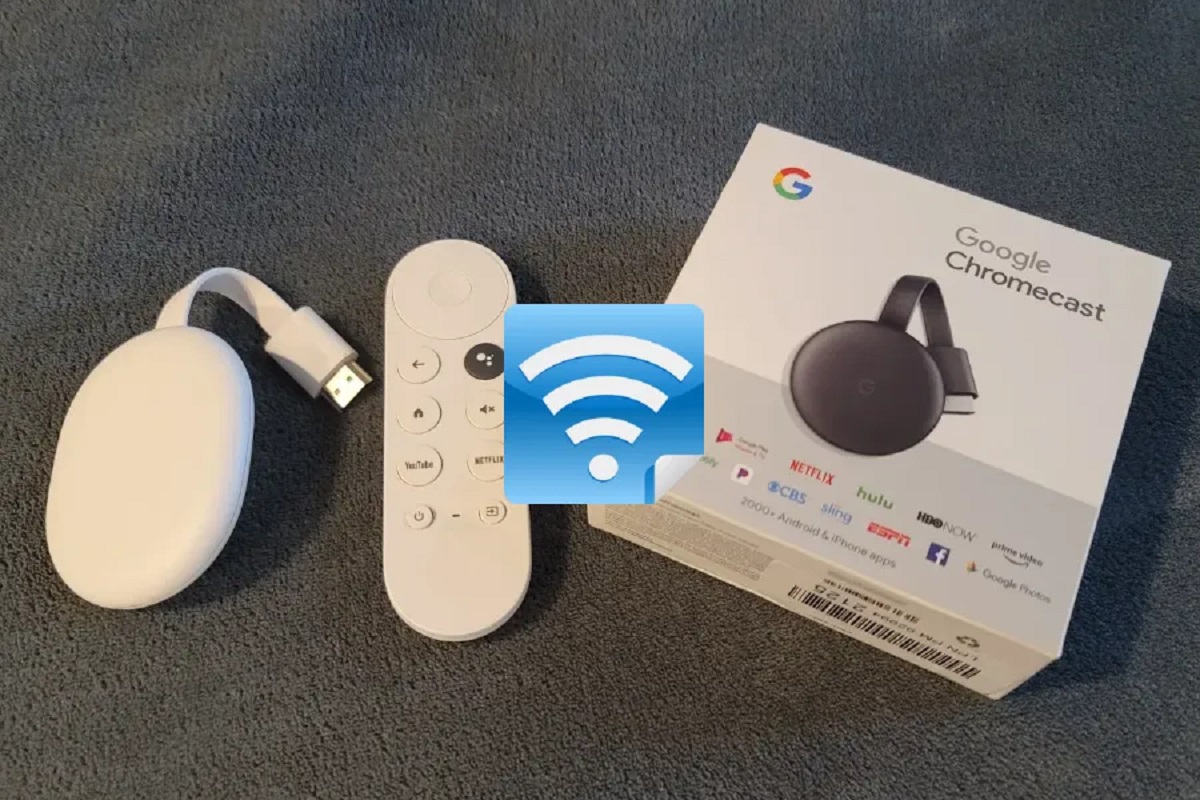
If you haven’t set up your Chromecast yet, you’ll need to follow the initial setup process. This involves plugging the Chromecast into your TV’s HDMI port and connecting it to a power source. You can find detailed instructions in the Chromecast user manual.
Once your Chromecast is connected to the Wi-Fi network, open the app you use to control the device, whether it’s the Google Home app or a compatible streaming app like YouTube or Netflix.
It’s important to note that the specific steps for connecting to Chromecast may vary depending on the device you’re using. In general, you’ll need to look for the cast icon, which looks like a rectangle with a Wi-Fi symbol in the lower-left corner, and tap on it to connect to your Chromecast.
If you’re using the Google Home app, open the app and tap on the “Cast” button in the top-right corner. This will display a list of available Chromecast devices. Tap on your Chromecast to connect to it.
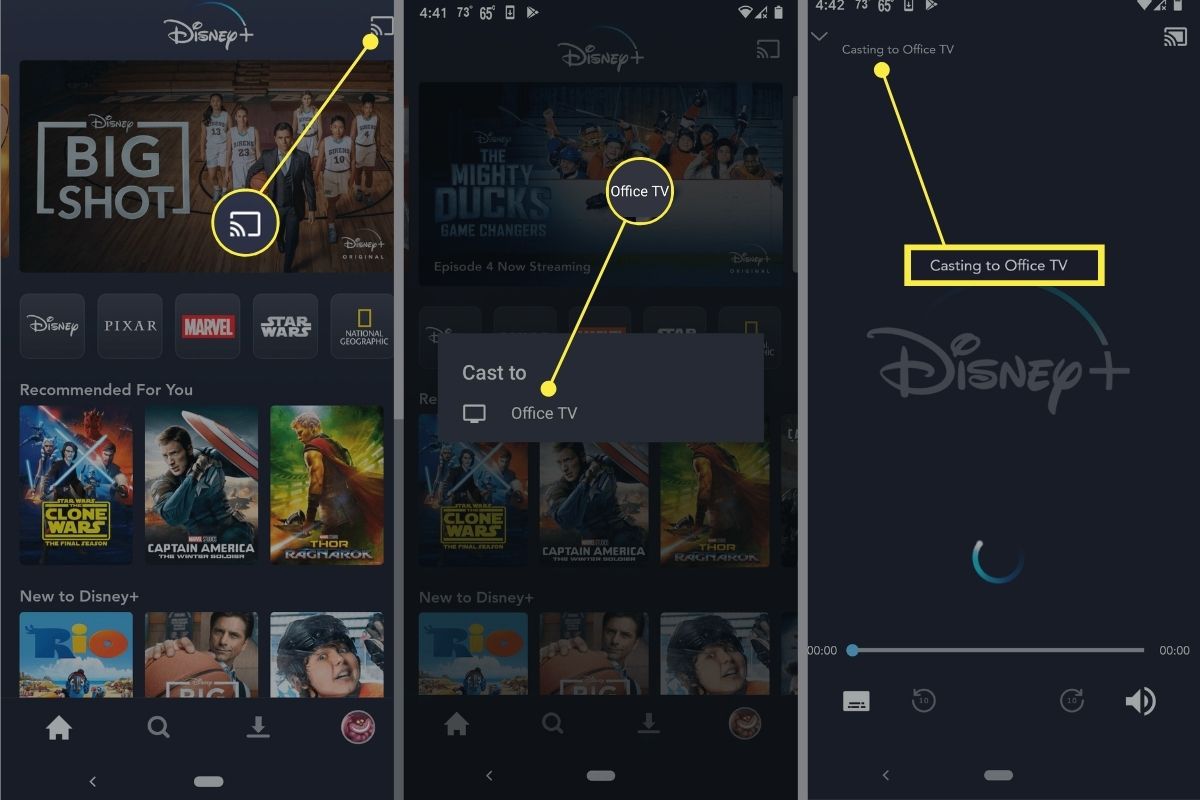
If you’re using a streaming app, look for the cast icon within the app, usually located at the top or bottom of the screen. Tap on the cast icon and select your Chromecast device from the list.
Once you’re connected to your Chromecast, you’re ready to proceed to the next step and change its name.
Step 2: Open Google Home app
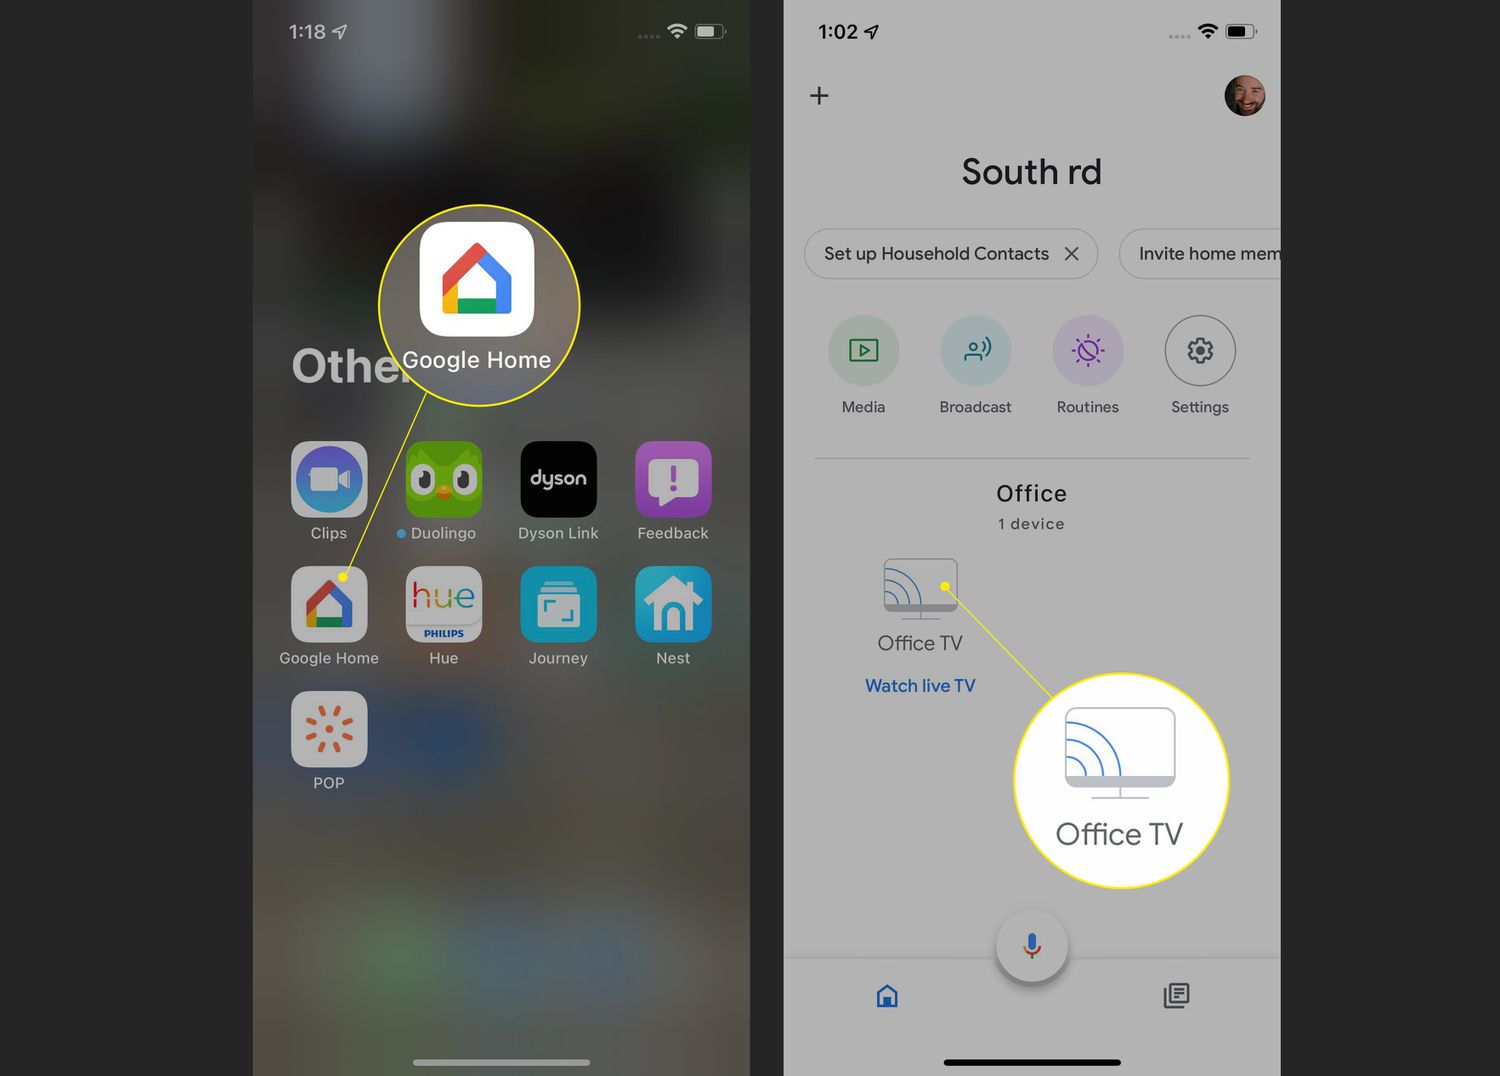
To change the name of your Chromecast, you’ll need to use the Google Home app. If you haven’t already installed it on your device, you can download it from the Google Play Store for Android or the App Store for iOS.
Once you have the Google Home app installed, open it on your device. You’ll be greeted with the home screen, which displays a list of your connected devices. Make sure that your Chromecast is connected and displayed in the list.
If you have multiple Chromecast devices or other connected devices, swipe left or right to find the one you want to rename. Tap on the Chromecast device to select it.
If you’re having trouble finding your Chromecast or it’s not appearing in the list, make sure that your device and the Chromecast are connected to the same Wi-Fi network. You can also try restarting your device or resetting your Chromecast if necessary.
Once you’ve selected your Chromecast device, you’ll be taken to its dedicated settings page within the Google Home app. This page allows you to control various aspects of your Chromecast, including its name, Wi-Fi settings, and more.
Now that you have the Google Home app open and your Chromecast device selected, you’re ready to proceed to the next step and find the option to change the device name.
Step 3: Find your Chromecast device
After opening the Google Home app and selecting your Chromecast device, the next step is to find the option to change the device name. To do this, look for the Settings icon, which is usually represented by three vertical dots or lines, located somewhere on the screen.
Clicking on the Settings icon will open a dropdown menu or a list of options related to your Chromecast device. Scroll through the options until you find the one labeled “Device settings” or “Device options”. Tap on this option to access the settings specifically for your Chromecast.
Alternatively, you may find the device settings by swiping left or right on the screen, depending on the layout of the Google Home app on your device.
If you’re having trouble locating the settings for your Chromecast device, you can also try tapping on the name of your Chromecast, which is usually displayed at the top of the screen. This may directly take you to the device settings page.
Once you have accessed the device settings page, you’re ready to proceed to the next step and find the option to change the name of your Chromecast.
Step 4: Tap on the Settings icon
Now that you have accessed the device settings page for your Chromecast, the next step is to locate and tap on the Settings icon. This icon is typically represented by three vertical dots or lines and is usually located in the top-right or top-left corner of the screen, depending on the version of the Google Home app you are using.
Tapping on the Settings icon will open a dropdown menu or a list of options specific to your Chromecast device. It is important to note that the placement and design of the Settings icon may vary slightly depending on the version of the Google Home app and the device you are using.
Once you have tapped on the Settings icon, you will see a range of options that you can configure for your Chromecast. These options may include device settings, Wi-Fi settings, guest mode, backdrop settings, and more.
Among these options, you need to find the one that allows you to change the name of your Chromecast. The name of this option may vary slightly depending on the version of the Google Home app, but it is commonly labeled as “Device name” or “Name.” Tap on this option to proceed to the next step and enter the new name for your Chromecast.
By tapping on the Settings icon, you are one step closer to giving your Chromecast a personalized and more meaningful name that suits your preferences or location. Let’s move on to the next step and continue customizing your Chromecast’s name!
Step 5: Tap on the ‘More’ option
After tapping on the Settings icon, the next step is to find and tap on the “More” option. The “More” option is typically located towards the bottom of the settings menu and may be represented by three horizontal lines or dots.
By tapping on the “More” option, you will be presented with additional settings and options for your Chromecast device. This menu allows you to access advanced settings and features that can further enhance your casting experience.
Scroll through the list of options and look for an option related to changing your Chromecast’s name. This option is commonly labeled as “Device name” or “Name”. Once you locate it, tap on it to proceed to the next step.
If you don’t see a specific option for changing the device name in the “More” menu, try looking for other headings like “General settings” or “Device options”. In some versions of the Google Home app, the option to change the device name may be nested within these sections.
Keep in mind that the placement and design of the “More” option may vary slightly depending on the version of the Google Home app you are using. If you’re having trouble locating it, take your time to explore the settings menu and look for any available options related to changing the name of your Chromecast.
By tapping on the “More” option, you’re just a few steps away from giving your Chromecast a new and personalized name. Let’s move on to the next step and enter the new name for your Chromecast!
Step 6: Tap on the ‘Device name’ field
After accessing the appropriate settings menu in the Google Home app, the next step is to locate and tap on the ‘Device name’ field. This field is where you will enter the new name for your Chromecast.
In most versions of the Google Home app, the ‘Device name’ field is clearly labeled and easy to find. It is usually displayed with an editable text box or a cursor indicating that you can type a new name.
Simply tap on the ‘Device name’ field to activate it and prepare to enter a new name. When you tap on the field, you may notice that the existing device name is highlighted or selected, indicating that it can be changed.
If you’re having trouble locating the ‘Device name’ field, take your time to scan the settings menu. Look for any options or headings related to the device name, renaming, or customization.
It is worth noting that the exact placement and design of the ‘Device name’ field may vary slightly depending on the version of the Google Home app you are using. If you’re unsure, refer to the app’s user guide or online support resources for more information.
By tapping on the ‘Device name’ field, you have reached the point where you can enter a new and customized name for your Chromecast. Let’s move on to the next step and choose an exciting name that suits your preferences!
Step 7: Enter the new name for your Chromecast
After tapping on the ‘Device name’ field, you can now enter the new name for your Chromecast. This is where you can unleash your creativity and choose a name that reflects your personal preferences or the location of your device.
Once the ‘Device name’ field is activated, your device’s current name may already be pre-filled in the text box. You can either edit this existing name or delete it entirely and input a completely new name.
Take a moment to think about a name that you’ll easily recognize and remember. It could be something fun, descriptive, or relevant to its location, such as “Living Room TV”, “Movie Mania”, or “Game Central”. You can also give it a unique name that reflects your personality or interests.
When entering the new name, be sure to avoid using any special characters or symbols. Stick to alphanumeric characters and spaces to ensure compatibility with all devices and apps.
It’s also important to keep in mind that the new name should adhere to any guidelines or restrictions set by the Google Home app. For example, the name may have a maximum character limit or may not allow certain words or language. Be mindful of these guidelines when choosing the new name.
Once you’ve finalized the new name for your Chromecast, tap enter or the “Save” button to apply the changes. The Google Home app will save the new name and update it on all devices connected to your Chromecast.
By entering the new name for your Chromecast, you have personalized and given it a unique identity. Let’s proceed to the final step and save the changes before exiting the settings.
Step 8: Save the changes and exit the settings
After entering the new name for your Chromecast, it’s important to save the changes to ensure that the new name is applied successfully.
In most versions of the Google Home app, there will be a ‘Save’ or ‘Apply’ button available after entering the new name. Tap on this button to save the changes and update the name of your Chromecast.
Once you have saved the changes, the Google Home app will automatically update the name on your Chromecast device and all connected devices. You’ll be able to see the new name displayed when casting content or accessing the device settings.
After saving the changes, you can exit the settings menu. Look for a ‘Back’ or ‘Close’ button that will take you back to the main screen of the Google Home app.
Alternatively, you may need to use the navigation buttons on your device, such as the back arrow or home button, to exit the settings menu and return to the main screen.
Once you have successfully saved the changes and exited the settings, you can start enjoying your Chromecast with its new personalized name. Whether you’re streaming movies, playing games, or casting your favorite music, your Chromecast will now be identified with a name that reflects your style and preferences.
Remember, if at any point you want to change the name again in the future, you can simply repeat these steps and select a new name for your Chromecast.
With the changes saved and the settings menu exited, you have successfully completed the process of changing the name of your Chromecast. Congratulations!
Conclusion
Changing the name of your Chromecast is a simple and effective way to personalize your streaming experience. By following the steps outlined in this guide, you can easily give your Chromecast a name that reflects your preferences, location, or personality.
The process starts with connecting to your Chromecast and opening the Google Home app. From there, you need to access the device settings, tap on the ‘More’ or ‘Settings’ icon, and find the option to change the device name. Once you’ve located the ‘Device name’ field, you can enter a new, creative name that suits your taste.
Remember to save your changes and exit the settings to ensure that the new name is successfully applied. With the new name in place, your Chromecast will be easily recognizable and identifiable when casting content.
As you explore the possibilities of your Chromecast, take advantage of its features and enjoy seamless streaming to your TV. Whether you’re watching your favorite shows, playing games, or browsing the web, your newly named Chromecast will add a personalized touch to your entertainment setup.
So go ahead and give your Chromecast a unique and meaningful name that brings a sense of delight and familiarity to your streaming experience!