Introduction
Welcome to the world of Windows 10 file types! Have you ever encountered a file that you desperately needed to open but couldn’t because it had the wrong file extension? It can be frustrating, but fear not, for Windows 10 offers various methods to change file types and ensure compatibility with the right programs. Whether you’re a tech savvy user or a beginner, this article will guide you through the process of changing file types on your Windows 10 device.
Understanding file types is crucial to grasp the concept of changing them. Each file on your computer has a file extension, such as .docx for Word documents or .jpg for image files. These extensions indicate the file type and help Windows determine which program to use to open it. However, there may be instances when you want to associate a different program with a file extension or modify the default behavior. This could be because you prefer a particular application or need to open the file with a specialized software.
In this article, we will explore three different methods to change file types in Windows 10. Firstly, we’ll walk you through the process using File Explorer, the built-in file management tool. Secondly, we’ll discuss how to change file types using the Default Programs feature, which allows you to choose what program should open specific file extensions. Lastly, we’ll go over a more advanced method involving the Registry Editor, where you can make more intricate changes to file associations.
It’s important to note that while changing file types can be useful, it also carries some risks. Modifying file associations without caution can lead to compatibility issues or cause certain programs to malfunction. Therefore, it’s essential to approach these methods with care and follow the instructions diligently.
So, whether you’re looking to open files with different programs, customize your file associations, or gain more control over your Windows 10 device, you’ve come to the right place. Let’s dive into the world of file types and unleash the full potential of your Windows 10 system!
Section 1: Understanding File Types in Windows 10
Before we delve into the methods of changing file types in Windows 10, it’s important to have a solid understanding of what file types are and how they function within the operating system.
File types are essentially the categories that different file formats fall into. Whether it’s a document, image, audio, or video file, each has its own unique file type associated with it. These file types are identified by their file extensions, which are the three or four-letter codes that come after the dot in a filename (e.g., .docx, .jpg, .mp3).
Windows 10 uses file types to determine which program should be used to open a specific file. For example, when you double-click on a file with a .docx extension, Windows 10 opens it with Microsoft Word by default, as it recognizes .docx as the file type for Word documents.
However, there may be instances when you want to change the default program associated with a particular file type. For example, you may want to open a .jpg image file with a different image editing software instead of the default Windows Photos app.
In addition to choosing the default program for a specific file type, Windows 10 allows you to customize the behavior and settings associated with each file type. This includes options such as whether or not a file type should be displayed in the context menu, the actions that can be performed on the file, and more.
Understanding file types is essential as it enables you to have more control over how files are handled in Windows 10. By knowing the file types and their associated programs, you can ensure that your files open in the desired applications and take advantage of the features and functionalities provided by those programs.
In the following sections, we will explore different methods to change file types in Windows 10. Whether you prefer a quick and simple approach or are comfortable making advanced changes in the Registry Editor, there’s a method for you. Let’s jump into the next section to learn how to change file types using File Explorer!
Section 2: How to Change File Type Using File Explorer
Changing file types in Windows 10 can be easily accomplished using the built-in File Explorer. Follow the step-by-step guide below to change the file type of a specific file:
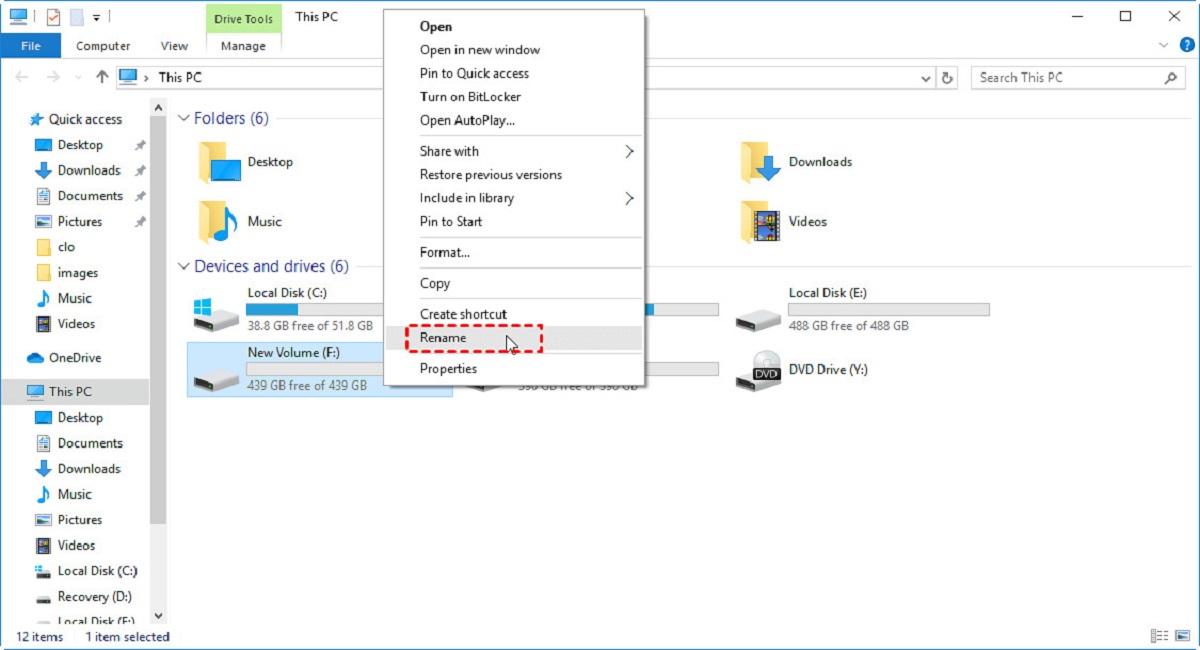
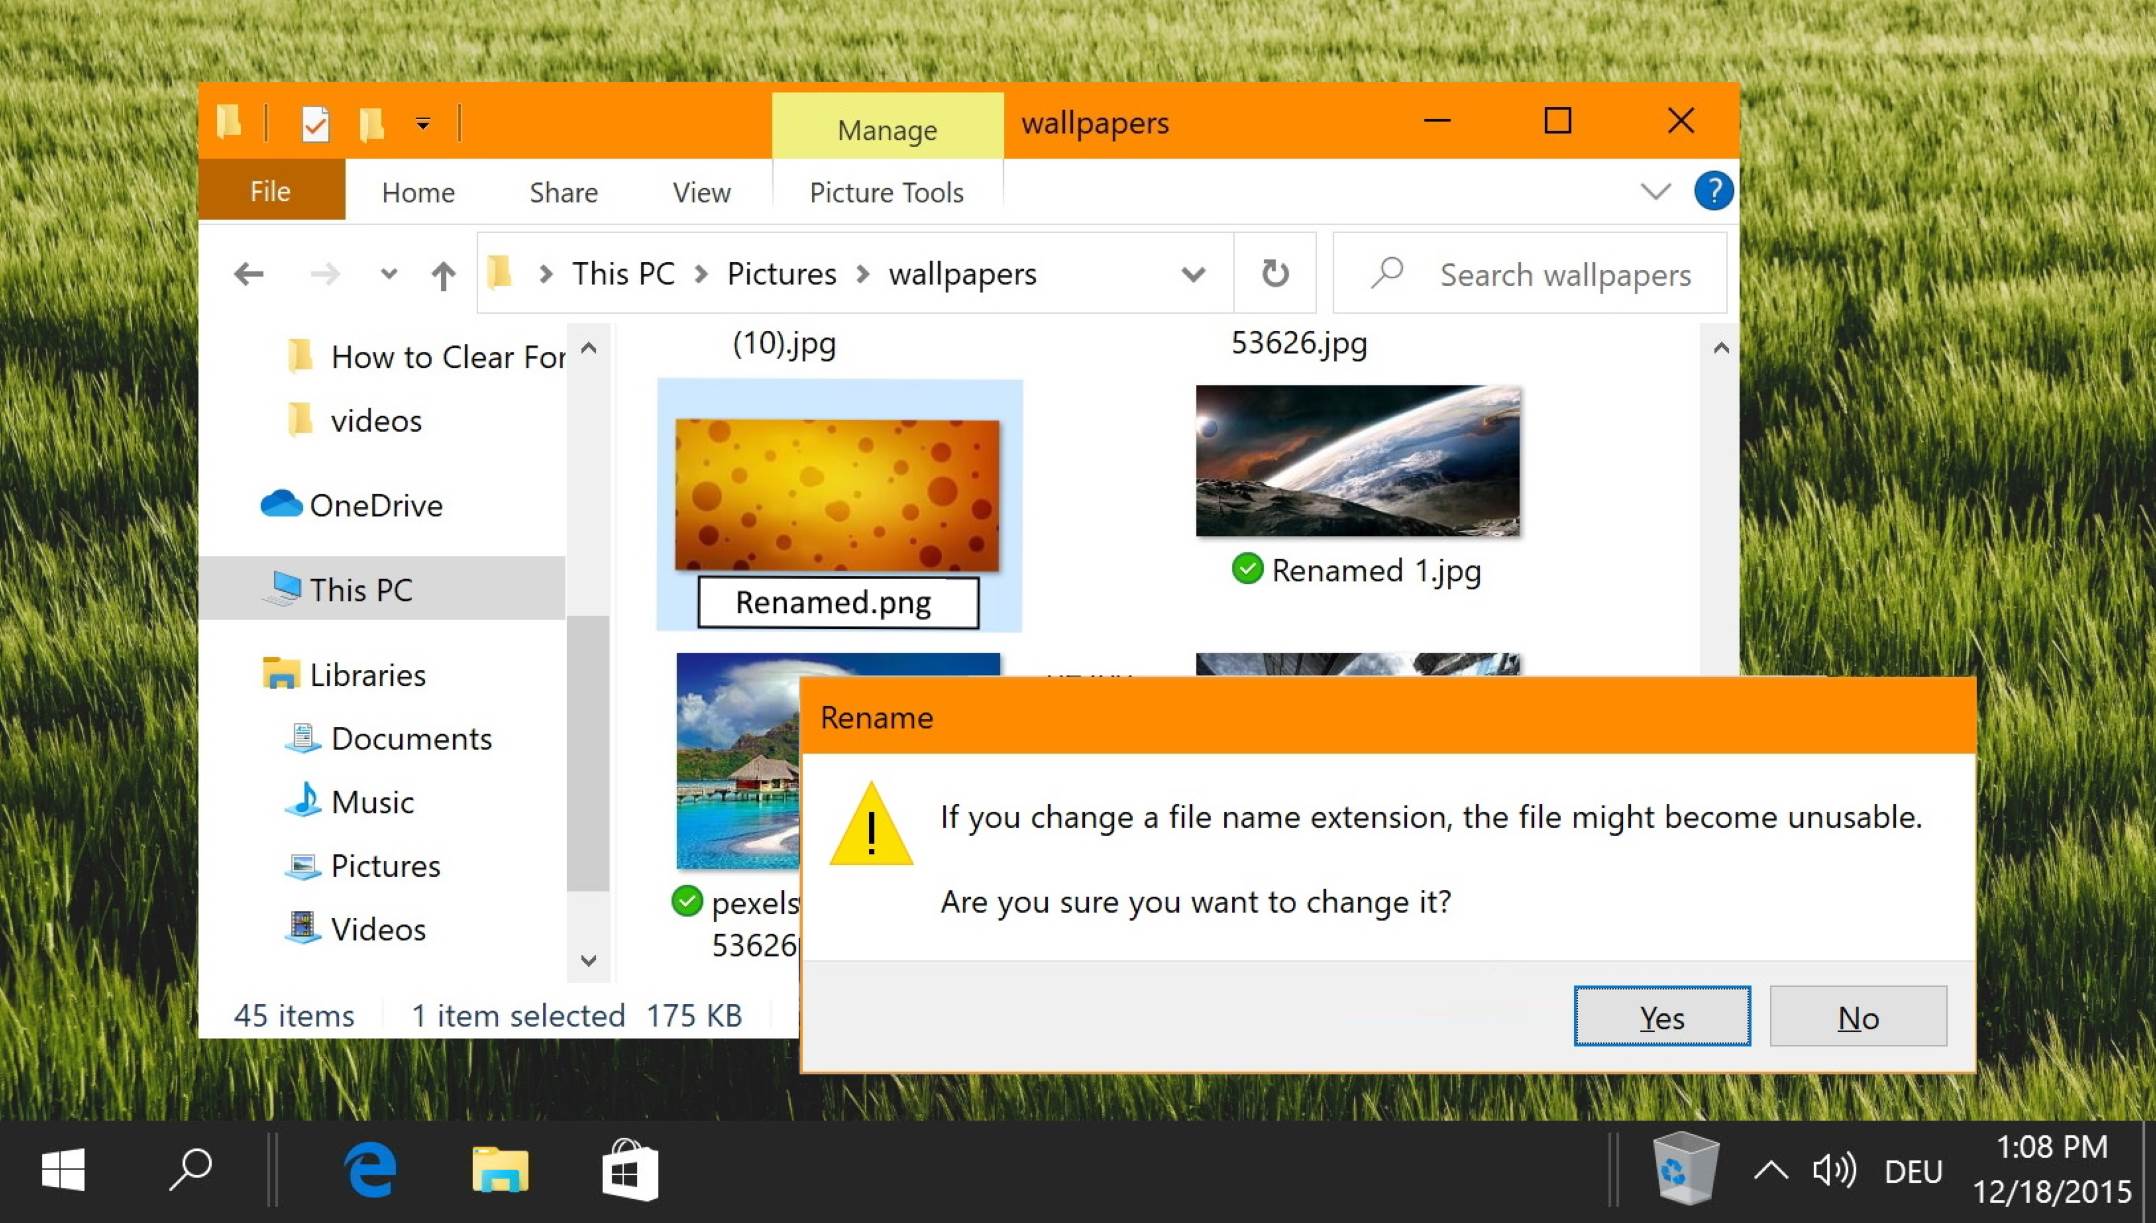
- Locate and right-click on the file you want to change the file type for. From the context menu, select “Properties”.
- In the “Properties” window that appears, go to the “General” tab.
- Under the “Type of file” section, you will see the current file type and its associated program.
- Click on the “Change” button next to the file type.
- A new window will open, presenting you with a list of suggested programs to open the file type. If the program you want to use is listed, you can select it. If not, click on the “More apps” option at the bottom of the list.
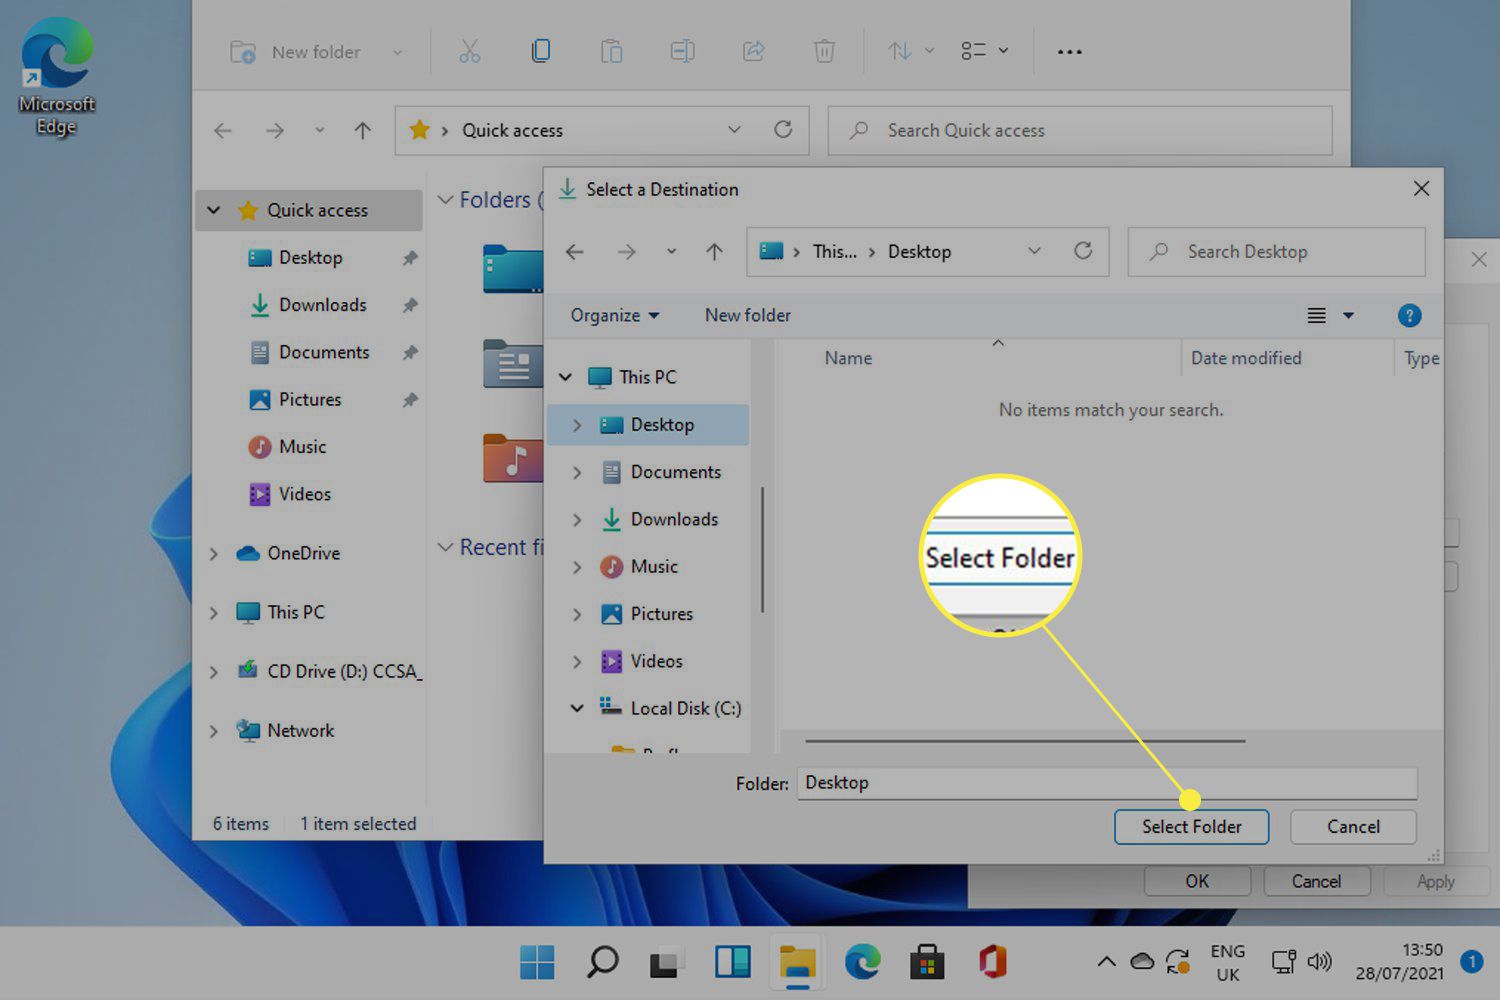
- From the “Open with” window, you can either choose from the available programs or click on “Look for another app on this PC” to browse for the desired program.
- If you selected a suggested program or located one manually, make sure to check the box that says “Always use this app to open .[file extension] files” to set the new program as the default for this file type.
- Click “OK” to confirm the changes. The file type should now be associated with the selected program.
It’s important to note that changing the file type using File Explorer only affects the specific file’s association. If you want to change the default program for all files of a particular type, you can do so through the Default Programs feature, which we will discuss in the next section.
Now that you know how to change file types using File Explorer, you can easily customize which program opens each file type on your Windows 10 device. Let’s move on to the next section to explore the Default Programs method!
Section 3: Changing File Type Using Default Programs
If you want to change the default program associated with a specific file type for all files on your Windows 10 device, using the Default Programs feature is the way to go. This method allows you to globally modify file associations and ensures that all files of a particular type open with your desired program. Follow the steps below to change the file type using Default Programs:
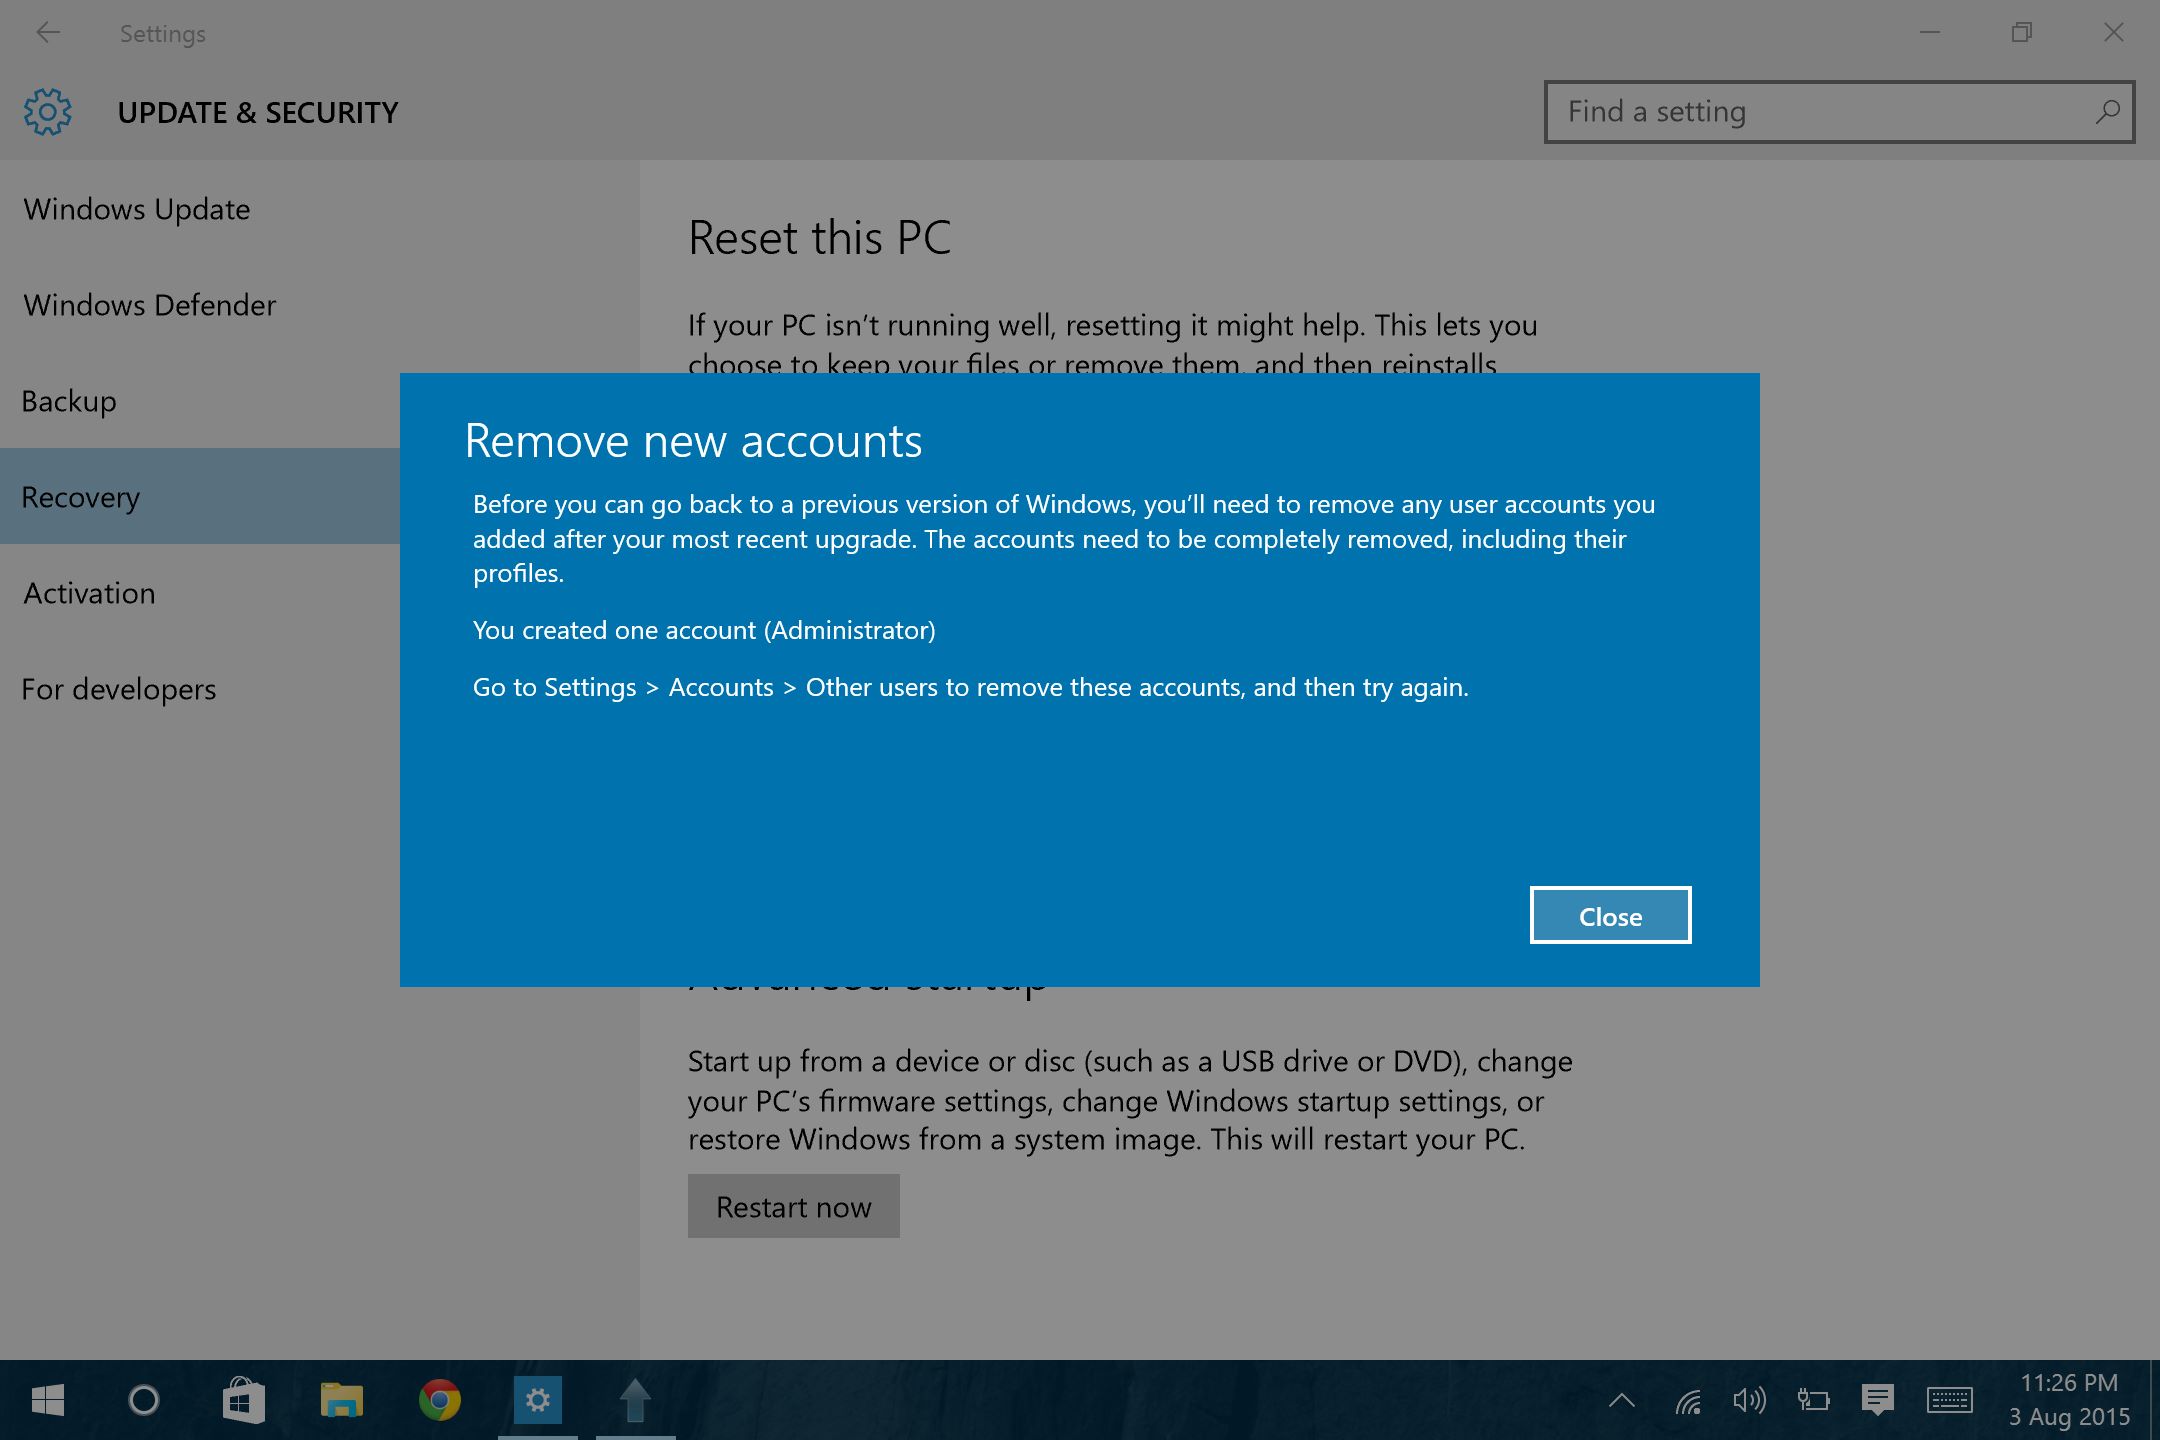
- Open the “Settings” app on your Windows 10 device, either by clicking on the “Start” menu and selecting the gear icon or by using the Windows key + I keyboard shortcut.
- In the “Settings” app, click on the “Apps” category.
- From the left sidebar, click on “Default apps”.
- Scroll down and click on the “Choose default apps by file type” option.
- A list of file extensions and their current defaults will be displayed. Scroll through the list or use the search bar to find the file type you want to modify.
- Once you’ve located the file type, click on the current default app next to it.
- A dropdown menu will appear, presenting you with a list of available apps. Select the desired program from the list to set it as the new default for that file type.
- After selecting the new default app, close the “Settings” app.
Now, all files with the modified file type will open using the newly set default program. This method is especially useful when you want to change the associations for common file types such as .docx, .xlsx, .jpg, and others.
It’s important to note that changing file types using Default Programs affects the entire system, so exercise caution when making these modifications. Ensure that the selected program is suitable and compatible with the file type to avoid any issues.
Now that you know how to change file types using Default Programs, you can effortlessly manage the default programs for various file types on your Windows 10 device. In the next section, we’ll explore an advanced method that allows for more intricate changes using the Registry Editor.
Section 4: Changing File Type Using Registry Editor
For users who are comfortable navigating the inner workings of their Windows 10 device, making more advanced changes to file associations can be done through the Registry Editor. The Registry Editor allows for intricate modifications to file types and their associated programs. However, it’s crucial to exercise caution when using this method, as any incorrect changes to the registry can potentially harm the system. Follow the steps below to change the file type using the Registry Editor:
- Open the Registry Editor by pressing the Windows key + R on your keyboard, then typing “regedit” without the quotation marks and pressing Enter.
- In the Registry Editor window, navigate to the following location:
HKEY_CURRENT_USER\Software\Microsoft\Windows\CurrentVersion\Explorer\FileExts
- Under the FileExts folder, locate the folder that corresponds to the file type you want to modify. For example, if you want to change the file type for .txt Text documents, find the “.txt” folder.
- Right-click on the folder and select “Delete”. Confirm the deletion when prompted.
- Close the Registry Editor.
- Next, locate a file of the desired file type on your computer.
- Right-click on the file and select “Properties”.
- In the Properties window, click on the “Change” button next to the “Opens with” section.
- Select the desired program from the list or click on “More apps” to choose from additional options.
- Ensure that the box that says “Always use this app to open .[file extension] files” is checked.
- Click “OK” to save the changes.
By following these steps, the file type association for the selected file type should now be modified, and the selected program will open the corresponding files. It’s essential to be cautious when making changes through the Registry Editor, as incorrect modifications can potentially cause system instability or other issues. Be sure to back up your registry before making any changes.
The Registry Editor allows for deeper customization of file associations, but it should be used with care. Only make changes if you’re confident in what you’re doing and understand the potential risks involved.
Now that you’re familiar with changing file types using the Registry Editor, you have an advanced method at your disposal to fine-tune file associations on your Windows 10 device. In the next section, we’ll discuss some common issues that may arise during the process and how to troubleshoot them.
Section 5: Troubleshooting Common Issues
While changing file types in Windows 10 is a relatively straightforward process, you may encounter a few common issues along the way. In this section, we’ll address these issues and provide some troubleshooting steps to help you overcome them:
Issue 1: Incorrect file associations: After changing the file type, you may find that the file still opens with the previous program or a different program altogether. To fix this issue, try the following steps:
- Right-click on the file and select “Open with”.
- Choose the desired program from the list or click on “More apps” to find the correct one.
- Make sure to check the box that says “Always use this app to open .[file extension] files”.
Issue 2: Missing file type in Default Programs: When trying to change the default program for a specific file type through the Default Programs feature, you may find that the file type is not listed. To resolve this issue:
- Right-click on a file of the desired type and select “Properties”.
- In the “General” tab, click on the “Change” button next to the file type.
- Choose the desired program from the list or click on “More apps” to locate it on your computer.
- Ensure that the box that says “Always use this app to open .[file extension] files” is checked.
Issue 3: Registry modifications not taking effect: If you made changes to file associations through the Registry Editor but they are not being applied, try restarting your computer. Sometimes, a system restart is required for the changes to take effect.
By following these troubleshooting steps, you should be able to resolve the most common issues when changing file types in Windows 10. If you encounter any other problems or need further assistance, don’t hesitate to consult online resources or seek help from Windows support forums.
Now that you’re equipped with troubleshooting knowledge, you can navigate through any obstacles that may arise as you modify file types on your Windows 10 device.
Conclusion
Changing file types in Windows 10 allows you to customize how different types of files are opened and associated with specific programs. Whether you prefer a simple approach using File Explorer, modifying defaults with Default Programs, or making advanced changes through the Registry Editor, Windows 10 offers various methods to suit your needs.
Understanding file types and their associations is crucial in managing your files effectively. With the ability to change file types, you can ensure that files open with the desired programs and take full advantage of their features and functionalities.
Throughout this article, we’ve covered the step-by-step process for changing file types using File Explorer, the Default Programs feature, and the Registry Editor. Each method offers its unique level of customization, allowing you to tailor your file associations to your specific requirements.
While making changes to file types, it’s important to exercise caution and be aware of potential risks. Incorrect modifications can lead to compatibility issues or system instability. It’s always a good practice to back up your system or registry before making any changes.
Additionally, we’ve highlighted some common issues that may arise during the file type-changing process and provided troubleshooting steps to help you overcome them. By following these troubleshooting tips, you can navigate any obstacles that may occur and ensure a smooth experience when modifying file types in Windows 10.
With the knowledge gained from this article, you are now well-equipped to customize your file associations in Windows 10. Whether you want to open files with different programs, manage default settings, or dive into the advanced world of the Windows Registry, you have the tools and understanding to take control of your file types.
So, go ahead and explore the possibilities. Make your files work for you by changing their types in Windows 10!