Introduction
Customizing the look and feel of your tablet is a great way to personalize your device and make it truly your own. One of the easiest and most visually impactful ways to customize your tablet is by changing the app icons. By replacing the default icons with custom-designed ones, you can give your tablet a fresh and unique appearance.
Changing app icons not only adds a touch of personalization to your tablet, but it can also improve usability by making it easier to identify and locate your favorite apps. Whether you want to give your tablet a sleek and minimalistic look or add a pop of color and creativity, changing app icons allows you to tailor the visual experience to your preferences.
In this guide, we will walk you through the process of changing app icons on your tablet. We will cover the necessary steps, from installing a custom launcher to choosing and applying new icons. We will also provide troubleshooting tips and additional customization options to help you make the most of your tablet’s appearance.
Please note that the process may vary slightly depending on the make and model of your tablet and the operating system it runs on. However, the general steps discussed here should be applicable to most Android-based tablets.
Without further ado, let’s dive into the exciting world of app icon customization and transform the look of your tablet!
Step 1: Installing a Custom Launcher
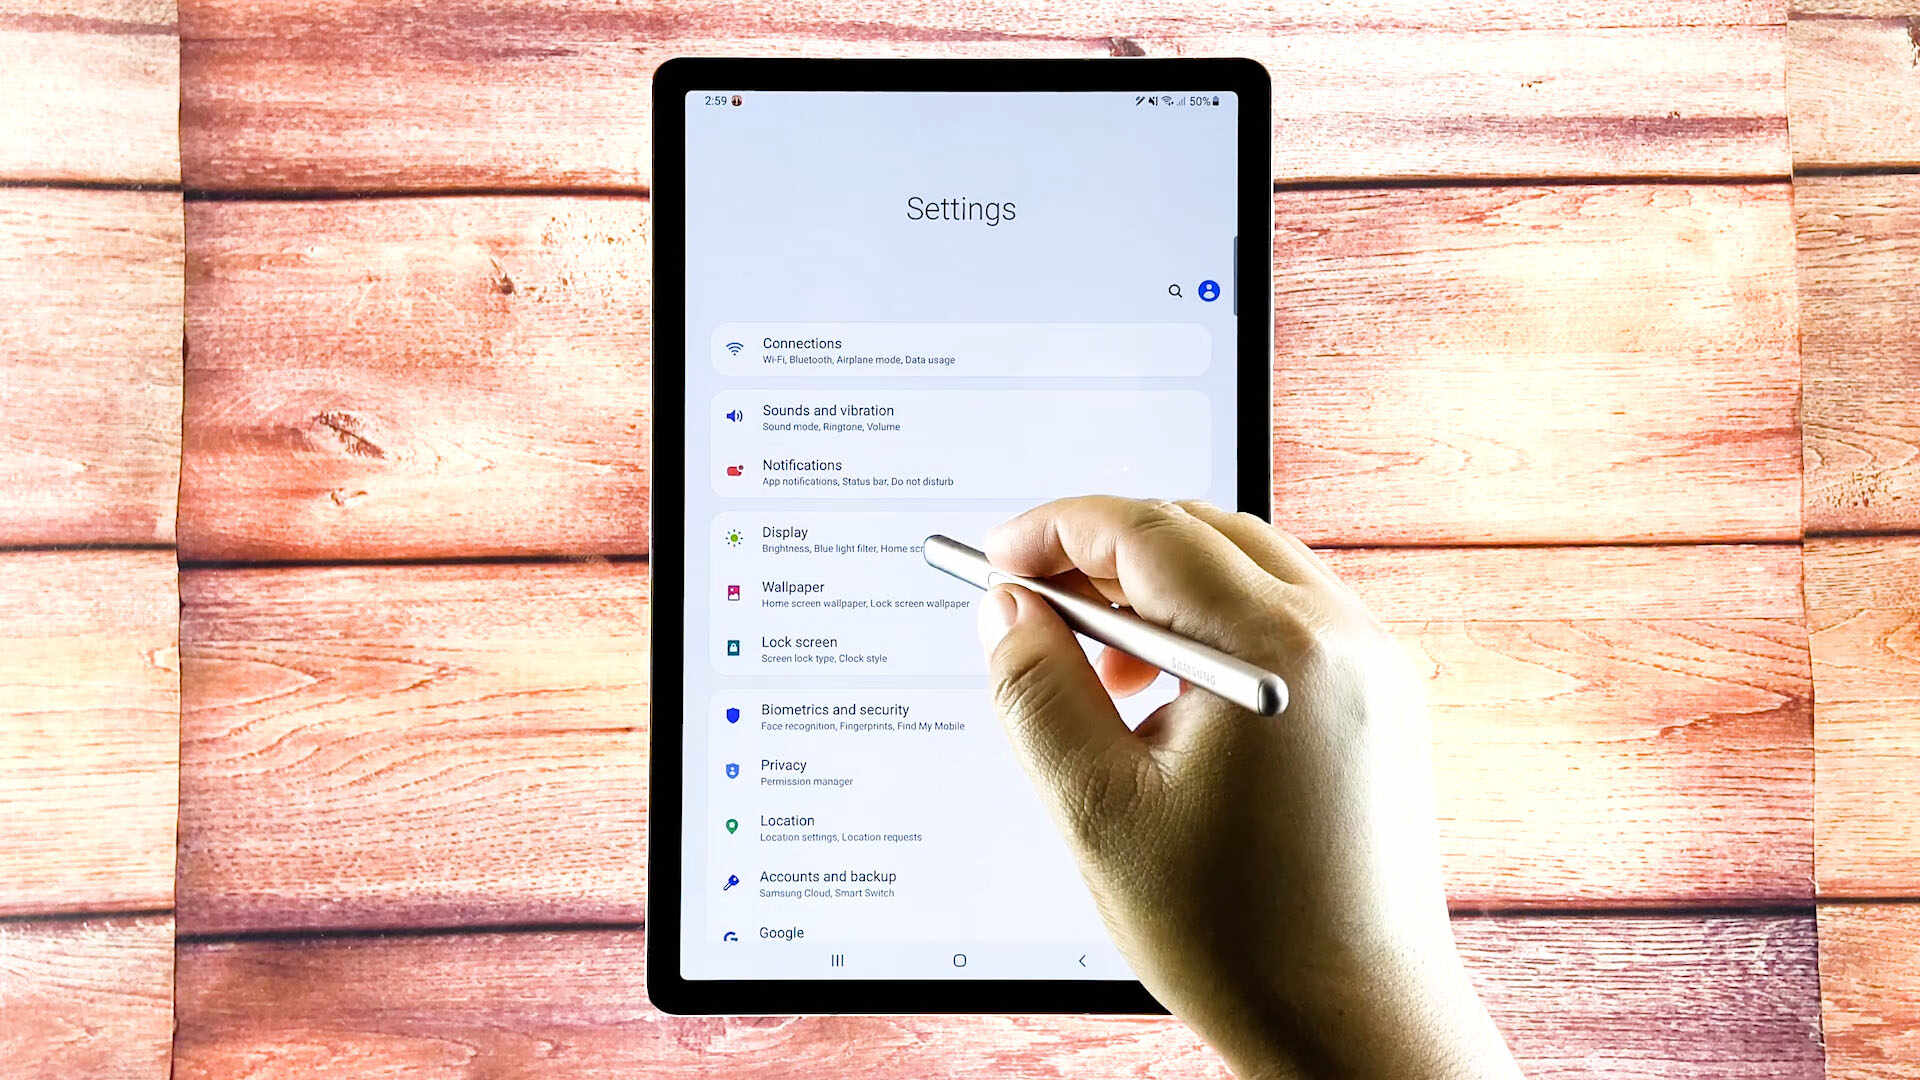
The first step in changing app icons on your tablet is to install a custom launcher. A launcher is the interface that controls the home screen, app drawer, and overall user experience on your Android-based tablet. While most tablets come with a default launcher, custom launchers offer additional customization options, including the ability to change app icons.
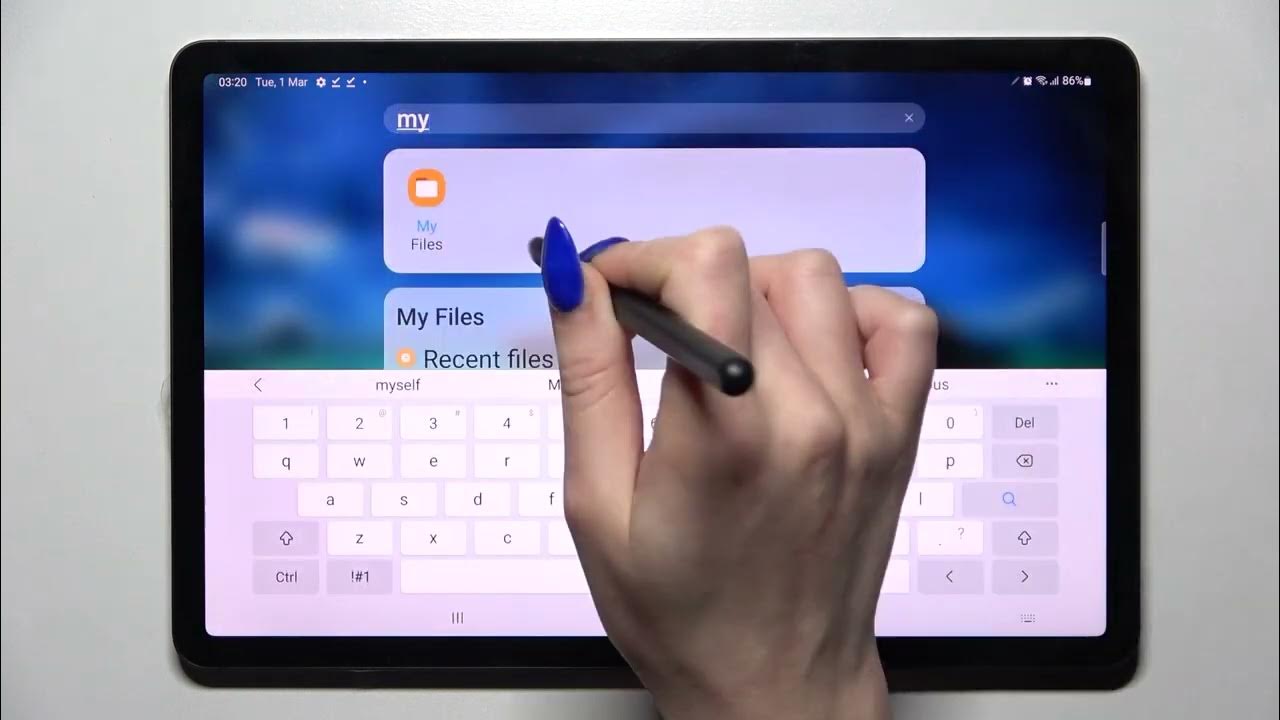
There are numerous custom launchers available in the Google Play Store, each with its own unique features and design. Some of the popular choices include Nova Launcher, Apex Launcher, and Microsoft Launcher. To install a custom launcher, follow these steps:
- Open the Google Play Store on your tablet.
- Search for the desired custom launcher by typing its name in the search bar.
- Select the launcher from the search results.
- Tap on the “Install” button to begin the installation process.
- Once the installation is complete, press the home button on your tablet to open the launcher selection menu.
- Select the newly installed launcher from the list of available options.
- Choose “Always” or “Just once” to set the custom launcher as your default home screen.
After setting up the custom launcher as your default home screen, you will notice a change in the overall look and feel of your tablet. The default icons may be replaced with a new set of icons or have a different layout and design. Don’t worry; we will cover how to change the app icons specifically in the next steps.
Installing a custom launcher is a straightforward process that allows you to unlock a world of customization possibilities for your tablet. With the new launcher in place, you are ready to move on to the next step and choose the perfect app icons to match your desired theme or aesthetic.
Step 2: Choosing and Downloading App Icons
Now that you have installed a custom launcher, it’s time to select and download the app icons you want to use on your tablet. There are several ways to acquire new icons, depending on your preferences and requirements.
1. Icon Packs: Icon packs are collections of app icons created by designers to provide a cohesive and unified look. These packs often include icons for popular apps, system apps, and even UI elements. You can find a wide variety of icon packs on the Google Play Store. Simply search for “icon packs” followed by your desired style or theme (e.g., minimalist, flat) and browse through the available options. Once you find an icon pack you like, download and install it on your tablet.
2. Individual Icons: If you prefer a more customized approach, you can download individual icons for specific apps. Many icon designers offer their creations for free or for a small fee on websites like Iconfinder or DeviantArt. Simply search for the app name followed by “icon” and explore the available options. Once you find an icon you like, download it to your tablet’s storage.
3. Custom Design: If you’re feeling creative, you can design your own app icons using graphic design software or online tools like Canva or Adobe Illustrator. This option allows for complete customization and ensures that your tablet reflects your unique style. Once you’re satisfied with your designs, save them on your tablet for later use.
When choosing app icons, consider the style, color scheme, and aesthetic you want to achieve. Remember that consistency is key to creating a visually pleasing look, so try to select icons that complement each other and match your desired theme.
Once you have acquired or designed the desired icons, they are ready to be applied to your tablet’s apps. In the next step, we will explore how to install and apply these icons using your custom launcher.
Step 3: Installing Icon Pack or Individual Icons
With your chosen app icons ready, it’s time to install them on your tablet. Whether you have downloaded an icon pack or individual icons, the process for installing them is fairly straightforward.
Option 1: Icon Pack Installation
If you have downloaded an icon pack from the Google Play Store or another trusted source, follow these steps to install it:
- Locate the downloaded icon pack file in your tablet’s storage.
- Tap on the file to open it.
- Depending on your custom launcher, you may be prompted to apply the icon pack immediately or directed to the launcher’s settings.
- If prompted, select “Apply” or “Set” to apply the icon pack.
- If directed to the launcher’s settings, navigate to the “Icon Settings” or “Themes” section.
- Select the downloaded icon pack from the list of available options.
- Confirm the selection to apply the icon pack to your tablet’s apps.
Your custom launcher will now replace the default app icons with the icons from the installed pack. You should see the updated icons on your tablet’s home screen and app drawer.
Option 2: Individual Icon Installation
If you have downloaded individual icons for specific apps, follow these steps to install them:
- Locate the downloaded icon files in your tablet’s storage.
- Long-press on the app you want to change the icon for.
- Select “Edit” or “Change Icon” from the context menu.
- Choose “Gallery” or “File Manager” to browse for the downloaded icon files.
- Select the desired icon file and confirm the selection.
The individual icon will now replace the default icon for the selected app. Repeat the process for each app you want to customize.
Installing icon packs or individual icons allows you to give your tablet a unique and personalized look. In the next step, we will explore how to change app icons using your custom launcher’s settings.
Step 4: Changing App Icons with Custom Launcher
Now that you have installed your desired icon pack or individual icons, it’s time to apply them to the apps on your tablet using your custom launcher. The exact steps may vary depending on the launcher you are using, but the general process remains similar across different launchers.
To change app icons with a custom launcher, follow these steps:
- Long-press on the app you want to change the icon for.
- Select “Edit” or “Change Icon” from the context menu.
- Depending on your launcher, you may be prompted to choose a new icon from a preinstalled set or browse for a custom icon.
- If you have installed an icon pack, you may have the option to select icons from the pack directly.
- Browse through the available options and select the desired icon for the app.
- Confirm the selection to apply the new icon.
Repeat the above steps for each app you want to customize. With each icon change, the app will now display the new icon you have chosen, reflecting your desired theme or aesthetic.
Some custom launchers may offer additional customization options, such as the ability to resize icons, change icon labels, or apply custom shortcuts. Explore your launcher’s settings to discover these extra features and further personalize your tablet’s app icons.
It’s worth noting that changing app icons with a custom launcher does not affect the functionality or performance of the apps themselves. It simply alters the visual representation of the app on your tablet’s home screen and app drawer.
Now that you have customized the app icons on your tablet, let’s move on to the next step and explore how you can organize and further customize the app layout on your home screen.
Step 5: Organizing and Customizing App Icons
Now that you have changed the app icons on your tablet, it’s time to organize and customize their layout on your home screen. This step will help you create a more streamlined and efficient user experience, allowing you to easily access your most frequently used apps.
Here are some tips to help you organize and customize your app icons:
- Create Folders: Group similar apps together by creating folders on your home screen. Long-press on an app icon, drag it over another app icon, and release to create a folder. You can then give the folder a name and add more apps to it. This way, you can reduce clutter and quickly locate apps within specific categories.
- Arrange Apps by Usage: Position your frequently used apps in easily accessible locations, such as the bottom dock or the first page of your home screen. This way, you can quickly access them without the need for scrolling or searching.
- Remove Unwanted Apps: If there are apps that you rarely or never use, consider removing them from your home screen to declutter and simplify your tablet’s interface. You can still access these apps through the app drawer or by using the search function.
- Experiment with Widgets: Widgets are interactive elements that provide quick access to app features or display relevant information. Explore the widget options provided by your custom launcher or install additional widget apps from the Google Play Store to enhance your home screen’s functionality and aesthetics.
- Customize Wallpaper and Themes: To complement your personalized app icons, consider changing your tablet’s wallpaper or theme. Many custom launchers offer built-in theme options or allow you to apply custom wallpapers. Experiment with different colors, patterns, and styles to create a visually cohesive and appealing home screen.
By organizing and customizing your app icons, you can optimize your tablet’s layout to suit your workflow and preferences. Whether you prefer a clean and minimalistic look or a vibrant and expressive design, the power is in your hands to create a home screen that truly reflects your personality.
Now that your app icons are organized and customized, let’s move on to the final step, where we will provide troubleshooting tips and additional considerations to help you make the most of your app icon customization journey.
Step 6: Troubleshooting and Tips
While changing app icons on your tablet is a relatively straightforward process, you may encounter some challenges along the way. In this step, we will address some common troubleshooting issues and provide helpful tips to ensure a smooth customization experience.
1. Incompatibility: It’s important to note that not all custom launchers or icon packs are compatible with every Android tablet. Before downloading and installing, ensure that the launcher and icon pack you choose are compatible with your specific tablet model and operating system version. Check the app’s description or user reviews in the Google Play Store for any known compatibility issues.
2. Missing Icons: If you have installed an icon pack but some app icons are not changing, it might be due to the specific app not being supported by the pack. In this case, you can manually change the icon by using the individual icon installation method mentioned in earlier steps.
3. Icon Size: Different launchers may have variations in how they handle icon sizes. If you notice that some icons appear larger or smaller than others, you can often adjust their size within the launcher’s settings. Look for an option to modify icon size or grid size and make the necessary adjustments to achieve a consistent look.
4. Backup Your Setup: If you spend a significant amount of time customizing your app icons and home screen layout, consider backing up your configuration. Some custom launchers offer a backup feature that allows you to save your customized setup to quickly restore it in case of device resets or launcher re-installations.
5. Regular Updates: Keep an eye out for updates to your custom launcher and icon pack. Developers often release updates to enhance performance, fix bugs, or introduce new features. By keeping your apps up to date, you can ensure a seamless and optimized experience as you continue to customize your tablet.
6. Experiment and Have Fun: Don’t be afraid to experiment with different icon packs, wallpapers, and customization options. The beauty of personalizing your tablet is that you can constantly change and refine your setup according to your evolving tastes and preferences.
With these troubleshooting tips and helpful suggestions, you are well-equipped to navigate any challenges and make the most of your app icon customization journey.
Congratulations on successfully changing and customizing the app icons on your tablet! Enjoy the new look and feel of your device, tailored to your unique style and preferences.
Conclusion
Customizing the app icons on your tablet is a fantastic way to add a personal touch and make your device truly unique. By following the steps outlined in this guide, you have learned how to change app icons on your tablet using a custom launcher, and how to select and download icon packs or individual icons to suit your desired theme or aesthetic.
We explored the process of installing icon packs and individual icons, and how to apply them to your apps using your custom launcher. We also discussed the importance of organizing and customizing your app icons to create a streamlined and visually appealing home screen layout.
Throughout the process, it’s essential to keep in mind some troubleshooting tips and helpful suggestions. These include checking for compatibility, manually changing icons if needed, adjusting icon sizes, backing up your setup, and embracing creativity and experimentation.
Remember, while app icon customization is a fun and creative process, it is just one aspect of personalizing your tablet. Consider exploring other customization options such as wallpapers, widgets, and themes to create a cohesive and visually captivating user experience.
Now it’s time to unleash your creativity and make your tablet uniquely yours. Have fun exploring various icon packs, experimenting with different layouts, and creating a personalized home screen that reflects your style and preferences.
Enjoy the visual transformation of your tablet and the enhanced user experience that comes with customized app icons. Embrace the journey of personalization and make your tablet a true reflection of your individuality.