Introduction
Welcome to the wonderful world of canning! Preserving food has been a long-standing tradition, and canning allows us to enjoy the flavors of our favorite fruits and vegetables all year round. If you’re a salsa lover like me, you’ll be thrilled to know that you can easily can your own salsa using an electric pressure cooker.
Making your own salsa gives you control over the ingredients, allowing you to tailor the flavors to your liking. Plus, the satisfaction of growing your own produce and creating a delicious homemade salsa is truly unparalleled.
In this guide, we’ll walk you through the step-by-step process of canning salsa in an electric pressure cooker. It may sound intimidating at first, but once you understand the basic principles, you’ll see how easy and rewarding it can be.
Before we dive in, it’s important to note that canning should be done with caution to ensure food safety. It’s essential to follow the recommended guidelines and safety instructions provided by reputable sources such as the National Center for Home Food Preservation or your local Cooperative Extension Service.
Now, let’s gather the necessary equipment and ingredients to get started on our salsa-canning adventure!
What You’ll Need
Before you begin canning salsa in your electric pressure cooker, make sure you have the following equipment and ingredients on hand:
- Fresh produce: Choose ripe tomatoes, onions, bell peppers, jalapenos, and any other vegetables or fruits you’d like to include in your salsa. Opt for high-quality ingredients to ensure the best flavor.
- Canning jars: Depending on the size of your salsa batch, you’ll need pint or quart-sized canning jars. Make sure they are in good condition without any cracks or chips.
- Canning lids and bands: These are essential for creating a tight seal on the jars during the canning process. Use brand new lids for each batch, but bands can be reused as long as they’re in good shape.
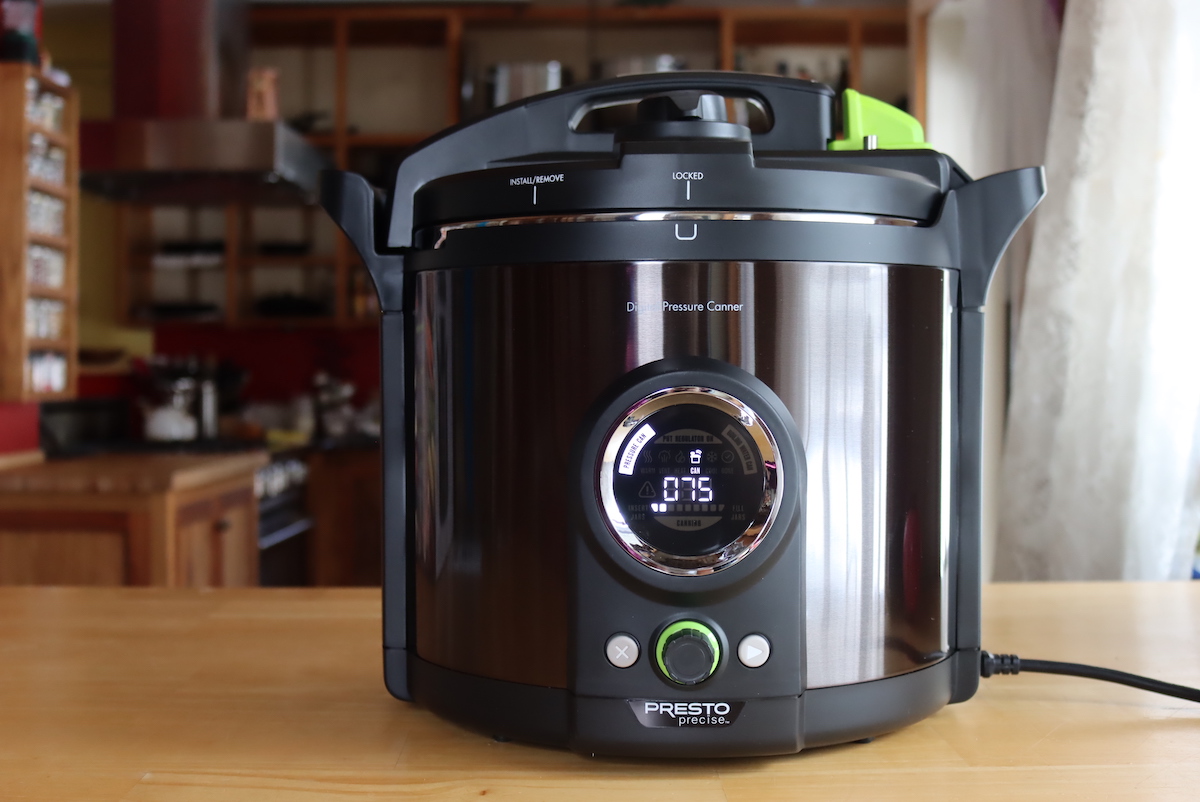
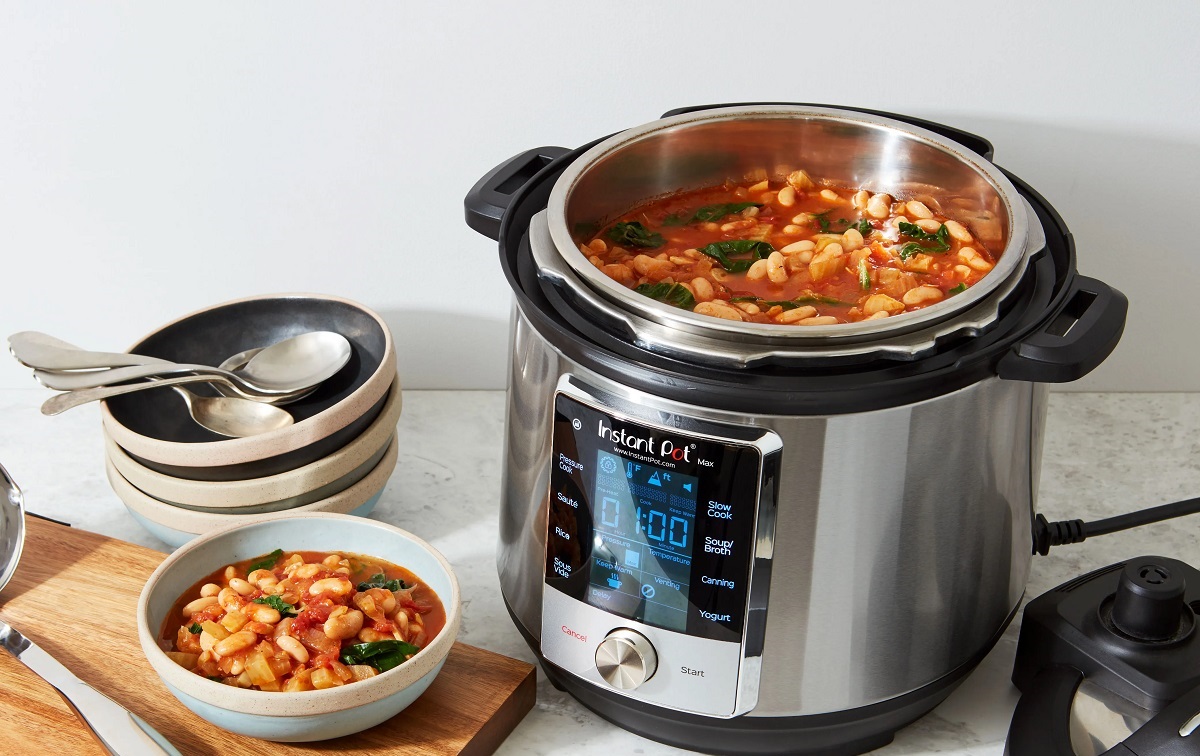
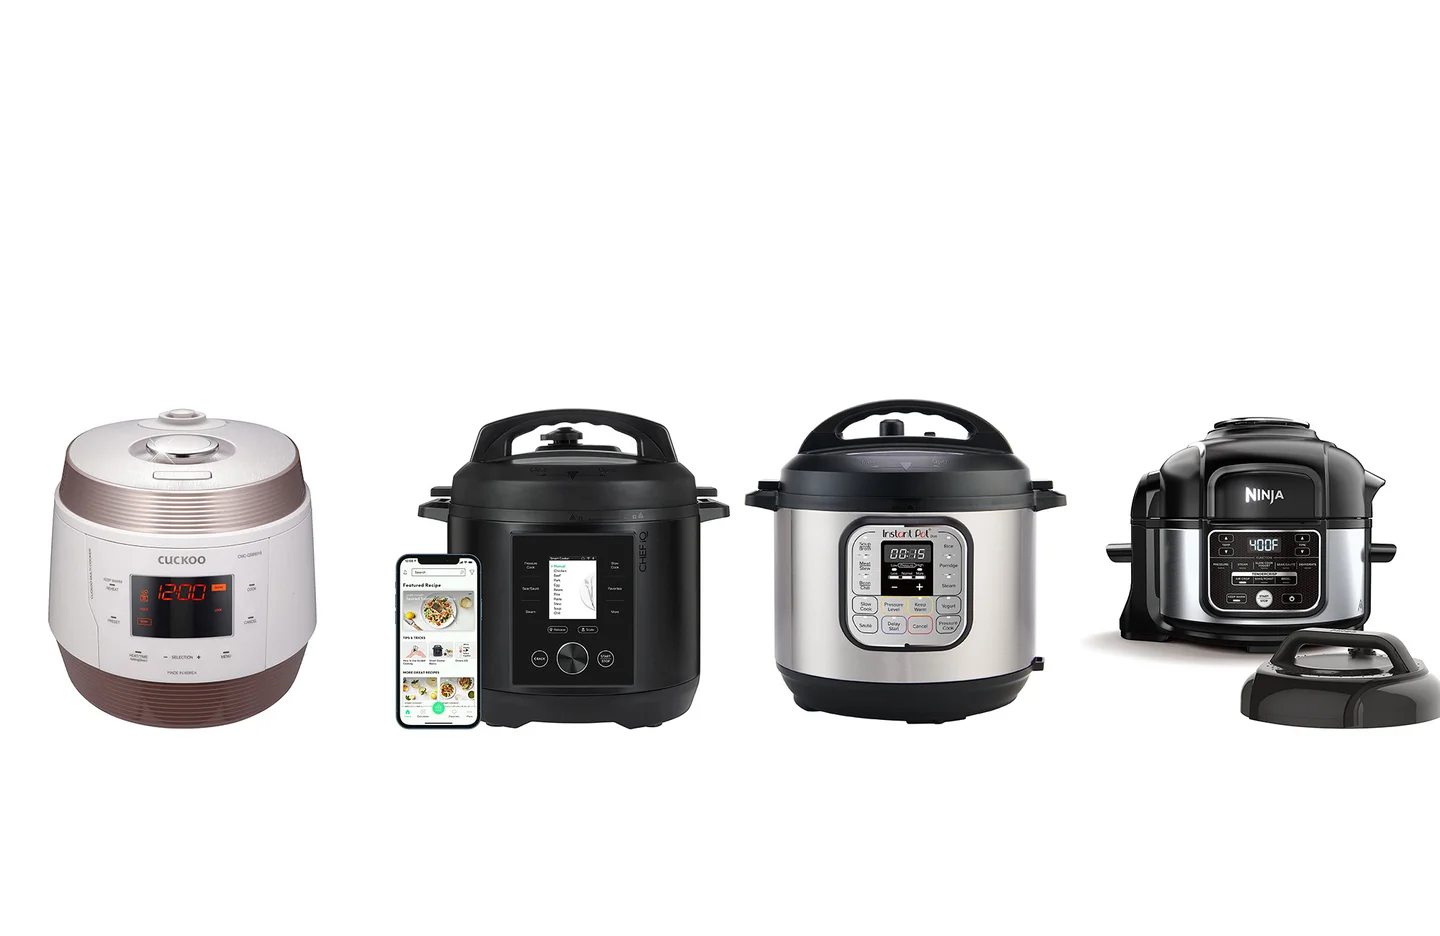
- Electric pressure cooker: Ensure that your pressure cooker is in good working condition and that you have the necessary parts, such as the sealing ring and pressure valve.
- Canning accessories: Invest in a few basic canning tools like a jar lifter, canning funnel, and a bubble remover/headspace tool. These will make the process much easier and safer.
- Spices and seasonings: Gather ingredients like garlic, cilantro, cumin, salt, and vinegar to add flavor and enhance the taste of your salsa.
- Knife and cutting board: You’ll need these for chopping and preparing your ingredients.
- Measuring cups and spoons: Accurate measurements are vital to ensure the right balance of flavors in your salsa.
- Clean towels and dishcloths: Keep these on hand for wiping down your work surface, jars, and lids to maintain cleanliness throughout the process.
By having all these tools and ingredients ready, you’ll be well-prepared to can your own delicious salsa in no time!
Step 1: Prepare the Ingredients
The first step in canning salsa is to prepare your ingredients. Start by gathering all the fresh produce you’ll be using. Wash the vegetables thoroughly under cool running water to remove any dirt or debris.
Next, it’s time to chop and dice the vegetables to your desired size. Keep in mind that smaller pieces will result in a smoother salsa, while larger pieces will give it a chunkier texture. Take care when handling hot peppers, especially jalapenos, as their oils can irritate the skin and eyes. Consider wearing gloves to protect yourself.
Once your vegetables are prepped, it’s time to tackle the tomatoes. Many salsa recipes call for peeled tomatoes. To easily remove the skins, blanch the tomatoes by placing them in boiling water for about 30 seconds, then transfer them to ice water. The skins will then easily peel off.
Now it’s time to get creative with your salsa recipe. Add your chopped vegetables to a large mixing bowl and season the mixture with your preferred combination of spices, such as salt, pepper, cumin, garlic powder, or cilantro. Don’t be afraid to experiment with different flavors and spice levels to find the perfect balance.
After seasoning, give the ingredients a thorough mix, ensuring that all the flavors are evenly distributed. Take a moment to taste the mixture and make any necessary adjustments to suit your personal preferences.
Now that your salsa is prepared and seasoned, you’re ready to move on to the next step of the canning process. Be sure to clean up your workspace and utensils before proceeding to maintain a hygienic environment for your canning adventure.
Step 2: Sterilize Jars and Lids
Properly sterilizing your canning jars and lids is crucial to ensure the safety and longevity of your canned salsa. This step helps eliminate bacteria and ensures a clean environment for your homemade salsa.
Start by selecting a large pot or canner that is deep enough to fully immerse your jars in water. Place a rack at the bottom of the pot to prevent direct contact between the jars and the heat source. Alternatively, you can use a specialized canning pot with a built-in rack.
Next, carefully arrange the jars and lids on the rack, ensuring they are upright and not touching each other. Fill the pot with enough water to cover the jars completely, leaving about an inch of water above the jars.
Bring the water to a rolling boil and let the jars boil for at least 10 minutes. If you live at a high altitude, you may need to adjust the processing time according to the guidelines provided by reputable sources like the National Center for Home Food Preservation.
While the jars are boiling, you can prepare a simmering pot of water separately to heat the lids. It’s important not to boil the lids, as this can damage the seal. Instead, keep the water in the simmering pot at a temperature just below boiling.
After the jars have been sterilized for the recommended time, carefully remove them from the water using jar tongs or heat-resistant gloves. Place them on a clean towel or a heatproof surface to dry.
Retrieve the lids from the simmering water using a magnetic lid lifter or a pair of tongs. Place the lids on a clean towel to dry, ensuring that the sealing compound on the underside of each lid remains intact.
Now that your canning jars and lids are properly sterilized and dried, you’re ready to move on to the next step of the salsa canning process. Remember to handle the jars and lids carefully to maintain their cleanliness and seal.
Step 3: Cook the Salsa
Now that your ingredients are prepared and your jars are sterilized, it’s time to cook the salsa. This step involves combining all the ingredients in a large pot and simmering them to develop the flavors and create a delicious salsa.
Begin by transferring the prepared vegetables and seasonings to a large, heavy-bottomed pot. Place the pot on the stove over medium heat and bring the mixture to a gentle simmer.
Allow the salsa to cook for about 10 to 15 minutes, stirring occasionally to prevent sticking or burning. This cooking time helps meld the flavors together and ensures that any excess liquid is cooked off, resulting in a thicker salsa.
If desired, you can adjust the seasonings at this stage, such as adding more salt or a touch of sugar to balance the flavors. Taste a small amount of the salsa and make any necessary adjustments to suit your preferences.
During the cooking process, keep an eye on the consistency and thickness of the salsa. If you prefer a chunkier salsa, cook it for a shorter amount of time. For a smoother texture, cook it for a bit longer, or use an immersion blender to blend it to your desired consistency.
It’s important to note that the salsa should be hot throughout to ensure effective canning. This step helps to eliminate possible bacteria and ensure that the salsa is safe to be preserved in jars.
Once the salsa is cooked to your desired consistency and the flavors have melded together, turn off the heat and prepare to move on to the next step of the salsa canning process. Keep the pot covered to preserve the heat of the salsa until you’re ready to fill the jars.
Step 4: Fill the Jars
Now that your salsa is cooked and bursting with flavor, it’s time to fill your sterilized jars. This step ensures that your salsa is properly portioned and ready for canning.
Start by carefully ladling the hot salsa into each jar, leaving a ½-inch headspace at the top. Headspace refers to the space between the top of the food and the rim of the jar. This allowance is important to create a proper seal during the canning process.
Use a canning funnel to guide the salsa into the jars, preventing spills and messes. If necessary, use a clean spatula or bubble remover tool to release any trapped air bubbles by gently pressing it against the inside walls of the jar.
After filling the jars, wipe the rims clean with a damp cloth or paper towel to remove any residue or salsa that could hinder a proper seal. Ensuring a clean and dry rim is crucial for a successful canning process.
Take a lid from your sterilized supply, ensuring that the sealing compound is intact. Place the lid on top of the jar, and then screw the band on snugly but not excessively tight. This allows air to escape during processing while still allowing for a secure seal.
Repeat this process for each jar until all of your salsa has been portioned and securely capped. As you work, make sure to position the filled jars on a clean towel or heatproof surface to protect your countertop and avoid thermal shock.
Now that your jars are filled with tantalizing salsa and properly sealed, you’re ready for the next step in the canning process. It’s time to carefully transfer the jars into the electric pressure cooker for processing.
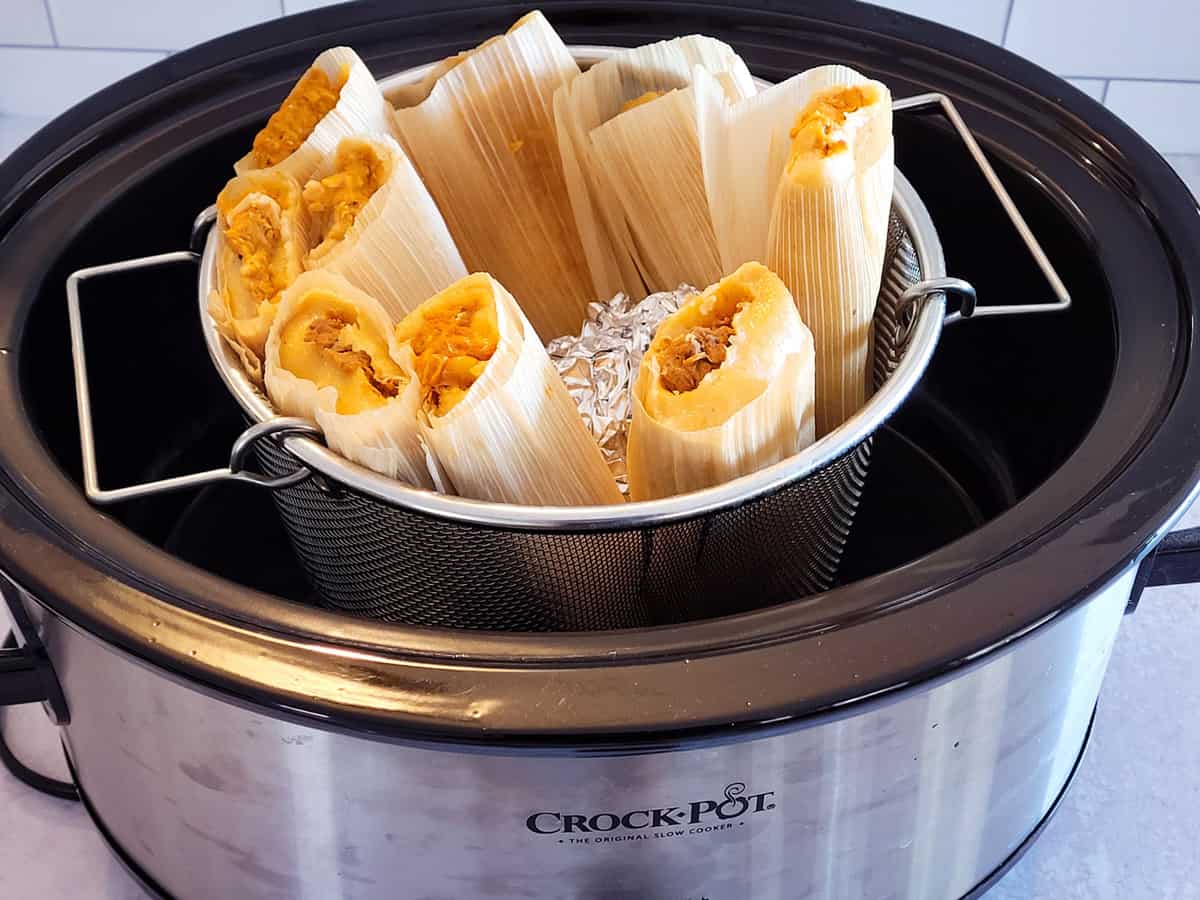
Step 5: Process the Jars in the Electric Pressure Cooker
With your filled and sealed salsa jars at the ready, it’s time to harness the power of your electric pressure cooker to process and preserve the salsa. The pressure cooker will create a high-temperature, high-pressure environment that ensures the salsa is safely preserved and extends its shelf life.
Start by carefully arranging the filled jars on the rack inside the electric pressure cooker, ensuring they are upright and not touching each other. Make sure to follow the manufacturer’s instructions for your specific pressure cooker model.
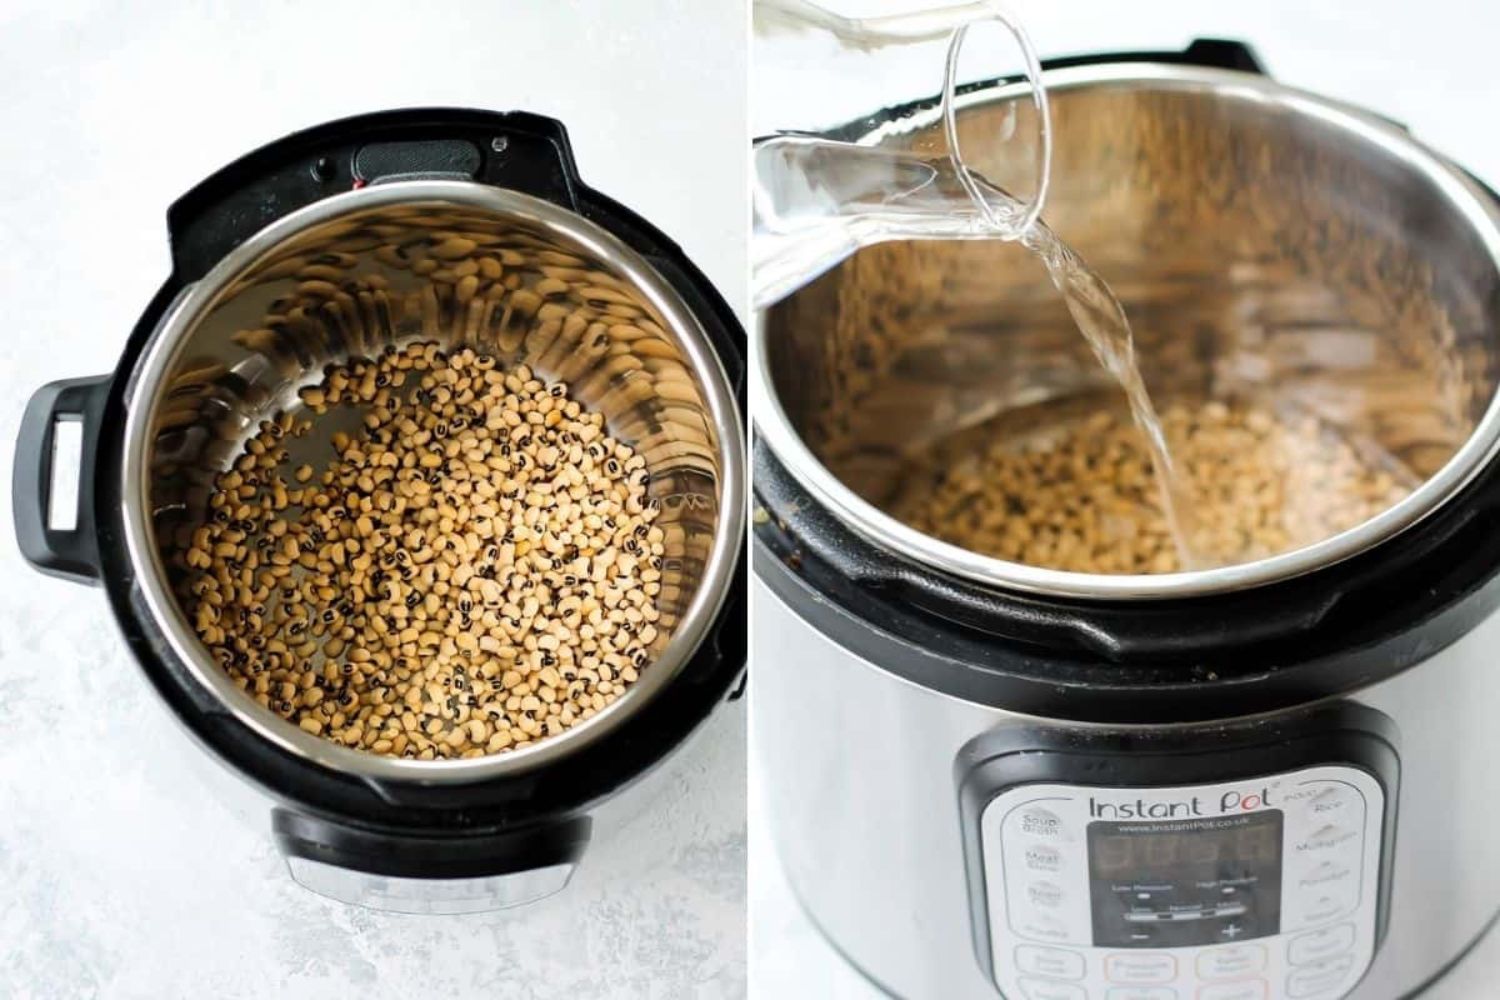
Add the recommended amount of water to the pressure cooker, typically around 2 to 3 inches. The water acts as a heat conductor, facilitating the even distribution of heat during the processing time.
Ensure that the pressure cooker lid is securely in place and closed. Set the pressure cooker to the appropriate canning or high-pressure setting, as specified in your pressure cooker’s manual.
Once the pressure cooker reaches the required pressure, set the timer according to the recommended processing time for your specific recipe and altitude. Processing times typically range from 10 to 15 minutes for salsa.
During the processing time, the heat inside the pressure cooker will create a controlled environment that effectively cooks the salsa and creates a seal on the jars. This sealing process helps prevent any potential contaminants from entering the jars.
After the processing time is complete, carefully remove the pressure cooker from the heat and allow it to naturally release pressure. Follow the manufacturer’s instructions for safely releasing the pressure and opening the cooker lid.
Once you have safely vented and opened the pressure cooker, use jar tongs or heat-resistant gloves to carefully remove the hot jars from the cooker. Position them on a clean towel or heatproof surface to cool.
As the jars cool, you may hear a satisfying popping sound, indicating that the lids have properly sealed. This vacuum seal is crucial for preserving the salsa and ensuring its long shelf life.
Now that the jars have been processed in the electric pressure cooker, it’s important to allow them to cool completely before moving on to the next step. This cooling period allows the salsa to settle and the jars to fully seal.
Step 6: Wait and Cool
After processing the salsa jars in the electric pressure cooker, it’s important to exercise patience and allow them to cool naturally. This step is crucial for ensuring a proper seal and preserving the salsa.
Place the processed salsa jars on a clean towel or heatproof surface in a draft-free area. Avoid moving or disturbing the jars during the cooling process, as this can disrupt the sealing process.
As the jars cool, you may notice the lids becoming concave, indicating a successful seal. However, it’s important to note that the sealing process can take time, and it may take several hours or even overnight for the jars to fully cool and seal.
During the cooling period, it’s normal for the salsa to continue simmering inside the jars. This is a natural process caused by residual heat and should not cause any concern. The salsa will further develop its flavors during this time, enhancing its taste.
Resist the temptation to touch or test the lids during the cooling process. It’s important to let the jars cool undisturbed to ensure a proper seal. A proper seal will be confirmed later in the next step.
It’s recommended to let the salsa jars cool for at least 12 to 24 hours before moving on to the next step. This timeframe allows for the salsa to settle, the jars to seal completely, and the flavors to meld together.
While waiting for the salsa jars to cool, take the opportunity to clean up your workspace and utensils. Properly store any remaining salsa in the refrigerator for immediate enjoyment, or freeze it for longer-term use.
Remember, being patient and allowing the salsa jars to cool completely helps ensure the safety and quality of your preserved salsa. Once the jars have cooled and the sealing process is complete, it’s time to move on to the final step: testing the seal.
Step 7: Test the Seal
Once your salsa jars have cooled adequately, it’s time to test the seal to ensure that the preservation process was successful. This step is vital to verify that the salsa is safe to store and enjoy for an extended period.
To test the seal, start by gently pressing down on the center of each lid with your finger. A sealed lid should be firm and not move or pop up and down. If the lid feels concave and does not move, it indicates a proper seal. This is a positive sign that your salsa is safely preserved.
If a lid springs back or makes a popping sound when pressed, it indicates that the jar did not achieve a proper seal. In this case, the salsa may not be safe for long-term storage, and you should consume it promptly or refrigerate it for immediate use.
Another way to test the seal is to remove the screw bands from the jars and gently lift each jar by the edges of the lid. A properly sealed jar will hold its weight without the lid coming loose or detaching. If the lid comes off easily, it indicates a failed seal.
If you encounter any jars with failed seals, it’s essential to discard the salsa or consume it immediately. Improperly sealed jars can allow for the growth of harmful bacteria, putting you at risk of foodborne illnesses.
For the jars that pass the seal test, you can proceed to the final step: labeling and storing your canned salsa. Ensure that each jar is labeled with the date of canning, flavor (if applicable), and any additional notes or personalizations.
Store your canned salsa in a cool, dark, and dry place, such as a pantry or basement. It’s recommended to consume the salsa within one year for the best quality and flavor. Remember to rotate your stock, using the oldest jars first to ensure freshness.
Congratulations! You have successfully canned your own salsa in an electric pressure cooker. Enjoy the fruits of your labor and savor the flavors of your homemade creation whenever you desire a taste of your delicious salsa.
Conclusion
Canning salsa in an electric pressure cooker is a rewarding and enjoyable process that allows you to savor the taste of homemade salsa year-round. By following the steps outlined in this guide, you can confidently create your own delicious salsa and preserve it for future enjoyment.
From preparing the ingredients to filling the jars, sterilizing, cooking, and processing in the pressure cooker, each step plays a vital role in ensuring the safety and quality of your canned salsa. Take your time, follow the recommended guidelines for canning, and exercise caution to maintain a hygienic environment throughout the process.
Remember to choose fresh, high-quality ingredients and experiment with different flavors to create a salsa that suits your taste preferences. Whether you prefer a chunky or smooth texture, mild or spicy heat, the beauty of canning your salsa lies in the ability to tailor it to your liking.
Properly sealed, cooled, and tested salsa jars can be stored in a cool, dark place for up to a year. Be sure to label your jars with the date and any additional information for easy identification and rotation.
Canning salsa not only allows you to enjoy the fruits of your labor but also provides a sense of accomplishment and satisfaction that comes with preserving your own food. It’s a wonderful way to capture the flavors of the harvest season and enjoy them throughout the year.
Remember to consult reliable sources, such as the National Center for Home Food Preservation or your local Cooperative Extension Service, for detailed guidelines on safe canning practices. These resources offer valuable information on processing times, altitude adjustments, and other important considerations specific to your location and recipe.
With the knowledge and skills gained from this guide, you can confidently embark on your salsa-canning journey and share the fruits of your labor with friends and family. So grab your electric pressure cooker, gather your ingredients, and start creating jars of mouthwatering salsa that will delight your taste buds for months to come.