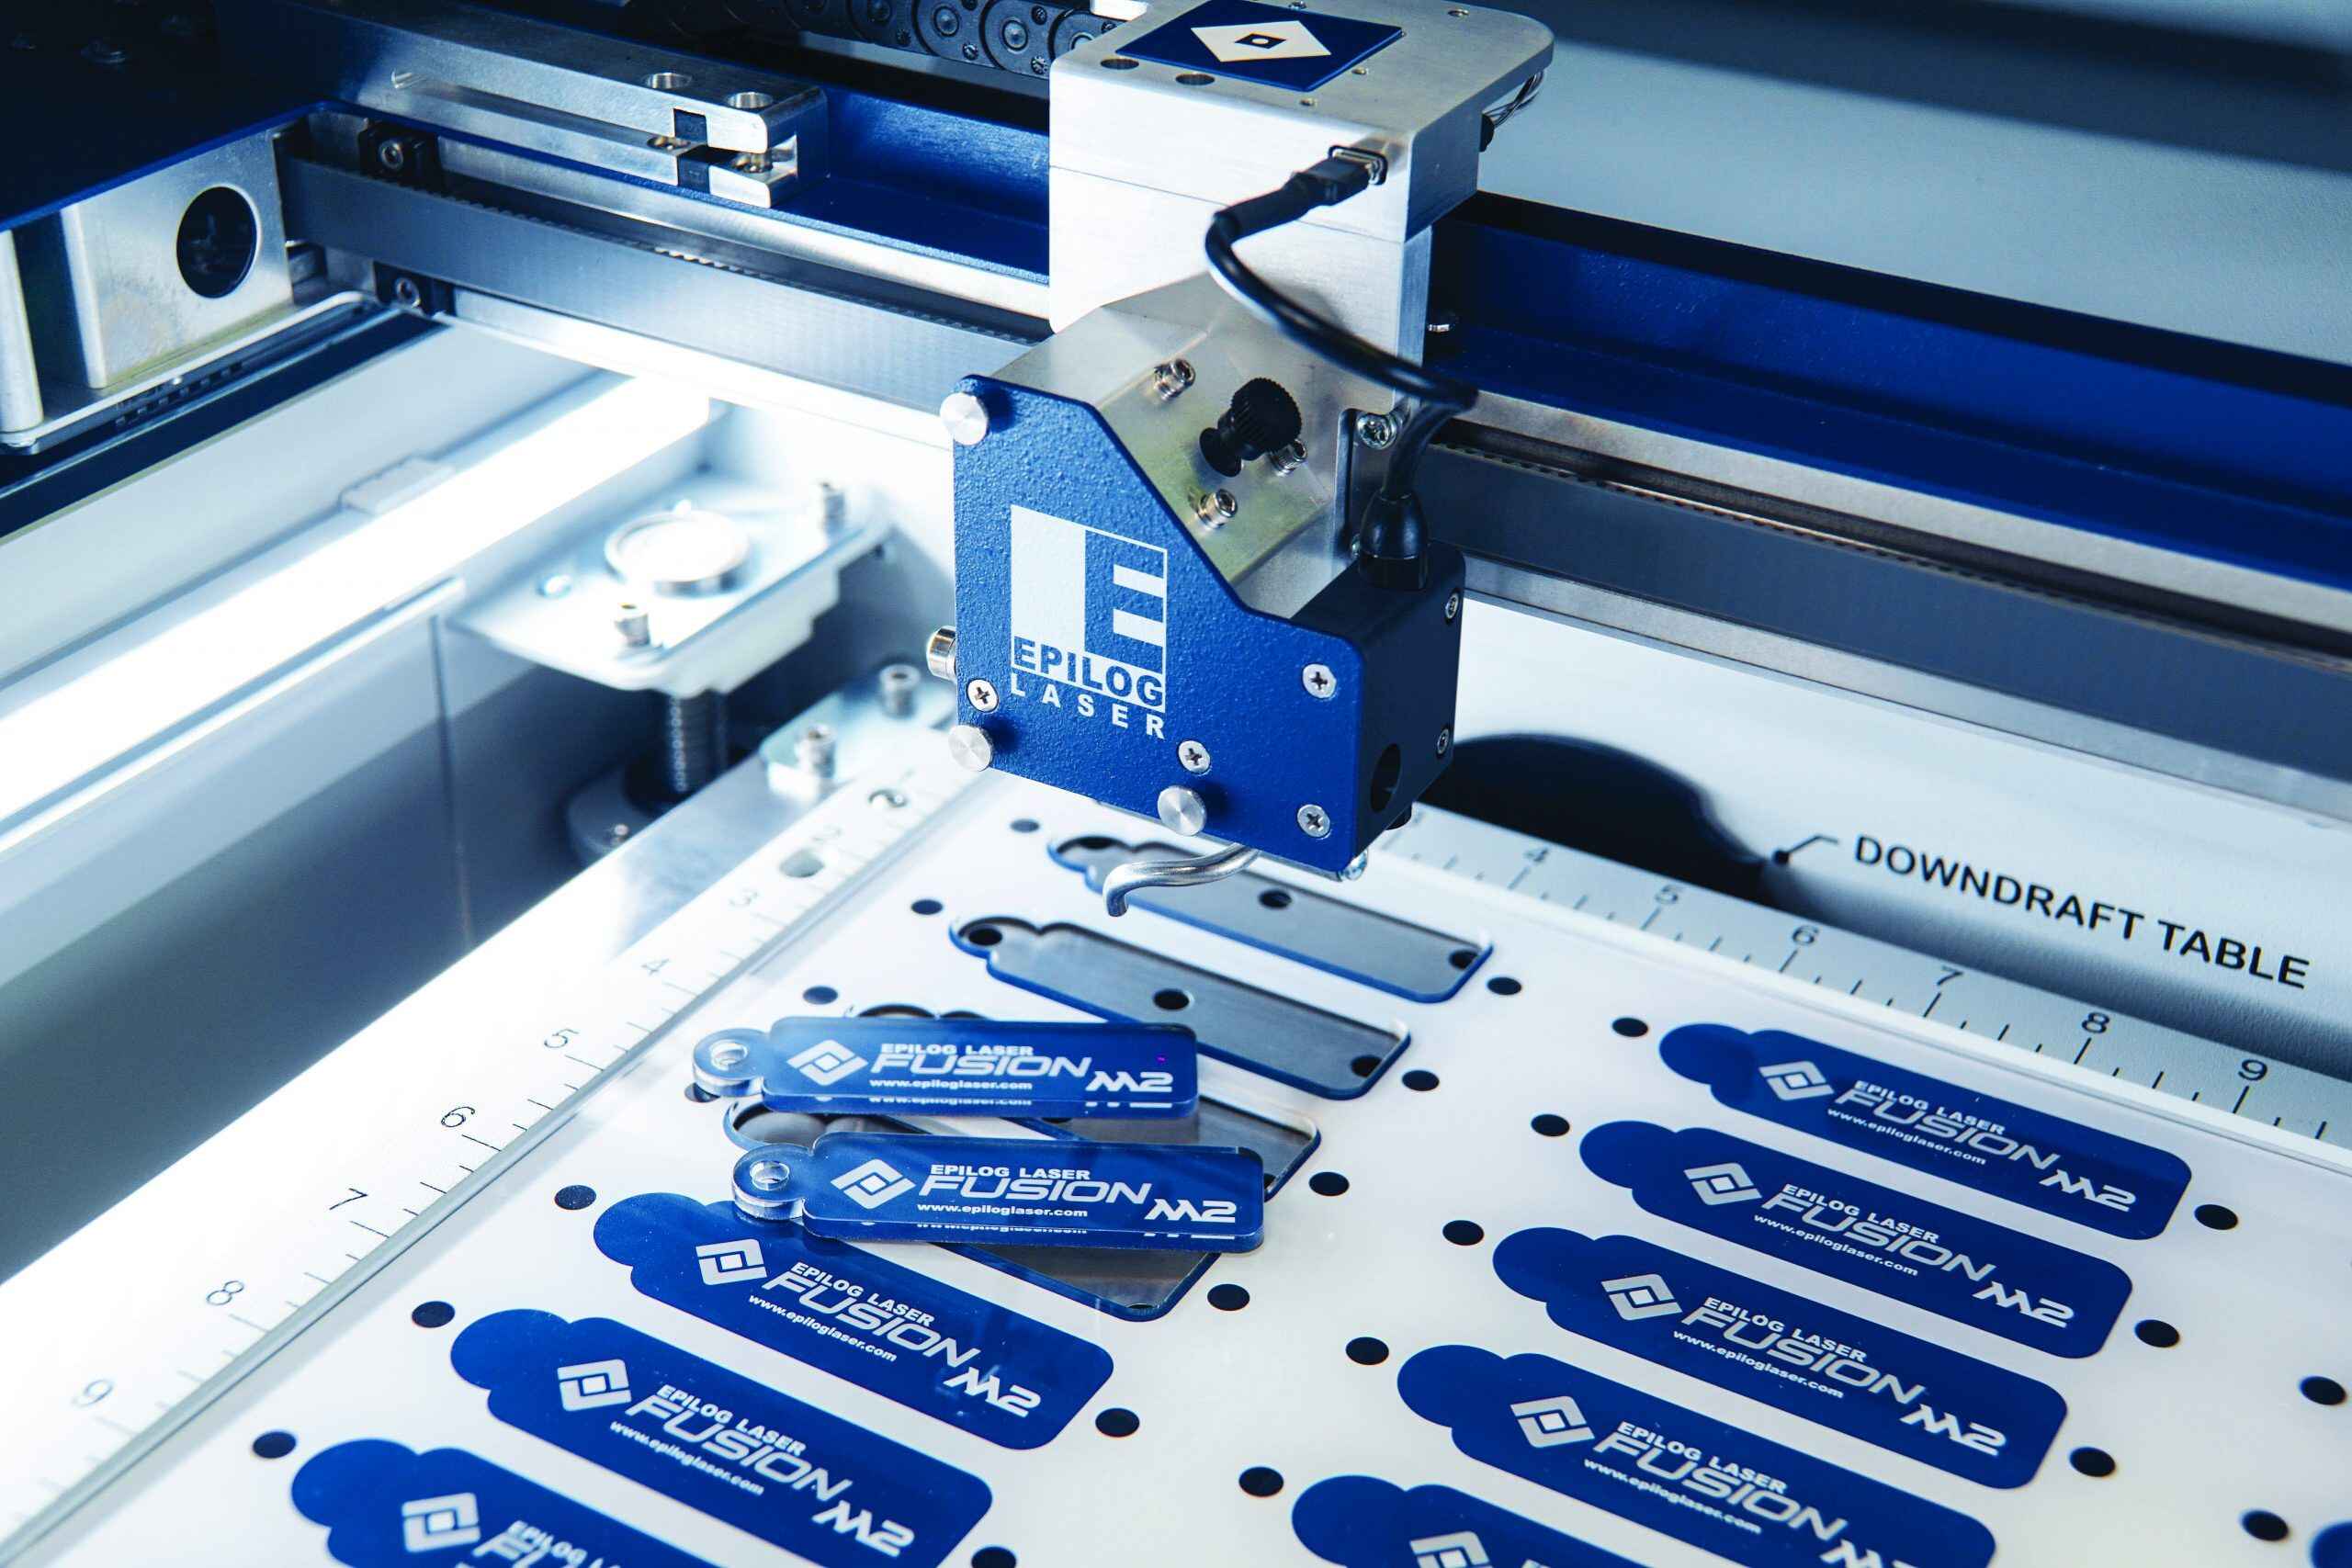
Introduction
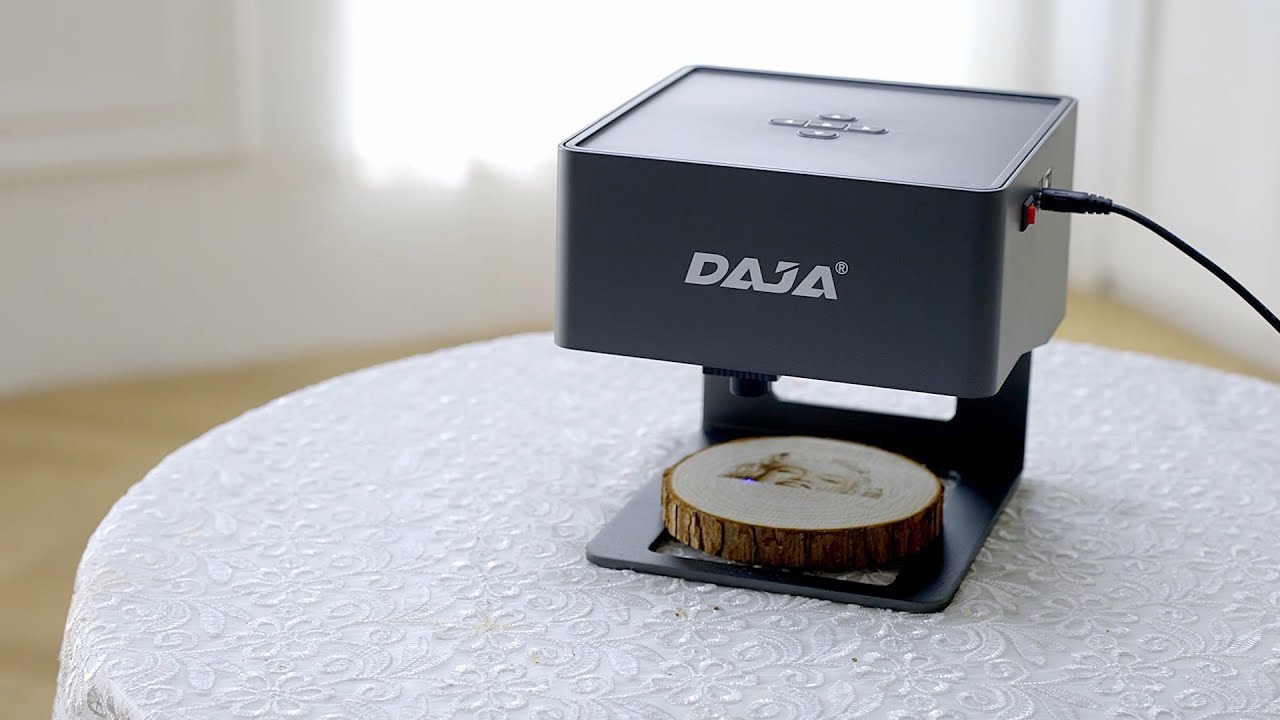
Welcome to our guide on how to calibrate your laser engraver. Laser engravers are incredibly useful tools for etching intricate designs onto various materials such as wood, acrylic, and metal. However, to achieve optimal results, it is essential to ensure that your laser engraver is properly calibrated.
Calibration is the process of fine-tuning the settings of your laser engraver to achieve accurate and consistent engraving outcomes. It involves adjusting the focus, power settings, engraving speed, and alignment to achieve the desired results. By calibrating your laser engraver, you can achieve crisp and precise engravings, prevent potential damage to the material, and extend the lifespan of your machine.
In this guide, we will walk you through the step-by-step process of calibrating your laser engraver. We will also discuss common calibration issues that you may encounter and provide troubleshooting tips to help you overcome them.
Before we dive into the calibration process, it is important to note that different laser engraver models may have specific calibration procedures. Therefore, it is always advisable to consult your user manual for the manufacturer’s guidelines. However, the general calibration steps we will outline here apply to most laser engravers and will provide a solid foundation for achieving accurate and high-quality engravings.
Now, let’s take a closer look at why calibration is important and how it can greatly enhance the performance of your laser engraver.
Why is Calibration Important?
Calibrating your laser engraver is crucial for several key reasons. Let’s explore why calibration is important and how it can greatly enhance the performance of your machine.
1. Accuracy and Consistency: Calibration ensures that your laser engraver produces accurate and consistent results. By fine-tuning the settings, you can achieve precise engraving depths, sharp lines, and clear details. This is particularly important when working on intricate designs or small text. Without proper calibration, you may end up with blurry or inconsistent engravings, diminishing the overall quality of your work.
2. Prevention of Material Damage: A well-calibrated laser engraver helps prevent damage to the material being engraved. By adjusting the power settings, you can ensure that the laser beam is neither too weak nor too strong for the material. Overpowering the laser may burn or warp delicate materials, while underpowering it may result in insufficient engraving depth. Calibration helps strike the right balance, preserving the integrity of the material and producing clean and precise engravings.
3. Optimal Engraving Speed: The engraving speed plays a crucial role in achieving the desired outcome. Calibration allows you to set the appropriate speed for your specific material and design. Engraving too quickly may lead to incomplete or uneven results, while engraving too slowly may cause excessive heat buildup and potential damage. Finding the optimal engraving speed through calibration ensures efficient and high-quality engravings.
4. Alignment and Registration: Proper alignment is necessary to ensure that your designs are accurately positioned on the material. Calibration helps you align the laser beam with the engraving surface, ensuring that your design is centered and properly scaled. This becomes especially important when engraving multiple items or creating designs that span multiple pieces. Calibration ensures that your engravings are precisely placed, resulting in professional-looking and visually appealing end products.
5. Longevity of the Machine: Regular calibration helps maintain the longevity of your laser engraver. By ensuring that the settings are optimized and well-adjusted, you reduce the strain on the machine’s components. Over time, improper calibration can lead to premature wear and tear, decreasing the lifespan of your laser engraver. Regular calibration routines can help identify and address any issues, ensuring that your machine continues to perform at its best for years to come.
In summary, calibration is crucial for achieving accurate and consistent engraving results, preventing material damage, optimizing engraving speed, ensuring proper alignment, and prolonging the lifespan of your laser engraver. Now that we understand the importance of calibration, let’s proceed to the step-by-step process of calibrating your machine.
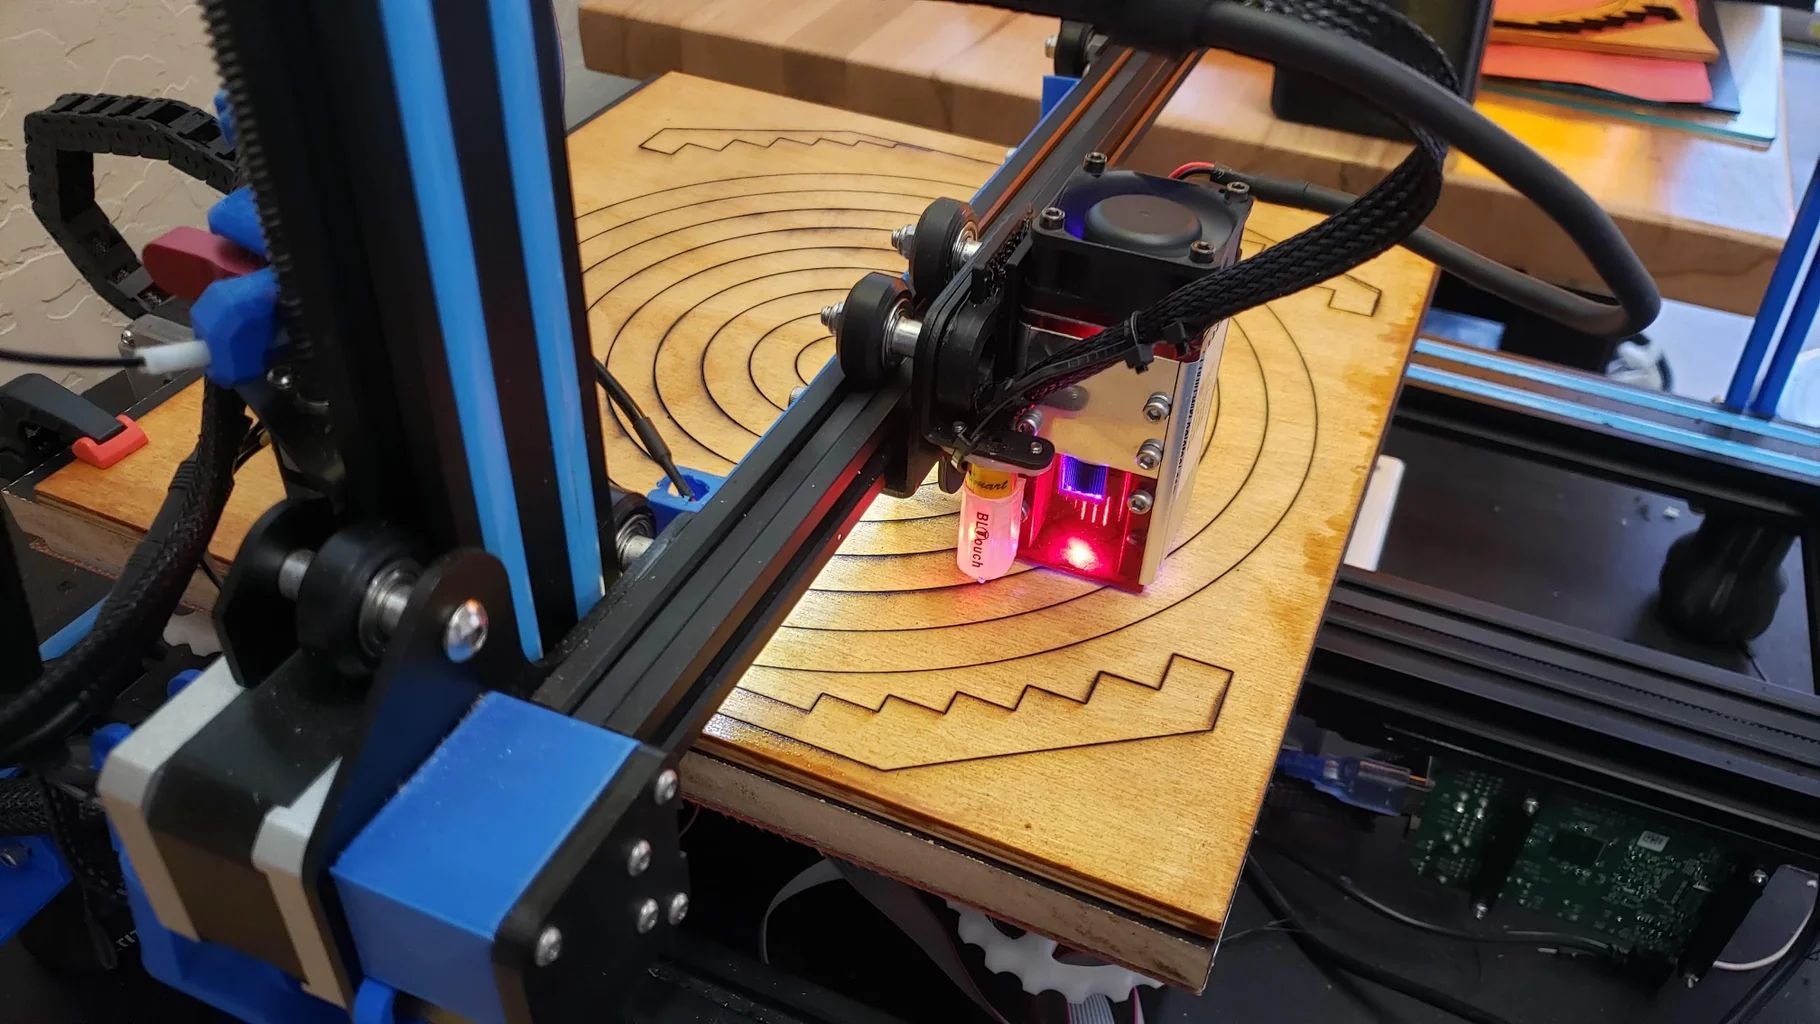
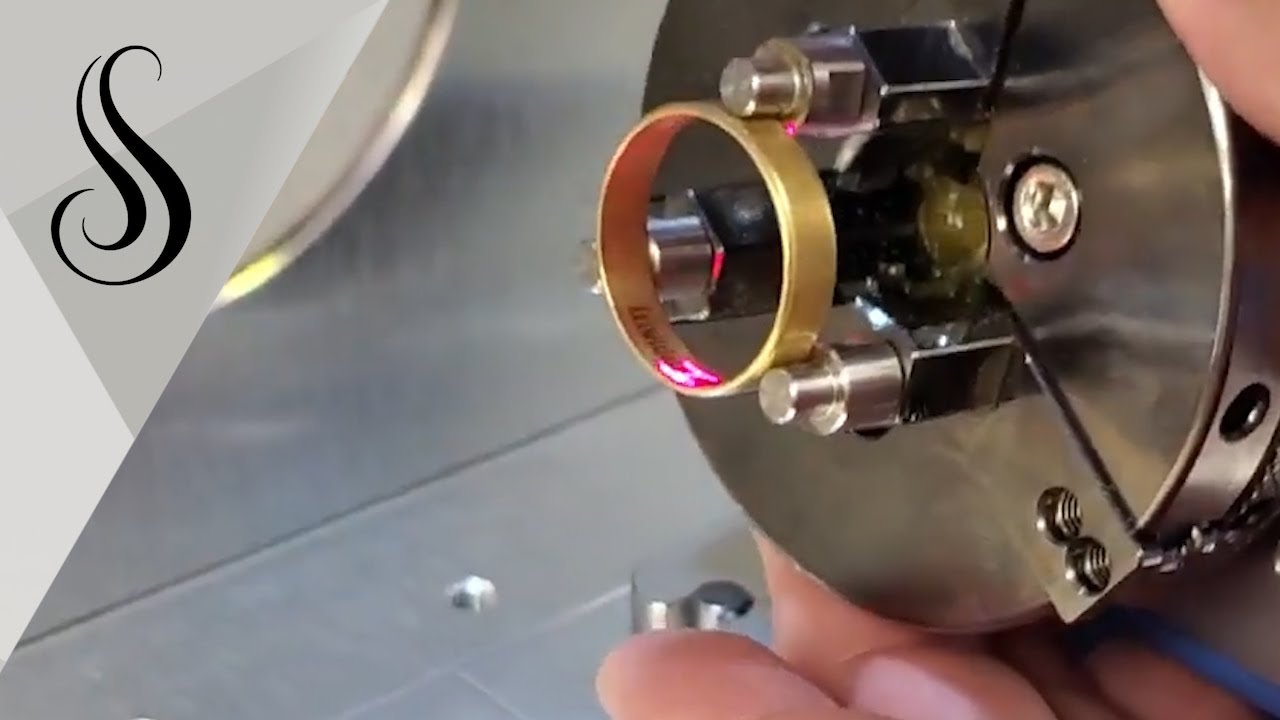
Step 1: Checking the Focus
One of the first steps in calibrating your laser engraver is checking and adjusting the focus. Proper focus is essential for achieving sharp and precise engravings. Follow these steps to check and adjust the focus of your laser engraver:
- Prepare the Material: Place a test material, such as a piece of scrap wood or acrylic, on the engraving bed. Ensure that it is securely positioned and leveled.
- Remove the Lens Cap: Depending on your laser engraver model, you may need to remove the lens cap or protective cover. Refer to your machine’s user manual for specific instructions.
- Set the Z-Axis Height: Adjust the Z-axis height so that the material is at the focal point of the laser beam. This distance may vary depending on the lens and focal length of your machine. Consult your user manual for the recommended focal distance.
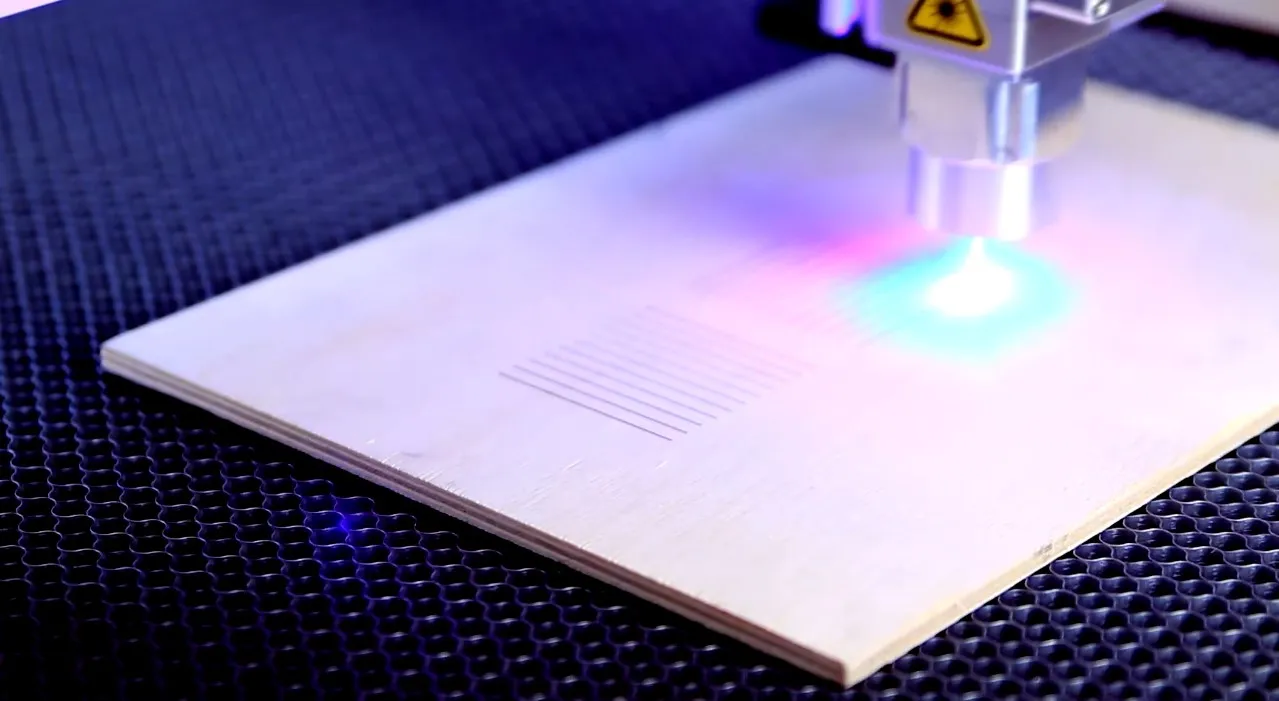
- Focus Test: Start with a shallow depth engraving setting and perform a test engraving on the material. Inspect the result to determine the sharpness and clarity of the engraved lines.
- Adjusting the Focus: If the engraved lines appear blurry or inconsistent, the focus needs adjustment. Use the focus adjustment mechanism on your laser engraver to fine-tune the focus. This can often be done by turning a knob or adjusting the Z-axis manually.
- Repeat the Test Engravings: After making adjustments, repeat the test engraving on the material. Continue to adjust the focus until you achieve the desired sharpness and clarity. Take your time during this process to ensure accurate focus for optimal engraving results.
- Document the Focus Setting: Once you have found the ideal focus setting, it is a good practice to document it for future reference. This will save time when calibrating the machine in the future or when working on similar materials.
Remember, each laser engraver model may have specific instructions for checking and adjusting the focus. Always refer to your user manual for the manufacturer’s recommendations. By ensuring the proper focus, you lay the foundation for achieving crisp and precise engravings.
Step 2: Adjusting Power Settings
Once you have checked and adjusted the focus of your laser engraver, the next step in the calibration process is adjusting the power settings. The power settings determine the intensity of the laser beam and play a crucial role in achieving the desired engraving results. Follow these steps to adjust the power settings of your laser engraver:
- Choose the Material: Select the material you intend to work with, such as wood, acrylic, or metal. Different materials have different engraving characteristics, and it is important to select the appropriate power settings for each material.
- Perform Test Engravings: Start by performing test engravings on a small area of the material. Use a variety of power settings to assess the engraving depth and quality produced by each setting.
- Observe and Compare: Carefully observe the test engravings and compare the results. Look for factors such as the depth of the engraving, the darkness of the lines, and the presence of any charring or burning. Based on your observations, select the power setting that best achieves the desired engraving outcome.
- Adjust the Power Settings: If the test engravings are too shallow or faint, increase the power setting slightly and perform another test engraving. Conversely, if the engravings are too deep or result in excessive charring, decrease the power setting accordingly. Continue this iterative process until you find the optimal power setting for the desired engraving depth and quality.
- Document the Power Setting: Once you have determined the ideal power setting for a specific material, it is important to document it for future reference. This will save time and ensure consistent results when working on similar projects in the future.
Remember, different materials may require different power settings due to variations in their composition and density. It is important to experiment and make adjustments based on the specific material you are working with. Additionally, be cautious when adjusting the power settings to prevent overheating or damaging the material. Regularly monitoring and calibrating the power settings will help you achieve accurate and high-quality engravings.
Step 3: Setting the Engraving Speed
After adjusting the focus and power settings of your laser engraver, the next step in the calibration process is setting the engraving speed. The engraving speed determines how quickly the laser beam moves across the material during the engraving process. Finding the right balance between speed and quality is crucial for achieving optimal engraving results. Follow these steps to set the engraving speed:
- Select the Material: Choose the material you will be engraving on, keeping in mind that different materials require different engraving speeds. Materials such as wood, acrylic, and metal each have their own optimal speed settings.
- Perform Test Engravings: Begin by performing test engravings on a small area of the material, using various speed settings. Assess the quality and clarity of the engraved lines produced at each speed.
- Observe and Compare: Examine the test engravings and compare the results. Look for factors such as the smoothness of the lines, the consistency of engraving depth, and any signs of overheating or material damage.
- Adjust the Speed Settings: If the test engravings are too fast, resulting in incomplete or shallow lines, decrease the engraving speed and perform another test engraving. Conversely, if the engravings are too slow, causing excessive burning or melting, increase the speed accordingly. Continue adjusting the speed until you achieve the desired balance of quality and efficiency in your engravings.
- Document the Speed Setting: Once you have determined the optimal engraving speed for a specific material, it is important to document it for future reference. This will help ensure consistent results and save time when working on similar projects in the future.
Remember, finding the right engraving speed requires a combination of experimentation and observation. Take the time to fine-tune the speed settings to achieve the desired quality and efficiency for your specific material. Regular calibration of the engraving speed will help you produce accurate and high-quality engravings consistently.
Step 4: Ensuring Correct Alignment
Proper alignment of your laser engraver is crucial to ensure that your designs are accurately positioned on the material. Misalignment can result in skewed or off-centered engravings, diminishing the overall quality of your work. Follow these steps to ensure correct alignment of your laser engraver:
- Prepare the Material: Place the material you will be engraving on the work surface. Ensure it is securely positioned and leveled for accurate results.
- Set the Home Position: Initialize your laser engraver and set the home position or origin point. This is typically done by moving the engraving carriage to the desired starting position and indicating it as the reference point.
- Load the Design File: Load the design file or artwork onto the engraving software. Ensure that the design is properly aligned within the software and matches the intended positioning on the material.
- Perform Test Engravings: Perform a test engraving on the material. Pay close attention to the alignment of the engraved lines or design elements with the intended positioning. Take note of any discrepancies or misalignments.
- Adjust the Alignment: If the test engraving is misaligned, use the adjustment controls or mechanisms provided by your laser engraver to make precise adjustments. This may involve vertically or horizontally shifting the engraving carriage or adjusting the positioning of the work surface if possible. Make incremental changes until the engraving is accurately aligned with the design.
- Repeat the Test Engravings: After making alignment adjustments, repeat the test engraving to verify the accuracy of the alignment. If necessary, make further adjustments until the positioning is correct.
- Document the Alignment: Once you have achieved the desired alignment, it is advisable to document the settings or adjustments made. This will serve as a reference for future projects or when working with similar materials and designs.
Remember, proper alignment is essential for achieving precise and visually appealing engravings. Take your time during the alignment process and ensure that the design aligns correctly with the intended positioning on the material. Regularly check and adjust the alignment to maintain consistent and accurate results in your laser engravings.
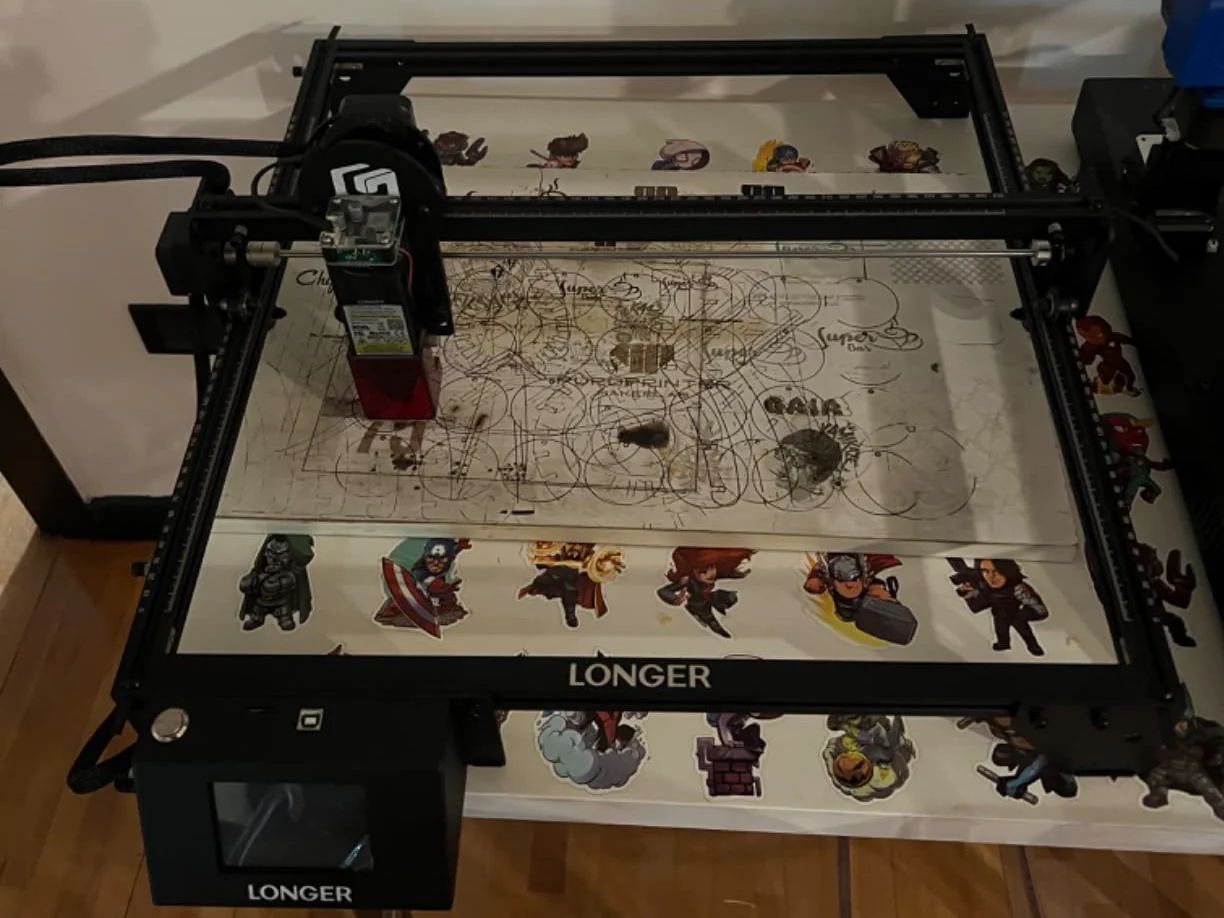
Step 5: Performing Test Engravings
After calibrating the focus, power settings, and engraving speed, it is important to perform test engravings to evaluate the overall performance of your laser engraver. Test engravings allow you to fine-tune the settings and make any necessary adjustments before proceeding to the final engraving. Follow these steps to perform test engravings:
- Select a Test Material: Choose a small section of the material you will be using for your final engraving. This can be a scrap piece or an unused area on the main material.
- Set Up the Material: Securely position and level the test material on the engraving bed to ensure stability during the engraving process.
- Prepare the Design: Load your desired design onto the engraving software and adjust its size and placement according to your preferences.
- Configure the Settings: Ensure that the focal point, power settings, engraving speed, and alignment are all properly configured based on your previous calibration steps.
- Perform the Test Engraving: Initiate the engraving process and closely observe the engraved lines or design elements. Pay attention to the quality, depth, and overall appearance of the engraving.
- Evaluate the Results: Carefully examine the test engraving to assess its quality and accuracy. Look for any inconsistencies, distortions, or issues that might affect the final engraving result.
- Make Adjustments: Based on the evaluation of the test engraving, make any necessary adjustments to the focus, power settings, engraving speed, or alignment. Iterate the process by performing additional test engravings until you are satisfied with the results.
- Finalize the Settings: Once you have achieved the desired engraving outcome, note down the final settings used for future reference. These settings can serve as a starting point for future projects and save time during the calibration process.
Performing test engravings not only helps you fine-tune the settings but also gives you the opportunity to become familiar with the characteristics of your laser engraver and the specific material you are working with. It allows you to identify and address any potential issues or limitations, ensuring that the final engraving meets your expectations.
Common Calibration Issues and Troubleshooting Tips
While calibrating your laser engraver, you may encounter some common issues that can impact the quality of your engravings. Being aware of these issues and having troubleshooting knowledge can help you overcome challenges and achieve optimal results. Here are some common calibration issues and troubleshooting tips:
1. Inconsistent Engraving Depth: If you notice variations in the engraving depth throughout your design, it could be due to an uneven material surface or improper focus. Ensure that the material is flat and level, and verify that the focus is accurately set. Additionally, double-check that the engraving speed and power settings are appropriately adjusted for the material.
2. Burned or Charred Engravings: Excessive burning or charring can occur when the power settings are too high or the engraving speed is too slow. Lowering the laser power and increasing the speed can help prevent burning. Additionally, using materials with a protective coating or adjusting the focus can minimize the risk of charring.
3. Misalignment of Engravings: Misalignment can occur if the material is not properly positioned or if the engraving head is not aligned with the design within the software. Double-check the material placement and ensure that the design is correctly aligned in the software. Calibrate the alignment settings of the laser engraver if needed.
4. Incomplete Engravings: If the engraved lines or patterns appear incomplete or faded, it may indicate a low power setting or excessive engraving speed. Consider increasing the power slightly or reducing the engraving speed to achieve more complete and defined lines.
5. Blurry or Unfocused Engravings: Blurry or unfocused engravings can result from improper focus settings. Ensure that the focal point is accurately set and adjust as needed. Additionally, verify that the lens is clean and free from debris, as a dirty lens can affect the clarity of the engravings.
6. Material Damage: Overheating or damaging the material can occur if the power settings are too high or the engraving speed is too slow. Carefully select the appropriate power and speed settings for the specific material you are working with to prevent material damage.
7. Inconsistent Engraving Results: If you are experiencing inconsistent engraving results, it may be helpful to perform regular maintenance on your laser engraver, including cleaning the lens, checking the mirrors, and ensuring the machine is properly calibrated. Regular maintenance can help optimize the performance and consistency of your laser engraver.
Remember, troubleshooting calibration issues may require some trial and error. It is important to be patient and make incremental adjustments to find the optimal settings for your specific laser engraver and materials. Refer to your laser engraver’s user manual for detailed troubleshooting guidelines specific to your model.
Conclusion
Calibrating your laser engraver is a crucial step in achieving accurate and high-quality engravings. By following the steps outlined in this guide, you can fine-tune the focus, power settings, engraving speed, and alignment of your machine to optimize its performance. Proper calibration ensures accurate and consistent engraving results, prevents material damage, and extends the lifespan of your laser engraver.
Throughout the calibration process, it is important to perform test engravings and make incremental adjustments based on the results. This iterative approach allows you to fine-tune the settings and find the optimal configuration for your specific materials and designs.
Additionally, it is essential to document the ideal settings for future reference. Having a record of the focus, power settings, engraving speed, and alignment that yielded successful results can save time and ensure consistency in your future projects.
Finally, be aware of common calibration issues that may arise and familiarize yourself with troubleshooting tips to overcome these challenges. Regular maintenance and attention to cleanliness will also contribute to the longevity and optimal performance of your laser engraver.
Remember, calibration is an ongoing process. As you gain more experience with your laser engraver and work with different materials and designs, you may need to revisit the calibration steps to achieve the best results. Embrace the learning process, experiment with different settings, and continue refining your calibration techniques.
With careful calibration, your laser engraver will become a powerful tool for creating intricate and precise engravings on various materials. Happy engraving!