Introduction
An IP (Internet Protocol) address is a unique numerical label assigned to each device connected to a computer network. It serves two main purposes – identifying the host or network interface and providing the location of the device in the network.
While the primary function of IP addresses is to facilitate communication between devices on the internet, there are instances where you may want to block a specific IP address from accessing your website or network. This could be due to security concerns, spamming activities, or disruptive behavior from certain users.
In this article, we will explore different methods that you can employ to effectively block an IP address and enhance the security and performance of your online presence.
Blocking an IP address prevents any traffic coming from that particular address from reaching your website or network. This can be useful to protect against hacking attempts, brute force attacks, or nuisance traffic.
There are various reasons why you may want to block an IP address. It could be due to repetitive malicious activities such as hacking attempts, spamming, or Distributed Denial of Service (DDoS) attacks. Additionally, you may wish to block IP addresses of specific individuals or organizations that are engaging in illegal or unethical behavior on your website.
Blocking IP addresses can also help in reducing server load, network traffic, and optimizing website performance. By blocking IP addresses associated with bots, spiders, or excessive crawlers, you can ensure that your server resources are utilized effectively, and the bandwidth consumption is minimized.
Now that we understand the benefits of blocking an IP address, let’s explore the various methods you can use to achieve this.
What is an IP Address?
An IP (Internet Protocol) address is a unique numerical label assigned to each device connected to a computer network. It serves as an identifier for that particular device, allowing it to communicate and interact with other devices on the network. Think of it as a digital address that helps direct and route data packets across the internet.
IPv4 (Internet Protocol version 4) and IPv6 (Internet Protocol version 6) are the two most common versions used to assign IP addresses. IPv4 addresses consist of a series of four sets of numbers, separated by periods, such as 192.168.0.1. This format allows for approximately 4.3 billion unique addresses. However, with the growing number of devices and the expansion of the internet, the supply of IPv4 addresses is becoming scarce.
IPv6 addresses, on the other hand, have a different structure and offer a significantly larger address space. They consist of eight sets of hexadecimal numbers, separated by colons, such as 2001:0db8:85a3:0000:0000:8a2e:0370:7334. IPv6 addresses can provide an almost limitless number of unique addresses, ensuring the continued growth and connectivity of devices on the internet.
IP addresses are essential for establishing connections and transferring data between devices. When you visit a website, for example, your device uses the website’s IP address to locate and communicate with the server hosting that website. This allows the server to send the requested web pages or content back to your device.
In addition to facilitating communication, IP addresses also serve another crucial purpose – geolocation. By analyzing an IP address, it is possible to determine the approximate geographical location of a device. This information can be used for various purposes, such as targeted advertising, content localization, and ensuring compliance with regional regulations.
Understanding IP addresses and their significance is fundamental when it comes to managing and securing your online presence. By having knowledge of IP addresses, you can better protect your network, block unwanted traffic, and ensure the smooth functioning of your online activities.
Why would you want to block an IP Address?
Blocking an IP address can be a valuable measure to safeguard your online environment and protect your website or network from various threats. Let’s explore the main reasons why you may consider blocking an IP address:
1. Security: Blocking an IP address can help prevent unauthorized access to your website or network. If you notice suspicious login attempts, hacking activities, or brute force attacks originating from a specific IP address, blocking it can help mitigate the risk of a successful breach.
2. Spam Prevention: Spamming activities can overwhelm your website or network, impacting performance and user experience. By blocking IP addresses associated with spam or known spamming techniques, you can effectively reduce the amount of unwanted messages and protect your resources.
3. DDoS Protection: Distributed Denial of Service (DDoS) attacks can cripple your website by flooding it with an excessive amount of traffic. Blocking suspicious or malicious IP addresses that are participating in or orchestrating DDoS attacks can help maintain the availability and performance of your online services.
4. Content Protection: If you have valuable digital content or intellectual property that you want to protect, blocking IP addresses associated with illegal downloading or copyright infringement can help safeguard your assets and copyrights.
5. User Restriction: Sometimes, you may encounter individuals or organizations engaging in disruptive or abusive behavior on your website or network. By blocking their IP addresses, you can prevent access and ensure a safer and more positive user experience for your visitors.
6. Compliance and Regulation: Depending on your industry or region, there may be specific regulations or restrictions you need to adhere to. Blocking IP addresses associated with prohibited activities can help you maintain compliance and avoid legal complications.
7. Resource Optimization: Blocking IP addresses of bots, crawlers, or other automated processes that excessively consume your server resources can help improve overall performance. By reducing unnecessary traffic, you can ensure a faster and smoother browsing experience for legitimate users.
It is important to note that blocking an IP address should be done judiciously, considering the potential impact and consequences. IP addresses can sometimes be dynamic, meaning they can change over time. Therefore, regular monitoring and updating of blocked IPs may be required to maintain an effective IP blocking strategy.
By understanding and implementing IP address blocking techniques, you can enhance the security, performance, and overall integrity of your online presence.
Methods to Block IP Addresses
When it comes to blocking IP addresses, there are several effective methods you can employ, depending on your specific needs and technical capabilities. Here are four commonly used methods:
1. Using a Firewall: Firewalls act as a barrier between your network and the outside world, monitoring incoming and outgoing traffic. Modern firewalls often include features that enable you to block specific IP addresses or ranges. By setting up firewall rules, you can restrict access to your network or specific services based on IP addresses, effectively blocking unwanted traffic.
2. Editing the Host File: The host file is a local file on your computer that maps hostnames to IP addresses. By manually editing the host file, you can redirect certain domain names to a local IP, effectively blocking access to those websites. While this method is limited to blocking on a single device, it can be useful for personal blocking requirements.
3. Using a Plugin or Software: If you are using a content management system (CMS) like WordPress, there are plugins available that allow you to block IP addresses easily. These plugins usually offer user-friendly interfaces, allowing you to set up blocking rules without extensive technical knowledge. Additionally, there is dedicated software available for network administrators and advanced users, offering more comprehensive IP blocking capabilities.
4. Blocking IP Addresses on Your Server: If you have administrative access to your server, you can configure IP blocking at the server level. This is typically done by adding blocking rules to the server configuration files. Depending on your server operating system, the specific method and configuration files may vary. Consult your server documentation or seek assistance from a system administrator if you are unfamiliar with the process.
It is important to note that IP blocking methods vary in complexity and effectiveness. While some methods are relatively simple to implement and manage, others require a deeper understanding of networking and server administration. Consider your technical expertise and requirements before choosing a specific method for blocking IP addresses.
Additionally, it’s worth mentioning that some IP blocking methods may result in false positives or unintended consequences. Careful monitoring of your blocking rules and regular updates are necessary to ensure that legitimate users are not inadvertently blocked and that your blocking strategy remains effective.
By utilizing one or a combination of these methods, you can proactively block unwanted IP addresses, enhancing the security and reliability of your website or network.
Method 1: Using a Firewall
Firewalls are essential tools for network security, and they can be used to block IP addresses effectively. Whether you are operating a personal computer or managing a network, utilizing a firewall can provide you with granular control over incoming and outgoing traffic. Here’s how you can use a firewall to block IP addresses:
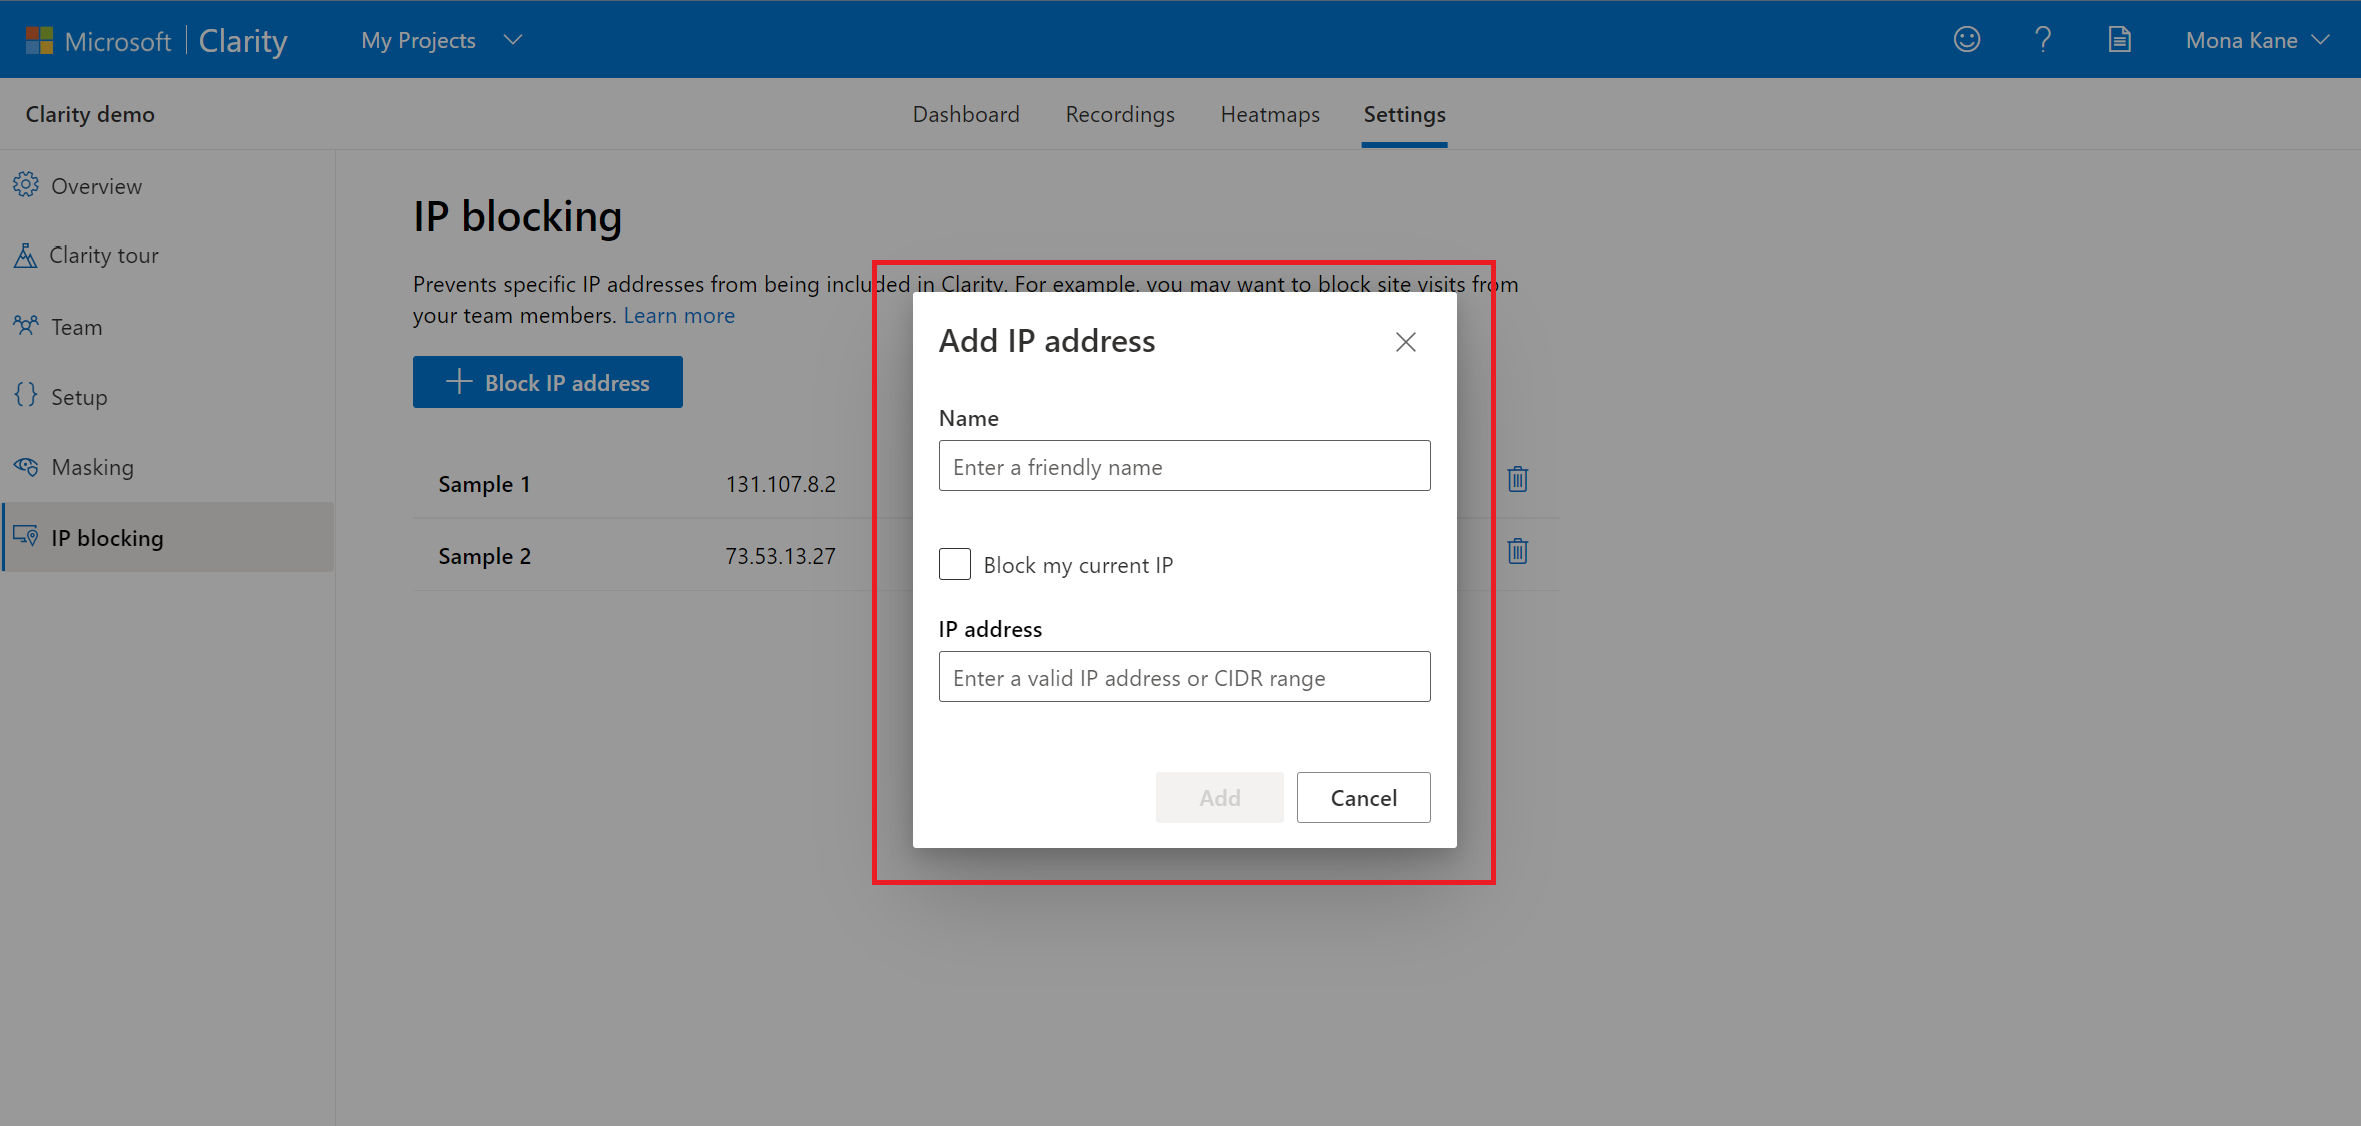
Step 1: Identify the IP address to block: Determine the IP address or range that you want to block. This can be a specific IP address or a range of addresses using CIDR notation.
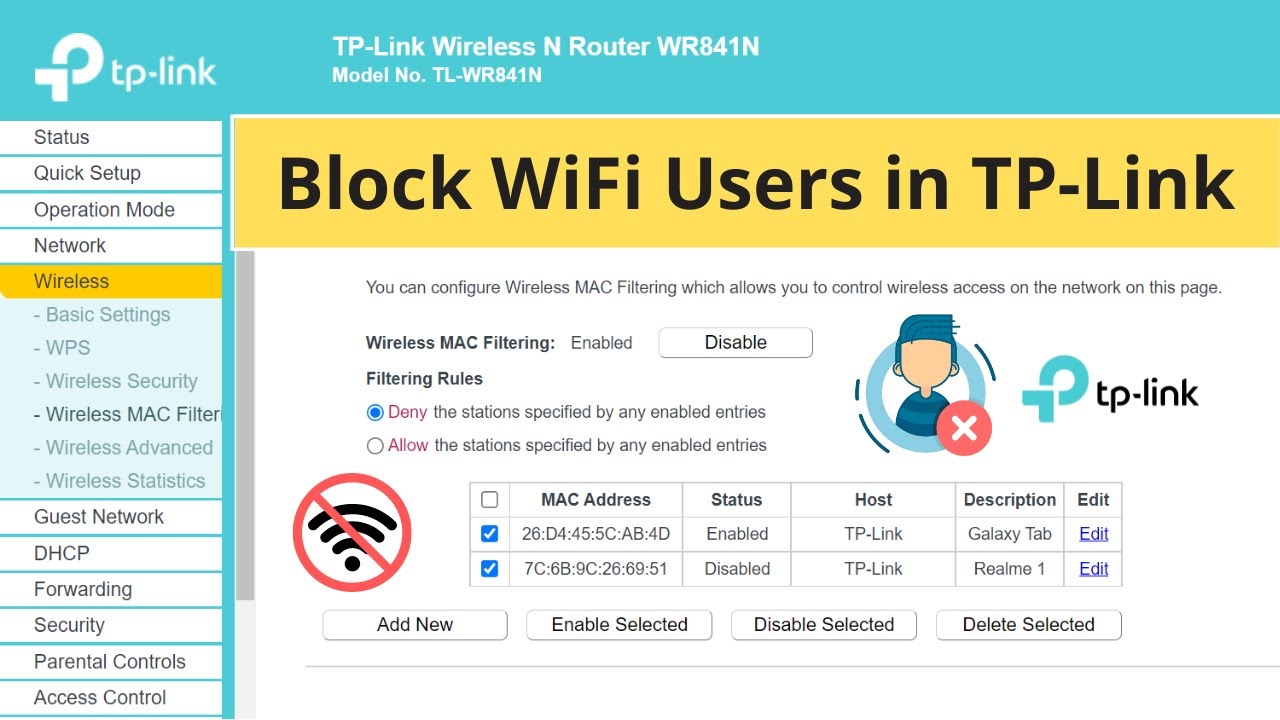
Step 2: Access your firewall settings: Depending on the firewall software or hardware you are using, access the configuration settings. This may involve logging in to a web-based interface, using a command-line interface, or accessing a dedicated firewall management software.
Step 3: Create a blocking rule: In the firewall settings, look for the option to create a new rule. Specify the IP address or range that you want to block and choose the appropriate action, usually “block” or “deny.” Some firewalls may also provide additional options such as blocking specific ports or protocols associated with the IP address.
Step 4: Apply the rule: Save and apply the blocking rule in your firewall settings. Ensure that the rule is active and taking effect immediately. Some firewalls may require a reboot or a manual update process before the rule becomes active.
Step 5: Monitor and update: Regularly review the firewall logs and monitor the blocked IP addresses. This will help you identify any new IP addresses or patterns that need to be blocked. Make sure to update the blocking rules as necessary to keep your network secure.
Firewalls offer flexibility in terms of blocking IP addresses and can be used to protect individual devices or entire networks. However, it’s essential to understand that firewalls may have limitations when it comes to blocking sophisticated attacks or IP addresses that frequently change.
Additionally, remember to strike a balance between blocking malicious IP addresses and allowing legitimate traffic. Overblocking may unintentionally prevent legitimate users from accessing your resources, leading to a negative user experience. Regularly review your blocking rules and make adjustments as necessary.
Using a firewall to block IP addresses can be an effective measure to enhance the security of your network and protect your devices from unauthorized access. Take advantage of the features offered by your firewall software or hardware to implement and manage your IP blocking strategy.
Method 2: Editing the Host File
Another method to block specific IP addresses is by editing the host file on your computer. The host file is a local text file that maps domain names to IP addresses. By modifying this file, you can redirect certain domain names to a local IP address, effectively blocking access to those websites. Here’s how you can use this method:
Step 1: Locate the host file: The host file is usually found in the operating system’s system folder. The location may vary depending on your operating system. For Windows, the default path is C:\Windows\System32\drivers\etc\hosts. For Mac OS, the path is /private/etc/hosts.
Step 2: Open the host file: Open the host file using a text editor with administrative privileges. On Windows, you may need to run the text editor as an administrator to make changes. On Mac, you can use the Terminal application and enter the command sudo nano /private/etc/hosts to open the file.
Step 3: Add blocking rules: To block an IP address, add a new line in the host file and specify the IP address followed by the domain name you want to block. For example:
127.0.0.1 blockedwebsite.com
You can add multiple entries to block multiple domain names or IP addresses. Make sure to save the changes after adding the blocking rules.
Step 4: Clear DNS cache (optional): To ensure that the changes take effect immediately, you can clear the DNS cache on your computer. This can be done by opening the Command Prompt (Windows) or Terminal (Mac) and entering the appropriate command. For example, on Windows, you can use the command ipconfig /flushdns.
Step 5: Test the block: Open a web browser and try accessing the blocked domain name. If the block is successful, you should see an error message or be redirected to a local address.
Editing the host file allows you to block specific IP addresses or domain names on a single computer. It’s a useful method for personal blocking requirements or temporarily blocking access to certain websites.
However, it’s important to note that this method is only effective on the specific device where the host file is modified. It does not affect other devices on the network. If you want to block access to certain websites or IP addresses on your entire network, consider using a firewall or other network-level blocking solutions.
Remember to remove or comment out the blocking rules in the host file when you no longer wish to block the IP addresses. Keeping the file cluttered with unnecessary blocking rules may cause unexpected issues or difficulties in accessing legitimate websites.
Editing the host file provides a simple and straightforward way to block selected IP addresses or domain names on a specific device. Use this method responsibly and employ other blocking techniques for network-wide or more advanced IP blocking requirements.
Method 3: Using a Plugin or Software
If you are using a content management system (CMS) like WordPress or other web-based platforms, you can take advantage of plugins or dedicated software to block IP addresses effectively. These tools provide user-friendly interfaces and advanced features to simplify the process of IP blocking. Here’s how you can use a plugin or software to block IP addresses:
Step 1: Choose a plugin or software: Research and select a trusted and reputable IP blocking plugin or software that is compatible with your CMS or web server. Popular plugins for WordPress include “Wordfence Security” and “iThemes Security.”
Step 2: Install and activate the plugin: If you are using a CMS like WordPress, navigate to the plugin section, search for the chosen IP blocking plugin, and install it. Activate the plugin according to the instructions provided.
Step 3: Configure blocking options: Once the plugin is installed and activated, access its settings or configuration page. Look for options related to IP blocking and configure them according to your requirements. This may include adding IP addresses or IP ranges to the blocking list, specifying the actions to take when a blocked IP visits your website, and other advanced settings.
Step 4: Test the IP blocking: Test the IP blocking functionality by visiting your website from a blocked IP address or using an online tool to check your IP. Ensure that the plugin or software successfully blocks access from the specified IP addresses.
Step 5: Regularly update and maintain: Keep the IP blocking plugin or software up to date to ensure compatibility with the latest CMS or server versions. Additionally, regularly review the list of blocked IP addresses and make adjustments as necessary to keep your website secure.
Using a plugin or software provides you with a user-friendly and intuitive way to block IP addresses without requiring extensive technical knowledge. These tools often offer additional features such as real-time monitoring, logs, and IP geolocation, enhancing the overall security and management of your website.
It’s important to note that the availability and compatibility of IP blocking plugins or software may vary depending on your CMS or server environment. Always choose reputable and well-supported options from trusted sources to ensure reliability and security.
Remember that IP blocking plugins or software are typically effective at blocking specific IP addresses or ranges on your website. If you require network-level IP blocking or have other advanced security needs, consider using firewall and network-level solutions in conjunction with these tools.
Take advantage of the convenience and features provided by IP blocking plugins or software to enhance the security and protection of your website from unwanted IP traffic.
Method 4: Blocking IP Addresses on Your Server
Blocking IP addresses at the server level provides a powerful and comprehensive approach to prevent unwanted access to your website or network. By configuring your server to block specific IP addresses, you can ensure that the block applies to all services and applications hosted on the server. Here’s how you can implement this method:
Step 1: Identify the server configuration files: Depending on your server operating system and setup, you will need to locate the configuration files where you can add the IP blocking rules. Common locations include Apache’s .htaccess file, Nginx’s server configuration file, or the hosts.allow and hosts.deny files in the case of Linux servers.
Step 2: Access the server configuration files: Use a text editor or SSH access to open the relevant server configuration file. It’s recommended to have a backup of the file before making any changes.
Step 3: Add the blocking rules: Depending on the server software, the format and syntax for IP blocking rules may vary. Consult your server documentation or search for specific instructions related to your server software. Typically, you’ll add lines to the configuration file that specify the IP address or range to block, along with the appropriate blocking action.
Step 4: Save and apply the changes: Once you have added the IP blocking rules, save the changes to the server configuration file. Restart the server or reload the configuration to apply the changes. The exact method to restart or reload the server will depend on your server environment.
Step 5: Test the blocking: Test the IP blocking by attempting to access your website or network from the blocked IP address. If the configuration is successful, the blocked IP should be denied access to all services hosted on the server.
Blocking IP addresses at the server level is a valuable method as it provides centralized blocking that affects all services. This means that the IP block applies to websites, databases, email servers, FTP servers, and any other applications running on the server.
Keep in mind that server-level IP blocking requires administrative access to the server and a good understanding of server configuration. It’s crucial to follow best practices, test the rules, and regularly monitor and update the blocking rules as needed.
Additionally, be aware that IP blocking at the server level is effective for blocking unwanted traffic from reaching your server. However, it may not prevent attacks or threats that occur outside your server, such as DDoS attacks. Combining server-level IP blocking with other security measures can provide a layered approach to protect your website or network.
By implementing IP blocking at the server level, you have a powerful tool to control access to your server and ensure the security of your hosted services.
Conclusion
Blocking IP addresses is an important aspect of maintaining the security and integrity of your online presence. Whether you want to protect your website from malicious activities, prevent spamming, or enhance network performance, there are various methods you can utilize to block specific IP addresses.
In this article, we explored four effective methods for blocking IP addresses:
- Using a firewall: Firewalls provide network-level protection and enable you to create rules to block specific IP addresses or ranges.
- Editing the host file: By modifying the host file on your computer, you can redirect certain domain names to a local IP, effectively blocking access.
- Using a plugin or software: CMS plugins or dedicated software offer a user-friendly way to block IP addresses, providing additional features and control.
- Blocking IP addresses on your server: Configuring your server to block IP addresses ensures comprehensive blocking across all services and applications hosted on the server.
Each method has its benefits and considerations, and the choice depends on your specific needs, technical expertise, and server environment.
When implementing IP blocking, it’s important to strike a balance between security and accessibility. Regular monitoring, updating, and reviewing of blocking rules are essential to ensure that legitimate traffic is not inadvertently blocked, and your blocking strategy remains effective.
In conclusion, understanding and utilizing IP blocking techniques not only enhances the security of your online assets but also helps optimize performance and protect valuable resources. By implementing appropriate IP blocking measures, you can create a safer and more controlled digital environment for yourself, your users, and your network.


