Introduction
Baking bread is a delightful and fulfilling experience that allows you to create delicious homemade loaves. While traditional ovens are commonly used for this task, did you know that you can also bake bread in an electric pressure cooker? This versatile kitchen appliance can be a game-changer when it comes to quickly and easily baking bread to perfection.
Whether you’re a seasoned baker or a beginner, baking bread in an electric pressure cooker provides a convenient alternative with impressive results. The pressure cooker’s sealed environment creates a steamy atmosphere that helps the bread rise evenly, resulting in a tender and moist loaf. Plus, the enclosed cooking space helps to trap and retain heat, facilitating excellent crust development.
In this article, we’ll guide you through a step-by-step process of baking bread in an electric pressure cooker. We’ll cover everything from preparing the dough to serving the final product, ensuring you have all the information you need to create bakery-worthy bread at home.
Before we dive into the process, let’s take a quick look at the equipment and ingredients you’ll need.
Equipment Needed
To bake bread in an electric pressure cooker, you will need the following essential equipment:
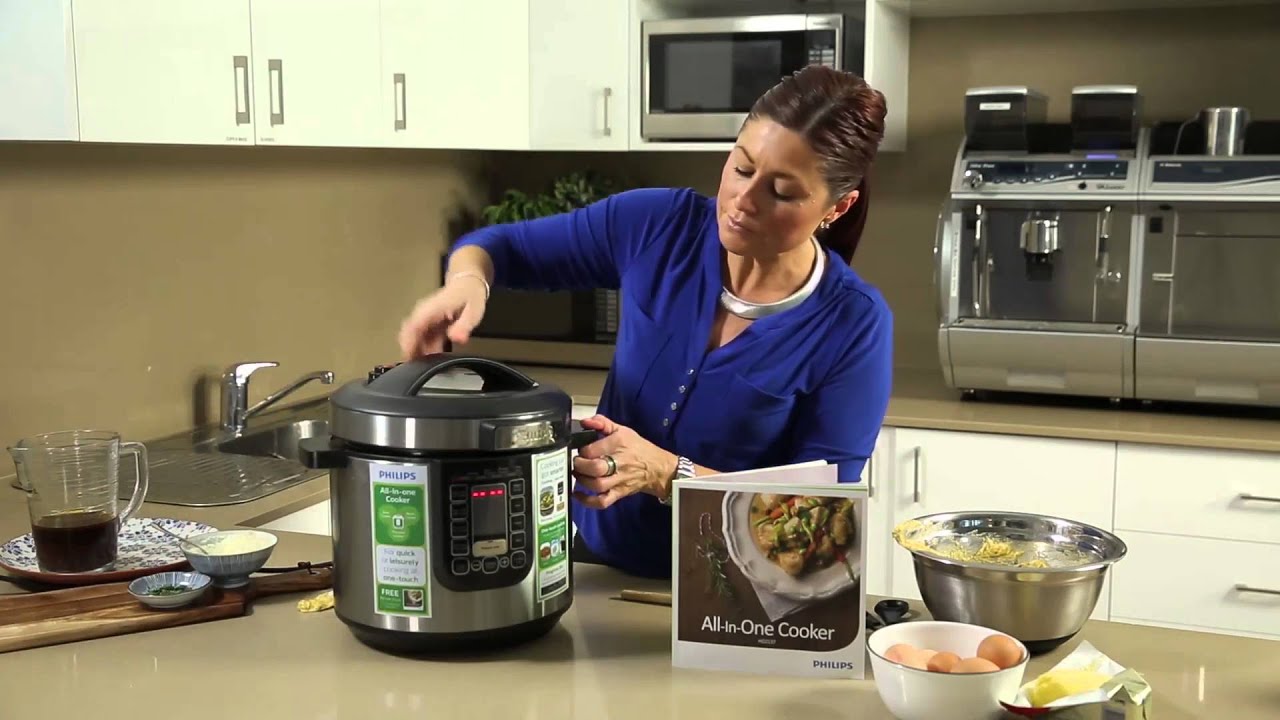
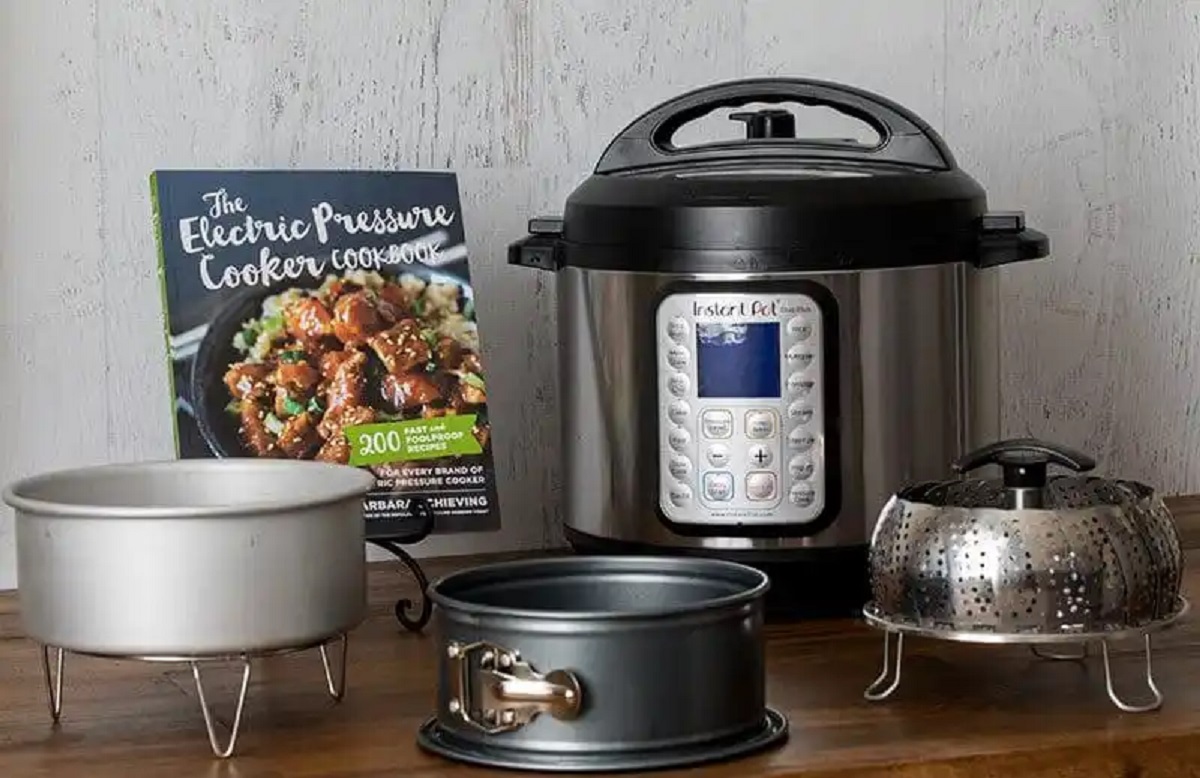
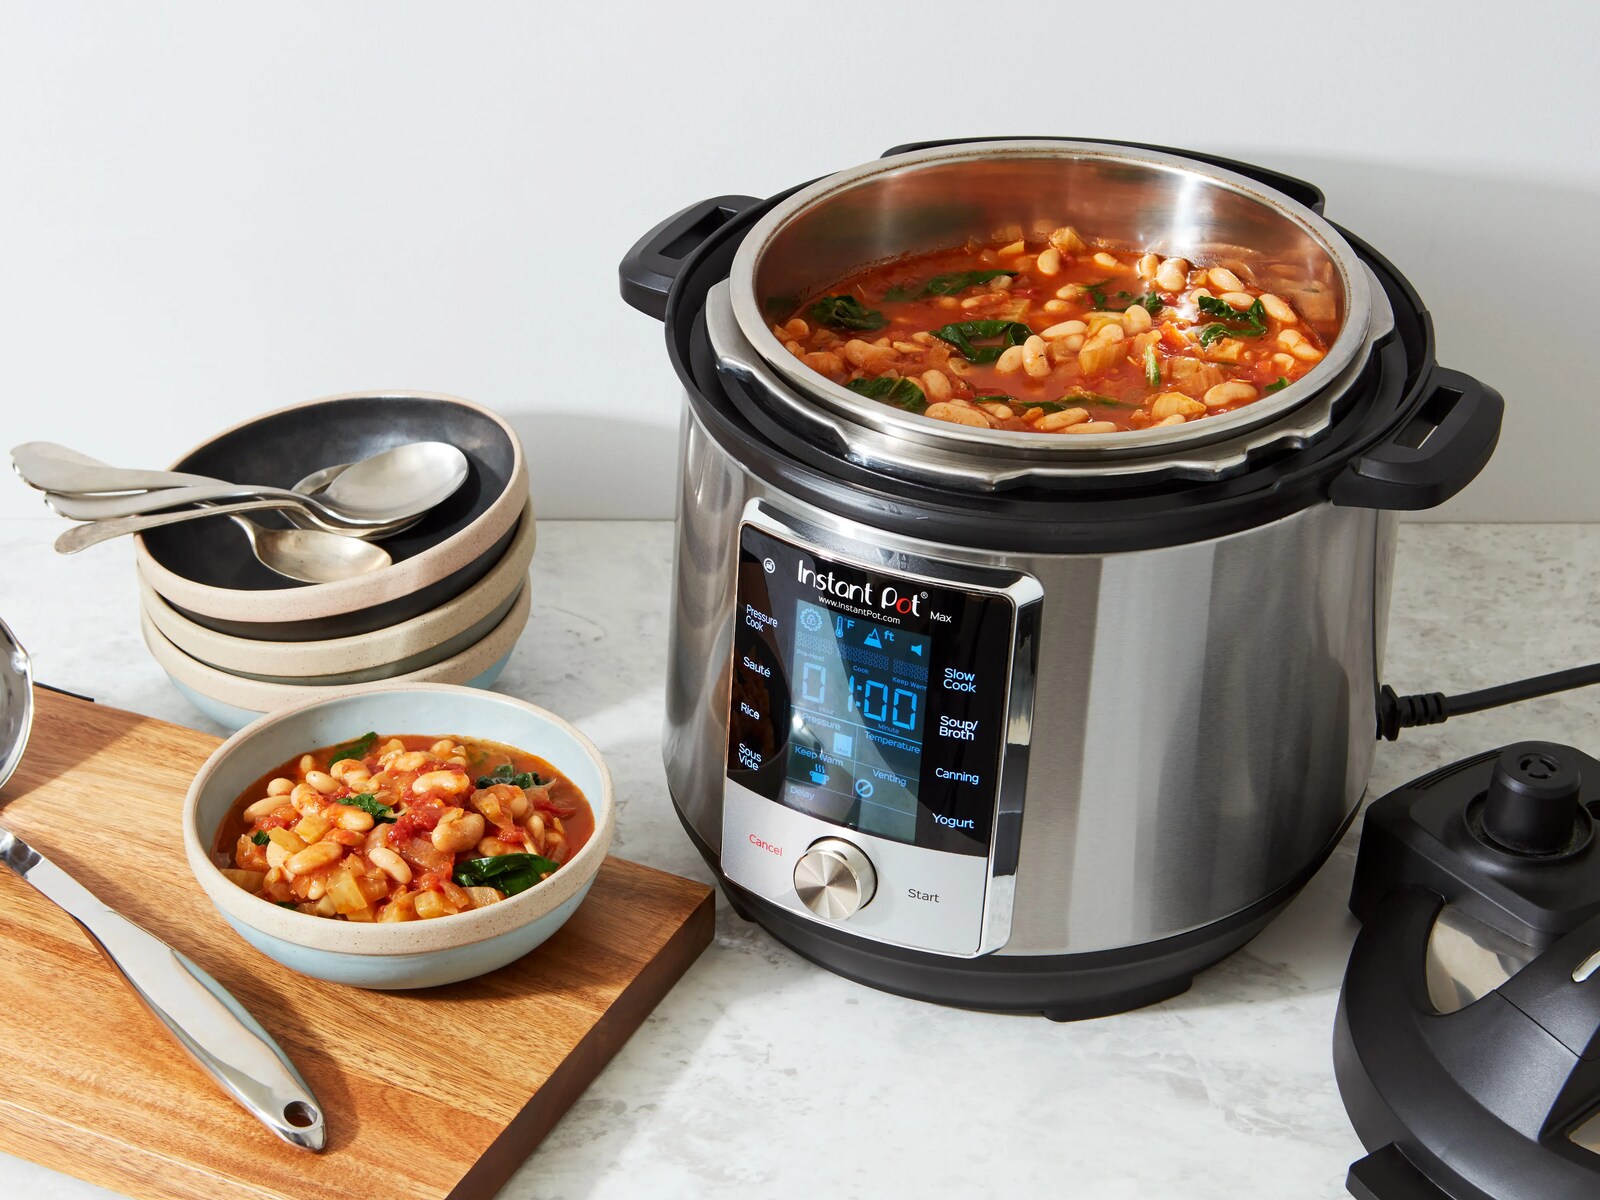
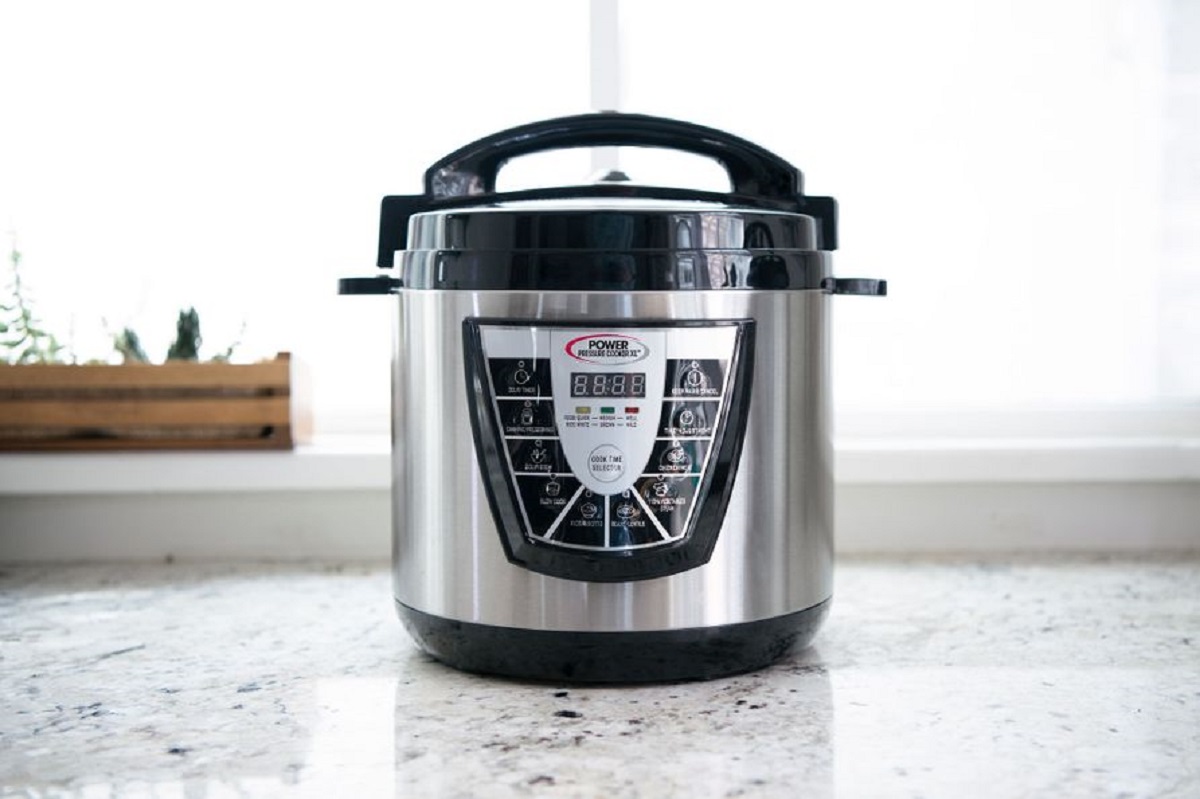
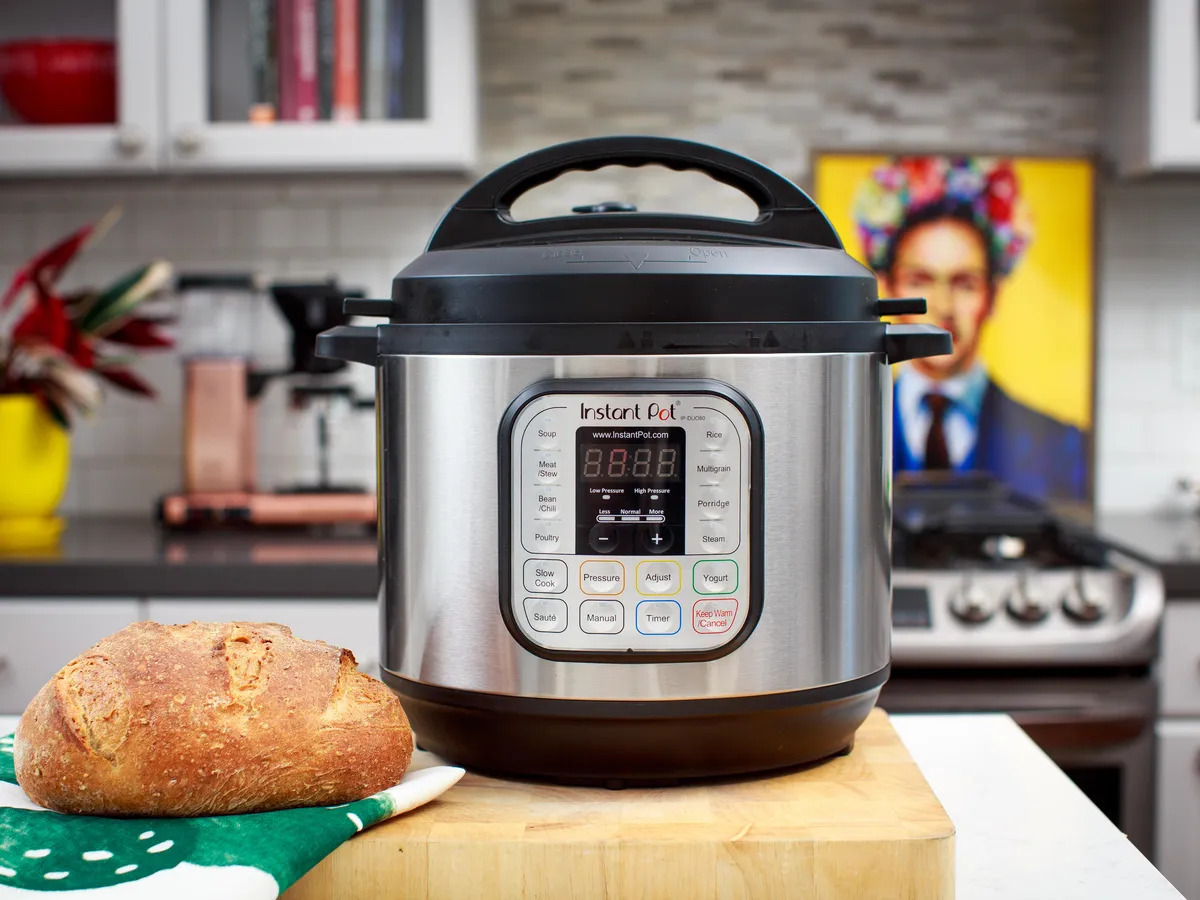
- Electric pressure cooker: Ensure you have a reliable and properly functioning electric pressure cooker with a tight-sealing lid. Different models may have variations in the baking settings, so refer to your specific pressure cooker’s manual for instructions.
- Pressure cooker trivet: This metal stand, often included with the pressure cooker, serves as a platform for the bread dough to rest on during baking. It prevents direct contact with the bottom of the cooker and helps promote even cooking.
- Bread pan: Choose a bread pan that fits comfortably inside your pressure cooker. The size of the pan will depend on the capacity of your pressure cooker. Opt for a pan made of aluminum or silicone for optimal heat conduction and easy release of the bread.
- Mixing bowls and utensils: Have a few mixing bowls of different sizes for preparing the dough. Use a wooden spoon or a sturdy spatula for mixing and a whisk for incorporating ingredients thoroughly.
- Measuring cups and spoons: Accurate measurements are crucial in bread baking. Have both liquid measuring cups and dry measuring cups, along with a set of measuring spoons, to ensure precise measurements of ingredients.
- Kitchen scale: While not essential, a kitchen scale allows you to measure ingredients by weight. This can be particularly helpful when it comes to flour, where slight variations in weight can greatly affect the dough’s consistency.
- Parchment paper or baking mat: To prevent the bread from sticking to the pan, line it with parchment paper or a silicone baking mat. This also aids in easy removal of the baked bread from the pan.
With these tools in hand, you’re well-equipped to embark on your bread baking adventure using an electric pressure cooker. Now, let’s gather the necessary ingredients.
Ingredients
To bake bread in an electric pressure cooker, you’ll need the following ingredients:
- All-purpose flour: This versatile flour is a staple in bread baking. It provides structure and helps the bread rise.
- Yeast: Active dry yeast or instant yeast is needed to leaven the bread and create those beautiful air pockets.
- Water: Water is the primary liquid component in bread dough. Ensure it is warm (around 110°F/43°C) to activate the yeast.
- Salt: Salt adds flavor to the bread and helps regulate the fermentation process.
- Sugar or honey: A small amount of sugar or honey provides food for the yeast, aiding in fermentation and adding a touch of sweetness.
- Olive oil or melted butter: Adding a fat source like olive oil or melted butter improves the bread’s texture and flavor.
- Optional add-ins: You can add various ingredients to enhance the flavor and texture of your bread, such as herbs, spices, seeds, nuts, or dried fruits.
It’s important to note that the exact quantities of these ingredients will depend on the recipe you choose to follow. As you become more comfortable with baking bread in your electric pressure cooker, don’t be afraid to experiment with different types of flour, additional flavorings, or alternative sweeteners to customize your loaves.
Now that you have your equipment and ingredients ready, let’s dive into the step-by-step process of baking bread in an electric pressure cooker.
Step 1: Preparing the Dough
The first step in baking bread in an electric pressure cooker is to prepare the dough. Here’s how:
- Measure the ingredients: Start by measuring the required amount of flour, yeast, salt, sugar or honey, and any optional add-ins, as per your chosen recipe. Accurate measurements are key to achieving the desired texture and taste of the bread.
- Mix the dry ingredients: In a large mixing bowl, whisk together the flour, yeast, salt, and any additional dry ingredients. This ensures even distribution of the yeast and salt throughout the dough.
- Add the wet ingredients: Make a well in the center of the dry ingredients and pour in the warm water and the olive oil or melted butter. Using a wooden spoon or spatula, mix the wet and dry ingredients together until a sticky dough forms.
- Knead the dough: Once the initial mixing is done, transfer the dough onto a clean, floured surface. Knead the dough for about 5-7 minutes, adding more flour if necessary, until you achieve a smooth and elastic texture. This process helps develop the gluten strands in the dough, giving it structure and strength.
- Rest the dough: Place the kneaded dough back into the mixing bowl and cover it with a clean kitchen towel or plastic wrap. Let the dough rest in a warm, draft-free place for about 1-2 hours or until it doubles in size. This is called the proofing or fermentation stage, during which the yeast ferments and releases carbon dioxide, causing the dough to rise.
It’s important to note that the exact timing of the proofing stage may vary depending on factors such as ambient temperature and the yeast used. Keep an eye on the dough to ensure it rises properly.
After completing these steps, your dough is ready to move on to the next stage: shaping.
Step 2: Proofing the Dough
After preparing the dough, the next step in baking bread in an electric pressure cooker is proofing. This stage allows the dough to rise and develop flavor. Here’s how to do it:
- Prepare the proofing area: Find a warm, draft-free spot in your kitchen to allow the dough to proof. You can place the mixing bowl with the dough on the countertop or even inside the turned-off oven (with the oven light on for a gentle source of warmth).
- Cover the dough: To prevent the dough from drying out and to create a moist environment, cover the mixing bowl with a clean kitchen towel or plastic wrap. This helps to trap heat and retain moisture, aiding in the fermentation process.
- Allow time for proofing: Depending on the recipe and ambient conditions, the proofing time may vary. On average, the dough will take 1 to 2 hours to double in size. Keep a close eye on it to gauge when it has sufficiently proofed. The dough should be visibly larger, soft to the touch, and spring back slightly when gently pressed.
- Use the poke test: To check if the dough is ready, perform a simple poke test. Gently press your finger into the dough; if the indentation remains and slowly springs back, it has proofed properly. If the dough springs back quickly, it needs more time to proof. Be careful not to overproof, as this can deflate the dough and negatively affect the final texture of the bread.
While the proofing stage requires patience, it is crucial for developing the bread’s flavor and texture. The longer the dough proofs, the more complex the flavors become.
Once the dough has proofed adequately, it’s time to move on to the next step: shaping the dough into a loaf.
Step 3: Shaping the Dough
Now that your bread dough has proofed and doubled in size, it’s time to shape it into a loaf. Follow these steps to shape the dough:
- Prepare your work surface: Lightly flour a clean countertop or cutting board to prevent the dough from sticking during the shaping process.
- Gently deflate the dough: Carefully remove the proofed dough from the mixing bowl and place it onto the floured surface. Gently press down on the dough to release any excess air and deflate it slightly.
- Shape into a loaf: Fold the edges of the dough towards the center, forming a rectangle. Starting from the top, tightly roll the dough towards you, tucking in the edges as you go. Pinch the seam to seal the loaf.
- Place in a loaf pan: Grease a bread pan with butter or cooking spray to prevent sticking. Carefully transfer the shaped dough into the loaf pan, ensuring it is centered.
- Make decorative slashes (optional): Using a sharp knife or a bread scoring tool, make shallow diagonal slashes on top of the dough. This not only adds a visually appealing touch but also allows the bread to expand while baking.
Shaping the dough is an important step as it helps create structure and gives the bread its final shape. Taking care to shape it properly will result in an evenly baked and visually appealing loaf.
Once the dough is shaped and placed in the loaf pan, it’s time to move on to the next step: adding the dough to the pressure cooker for baking.
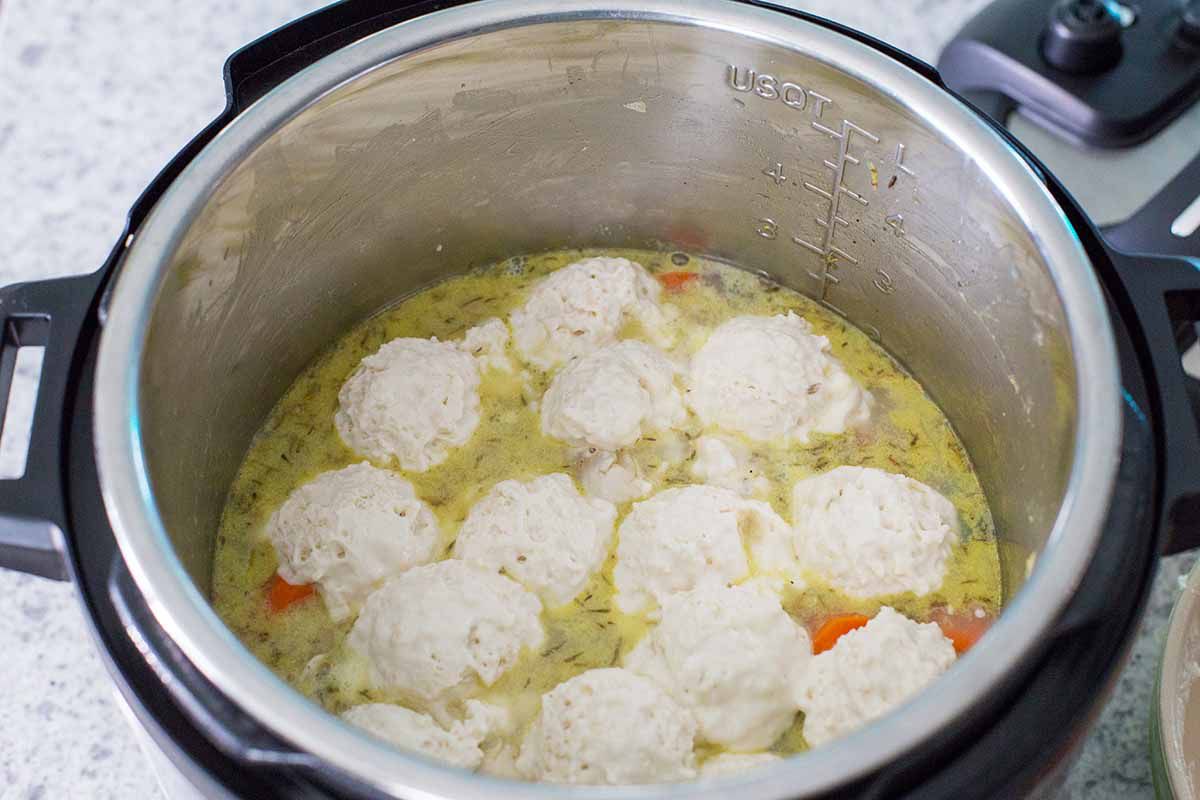
Step 4: Adding the Dough to the Pressure Cooker
With the dough shaped into a loaf, it’s time to transfer it to the electric pressure cooker for baking. Follow these steps to add the dough to the pressure cooker:
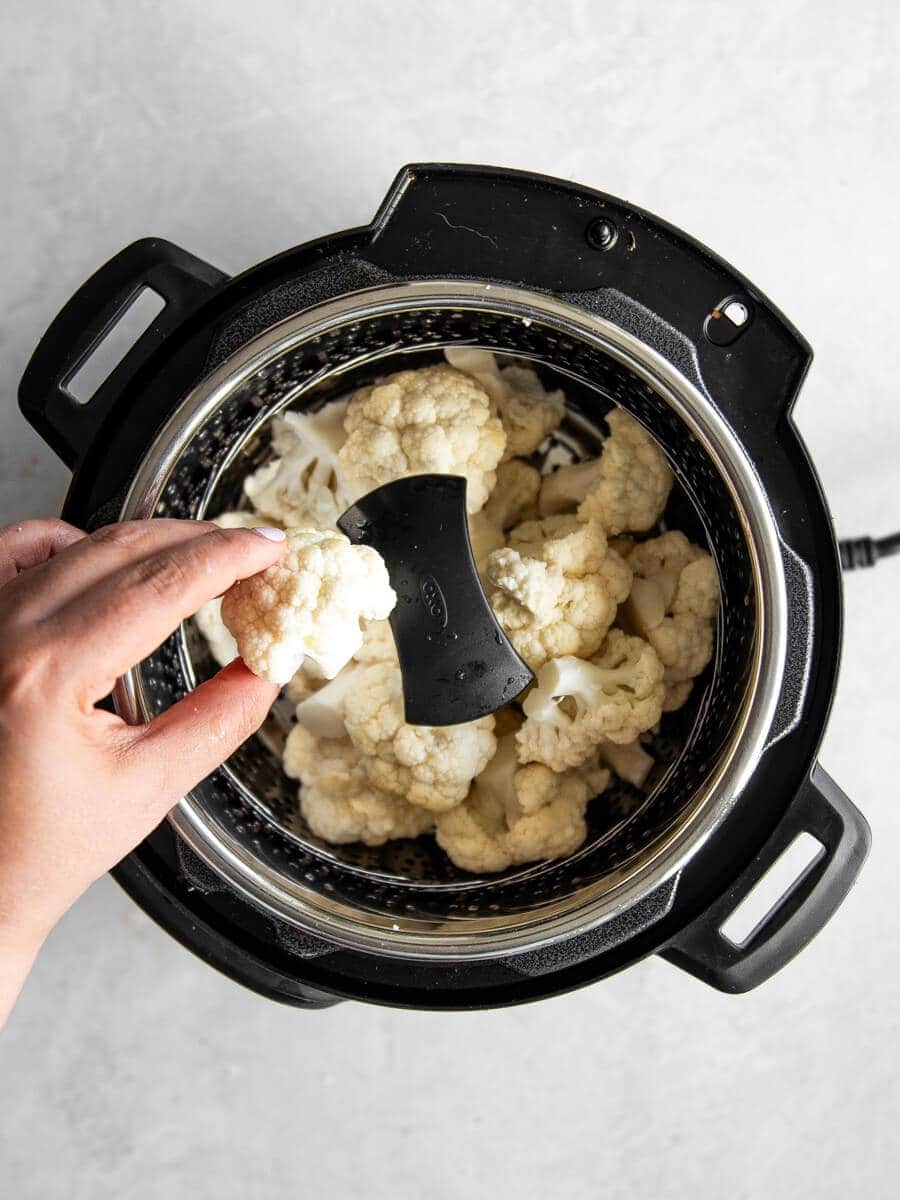
- Prepare the pressure cooker: Ensure that the pressure cooker is clean and dry. Place the trivet inside the pressure cooker – this will provide a raised surface for the bread pan.
- Add water to the pressure cooker: Pour about 1 to 1.5 cups of water into the bottom of the pressure cooker. The exact amount may vary depending on the size of your pressure cooker, but the goal is to create steam during the baking process.
- Place the bread pan on the trivet: Carefully place the bread pan with the shaped dough onto the trivet inside the pressure cooker. Make sure it is centered and positioned securely.
- Close and seal the pressure cooker: Close the pressure cooker lid securely and ensure that the pressure valve is set to the sealing position. This will create a pressurized environment for baking the bread.
It’s important to note that different models of electric pressure cookers may have varying baking settings and options. Consult your specific pressure cooker’s manual for guidance on selecting the appropriate setting for baking bread.
Now that the dough is safely nestled in the pressure cooker, ready for baking, it’s time to move on to the next step: setting the baking time and temperature.
Step 5: Baking the Bread
Now comes the exciting part – baking the bread! The pressure cooker creates the perfect environment for baking, allowing for a moist and evenly cooked loaf. Follow these steps to bake the bread in your electric pressure cooker:
- Set the baking time and temperature: Refer to your specific pressure cooker’s manual for the recommended baking time and temperature for bread. Typically, it will take about 30 to 40 minutes to bake the bread in a pressure cooker.
- Start the baking process: Once you have set the time and temperature, start the baking process by turning on the pressure cooker. The pressure cooker will begin to heat up and build up pressure to create the necessary steam for baking.
- Monitor the baking process: Keep an eye on the pressure cooker’s display to track the remaining baking time. Avoid opening the lid frequently, as this can cause heat loss and affect the baking process. Trust the timer and let the pressure cooker work its magic.
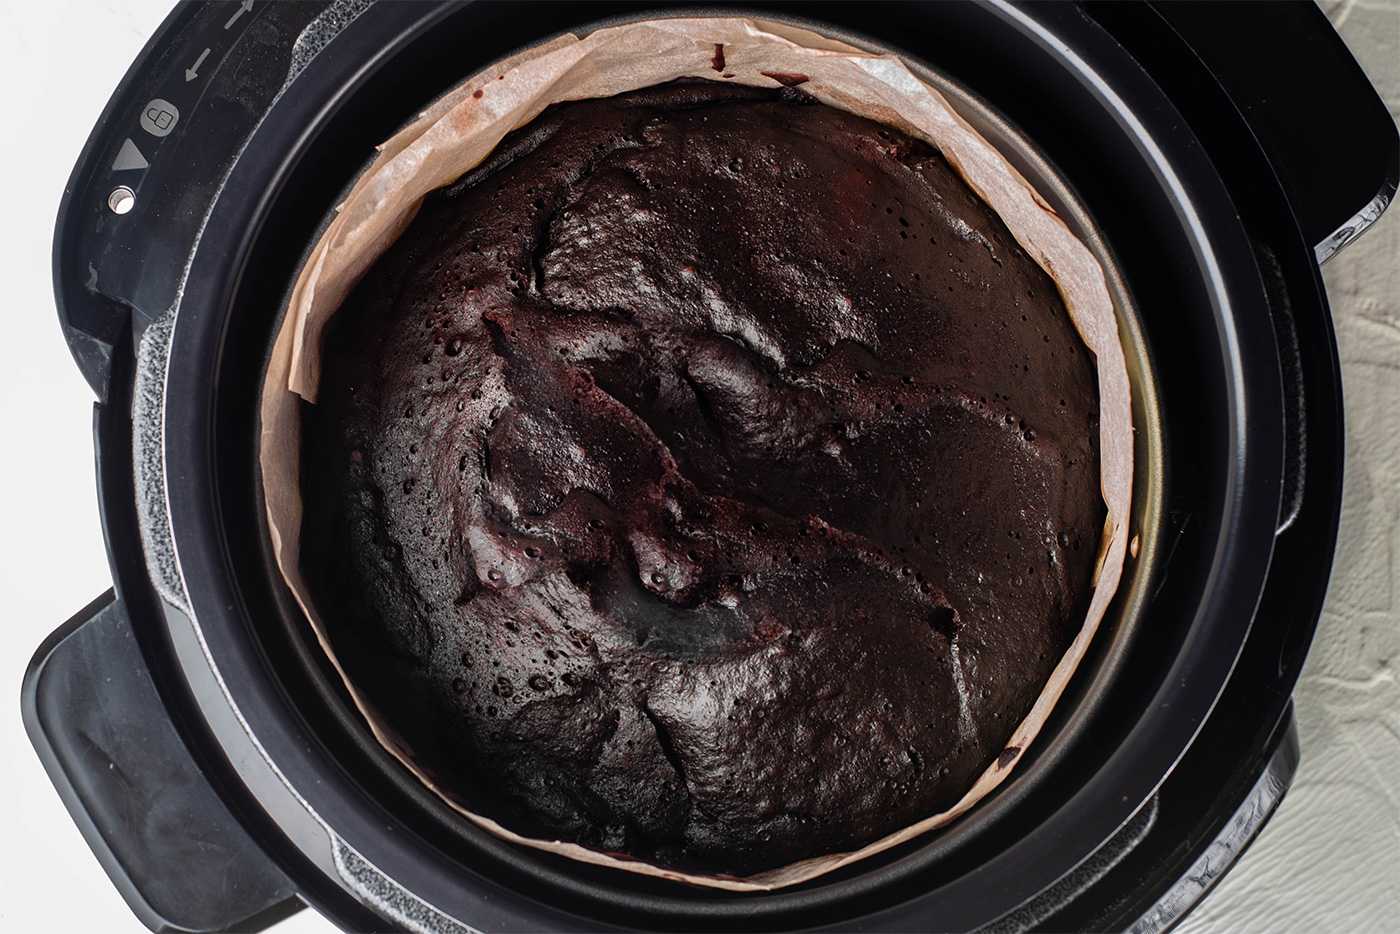
- Test for doneness: When the baking time is almost complete, you can check the doneness of the bread by inserting a toothpick or skewer into the center. If it comes out clean or with a few dry crumbs, your bread is done. If not, continue baking for a few more minutes.
- Carefully remove the bread: Once the bread is baked and done, using oven mitts or heat-resistant gloves, carefully remove the bread pan from the pressure cooker. Place it on a wire rack to cool for a few minutes.
Remember, the baking time can vary depending on the size of the loaf and your specific pressure cooker model. It may take a few attempts to find the perfect baking time and temperature for your recipe. Keep notes and make adjustments as needed for future bakes.
Now that the bread is baked to perfection, there is one final step remaining: cooling and serving the delicious homemade loaf.
Step 6: Cooling and Serving
After successfully baking your bread in the electric pressure cooker, it’s important to allow it to cool properly before slicing and serving. Follow these steps for the final stage:
- Cooling in the pan: Once the bread is out of the pressure cooker, leave it in the bread pan for a few minutes to cool slightly. This allows the bread to settle and makes it easier to remove from the pan.
- Transfer to a wire rack: Use oven mitts or heat-resistant gloves to carefully remove the bread from the pan. Transfer it to a wire rack to cool completely. Cooling on a wire rack helps air circulate around the bread, preventing the bottom from becoming soggy.
- Allow time to cool: Resist the temptation to slice into the bread while it’s still warm. Let the bread cool completely on the wire rack for at least an hour. This allows the moisture in the loaf to redistribute and results in a more even texture.
- Slice and serve: Once the bread has cooled, use a sharp bread knife to slice it into desired thickness. Serve it plain, spread with butter or your favorite toppings, or use it as the base for sandwiches, toast, or bruschetta.
For best results, store the cooled bread in a bread box or in a plastic bag to maintain its freshness. Homemade bread is always best enjoyed within a couple of days, so savor it while it’s at its prime!
Congratulations! You have successfully baked a delicious loaf of bread using an electric pressure cooker. With practice, you’ll become more comfortable with the process and have the opportunity to experiment with different bread recipes and flavors.
Now, go ahead and enjoy your freshly baked bread – a testament to your baking skills!
Conclusion
Baking bread in an electric pressure cooker opens up a world of possibilities for creating homemade loaves with ease and convenience. With the right equipment and ingredients, you can enjoy the satisfaction of baking fresh bread right in your kitchen.
Throughout this article, we’ve outlined a step-by-step process for baking bread in an electric pressure cooker. From preparing the dough to cooling and serving the finished loaf, each stage is crucial in achieving bakery-worthy results.
By utilizing the sealed environment and steam produced in the pressure cooker, you can create bread with a tender crumb and golden crust. The pressure cooker brings efficiency to the baking process, allowing you to enjoy fresh bread in a fraction of the time compared to traditional baking methods.
Remember to be patient and experiment along the way. Each electric pressure cooker model may have slight variations in baking settings, so familiarize yourself with your specific appliance’s manual for optimal results.
Baking bread in an electric pressure cooker not only saves time but also allows you to unleash your creativity. Incorporate different flours, seasonings, and add-ins to customize your loaves and create a unique flavor profile.
So, why not give it a try? Grab your electric pressure cooker, gather the necessary equipment and ingredients, and embark on the exciting journey of baking bread from scratch. With practice, you’ll become more confident, and your friends and family will be amazed at your baking skills.
Enjoy the process, delight in the aroma of freshly baked bread, and savor every slice. Happy baking!