Introduction
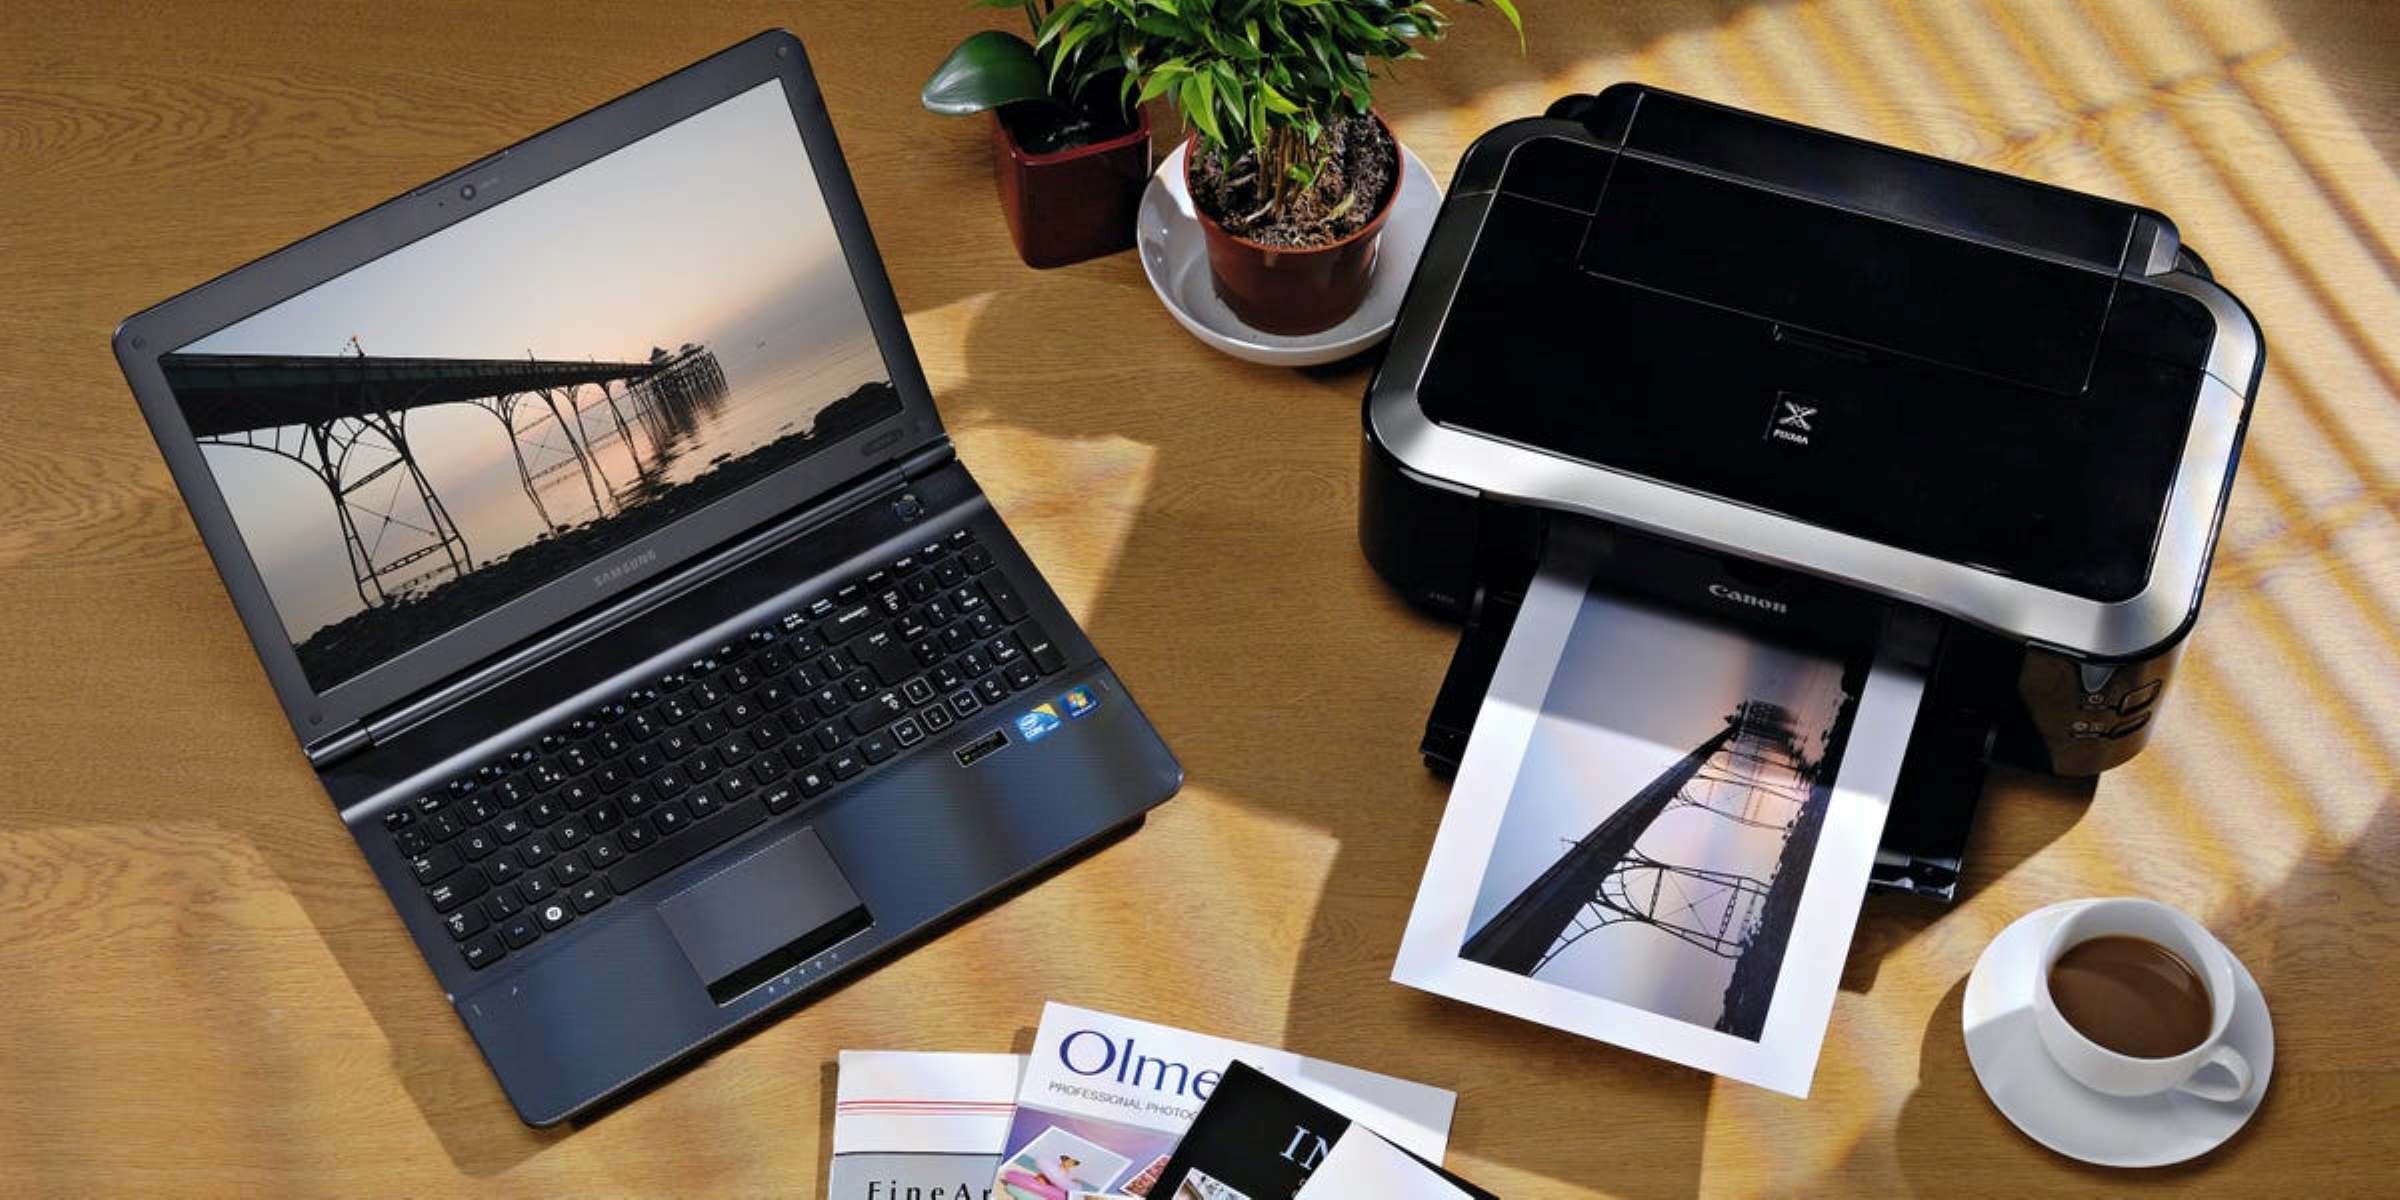
Welcome to the world of wireless printing, where you can conveniently print from any device in your home or office. If you are a Mac user, setting up a wireless printer is a simple process that will allow you to print effortlessly without the hassle of connecting cables. This guide will take you through the steps to add a wireless printer to your Mac and get you printing wirelessly in no time.
Gone are the days when you had to be tethered to your printer by a USB cable. With a wireless printer, you can print from your Mac to any compatible printer within your Wi-Fi network. This means you can print from your laptop, desktop, or even your mobile devices without needing physical access to the printer itself.
Before we jump into the step-by-step process, it is essential to ensure that your printer is compatible with Mac and capable of connecting to a wireless network. Most modern printers are compatible with Mac operating systems, but it is always a good idea to cross-check the compatibility to avoid any potential issues.
Now that we have covered the basics let’s move on to the first step – checking compatibility and ensuring your printer is ready for wireless printing.
Step 1: Check Compatibility
Before diving into the process of adding a wireless printer to your Mac, it is crucial to confirm that your printer is compatible with Mac operating systems. Most modern printers are compatible with Mac, but it’s always a good idea to double-check this information to avoid any compatibility issues.
Start by checking the printer’s documentation or manufacturer’s website for compatibility details. Look for information on whether the printer supports Mac operating systems and wireless connectivity. Additionally, you can search online forums or communities to see if other Mac users have successfully added the same printer model to their devices.
If the printer is listed as compatible, it’s time to move on to the next step. However, if you discover that your printer is not compatible with Mac or lacks wireless capabilities, you may need to consider alternative options. This could involve purchasing a new printer that meets your requirements or utilizing third-party software that enables wireless printing functionality.
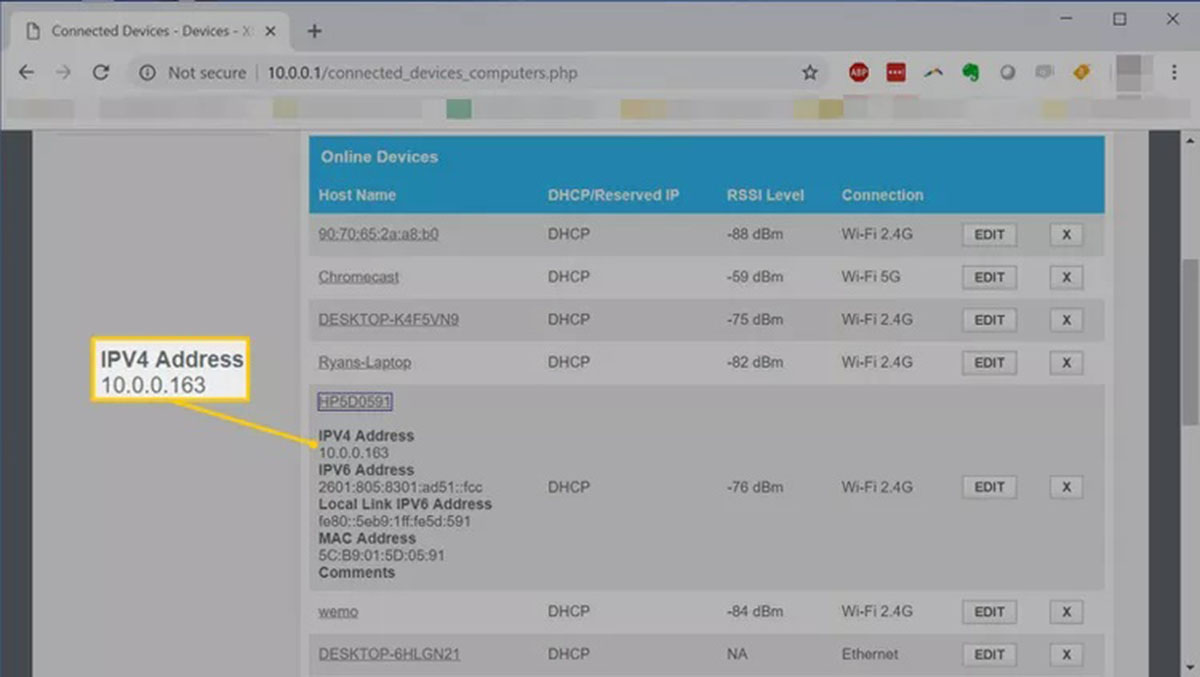
Once you have confirmed the compatibility of your printer, you can proceed to connect your printer to the Wi-Fi network. This will enable your Mac to communicate with the printer wirelessly and allow for seamless printing from your device.
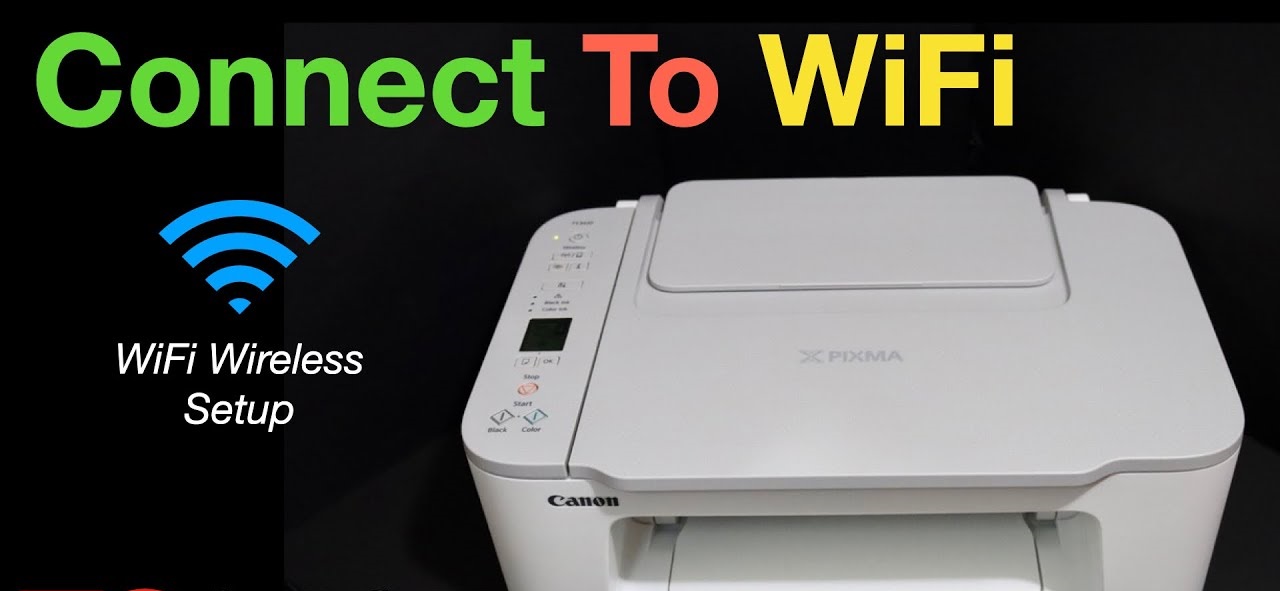
Step 2: Connect your printer to Wi-Fi
Now that you have confirmed the compatibility of your printer with your Mac, it’s time to connect your printer to the Wi-Fi network. This step is crucial in establishing a wireless connection between your Mac and the printer. Follow the instructions below to connect your printer to Wi-Fi:
- Power on your printer and ensure it is in a ready state.
- Access the settings menu on your printer. The process for this may vary depending on the printer model, so refer to your printer’s manual for specific instructions.
- Look for the network or wireless settings option in the printer’s menu. Select it to start the Wi-Fi setup process.
- Your printer will search for available Wi-Fi networks. Select your network from the list.
- If your Wi-Fi network is secured, you will be prompted to enter the network’s password. Enter the password using the printer’s control panel and follow any additional prompts to complete the connection process.
- Once the printer successfully connects to your Wi-Fi network, it will display a confirmation message.
With your printer now connected to Wi-Fi, you can proceed to add the printer on your Mac. This will enable your Mac to detect and communicate with the printer wirelessly, allowing for seamless printing without the need for cables or direct connectivity.
Step 3: Add the Printer on Your Mac
After successfully connecting your printer to the Wi-Fi network, the next step is to add the printer on your Mac. This will allow your Mac to detect and communicate with the printer wirelessly. Follow the instructions below to add the printer on your Mac:
- On your Mac, click on the Apple menu located at the top left corner of the screen and select “System Preferences.”
- In the System Preferences window, click on “Printers & Scanners.”
- Click on the “+” button located below the printer list on the left side of the window.
- Your Mac will search for available printers on the network. Wait for it to display a list of detected printers.
- Select your wireless printer from the list.
- If your Mac prompts you to install software or drivers for the printer, click on “Install” and follow the on-screen instructions. This step is necessary to ensure proper functionality between your Mac and the printer.
- Once the installation is complete, your printer will be added to the printer list on your Mac.
At this point, you have successfully added the printer on your Mac, and it is ready for use. However, for optimal performance and compatibility, it is recommended to install the necessary drivers for the printer.
In the next step, we will guide you through the process of installing the necessary drivers on your Mac to ensure smooth printing operations.
Step 4: Install the Necessary Drivers
After adding your wireless printer to your Mac, it’s important to install the necessary drivers to ensure proper functionality and compatibility. Printer drivers are software programs that act as a bridge between your Mac and the printer, allowing them to communicate effectively. Follow the steps below to install the necessary drivers:
- Visit the official website of your printer’s manufacturer.
- Look for the “Support” or “Downloads” section on the website.
- Enter your printer model number or select it from the list of available models.
- Choose your Mac operating system version from the options provided.
- Download the latest version of the driver software for your printer and operating system.
- Open the downloaded driver file and follow the on-screen instructions to install the driver on your Mac.
- Once the installation is complete, restart your Mac to ensure that the drivers are properly loaded.
By installing the appropriate drivers, you can take advantage of all the features and printing capabilities that your wireless printer offers. This step also ensures that your Mac and printer are compatible, resulting in a seamless printing experience.
Now that you have installed the necessary drivers, it’s time to move on to the final step of the process – testing the printer to ensure it is working correctly.
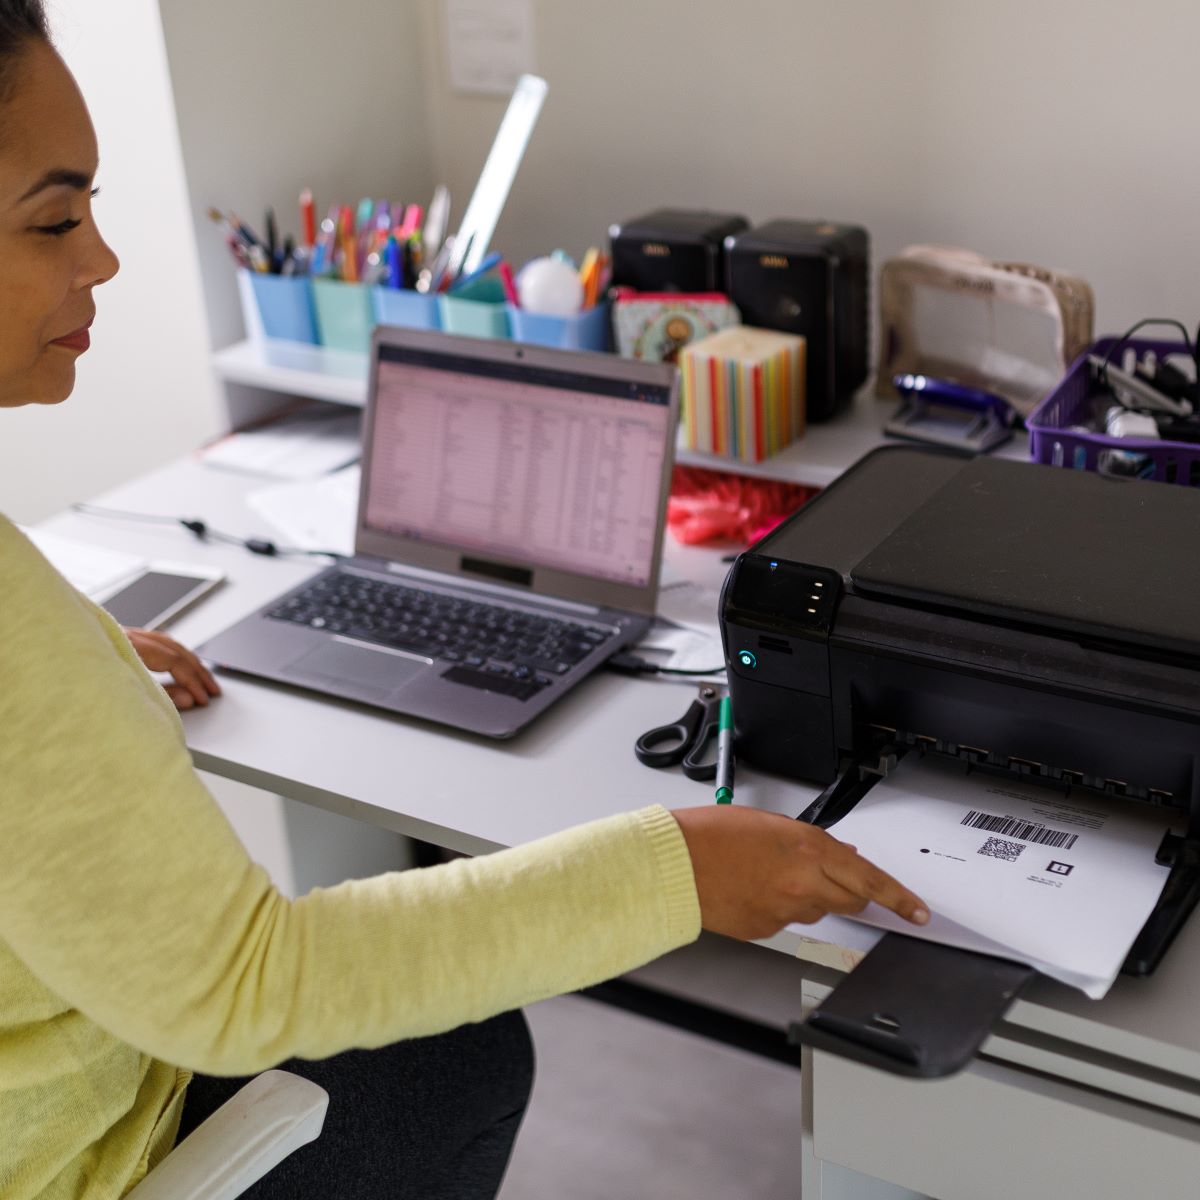
Step 5: Test the Printer
Congratulations! You’ve reached the final step in the process of adding a wireless printer to your Mac. Now it’s time to test the printer and ensure that it is working correctly. Follow the steps below to perform a test print:
- Open any document or file that you want to print, such as a text document, image, or PDF.
- Click on the “File” menu and select “Print” or use the Command+P keyboard shortcut.
- In the print dialog box that appears, make sure that your wireless printer is selected as the default printer.
- Adjust any print settings, such as the number of copies, paper size, or print quality, according to your preferences.
- Click on the “Print” button to send the print job to your wireless printer.
- Wait for the printer to process the print job and produce the printed output.
- Check the printed output to ensure that it matches your expectations and that all elements are printed correctly.
If the test print is successful, congratulations! Your wireless printer is set up and ready to use with your Mac. You can now enjoy the convenience of wirelessly printing from your Mac to your printer without the need for cables or direct connectivity.
However, if the test print is not successful or if you encounter any issues, double-check the printer’s connection to the Wi-Fi network and make sure that it is properly set up. You may also refer to the printer’s manual or the manufacturer’s support resources for troubleshooting steps specific to your printer model.
Once you have verified that your wireless printer is working correctly, you can start printing documents, photos, and other files from your Mac wirelessly with ease.
Conclusion
Adding a wireless printer to your Mac is a straightforward process that allows you to print conveniently from anywhere within your Wi-Fi network. By following the steps outlined in this guide, you can connect your printer to Wi-Fi, add it to your Mac, install the necessary drivers, and test it to ensure proper functionality.
Wireless printing offers numerous advantages, such as eliminating the need for cables and allowing for printing from multiple devices. With your wireless printer set up on your Mac, you can effortlessly print documents, photos, and other files without the hassle of connecting and disconnecting cables.
Remember to periodically check for software updates and driver updates for your printer to ensure compatibility and access to the latest features. Additionally, if you encounter any difficulties during the setup or have ongoing issues with your wireless printer, don’t hesitate to consult the printer’s manual or reach out to the manufacturer’s support resources for assistance.
Now that you are equipped with the knowledge and steps to add a wireless printer to your Mac, you can enjoy the convenience and freedom of wireless printing for all your printing needs.