Introduction
Adding a printer to your computer network can greatly improve productivity and streamline your day-to-day printing needs. Whether you’re using a Windows operating system or a Mac, the process of adding a printer with an IP address is relatively straightforward. In this guide, we will walk you through the step-by-step instructions on how to add a printer with an IP address to your computer.
Printers with IP addresses can be connected to your network, allowing multiple users to access the printer remotely. This eliminates the need for physical connections or the inconvenience of sharing printers through a single computer. With the printer’s IP address, you can easily add it to your computer and start printing within a few minutes.
Before we jump into the implementation steps, it’s essential to ensure that you have the necessary information and equipment in place. Be sure to have the printer’s IP address, network credentials, and a reliable internet connection. Having these details readily available will make the setup process much smoother.
Now, let’s dive into the step-by-step guide on how to add a printer with an IP address to your computer.
Step 1: Gather the necessary information
Before you can add a printer with an IP address to your computer, you will need to gather some essential information. Here’s what you need:
- The printer’s IP address: This is a unique numerical address assigned to the printer on your network. You can usually find this information in the printer’s manual or by accessing the printer’s control panel. If you’re unsure how to locate the IP address, you can consult the manufacturer’s website or contact their support team for assistance.
- Network credentials: Depending on your network security settings, you may need to enter your network username and password to connect the printer. Make sure you have this information readily available.
- A reliable internet connection: Ensure that your computer is connected to the same network as the printer. This can be a wired or wireless connection.
- Compatibility: Verify that your operating system is compatible with the printer. Most modern printers support both Windows and Mac operating systems, but it’s always a good idea to check for any specific requirements or compatibility issues.
Taking the time to gather this information beforehand will save you time and frustration during the setup process. Once you have all the necessary information, you’re ready to move on to the next step: connecting the printer to the network.
Step 2: Connect the printer to the network
Now that you have gathered the necessary information, it’s time to connect the printer to your computer network. Here’s how to do it:
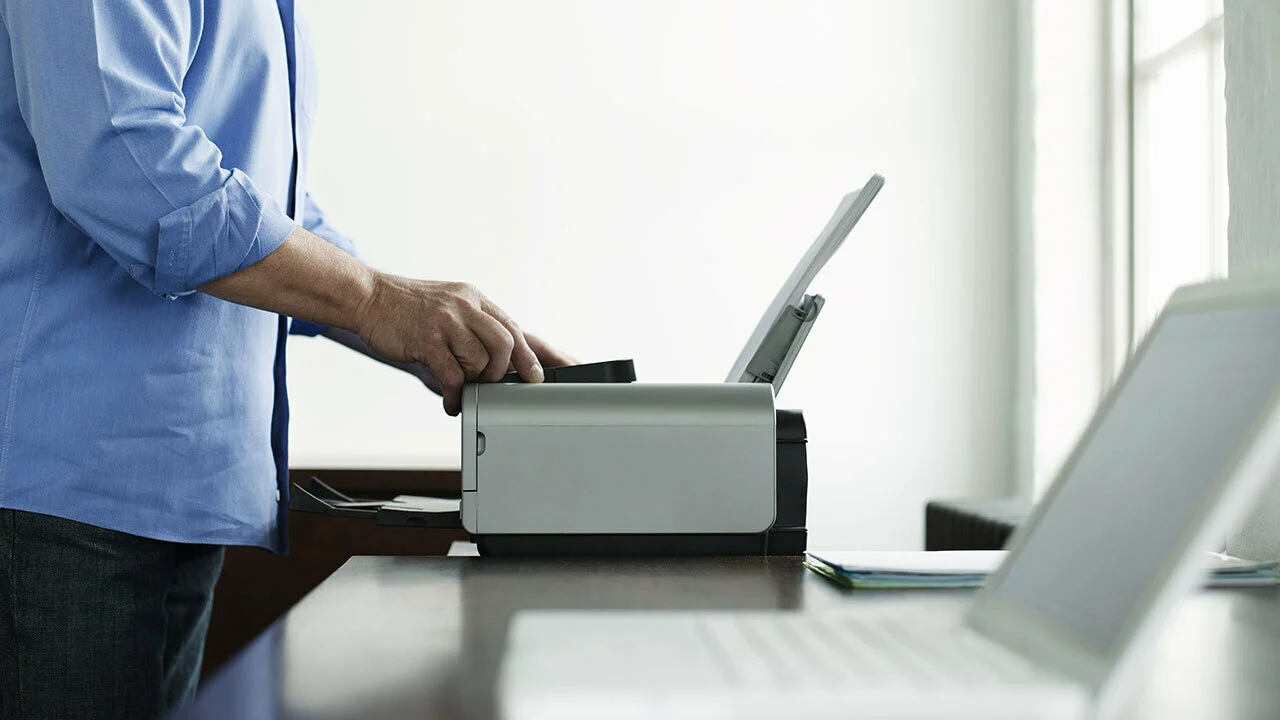
- Power on the printer: Make sure the printer is plugged into a power source and turned on. You should see the printer’s control panel light up or display a startup message.
- Access the network settings: Using the printer’s control panel or display, navigate to the network settings menu. This may vary depending on the make and model of your printer. Refer to the printer’s manual if you’re unsure how to access the network settings.
- Select the wireless network: From the network settings menu, choose the option to connect to a wireless network. The printer will scan for available networks, and you should see a list displayed on the control panel.
- Enter network credentials: If your wireless network is password-protected, you will need to enter the network credentials to establish a connection. Use the printer’s control panel to enter the username and password, following the on-screen instructions.
- Wait for the connection: Once you have entered the network credentials, the printer will attempt to connect to the network. This process may take a few minutes, so be patient. The printer’s control panel should indicate when the connection is successful.
After successfully connecting the printer to the network, you are now ready to find the printer’s IP address, which we will cover in the next step. Having the printer connected to the network is an essential step in ensuring a seamless printing experience across multiple devices.
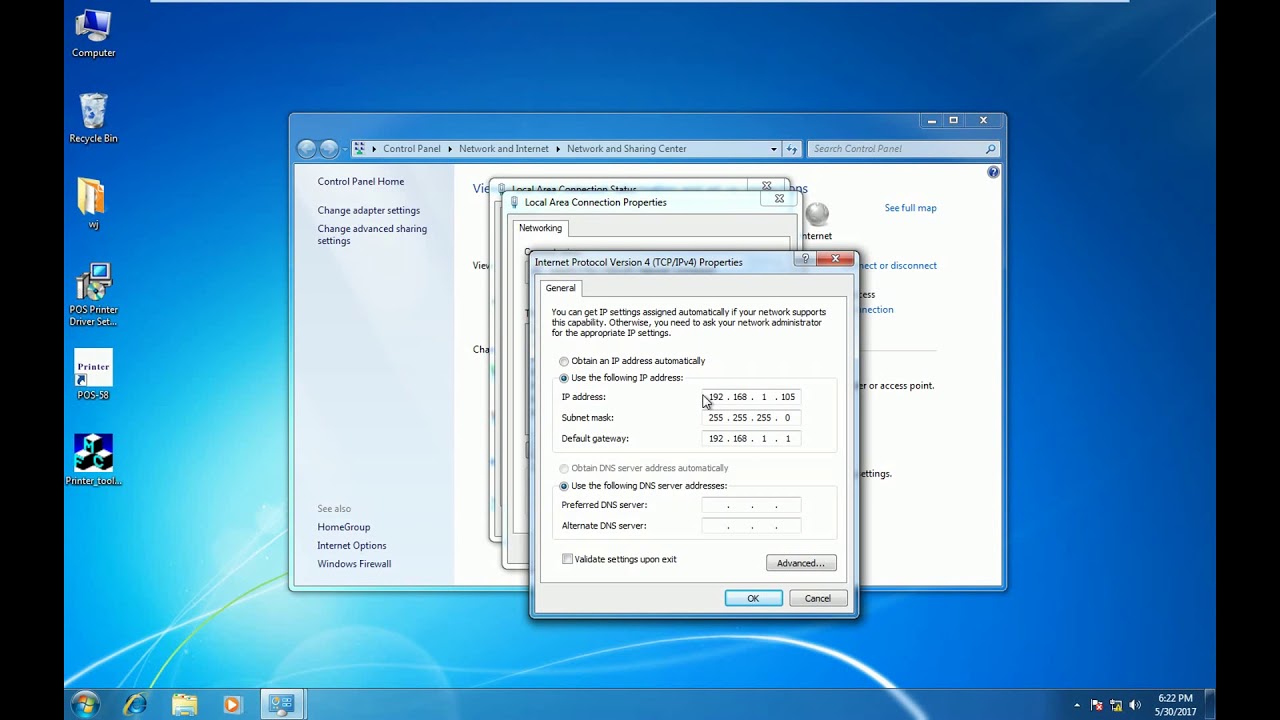
Step 3: Find the printer’s IP address
Once you have connected the printer to your network, the next step is to find the printer’s IP address. The IP address is a unique identifier that allows your computer to communicate with the printer on the network. Here’s how you can find the printer’s IP address:
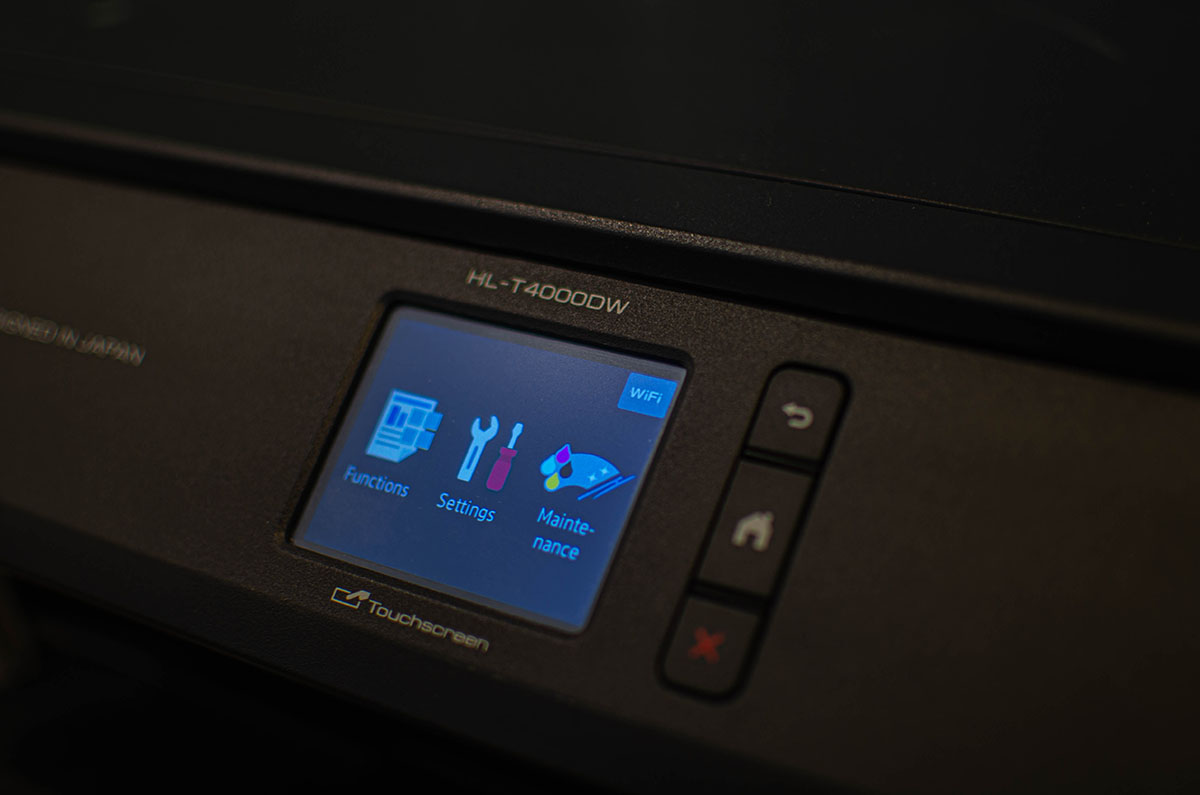
- Access the printer’s control panel or display: Use the printer’s control panel to navigate to the network settings or connectivity menu. Look for an option that displays network information or TCP/IP settings.
- Check the network configuration: Within the network settings, you should find the printer’s IP address listed. It may be labeled as IP Address, TCP/IP address, or something similar. Take note of the IP address as you will need it for the next steps.
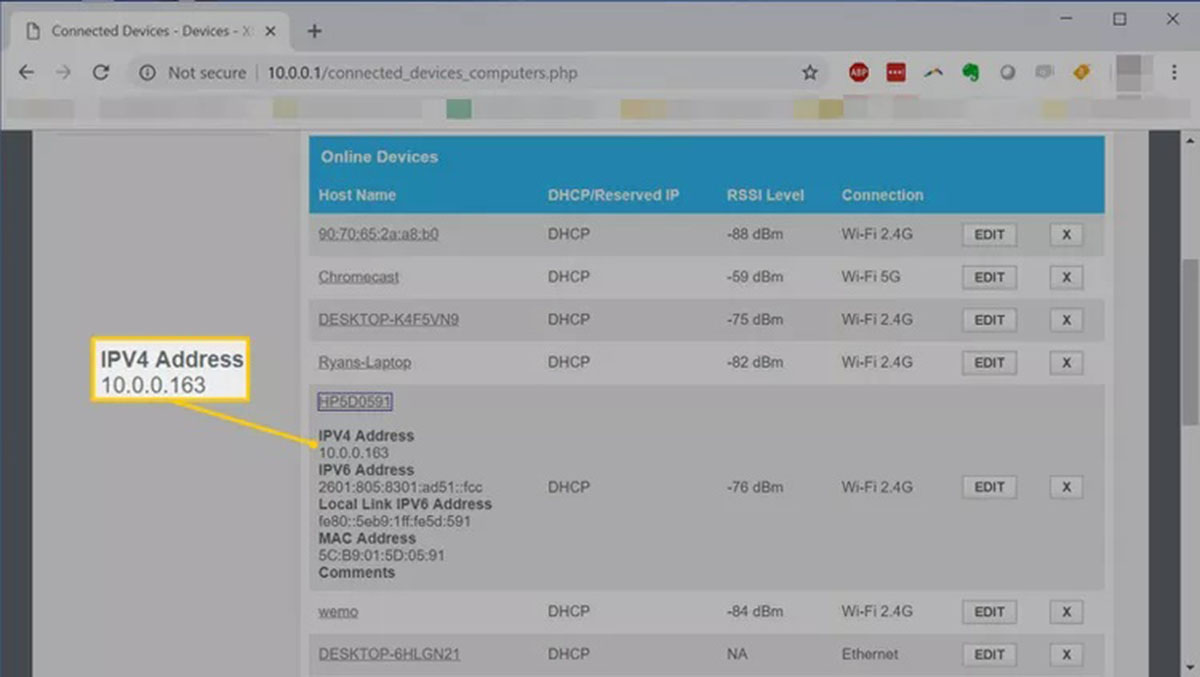
- Use network utilities: If you are unable to find the IP address on the printer’s control panel, you can utilize network utilities on your computer to discover the printer’s IP address. There are various tools available, such as the Command Prompt or Network Configuration page, that can scan and display a list of devices connected to your network along with their IP addresses.
- Consult the printer’s manual or manufacturer’s website: If all else fails, refer to the printer’s manual or visit the manufacturer’s website for detailed instructions on how to find the IP address of your specific printer model. They may provide specific steps or software tools to assist you in locating the IP address.
Once you have successfully obtained the printer’s IP address, you are ready to proceed with adding the printer on your Windows or Mac computer. This step is crucial in establishing the connection between your computer and the printer, enabling you to print documents effortlessly.
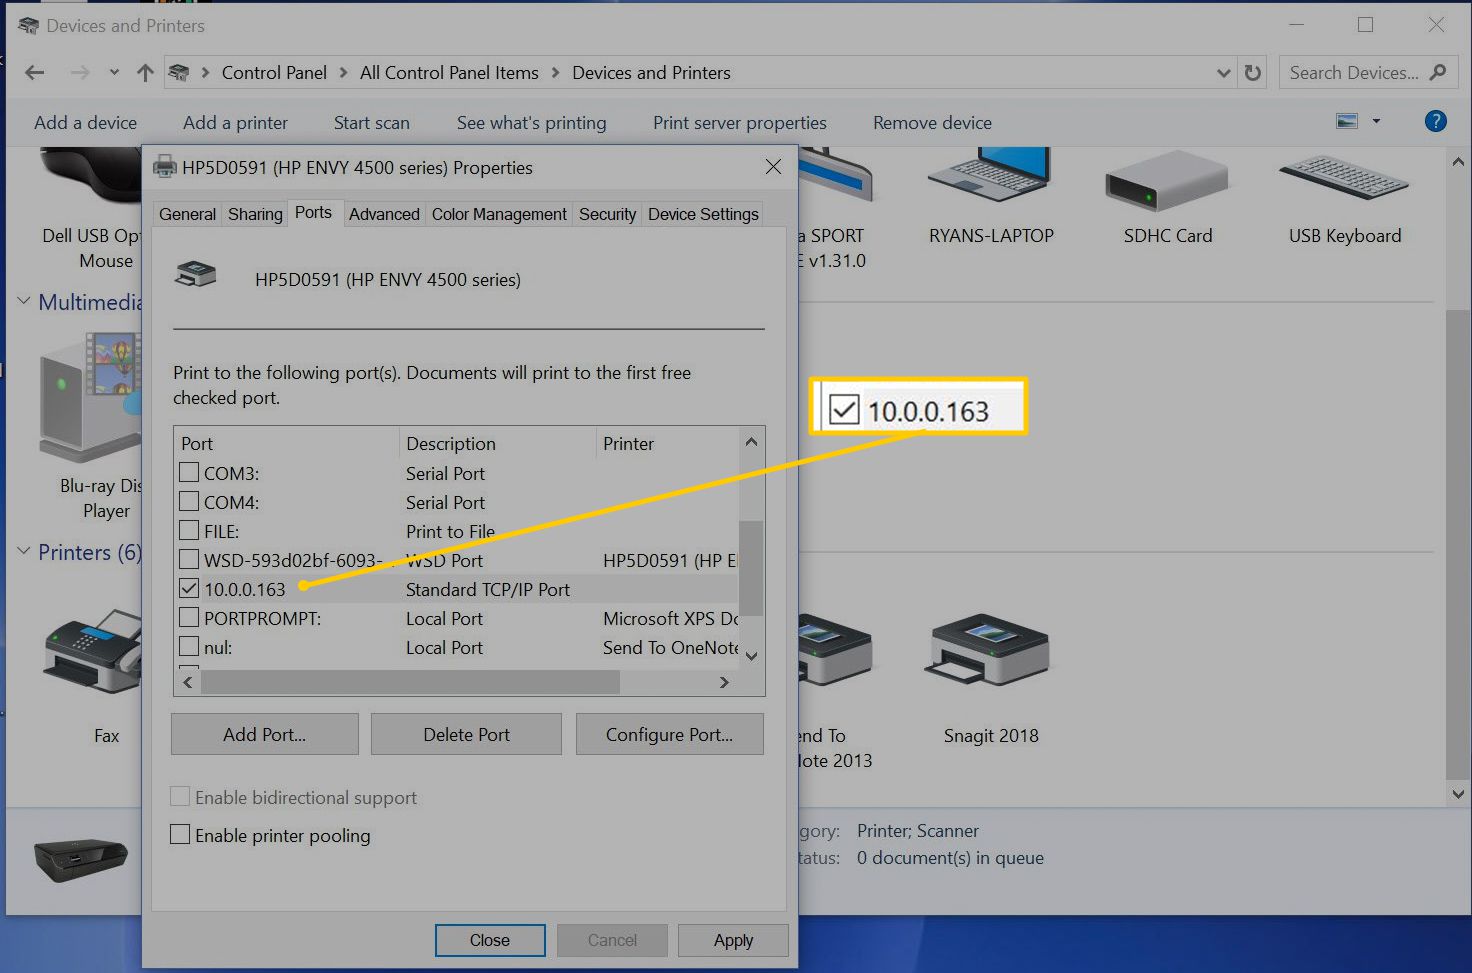
Step 4: Add the printer on Windows
Adding a printer on Windows is a straightforward process. Once you have the printer’s IP address, follow these steps to add the printer to your Windows computer:
- Open the Control Panel: Click on the “Start” button and search for “Control Panel.” Open the Control Panel from the search results.
- Select “Devices and Printers”: In the Control Panel window, locate the “Devices and Printers” option and click on it.
- Click on “Add a printer”: On the top toolbar, click on the “Add a printer” option. This will start the printer setup wizard.
- Choose “Add a network, wireless, or Bluetooth printer“: In the printer setup wizard, select the option to add a network, wireless, or Bluetooth printer.
- Enter the printer’s IP address: In the next window, you will be prompted to enter the printer’s IP address. Type in the IP address you obtained from the previous step.
- Follow the on-screen instructions: Windows will attempt to connect to the printer using the provided IP address. Follow the on-screen instructions to complete the setup process.
- Test the printer: Once the printer is successfully added, try printing a test page or document to ensure that the connection is working correctly.
That’s it! You have successfully added the printer to your Windows computer. Now you can enjoy the convenience of printing documents directly from your computer to the printer over the network.
Step 5: Add the printer on Mac
If you are using a Mac computer, adding a printer with an IP address is also a simple process. Here’s how you can add the printer to your Mac:
- Click on the Apple menu: In the top-left corner of your screen, click on the Apple menu icon.
- Select “System Preferences”: From the dropdown menu, select “System Preferences” to open the system settings window.
- Choose “Printers & Scanners”: In the System Preferences window, click on the “Printers & Scanners” icon to access the printer settings.
- Click on the “+” button: On the left side of the Printers & Scanners window, click on the “+” button to add a new printer.
- Choose “IP” tab: In the printer selection window, choose the “IP” tab at the top.
- Enter printer information: Fill in the following information:
- Address: Enter the printer’s IP address.
- Protocol: Select “Line Printer Daemon – LPD” or “Internet Printing Protocol – IPP.”
- Name: Give the printer a recognizable name.
- Use: Select the printer’s software driver.
- Click “Add”: Once you have entered the printer information, click on the “Add” button to add the printer to your Mac.
- Test the printer: After the printer is successfully added, try printing a test page or document to ensure that it is functioning correctly.
That’s it! You have now added the printer to your Mac computer. You can now easily print from your Mac to the printer using its IP address.
Step 6: Test the printer connection
After adding the printer to your computer, it’s essential to test the printer connection to ensure everything is working correctly. Here’s how you can test the printer connection:
- Open a document or file: Open any document or file that you want to print.
- Select the print command: Use the keyboard shortcut “Ctrl+P” (Windows) or “Command+P” (Mac) to bring up the print dialog box. Alternatively, you can go to the “File” menu and select the “Print” option.
- Choose the printer: From the print dialog box, select the printer that you added with the IP address. This should be listed as one of the available printers.
- Adjust print settings (if needed): If necessary, make any adjustments to the print settings, such as selecting the number of copies, paper size, or print quality.
- Click “Print”: Once you have configured the print settings, click on the “Print” button to start the printing process.
- Verify successful printing: Wait for the printer to complete the printing process. Ensure that the printed document comes out as expected without any issues or errors.
If the document prints successfully, congratulations! You have successfully tested the printer connection and can now confidently use the printer for all your printing needs. However, if you encounter any problems during the printing process, double-check the printer’s connection, IP address, and print settings to ensure they are correctly configured.
Remember, the printer’s IP address may change if the printer is disconnected from the network or assigned a new IP address by your network’s DHCP server. If you experience any issues with the printer connection in the future, you may need to update the printer’s IP address on your computer to ensure an uninterrupted printing experience.
Conclusion
Adding a printer with an IP address to your computer network can significantly improve your printing experience by allowing multiple users to access the printer remotely. Whether you are using a Windows or Mac computer, the process of adding a printer with an IP address is relatively straightforward.
In this guide, we walked you through the step-by-step instructions on how to add a printer with an IP address to your computer. We started by gathering the necessary information such as the printer’s IP address and network credentials. Then, we showed you how to connect the printer to the network and find its IP address. We covered the specific steps to add the printer on both Windows and Mac operating systems. Finally, we emphasized the importance of testing the printer connection to ensure everything is working correctly.
By following these steps, you can easily set up and configure your printer for seamless printing across your computer network. Remember to keep the printer’s IP address handy, as it may be required for future troubleshooting or updates.
Now that you have successfully added and tested the printer connection, you can enjoy the convenience of printing documents from your computer to the printer without the need for physical connections. Whether you’re a home-based user or a busy office environment, adding a printer with an IP address can enhance efficiency and productivity in your printing tasks.
We hope this guide has been informative and has helped you successfully add a printer with an IP address to your computer. Happy printing!