Introduction
Managing inventory is a crucial aspect of running a successful business. It ensures that you have the right products available to fulfill customer orders, keeps track of stock levels, and helps you make informed decisions about purchasing and selling items. QuickBooks, the popular accounting software, offers a comprehensive solution for managing inventory effectively.
Whether you run a retail store, an e-commerce business, or any other type of company that deals with inventory, QuickBooks provides a user-friendly interface and powerful features to streamline your inventory management process. In this guide, we will walk you through the steps of adding inventory items in QuickBooks, from setting up your inventory to tracking and managing stock levels.
By following these steps and utilizing QuickBooks’ inventory management capabilities, you’ll be able to keep accurate records, avoid stockouts or overstocks, and gain insights into your inventory’s performance. Let’s dive in and learn how to add inventory items in QuickBooks!
Step 1: Set up your inventory items
Before you can start adding inventory items in QuickBooks, you need to set up your inventory properly. Here’s how:
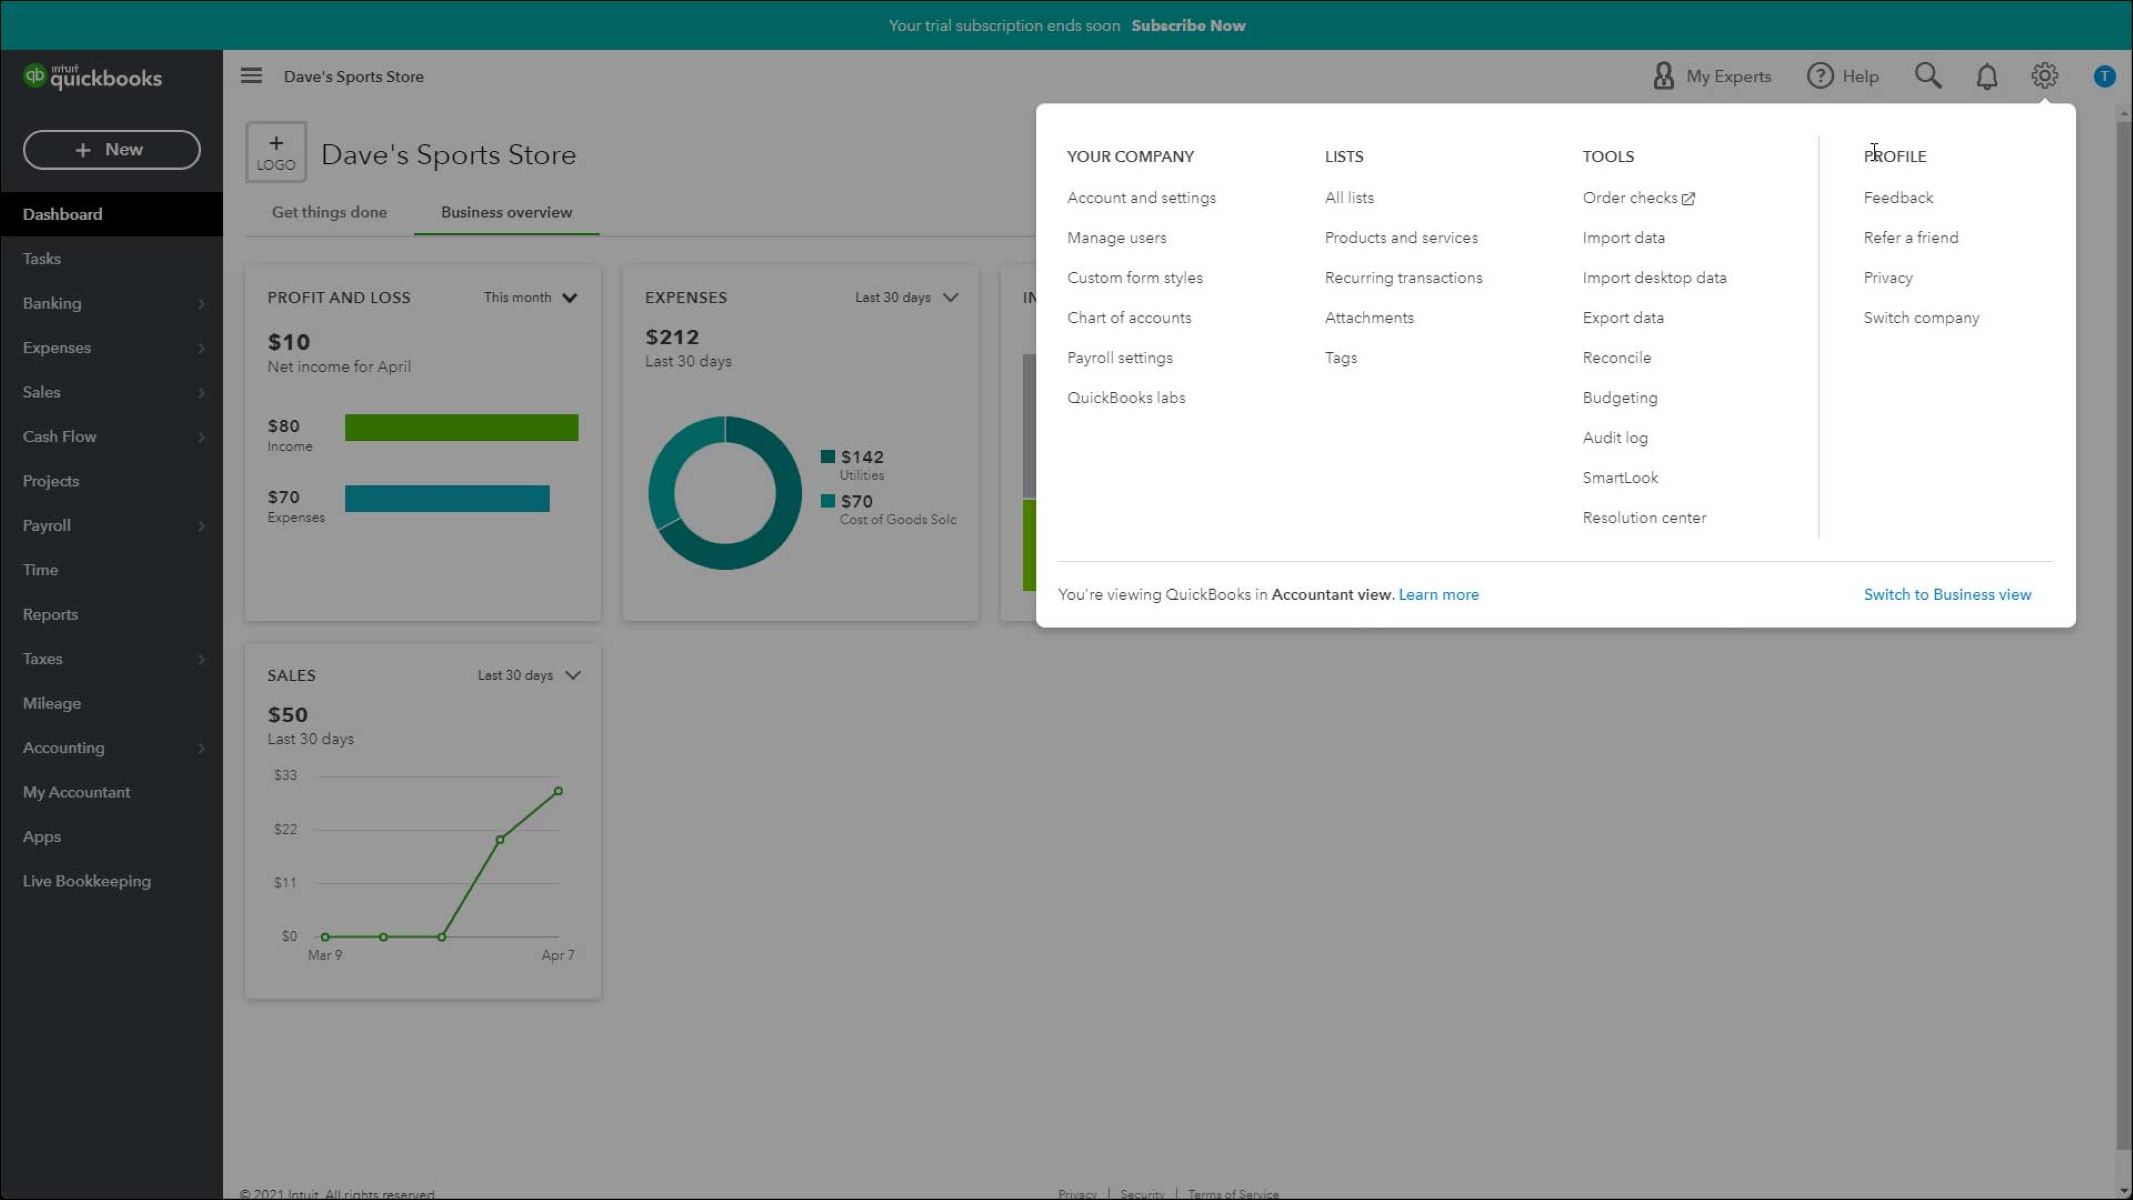
1. Access the QuickBooks dashboard and navigate to the “Lists” menu.
2. Select “Item List” to open the inventory list.
3. Click on the “Item” button and choose “New” to create a new inventory item.
4. Enter the necessary information for your inventory item, such as the item name, description, and SKU (stock keeping unit).
5. Specify the income account and expense account associated with the item. These accounts will track the sales and cost of goods sold for the item.
6. Set the preferred vendor for the item. This vendor is the one you usually purchase the item from.
7. Optionally, you can assign a sales tax code and a reorder point for the item.
8. Save the new inventory item.
By carefully setting up your inventory items, you ensure that each item has the necessary details and attributes to be accurately tracked in QuickBooks. This step is essential for effectively managing your inventory and generating accurate reports.
Once you have set up your inventory items, you can proceed to add them manually or through import. In the next sections, we will explore both methods in detail.
Step 2: Add inventory items manually
If you prefer to add your inventory items one by one, QuickBooks allows you to do so manually. Follow these steps:
1. From the QuickBooks dashboard, go to the “Lists” menu and select “Item List”.
2. Click on the “Item” button and choose “New” to create a new inventory item.
3. Enter the necessary information for the item, including the item name, description, SKU, income account, expense account, preferred vendor, sales tax code, and reorder point.
4. Specify the item’s price, cost, and quantity on hand.
5. If applicable, select the “Is taxable” checkbox to indicate that the item is subject to sales tax.
6. Save the inventory item.
7. Repeat the process for each additional inventory item you want to add manually.
This method is ideal if you have a relatively small number of inventory items or if you want full control over entering the details for each item. However, if you have a large number of items to add or want to save time, you may choose to import them instead, which we will cover in the next section.
By adding inventory items manually, you ensure that each item is accurately entered into QuickBooks and reflects its current details. This allows you to have precise records and generate accurate reports on your inventory.
Step 3: Add inventory items through import
If you have a large number of inventory items or want to save time, QuickBooks offers the option to import your inventory items. Follow these steps:
1. Prepare your inventory item data in a compatible file format, such as CSV (comma-separated values) or Excel.
2. From the QuickBooks dashboard, go to the “File” menu and select “Utilities”.
3. Choose “Import” and then “Excel Files” or “CSV Files”, depending on the format of your file.
4. Click on “Browse” and locate the file containing your inventory item data on your computer.
5. Follow the prompts to map the columns in your file to the corresponding fields in QuickBooks.
6. Review the import summary to ensure that the data is mapped correctly, and make any necessary adjustments.
7. Click on “Import” to begin the import process.
8. QuickBooks will import your inventory items from the file and create them in your inventory list.
By importing your inventory items, you can easily add a large number of items in a shorter amount of time. This method is especially useful when you have a significant inventory or frequently update your items.
Remember to review the imported items to ensure that all the details transferred correctly. If necessary, you can make manual adjustments to individual items after the import process.
Now that you have learned how to add inventory items manually and through import, you can choose the method that best suits your needs and preferences. In the next steps, we will cover additional features in QuickBooks for managing inventory, such as inventory assembly items and items with variations.
Step 4: Set up inventory assembly items
Inventory assembly items in QuickBooks allow you to combine multiple inventory items to create a new assembled product. This is particularly useful if you sell products that are made up of various components or if you need to track the cost of manufacturing. Follow these steps to set up inventory assembly items:
1. Access the QuickBooks dashboard and go to the “Lists” menu. Select “Item List”.
2. Click on the “Item” button and choose “New”. Select “Inventory Assembly” as the item type.
3. Enter a name and description for the assembly item.
4. In the “Bill of Materials” section, click on “Add” to add the individual components that make up the assembly item. Specify the quantity of each component required.
5. Optionally, you can set a preferred vendor for the assembly item and assign a sales tax code.
6. Save the inventory assembly item.
When you sell an assembly item, QuickBooks will automatically deduct the quantities of the underlying components from your inventory. This ensures that your stock levels are accurately tracked.
By setting up inventory assembly items, you can easily manage and track products that are assembled from multiple components. This feature provides visibility into the cost of manufacturing and helps you maintain efficient inventory management.
Next, we will explore how to set up inventory items with variations in QuickBooks.
Step 5: Set up inventory items with variations
In some cases, you may offer inventory items with different variations, such as size, color, or style. QuickBooks allows you to set up inventory items with variations to better manage and track these product options. Here’s how:
1. From the QuickBooks dashboard, navigate to the “Lists” menu and select “Item List”.
2. Click on the “Item” button and choose “New”. Select “Inventory Part” as the item type.
3. Enter the name and description of the base inventory item.
4. In the “Variation” section, click on “Add New Variation” to define the specific variations. For example, if you sell shirts, you can add variations for size and color.
5. Specify the values for each variation, such as small, medium, and large for size, and red, blue, and green for color.
6. Set the price, cost, and quantity on hand for each variation.
7. Save the inventory item with variations.
When you sell an inventory item with variations, QuickBooks will track stock levels for each specific variation. It allows for accurate inventory management and reporting.
By setting up inventory items with variations, you can simplify the process of managing and tracking products that come in different options. It provides clarity and organization, making it easier for you to sell and keep track of your inventory.
Now that you have learned how to set up inventory items with variations, you are well-equipped to manage a diverse range of product options in QuickBooks.
Step 6: Track and manage inventory levels
Once you have added your inventory items in QuickBooks, it’s essential to track and manage your inventory levels effectively. This allows you to ensure that you have enough stock on hand to fulfill customer orders while avoiding inventory shortages or excesses. Here are some key steps for tracking and managing inventory levels:
1. Regularly update your inventory quantities: As sales occur or new inventory arrives, be sure to update your inventory levels accordingly. This can be done manually or automatically through integrations with your point-of-sale system or e-commerce platform.
2. Set up alerts and notifications: QuickBooks allows you to set up alerts when certain inventory thresholds are reached. This can include low stock alerts, reorder reminders, or even customized alerts based on your specific needs and criteria.
3. Conduct physical counts: Regularly perform physical counts of your inventory to verify the accuracy of your recorded inventory levels. This helps identify any discrepancies or issues that need to be addressed.
4. Utilize reports: QuickBooks provides a variety of reports that can help you gain insights into your inventory performance. Analyze reports such as inventory valuation, sales by item, and stock status to make informed decisions and identify trends.
5. Keep an eye on lead times: Monitor the lead times for your inventory items to ensure that you have enough time to reorder and receive new stock before running out. This helps prevent stockouts and keeps your inventory levels consistent.
6. Use forecasting tools: If available, leverage forecasting tools within QuickBooks to predict future demand and adjust your inventory levels accordingly. This helps optimize your stock levels and minimize the risk of excess inventory or shortages.
By actively tracking and managing your inventory levels, you can avoid costly mistakes, optimize operational efficiency, and provide better service to your customers. QuickBooks’ inventory management features provide the necessary tools to streamline this process and keep your inventory in check.
Conclusion
Effectively managing your inventory is crucial for the success of your business, and QuickBooks offers a range of features to simplify the process. From setting up your inventory items to tracking and managing inventory levels, QuickBooks provides a user-friendly and comprehensive solution.
In this guide, we covered various steps to help you add inventory items in QuickBooks. You learned how to set up your inventory items, whether manually or through import. We also discussed how to set up inventory assembly items to manage products with multiple components and inventory items with variations to handle different product options.
Furthermore, we explored the importance of tracking and managing inventory levels. By regularly updating inventory quantities, setting up alerts and notifications, conducting physical counts, utilizing reports, and monitoring lead times, you ensure that your inventory remains accurate, optimized, and aligned with customer demands.
QuickBooks empowers you to make informed decisions regarding inventory management, which in turn helps improve customer satisfaction, streamline operations, and boost profitability. With the ability to track inventory performance and leverage forecasting tools, you can stay ahead of trends and make proactive adjustments to your inventory strategy.
By following the steps outlined in this guide and leveraging QuickBooks’ inventory management features, you can efficiently add, track, and manage your inventory, remaining in control of your stock levels and maximizing your business’s potential.
As you implement these strategies and explore the various features within QuickBooks, you’ll gain valuable insights into your inventory’s performance, make better purchasing decisions, and ultimately drive the success of your business.


