Introduction
Welcome to this guide on how to add Amazon Music to Sonos, a popular home audio system that allows you to enjoy music and audio throughout your house. Sonos offers a seamless integration with various music streaming services, including Amazon Music, giving you access to a vast library of songs and playlists.
Amazon Music is a popular music streaming service that offers a wide selection of tracks from different genres, artists, and albums. By integrating Amazon Music into your Sonos system, you can easily control and play your favorite playlists, radio stations, and albums in any room of your house.
In this guide, we will walk you through the step-by-step process of adding Amazon Music to your Sonos app, linking your Amazon Music account, and accessing and controlling Amazon Music on your Sonos speakers.
Before we dive into the process, there are a few prerequisites you need to take care of to ensure a smooth integration between Amazon Music and Sonos. Let’s take a look at what you need to have in place.
Prerequisites
Before you can add Amazon Music to your Sonos system, there are a few things you will need:
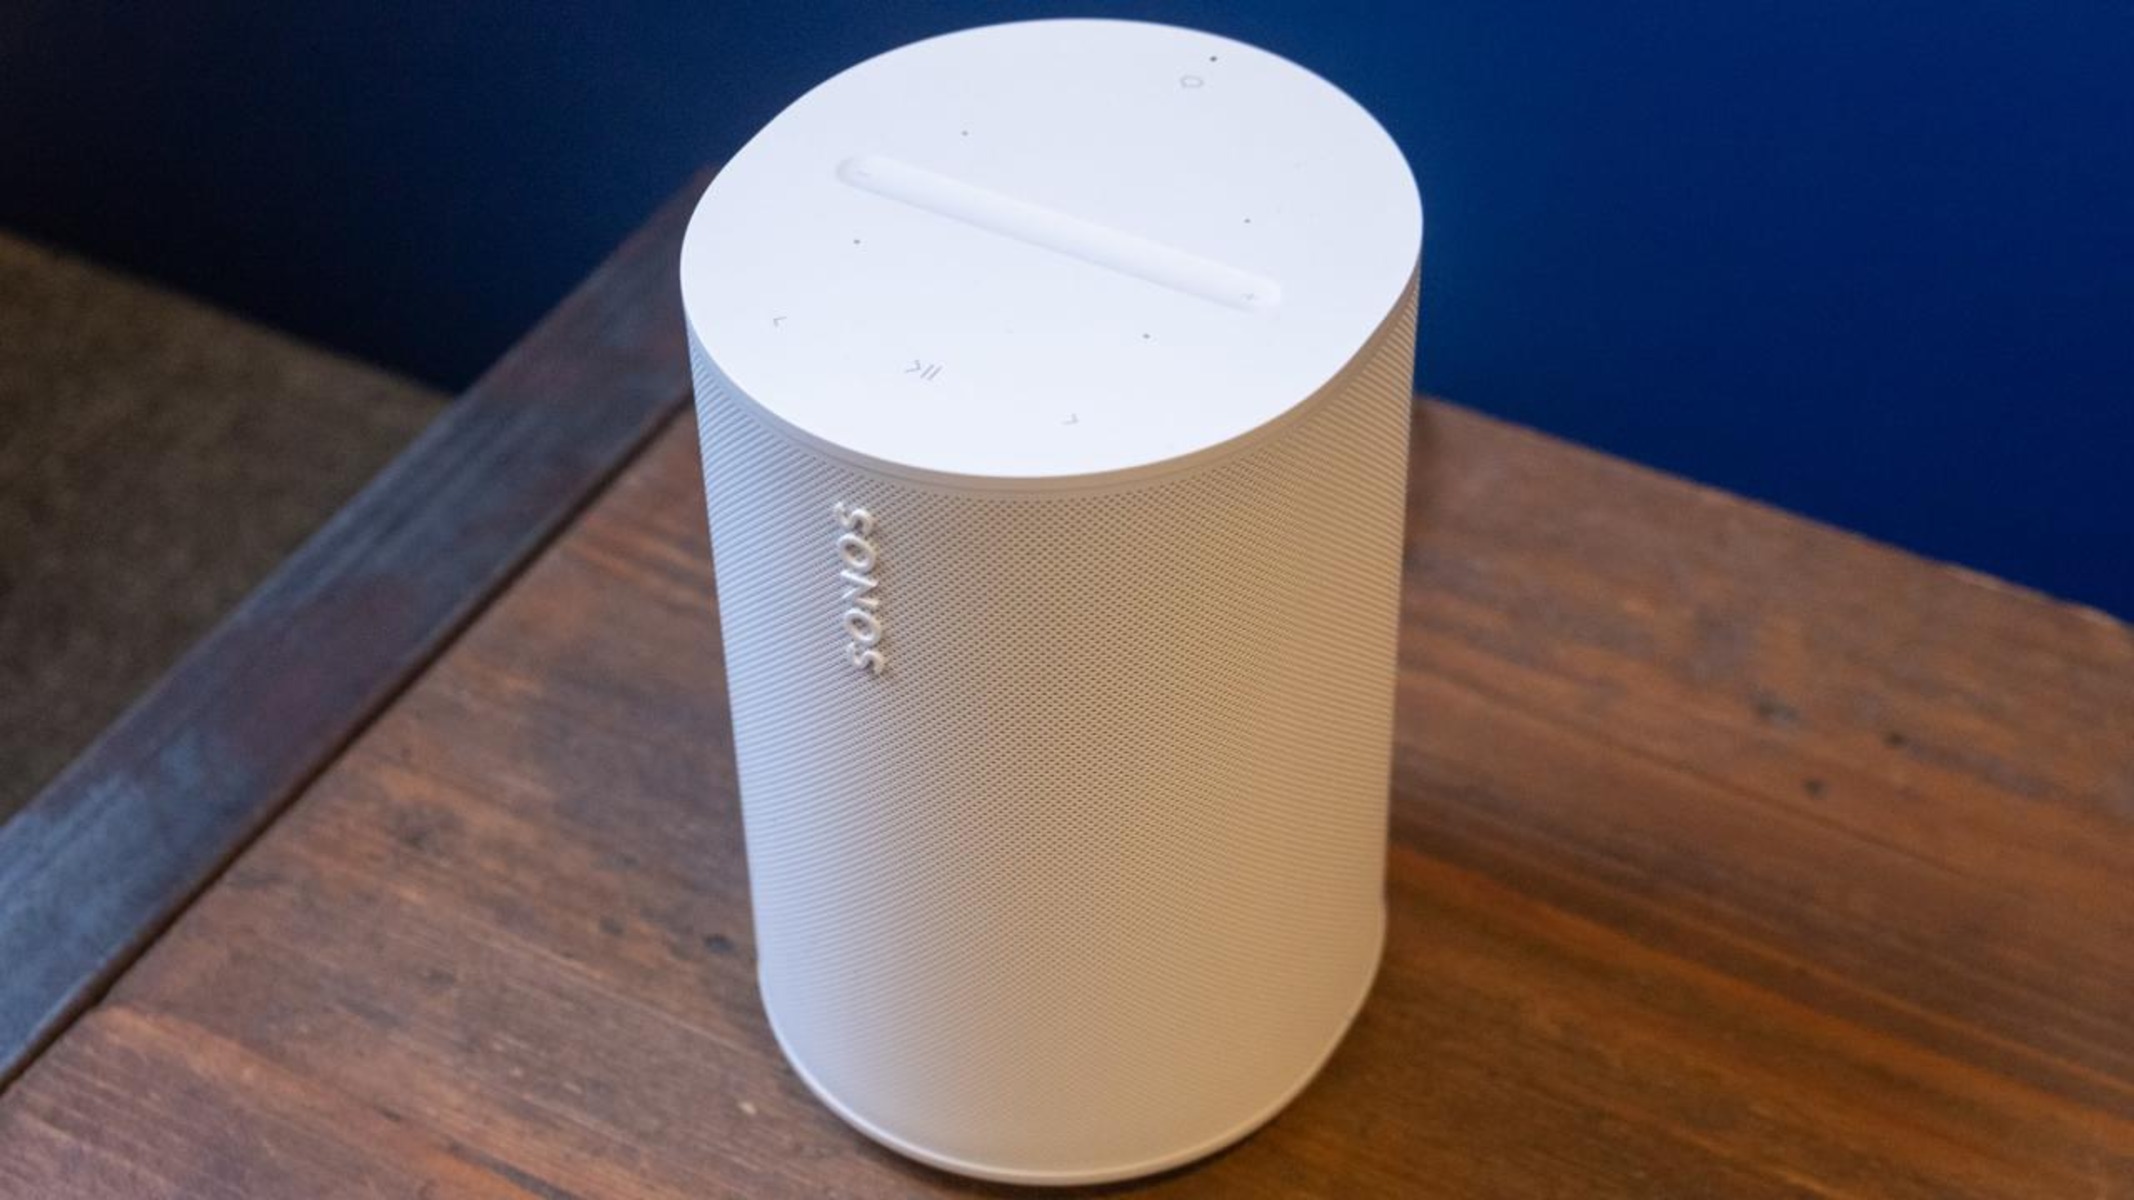
- A Sonos system: Make sure you have a Sonos audio system set up in your home. This can include Sonos speakers, a Sonos soundbar, or a Sonos Connect device connected to your existing audio setup.
- Sonos app: To add and control Amazon Music on your Sonos system, you will need to have the Sonos app installed on your smartphone or tablet. The app is available for both iOS and Android devices and can be downloaded from the respective app stores.
- An Amazon Music subscription: In order to access and stream music from Amazon Music on your Sonos speakers, you will need to have an active subscription to Amazon Music. There are different subscription options available, including Amazon Music Unlimited, which offers a larger library of songs, and Amazon Prime Music, which is included with an Amazon Prime subscription.
- A stable internet connection: Make sure your Sonos system and the device running the Sonos app are connected to a stable internet connection. This is essential for accessing and streaming music from Amazon Music.
- Updated Sonos app: Ensure that you have the latest version of the Sonos app installed on your device. It is recommended to regularly check for app updates to benefit from the latest features and improvements.
Once you have these prerequisites in place, you are ready to begin the process of adding Amazon Music to your Sonos system. In the following steps, we will guide you through the process of updating your Sonos app, adding Amazon Music, linking your Amazon Music account, and accessing and controlling Amazon Music on your Sonos speakers.
Step 1: Update Your Sonos App
Before you can start adding Amazon Music to your Sonos system, it’s important to make sure that you have the latest version of the Sonos app installed on your smartphone or tablet. Updating the app ensures that you have access to the latest features and improvements, as well as compatibility with the integration of Amazon Music.
To update your Sonos app, follow these simple steps:
- Open the app store on your iOS or Android device.
- Search for “Sonos” in the search bar.
- If an update is available, you will see an “Update” button next to the Sonos app. Tap on it to start the update.
- Wait for the update to download and install on your device.
- Once the update is complete, open the Sonos app and ensure that it is running the latest version.
If your Sonos app is already up to date, you can skip this step and move on to the next one. However, it’s always a good idea to periodically check for updates to keep your Sonos system running smoothly.
By updating your Sonos app, you are ensuring that you have the best possible user experience and that you can take advantage of all the latest features and enhancements available.
Once you have updated your Sonos app, you are ready to proceed to the next step, which is adding Amazon Music to your Sonos app.
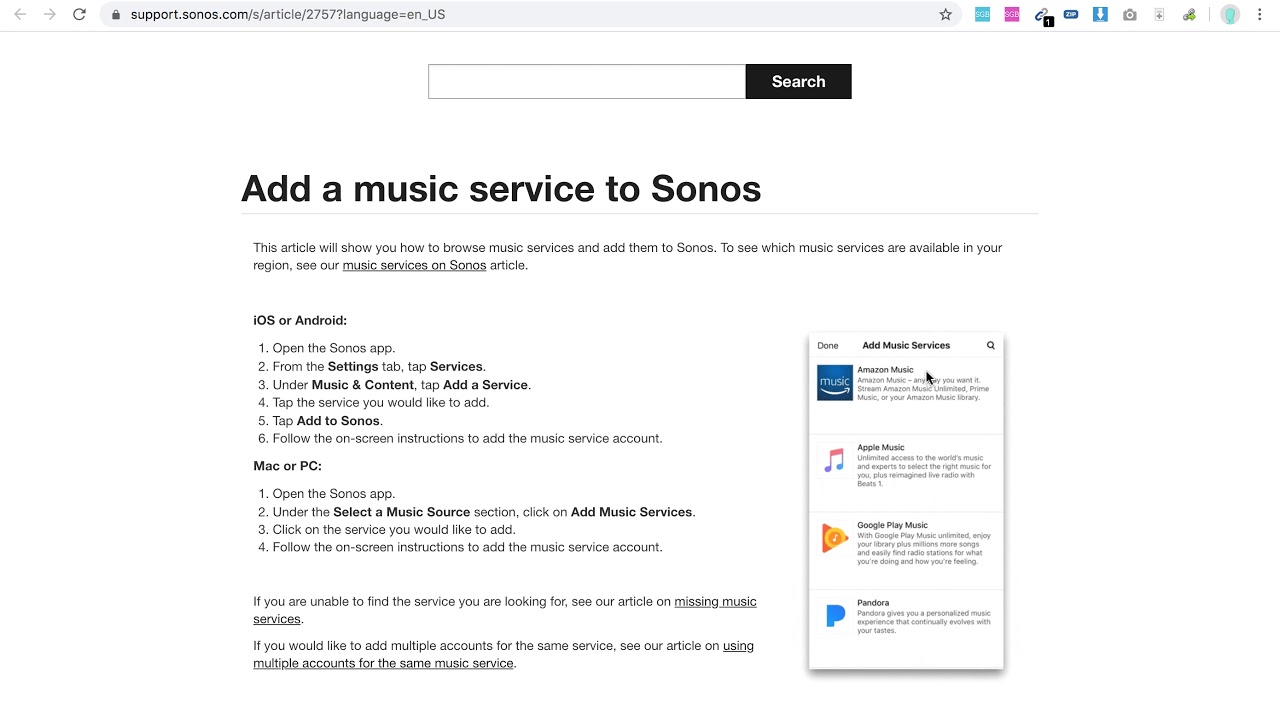
Step 2: Add Amazon Music to Your Sonos App
Now that you have the updated Sonos app, it’s time to add Amazon Music to your Sonos system. This step involves integrating your Amazon Music account with the Sonos app, giving you seamless access to all your favorite tunes.
Follow these steps to add Amazon Music to your Sonos app:
- Open the Sonos app on your smartphone or tablet.
- Tap on the “More” tab at the bottom right corner of the screen.
- Scroll down and select “Add Music Services.”
- Scroll through the list of available services and select “Amazon Music.”
- Tap on “Add to Sonos” and follow the on-screen prompts.
- If you already have an Amazon Music account, select “I already have an account” and enter your Amazon Music login credentials. If you don’t have an account, select “I’m new to Amazon Music” and follow the instructions to create a new account.
- Once you have successfully logged in or created a new account, you will see a confirmation message indicating that Amazon Music has been added to your Sonos app.
Congratulations! You have now added Amazon Music to your Sonos app, and you can start enjoying your favorite songs and playlists through your Sonos speakers.
In the next step, we will guide you through the process of linking your Amazon Music account to your Sonos system, allowing you to access and control Amazon Music directly from your Sonos app.
Step 3: Link Your Amazon Music Account
Now that you have successfully added Amazon Music to your Sonos app, the next step is to link your Amazon Music account to your Sonos system. By linking your account, you will be able to access and control your Amazon Music library directly from the Sonos app and enjoy seamless playback on your Sonos speakers.
Follow these steps to link your Amazon Music account to your Sonos system:
- Open the Sonos app on your device.
- Navigate to the “More” tab at the bottom right corner of the screen.
- Select “Add Music Services.”
- Scroll down and choose “Amazon Music.”
- Tap on “Link Account” and follow the on-screen instructions.
- You will be redirected to the Amazon Music login page. Enter your Amazon Music credentials and sign in to your account.
- After signing in, you will see a prompt asking you to grant Sonos access to your Amazon Music account. Confirm the access by selecting “Authorize.”
- Once the account linking process is complete, you will receive a confirmation message in the Sonos app indicating that your Amazon Music account has been successfully linked.
Now, your Amazon Music account is connected to your Sonos system, and you can enjoy streaming your favorite music directly through your Sonos speakers.
In the next step, we will explore how to access and control Amazon Music on your Sonos speakers using the Sonos app.
Step 4: Access and Control Amazon Music on Sonos
Now that you have added and linked your Amazon Music account to your Sonos system, it’s time to dive into accessing and controlling Amazon Music on your Sonos speakers using the Sonos app. With the Sonos app, you have full control over your Amazon Music library, playlists, and more.
Here’s how you can access and control Amazon Music on your Sonos speakers:
- Open the Sonos app on your device.
- Tap on the “Browse” tab at the bottom of the screen.
- Scroll down and select “Music Services.”
- Choose “Amazon Music” from the list of available music services.
- You will now have access to your Amazon Music library, including your playlists, albums, and tracks.
- Explore through the various categories, genres, and curated playlists to find the music you want to play.
- Once you have found the desired song or playlist, simply tap on it to start playback on your Sonos speakers.
- Use the Sonos app to control playback, adjust volume, skip tracks, and create a queue of songs to play.
- Additionally, you can use voice commands if your Sonos system supports voice control through a voice assistant like Amazon Alexa or Google Assistant. Simply say the command to play a specific song or playlist.
With the Sonos app, you can also group your Sonos speakers together, create multi-room audio setups, and enjoy synchronized playback of Amazon Music throughout your home.
Now you have the power to access and control your Amazon Music library on your Sonos speakers with ease. Enjoy the seamless integration of Amazon Music and Sonos for a truly immersive music experience.
Conclusion
Congratulations! You have successfully added and integrated Amazon Music into your Sonos system. By following the steps outlined in this guide, you can now access and control your Amazon Music library directly from the Sonos app and enjoy high-quality audio playback through your Sonos speakers.
This seamless integration between Amazon Music and Sonos allows you to explore and enjoy a vast collection of music, playlists, and radio stations, all with the convenience of controlling it from one central app. Whether you’re hosting a party or simply enjoying some downtime, the combination of Amazon Music and Sonos will take your listening experience to the next level.
Remember, before you begin the process of adding Amazon Music to your Sonos system, make sure you have the necessary prerequisites in place, including a Sonos system, the Sonos app, an active subscription to Amazon Music, and a stable internet connection.
Once you have fulfilled the prerequisites, you can proceed with updating your Sonos app, adding Amazon Music, linking your Amazon Music account, and finally accessing and controlling Amazon Music on your Sonos speakers through the Sonos app.
Now, sit back, relax, and enjoy your favorite tunes on your Sonos speakers powered by Amazon Music. Let the music flow through every corner of your home, filling it with beautiful melodies and creating a truly immersive listening experience.
Thank you for choosing Sonos and Amazon Music to enhance your music listening journey. We hope you have a wonderful time exploring all the features and possibilities that this integration has to offer.