Introduction
Welcome to our guide on how much RAM Windows 10 Home 64-bit can support. If you’re a Windows user, you’re probably familiar with the term RAM, which stands for Random Access Memory. RAM plays a crucial role in your computer’s performance, as it allows your system to store and quickly access data that is actively being used.
With the ever-increasing demand for multitasking and resource-intensive applications, it’s essential to ensure that your computer has enough RAM to meet your needs. However, different versions of Windows operating systems have varying limitations on how much RAM they can support, and Windows 10 Home 64-bit is no exception.
Windows 10 Home is the basic version of Microsoft’s flagship operating system, designed for home users. It offers a range of features and functionalities to cater to everyday computing tasks. While Windows 10 Home 64-bit is compatible with a wide range of hardware configurations, including laptops and desktop computers, there are limitations when it comes to RAM capacity.
In this guide, we’ll walk you through everything you need to know about the maximum amount of RAM that Windows 10 Home 64-bit can support, as well as factors that can affect the amount of RAM recognized by the system. We’ll also provide tips on optimizing RAM usage to maximize your computer’s performance. So, without further ado, let’s dive in and explore the limitations and options for RAM on Windows 10 Home 64-bit.
What is RAM and why is it important?
Random Access Memory (RAM) is a crucial component of a computer system that temporarily stores data that is actively being used. It provides a fast storage space for the processor to access data quickly, allowing for speedy execution of tasks and applications. Think of RAM as the computer’s short-term memory, where data is constantly retrieved and updated for quick processing.
RAM plays a vital role in the overall performance and responsiveness of your computer. A system with more RAM can handle multiple tasks simultaneously, allowing for smoother multitasking and reducing the chances of experiencing slowdowns or system freezes. It enables you to run resource-intensive applications, such as video editing software or video games, without compromising performance.
When you launch an application, the necessary data is loaded into RAM, making it readily accessible to the CPU. The CPU can quickly retrieve and process the data, enabling smooth and seamless operation. As you open more applications or perform more tasks, the amount of RAM required increases. Having enough RAM ensures that your computer can handle these demands without significant performance degradation.
In addition to running applications, RAM also plays a role in improving the overall performance of your operating system. When you switch between different tasks or open new windows, the contents of those tasks are stored in RAM, allowing for quick access and smooth transitions.
It’s important to note that RAM is different from your computer’s permanent storage, such as a hard drive or solid-state drive (SSD). While storage devices retain data even when the computer is powered off, RAM is volatile memory and loses its contents when the computer is turned off or restarted. This means that any unsaved data or work in progress stored in RAM will be lost if not saved to permanent storage.
To sum it up, RAM is a vital component of your computer system, providing fast and temporary storage for actively used data. Having enough RAM ensures that your computer can handle multitasking, run resource-intensive applications smoothly, and maintain overall system performance.
Understanding the limitations of Windows 10 Home 64-bit
While Windows 10 Home 64-bit is a versatile operating system suitable for most home users, it does have certain limitations when it comes to the amount of RAM it can support. The maximum amount of RAM that Windows 10 Home 64-bit can utilize depends on the specific edition and version you are using.
Windows 10 Home 64-bit is limited to a maximum of 128 GB of RAM. This means that even if your computer has more than 128 GB of physical RAM installed, the operating system will only recognize and utilize up to this maximum limit. It’s essential to ensure that your computer’s RAM capacity aligns with this limitation to avoid any compatibility issues or wasted resources.
It’s worth noting that while Windows 10 Home 64-bit can technically support up to 128 GB of RAM, it doesn’t necessarily mean that you need that much RAM for typical home computing tasks. Most users will find that 8 GB to 16 GB of RAM is more than sufficient for everyday use, including web browsing, multimedia streaming, document editing, and light gaming.
Another limitation to consider is the physical constraints of your computer’s hardware. Some older motherboards or computer models may not support the maximum amount of RAM specified by the Windows 10 Home 64-bit edition. It’s essential to refer to your computer’s documentation or check with the manufacturer to ensure compatibility before upgrading or installing additional RAM modules.
Additionally, it’s important to consider the limitations of your processor and system architecture. Even if your computer supports the maximum amount of RAM allowed by Windows 10 Home 64-bit, your CPU or motherboard may have limitations on how efficiently it can handle larger amounts of RAM. This can result in decreased performance or instability if the hardware is not capable of effectively managing the RAM modules.
As with any operating system, Windows 10 Home 64-bit has its limitations when it comes to RAM utilization. Understanding these limitations can help you make informed decisions when upgrading or troubleshooting your computer’s memory requirements. Next, we’ll dive into the specific maximum amount of RAM supported by Windows 10 Home 64-bit and explore factors that can affect the amount of RAM recognized by the operating system.
The maximum amount of RAM supported by Windows 10 Home 64-bit
Windows 10 Home 64-bit is capable of supporting a maximum of 128 GB of RAM. This means that if your computer’s hardware and motherboard allow for it, you can install and utilize up to 128 GB of RAM. However, it’s important to note that this maximum limit is only applicable to the specific edition and version of Windows 10 Home 64-bit.
Most home users will find that 128 GB of RAM is far beyond what they require for everyday computing tasks. In fact, typical usage scenarios such as web browsing, document editing, and multimedia streaming can be comfortably handled with 8 GB to 16 GB of RAM. However, certain specialized use cases, such as video editing, 3D rendering, or running virtual machines, may benefit from having larger amounts of RAM.
It’s also important to consider the memory requirements of the specific software applications you intend to use. Some resource-intensive applications, such as professional video editing software or virtualization software, may recommend or require a certain amount of RAM for optimal performance. Be sure to check the system requirements of the applications you plan to use to ensure that your RAM configuration meets their recommendations.
Upgrading to the maximum amount of supported RAM can provide benefits such as improved overall system performance, faster application loading times, and smoother multitasking. However, it’s crucial to consider the cost and practicality of installing and utilizing such large amounts of RAM. For most users, striking a balance between cost-effectiveness and meeting their computing needs is the ideal approach.
Furthermore, it’s important to note that the amount of RAM recognized and utilized by Windows 10 Home 64-bit can also be influenced by other factors such as the hardware configuration, motherboard limitations, and BIOS settings. These factors can affect the system’s ability to recognize and utilize the full capacity of the installed RAM modules.
In the next section, we’ll explore the various factors that can affect the amount of RAM recognized by Windows 10 Home 64-bit and discuss how to check the amount of RAM recognized by the operating system.
Factors that can affect the amount of RAM recognized by Windows 10 Home 64-bit
While Windows 10 Home 64-bit is capable of supporting up to 128 GB of RAM, there are several factors that can affect the amount of RAM recognized and utilized by the operating system. It’s important to be aware of these factors to ensure that your computer is running optimally and making the most out of its available memory capacity.
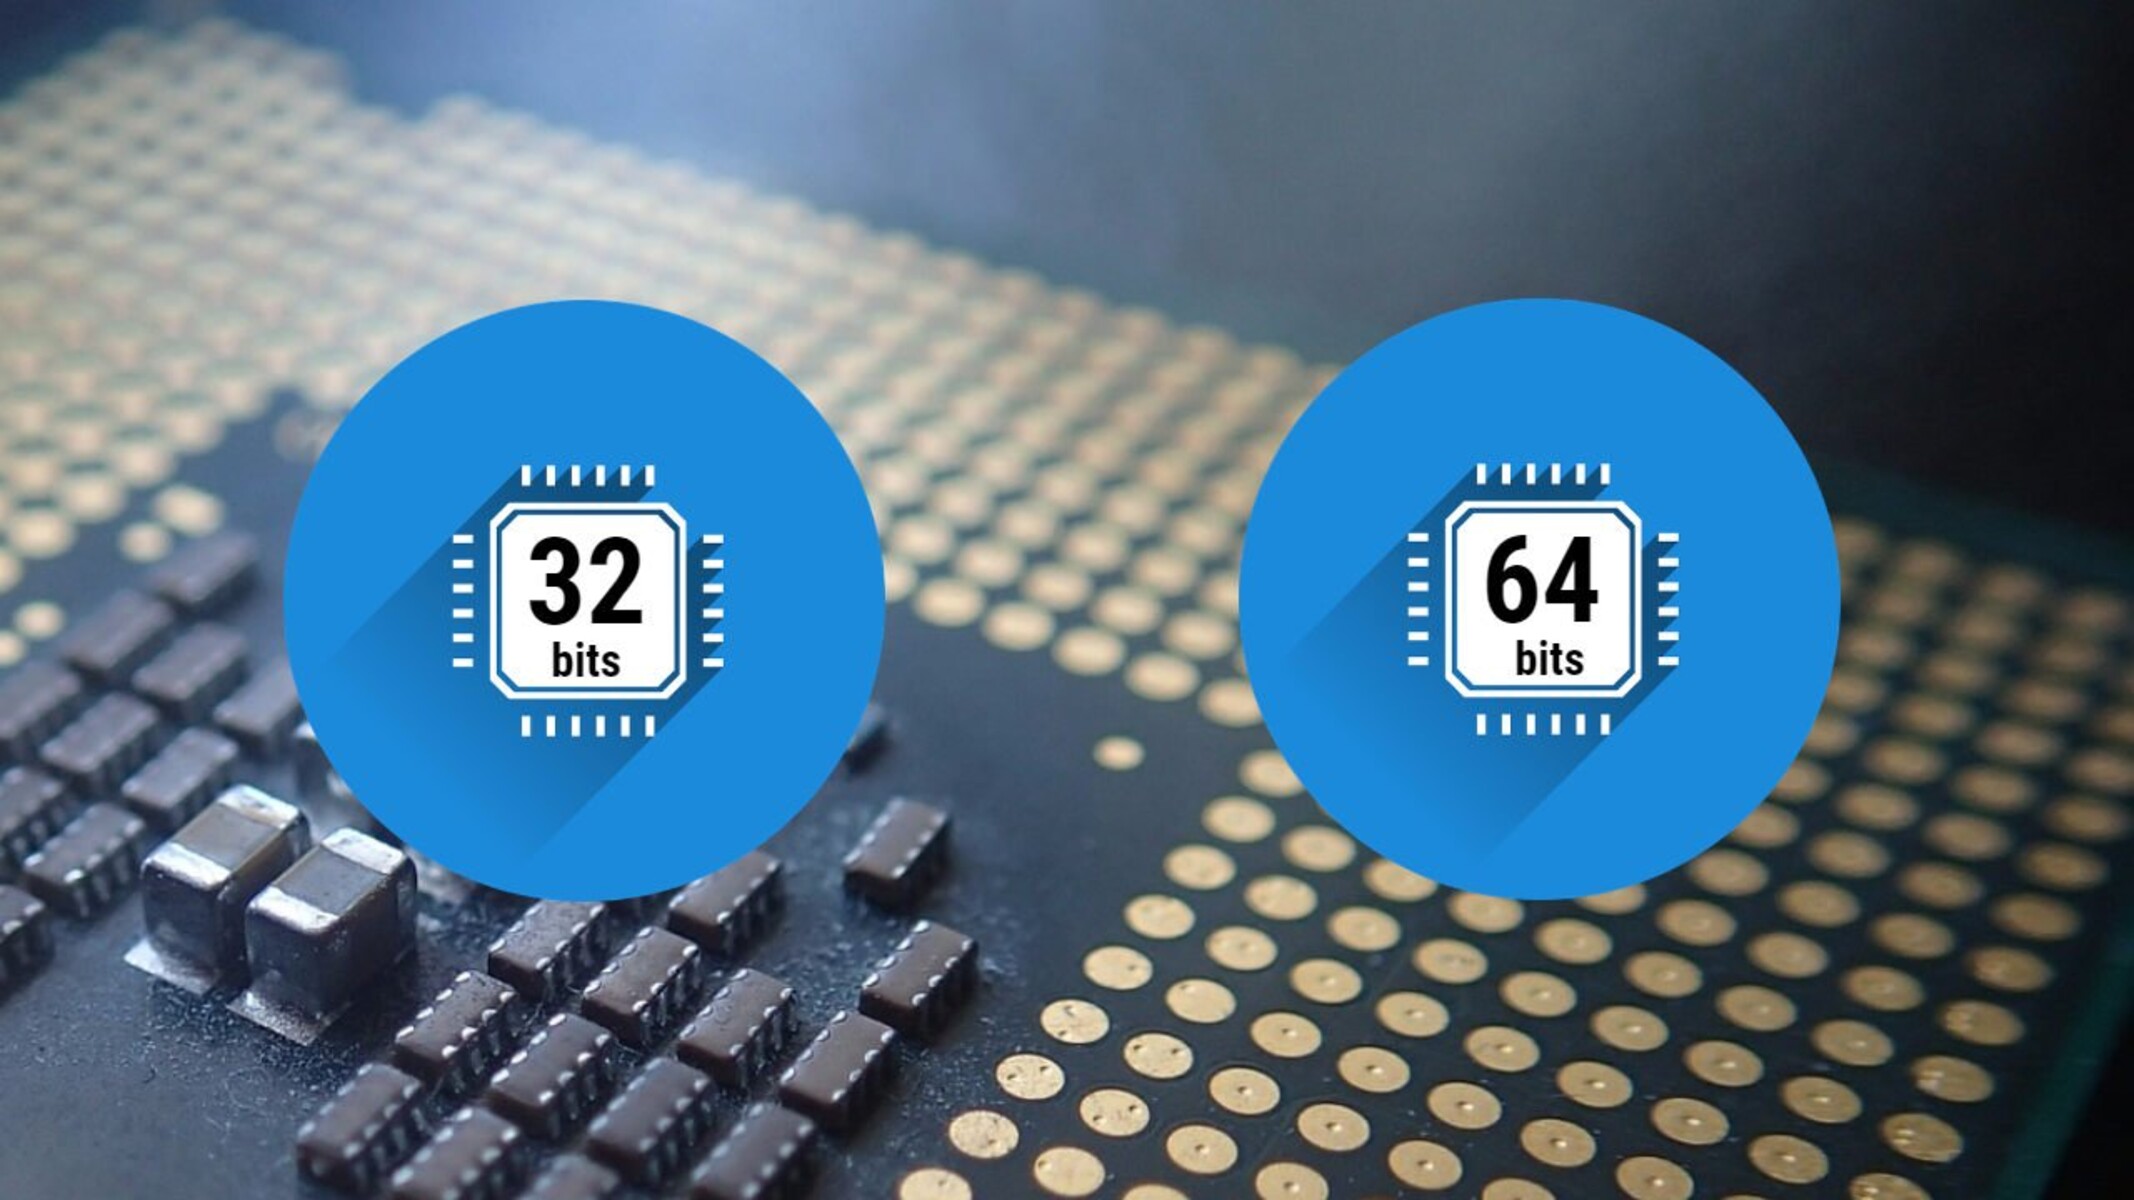
1. System architecture: The system architecture of your computer plays a significant role in determining how much RAM can be recognized by Windows 10 Home 64-bit. The 64-bit version of Windows can address and utilize more RAM compared to the 32-bit version. Therefore, it’s essential to check if your computer is running the 64-bit version of Windows 10 Home to fully utilize larger amounts of RAM.
2. Physical hardware limitations: The hardware components of your computer, such as the motherboard and CPU, can impose limits on the amount of RAM recognized by the operating system. Older motherboards or certain hardware configurations may have limitations, even if Windows 10 Home 64-bit technically supports higher capacities. It’s crucial to consult your computer’s documentation or contact the manufacturer to determine the maximum RAM capacity supported by your specific hardware.
3. BIOS settings: The BIOS (Basic Input/Output System) firmware on your computer controls various aspects of hardware configuration, including the recognition and utilization of RAM. It’s important to ensure that your BIOS settings are properly configured to support the installed RAM modules. Checking for BIOS updates and enabling any relevant memory-related settings can help ensure that Windows recognizes and utilizes the maximum amount of installed RAM.
4. Virtualization settings: If you’re running virtualization software, such as VMware or Hyper-V, the settings within the virtualization environment can impact the amount of RAM available to both the host operating system (Windows 10 Home 64-bit) and the virtual machines. It’s important to allocate sufficient RAM to both the host and virtual machines to ensure optimal performance and resource allocation.
5. Faulty RAM modules or configuration: Sometimes, issues with the RAM itself can prevent Windows 10 Home 64-bit from recognizing the full amount of installed memory. Faulty RAM modules or improper installation can lead to compatibility issues and result in the system only recognizing a portion of the installed RAM. Testing the RAM modules individually or consulting with a professional can help identify any faulty modules or installation errors.
By considering these factors and ensuring that your computer’s configuration aligns with the maximum supported RAM capacity of Windows 10 Home 64-bit, you can ensure that your system is making the most of its memory resources. In the next section, we’ll discuss how to check the amount of RAM recognized by Windows 10 Home 64-bit.
How to check the amount of RAM recognized by Windows 10 Home 64-bit
If you’re curious about how much RAM is currently recognized by your Windows 10 Home 64-bit system, there are a few simple ways to check. By following these steps, you can quickly determine the amount of RAM installed in your computer and ensure that it is being properly recognized by the operating system:
1. Task Manager: The Task Manager in Windows 10 provides a quick and easy way to check the amount of RAM recognized by the system. To access the Task Manager, right-click on the taskbar and select “Task Manager” from the context menu. Once the Task Manager window opens, click on the “Performance” tab. The amount of RAM recognized by your system will be displayed under the “Physical Memory” section.
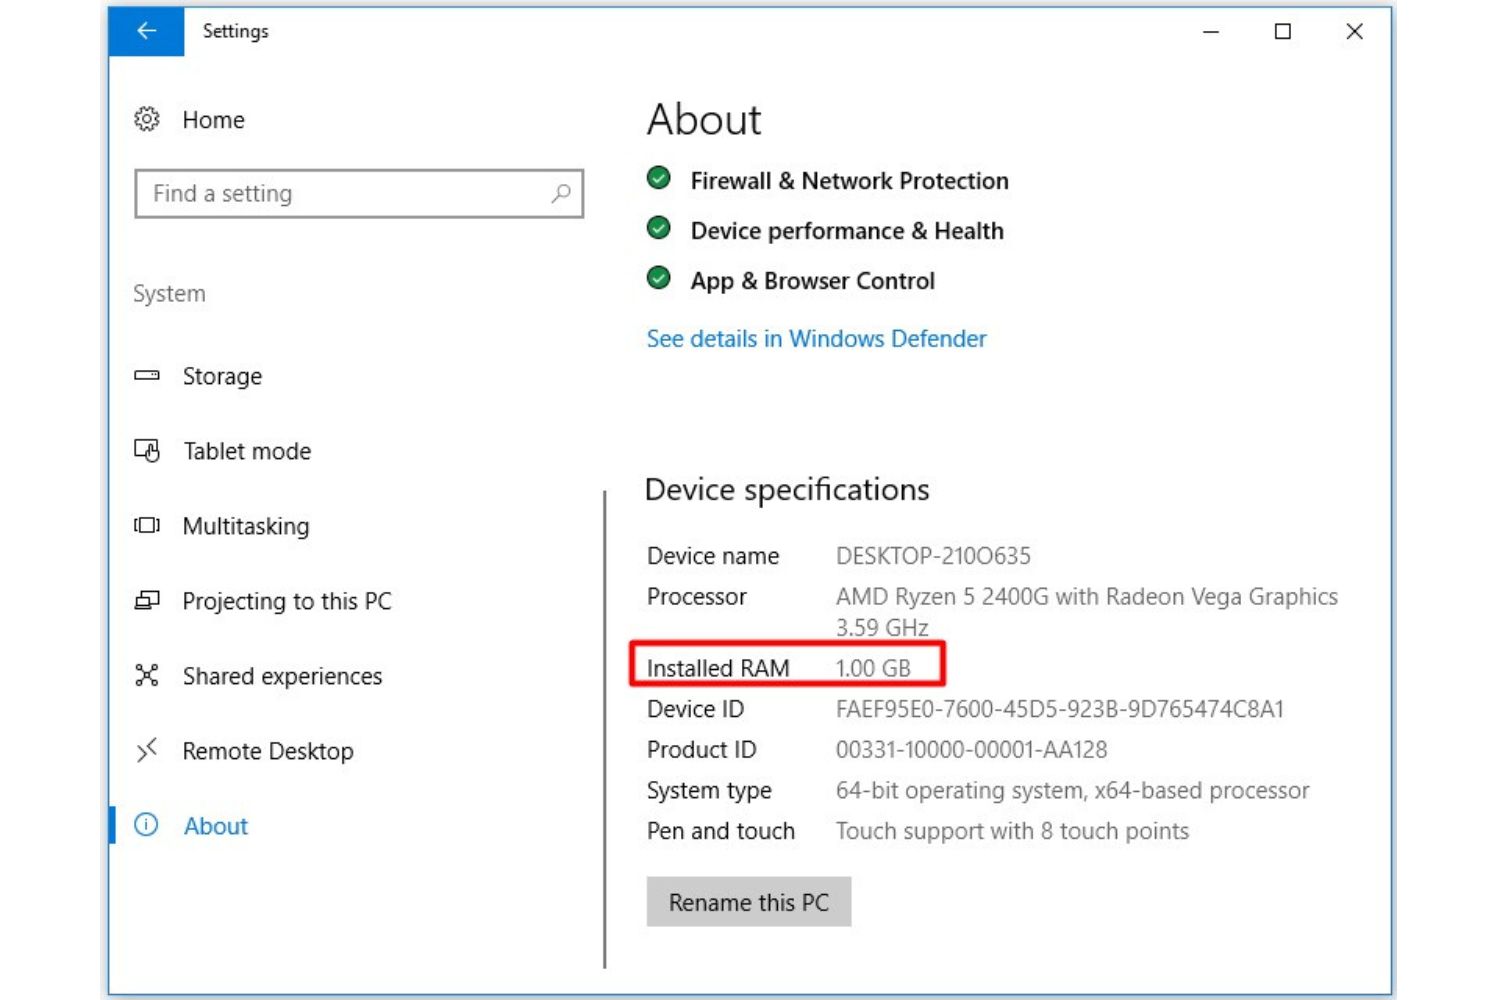
2. System Properties: Another way to check the recognized amount of RAM is through the System Properties window. To access the System Properties, right-click on the “This PC” or “My Computer” icon on your desktop or in File Explorer and select “Properties” from the context menu. In the System Properties window that appears, you will find information about your computer’s processor, installed memory (RAM), and system type (32-bit or 64-bit).
3. Control Panel: You can also use the Control Panel to check the recognized amount of RAM. Open the Control Panel by typing “Control Panel” in the Windows search bar and selecting it from the search results. In the Control Panel, click on the “System” or “System and Security” category, and then select “System.” You will find information about your computer’s processor, installed memory, and system type in this window.
4. Command Prompt: For more detailed information about your computer’s RAM, you can use the Command Prompt. Open the Command Prompt by typing “cmd” in the Windows search bar and selecting “Command Prompt” from the search results. In the Command Prompt window, type the command “wmic memorychip get Capacity” and press Enter. This will display the capacity of each individual RAM module installed in your computer.
By using any of these methods, you can easily check the amount of RAM recognized by your Windows 10 Home 64-bit system and ensure that it aligns with the installed memory modules. If you notice any discrepancies, such as the system not recognizing the full capacity of installed RAM, refer to the previous section for possible factors that may be affecting the recognition of RAM by the operating system.
Upgrading RAM on Windows 10 Home 64-bit
If you find that your Windows 10 Home 64-bit system requires additional RAM to meet your computing needs, upgrading the memory is a relatively straightforward process that can provide a significant performance boost. Here are the steps to upgrade your RAM:
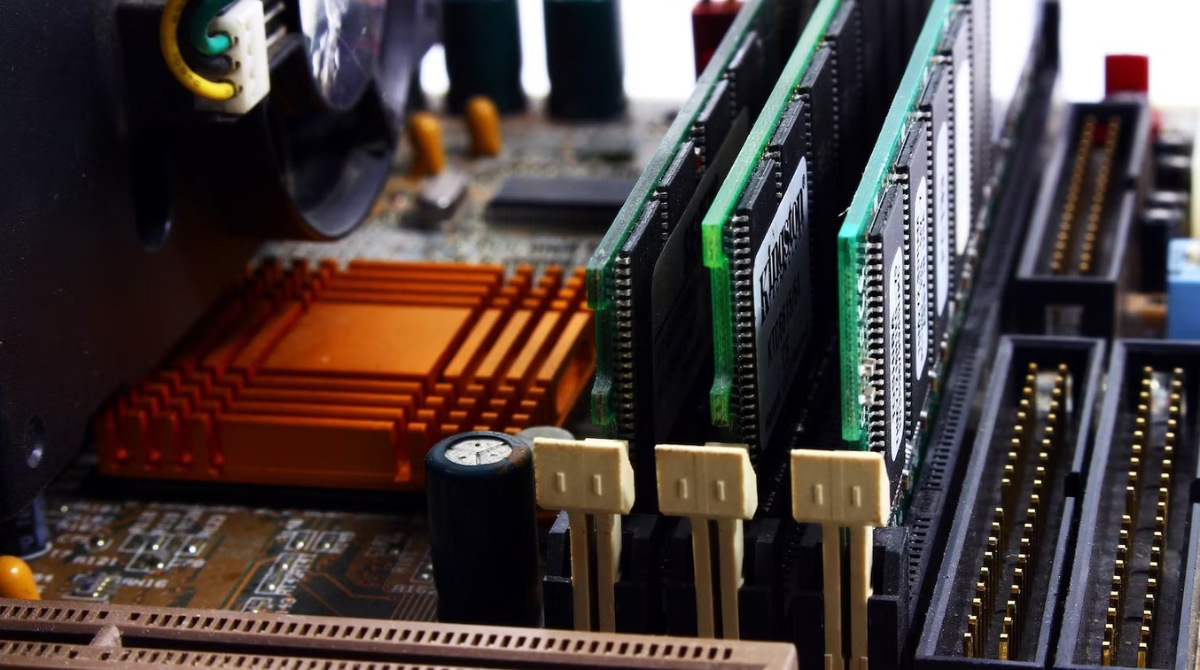
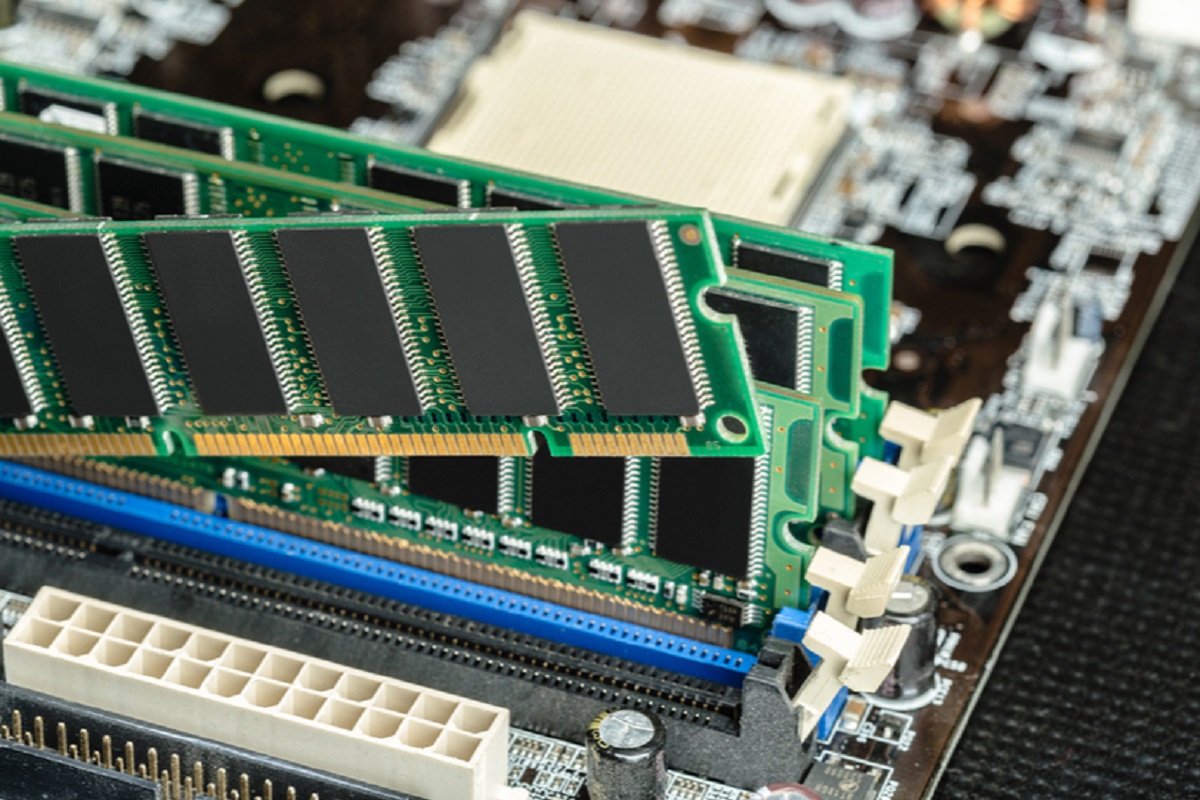
1. Determine the RAM type and capacity: Before purchasing new RAM modules, you need to identify the type (e.g., DDR4, DDR3) and the maximum capacity supported by your computer. You can refer to your computer’s documentation or manufacturer’s website to find this information. Additionally, you can use system information tools such as CPU-Z or Speccy to identify the current RAM specifications.
2. Purchase compatible RAM modules: Once you know the type and capacity of RAM needed, you can purchase RAM modules that are compatible with your system. Ensure that the modules match the specifications required by your computer, such as the speed and voltage requirements.
3. Power off your computer: Before installing new RAM modules, make sure to properly shut down your computer and disconnect the power source. This will prevent any potential damage to the components during installation.
4. Open your computer case: Depending on your computer model, you may need to remove screws or unlatch clips to access the RAM slots. Refer to your computer’s documentation for instructions on opening the case.
5. Install the new RAM modules: Locate the RAM slots on the motherboard and carefully insert the new RAM modules. Ensure that the notches on the RAM modules align with the keys on the slots. Firmly press down until the modules are fully seated and the retention clips on the sides lock into place.
6. Close the computer case: After installing the new RAM modules, close the computer case and secure it with screws or clips as required. Ensure that all connections are secure before reconnecting the power source.
7. Power on your computer: Once the RAM upgrade is complete, power on your computer. Windows 10 Home 64-bit should automatically recognize the new RAM modules and adjust the system settings accordingly. To confirm that the upgrade was successful, you can check the amount of recognized RAM using the methods discussed earlier in this guide.
By upgrading your RAM, you can enjoy improved multitasking capabilities, better performance in resource-intensive applications, and smoother overall system operation. Keep in mind that adding more RAM is just one aspect of optimizing your computer’s performance, and it’s recommended to regularly maintain your system by updating drivers, removing unnecessary software, and running regular scans for viruses and malware.
Tips for optimizing RAM usage on Windows 10 Home 64-bit
While upgrading your RAM can provide a boost in performance, it’s also essential to optimize the usage of your existing RAM to maximize efficiency. Here are some tips for optimizing RAM usage on Windows 10 Home 64-bit:
1. Close unnecessary programs and background processes: Be mindful of the number of applications and processes running simultaneously. Close any programs that are not actively in use to free up memory for more critical tasks. Use Task Manager to identify resource-intensive applications and consider closing or disabling them when not needed.
2. Manage startup programs: Many applications add themselves to the startup list, causing them to launch automatically when you boot your computer. Review your startup programs and disable any that are not necessary. This can help free up RAM and improve startup times.
3. Limit browser tabs and extensions: Web browsers can be memory-hungry, especially when multiple tabs or extensions are open. Limit the number of open tabs and disable unnecessary extensions to conserve memory resources.
4. Adjust visual effects and settings: Windows 10 Home 64-bit offers various visual effects and settings that can consume system resources. Consider reducing or disabling visual effects such as animated windows or transparency effects. Adjusting visual settings to a more modest level can help conserve RAM.
5. Use ReadyBoost: Windows 10 Home 64-bit supports ReadyBoost, a feature that allows you to use a USB drive as supplemental memory. If you have a spare USB drive, you can configure it to act as additional RAM, which can improve system performance, especially on computers with limited physical RAM.
6. Run disk cleanup and optimize: Regularly perform disk cleanup to remove unnecessary files and optimize your computer’s storage. This can help free up space on your hard drive, reducing the strain on RAM when accessing data.
7. Update your drivers and operating system: Keeping your drivers and Windows 10 Home 64-bit updated can improve system stability and performance. Manufacturers often release driver updates that optimize compatibility and resource management, including RAM utilization.
8. Scan for malware and viruses: Malware and viruses can cause significant strain on system resources, including RAM. Ensure that you have a reliable antivirus program installed and regularly scan your system for any potential threats.
9. Consider upgrading your storage to an SSD: While not directly related to RAM usage, upgrading your traditional hard drive to a solid-state drive (SSD) can significantly improve overall system performance. SSDs offer faster data access times, reducing the reliance on RAM for storing and retrieving data.
By implementing these tips, you can optimize the usage of your RAM and improve the overall performance of your Windows 10 Home 64-bit system. Remember that optimizing RAM usage is a continuous process, and regularly reviewing your system’s resource usage is important to ensure efficient operation.
Conclusion
In conclusion, understanding the limitations and possibilities of RAM on Windows 10 Home 64-bit is crucial for optimizing your computer’s performance. While Windows 10 Home 64-bit can support up to 128 GB of RAM, most users will find that 8 GB to 16 GB of RAM is sufficient for everyday computing tasks.
Factors such as system architecture, physical hardware limitations, BIOS settings, and virtualization settings can impact the amount of RAM recognized by the operating system. It’s important to ensure that your computer’s configuration aligns with the maximum supported RAM capacity to avoid compatibility issues.
You can easily check the recognized amount of RAM through methods such as Task Manager, System Properties, Control Panel, or the Command Prompt. This allows you to confirm the amount of RAM installed in your system and ensure that it is being properly utilized.
If additional RAM is needed, upgrading the memory is a straightforward process that can provide a significant performance boost. Properly identifying the RAM type and capacity, purchasing compatible modules, and following the installation steps will help you successfully upgrade your RAM.
In addition to upgrading RAM, optimizing the usage of your existing memory is essential. By closing unnecessary programs, managing startup applications, and adjusting visual settings, you can conserve RAM resources and improve system performance. Regularly performing disk cleanup, updating drivers and the operating system, and scanning for malware also contribute to efficient RAM usage.
Remember, optimizing RAM usage is an ongoing process, and it’s important to regularly monitor your system’s resource usage to ensure optimal performance. By understanding the limitations of Windows 10 Home 64-bit and implementing the tips provided, you can make the most out of your computer’s RAM and enjoy a smooth and efficient computing experience.