Introduction
Welcome to the world of 3D printing! If you’re new to this exciting technology, one of the key factors that determines the success of your prints is the bed temperature. The bed temperature plays a crucial role in ensuring proper adhesion and stability of the printed object. In this article, we will explore the importance of bed temperature in 3D printing and provide insights into how to achieve the optimal temperature for different filament types.
When it comes to 3D printing, there is no one-size-fits-all approach. Different filaments, such as PLA, ABS, PETG, and others, have varying bed temperature requirements. Understanding these requirements and finding the right balance is essential for achieving high-quality prints.
Additionally, factors like ambient temperature, print speed, and the type of build surface also influence the ideal bed temperature. It’s essential to consider these variables to ensure consistent and reliable results.
Determining the correct bed temperature can sometimes be a trial-and-error process, but with some guidance and experimentation, you can save time, filament, and frustration. In the next sections, we will delve into the details of how bed temperature affects your prints and provide tips for optimal bed temperature settings.
Factors Affecting 3D Printer Bed Temperature
Several factors can influence the ideal bed temperature for 3D printing. Understanding these factors is crucial for obtaining successful prints consistently. Let’s explore some of the key elements that affect the bed temperature:
- Filament Type: Different filament materials have different properties and therefore require different bed temperatures. For example, PLA, a commonly used filament, typically requires a bed temperature of around 60-70°C, while ABS may need a higher temperature range of 90-100°C for optimal adhesion.
- Ambient Temperature: The temperature of the environment in which the 3D printer operates can impact the heat transfer to the print bed. If the ambient temperature is low, it may take longer for the bed to reach and maintain the desired temperature. On the other hand, a high ambient temperature may require adjusting the bed temperature to prevent overheating.
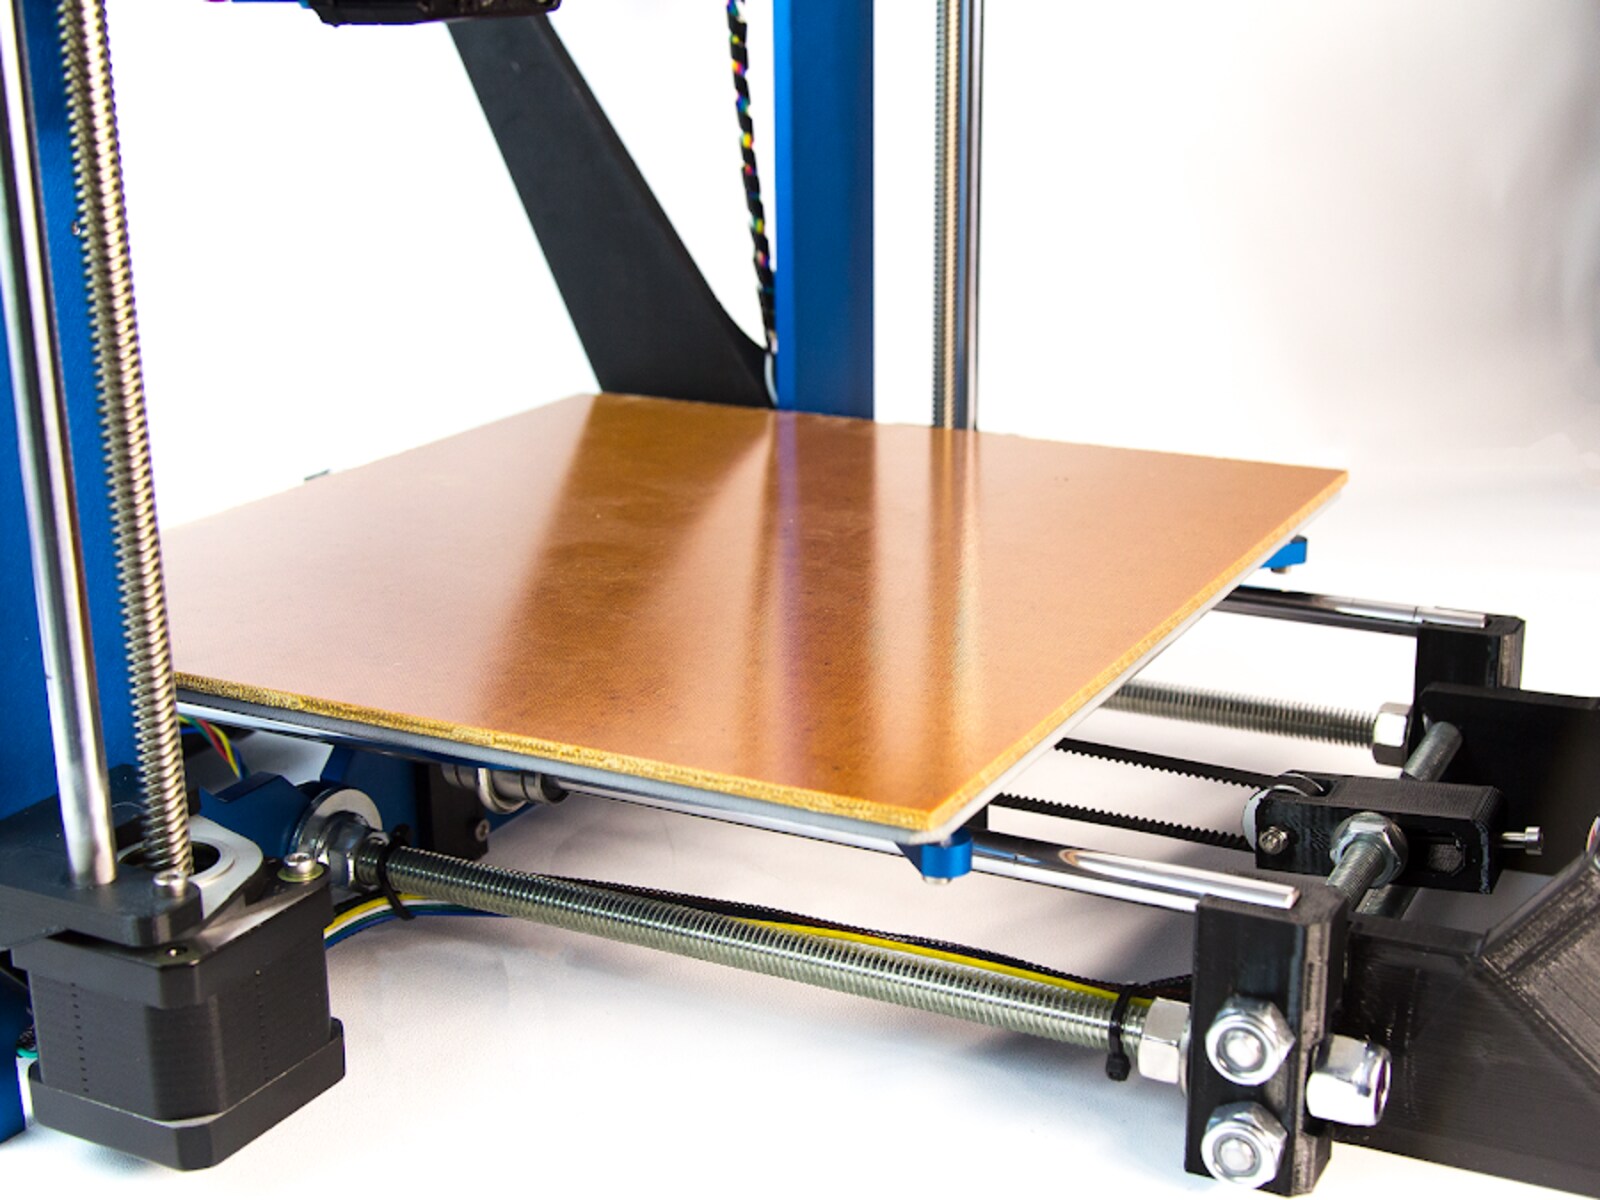
- Build Surface: The type of build surface can affect the required bed temperature. Materials like glass, PEI, or BuildTak have different thermal properties and may require adjustments to the bed temperature settings. Some surfaces may provide better adhesion at lower temperatures, while others may require higher temperatures for optimal results.
- Print Speed: The speed at which the printer moves during the printing process can impact the heating and cooling of the print bed. Higher print speeds may require a slightly higher bed temperature to compensate for the increased cooling effect. Slower print speeds, on the other hand, may allow for lower bed temperatures.
- Layer Height and Print Settings: The layer height and other print settings can also affect the required bed temperature. Thicker layers may require a higher bed temperature to ensure proper adhesion between layers, while thinner layers may not necessitate as high a temperature.
By considering these factors and adjusting the bed temperature accordingly, you can optimize your prints, minimize warping or lifting, and ensure successful outcomes.
Optimal Bed Temperature for Different Filament Types
Each filament type has its own recommended bed temperature range for optimal printing results. Understanding these temperature requirements is essential for achieving successful prints with different filaments. Let’s take a look at the optimal bed temperatures for some commonly used filament types:
- PLA: PLA is a popular filament known for its ease of use and wide availability. The optimal bed temperature for PLA typically ranges between 50-70°C. However, some manufacturers may recommend a specific temperature within this range, so it’s important to check the filament packaging or manufacturer’s guidelines for precise recommendations.
- ABS: ABS is a more durable filament but can be more challenging to print with compared to PLA. ABS generally requires a higher bed temperature, ranging from 80-110°C. Higher bed temperatures help prevent warping and promote adhesion between the printed object and the build plate.
- PETG: PETG is a versatile filament that offers strength and flexibility. It typically requires a bed temperature ranging from 70-90°C. PETG has a lower tendency to warp compared to ABS, but higher bed temperatures can still assist in achieving better adhesion.
- Nylon: Nylon is a strong and durable filament that requires specific bed temperature settings for successful prints. The optimal bed temperature for nylon varies widely, ranging from 70-110°C. It’s crucial to refer to the manufacturer’s recommendations for the specific nylon filament you are using.
Keep in mind that these temperature ranges are general guidelines and may vary slightly depending on the specific brand or composition of the filament you are using. It’s always best to consult the manufacturer’s guidelines for the most accurate recommendations. Additionally, it’s worth noting that experimentation and fine-tuning may be necessary to achieve the best results for your specific printer setup and filament combination.
How to Determine the Ideal Bed Temperature
Determining the ideal bed temperature for 3D printing can be a process of trial and error, but there are several methods you can use to help find the optimal temperature setting. Here are some approaches to consider:
- Manufacturer Recommendations: The first step in determining the bed temperature is to check the manufacturer’s recommendations for the filament you are using. Most filament manufacturers provide guidelines for the ideal bed temperature range for their product. Start with the recommended temperature as a baseline.
- Print Bed Calibration: Ensuring that your print bed is properly leveled and calibrated is crucial for consistent results. Follow the calibration instructions for your printer to make sure the bed is even and at the correct height. A well-calibrated bed can prevent issues like uneven heating or poor adhesion, which can impact the required temperature.
- Temperature Tower Test: A temperature tower test involves printing a small tower structure with different sections printed at varying bed temperatures. This allows you to evaluate the quality of each section and determine the optimal temperature that produces the best results, such as good adhesion and minimal warping. Look for the temperature at which the print exhibits minimal issues or defects.
- Trial and Error: Another approach is to iteratively adjust the bed temperature and observe the print results. Start at the lower end of the recommended temperature range and gradually increase or decrease the temperature in small increments. Evaluate the print quality, adhesion, and warping at each temperature until you find the temperature that consistently produces successful prints.
Remember to make only one change at a time and allow each print to complete before making further adjustments. This will help you isolate the impact of temperature changes and identify the best bed temperature for your specific printer and filament combination.
By combining these methods and carefully observing the print results, you can determine the ideal bed temperature that provides optimal adhesion, minimal warping, and high-quality prints.
Tips for Achieving and Maintaining the Right Bed Temperature
Ensuring the bed temperature remains at the optimal level throughout the entire printing process is crucial for successful 3D prints. Here are some tips to help you achieve and maintain the right bed temperature:
- Preheating: To ensure consistent results, allow your printer’s bed to preheat for an adequate amount of time before starting the print. This helps stabilize the temperature and prevents fluctuations during the printing process.
- Use an Enclosure: If you’re working with materials like ABS or other filaments that require higher bed temperatures, consider using an enclosure for your printer. An enclosure helps maintain a stable and controlled environment, preventing heat loss and promoting proper adhesion.
- Insulation: Insulating the bottom of your print bed can help improve heat retention and distribution. This can be done using insulating materials or thermal blankets specifically designed for 3D printers. Insulation helps reduce the amount of heat loss to the surrounding environment.
- Print Cooling: Cooling fans are essential for cooling the printed object but can impact the bed temperature as well. To prevent excessive cooling of the bed, consider adjusting the cooling fan speed or utilizing fan ducts that direct airflow away from the bed.
- Choose the Right Build Surface: Different build surfaces have different thermal properties that affect bed temperature. Experiment with various surfaces like glass, PEI sheets, or BuildTak to find the one that performs best with your filament of choice. Some surfaces may require slightly higher or lower bed temperatures for optimal adhesion.
- Monitor and Adjust: During the printing process, periodically check the bed temperature to ensure it remains within the desired range. If you notice any deviations, adjust the temperature accordingly to maintain optimal conditions.
- Keep a Record: It can be helpful to keep a record of the bed temperature and other print settings for each successful print. This record can serve as a reference for future prints with the same filament type or similar conditions.
Remember, achieving and maintaining the right bed temperature is a combination of experimentation, observation, and fine-tuning. The ideal settings may vary depending on your specific printer, filament, and environment. Regularly evaluate and adjust your bed temperature to optimize print quality and minimize issues like warping or poor adhesion.
Common Bed Temperature Issues and How to Fix Them
Maintaining the right bed temperature for 3D printing can sometimes be challenging and may lead to common issues. Here are some of the most common bed temperature issues and solutions to fix them:
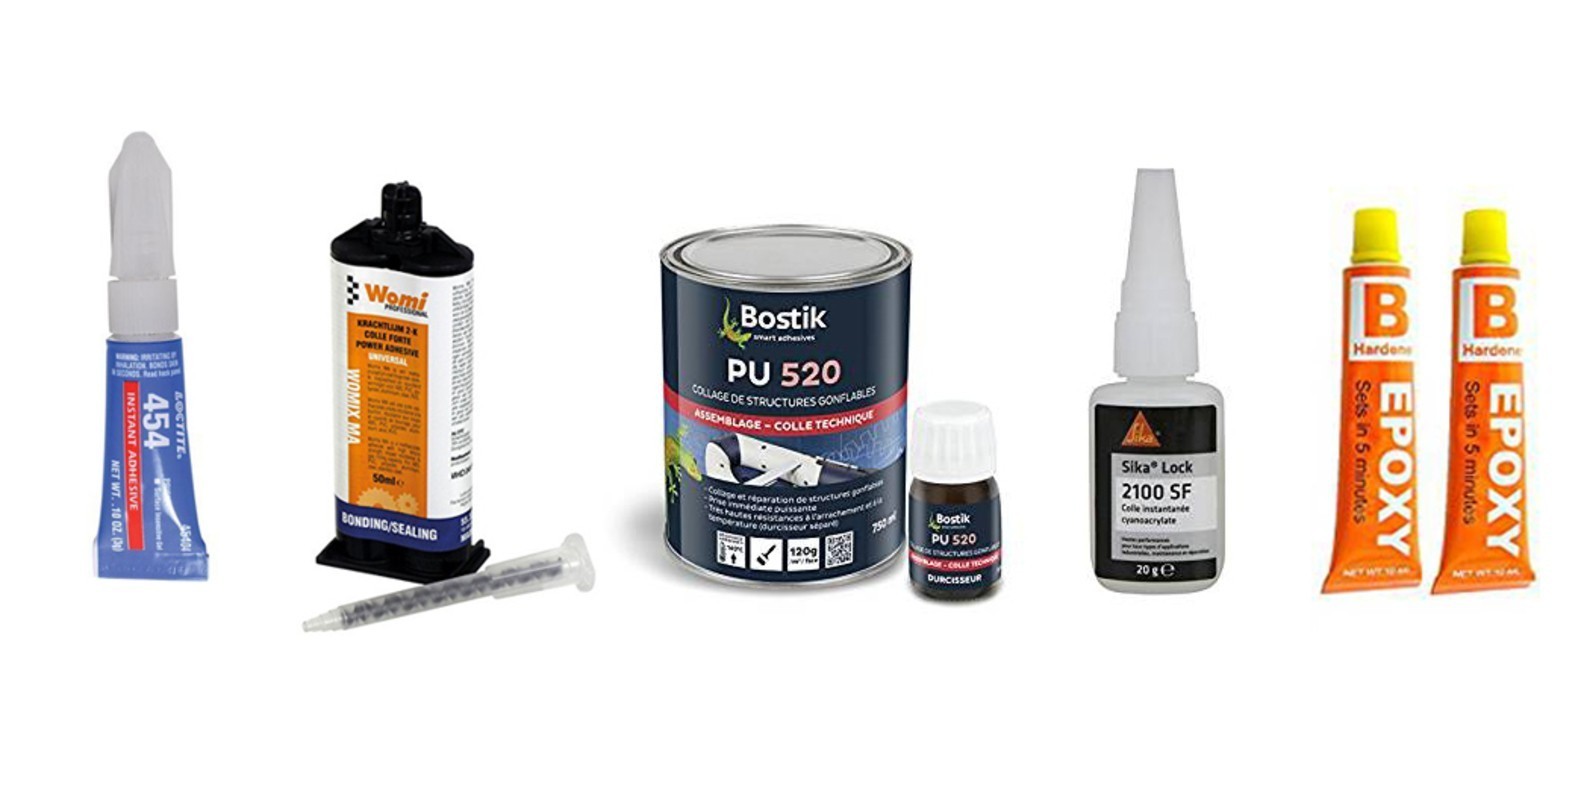
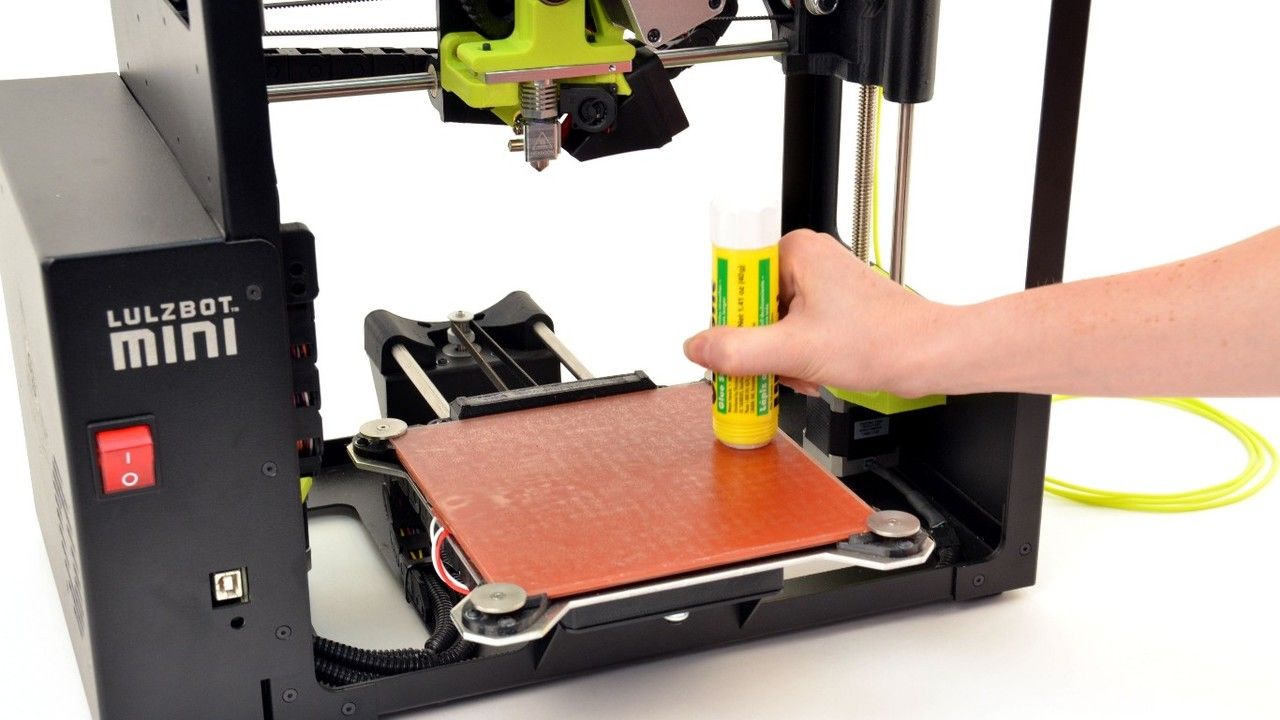
- Warping: Warping occurs when the printed object lifts or curls at the edges during the printing process. It is often caused by insufficient bed adhesion. To address warping, you can try increasing the bed temperature within the recommended range to improve adhesion. Additionally, using a heated enclosure or build surface, applying adhesive materials like hairspray or glue stick, or utilizing a brim or raft can also help minimize warping.
- Poor Adhesion: Insufficient bed adhesion can result in prints detaching from the bed or layers separating. If you’re experiencing poor adhesion, ensure that your build surface is clean and free from dust or debris. Increasing the bed temperature slightly, applying adhesive substances, or using a different build surface material can also enhance adhesion.
- Overheating: If your prints are exhibiting signs of overheating, such as excessive stringing or melted details, it may indicate that the bed temperature is too high. Try reducing the bed temperature within the recommended range to prevent excessive heat transfer to the print. Additionally, ensure that your cooling fans are operating effectively to cool the printed object and prevent overheating.
- Underheating: Prints that exhibit poor layer adhesion or lifting from the bed may indicate underheating. If you suspect underheating, ensure that your printer’s bed temperature is set within the recommended range for the filament you’re using. Also, check that your print bed is properly calibrated and level to ensure even heat distribution. Increasing the bed temperature slightly and using adhesive materials can also help improve adhesion.
- Inconsistent Bed Temperature: Inconsistent bed temperature can lead to inconsistent print quality and adhesion. If you’re experiencing temperature fluctuations, verify that your printer’s heating element is functioning properly. You can also insulate the bottom of the print bed to improve heat retention and consider replacing the printer’s thermostat or temperature sensor if necessary.
Remember, troubleshooting bed temperature issues may require some experimentation and adjustments. Be patient and make incremental changes to find the optimal bed temperature for your specific printer, filament, and environment. Take note of the solutions that work best for your specific issues to guide future prints and minimize temperature-related problems.
Conclusion
Understanding and managing the bed temperature is a vital aspect of achieving successful 3D prints. By considering various factors like filament type, ambient temperature, build surface, print speed, and layer settings, you can determine the optimal bed temperature for your specific printing needs. Experimentation, observation, and adjustments are key to finding the right balance.
Manufacturer recommendations, print bed calibration, temperature tower tests, and trial and error are all effective methods for determining the ideal bed temperature. It’s crucial to ensure that the bed temperature remains stable throughout the printing process to achieve consistent and high-quality prints.
Additionally, following tips such as preheating the bed, using enclosures or insulation, adjusting cooling settings, choosing the right build surface, monitoring and adjusting temperature, and keeping records can help you achieve and maintain the right bed temperature.
Common bed temperature issues like warping, poor adhesion, overheating, underheating, and inconsistent temperatures can be addressed using a combination of solutions such as adjusting the temperature, cleaning the build surface, using adhesive substances, and verifying proper printer functionality.
Remember, finding the optimal bed temperature for your 3D prints may require some patience and experimentation. Each printer and filament combination is unique, and it’s important to fine-tune the temperature settings to achieve the best results. With practice and attention to detail, you can master the art of managing the bed temperature and unlock the full potential of your 3D printer.


