Introduction
Setting up an antenna on a smart TV can be a great way to access local over-the-air (OTA) channels and enjoy high-quality, free broadcast television. It’s a simple and cost-effective solution that allows you to expand your viewing options without relying solely on cable or satellite subscriptions.
With the advancement in technology, smart TVs now come equipped with built-in digital tuners, which means you can easily connect an antenna and enjoy a variety of channels in HD quality. Whether you’re looking to cut the cord or just enhance your TV viewing experience, setting up an antenna on your smart TV is the way to go.
In this guide, we will walk you through the step-by-step process of setting up an antenna on a smart TV. Whether you’re a tech enthusiast or a newbie, don’t worry! We’ll make it easy for you to follow along and get your antenna up and running in no time.
No matter where you reside, whether in a rural area or a bustling city, an antenna can provide you with access to local channels like NBC, ABC, CBS, PBS, and FOX, giving you a wide range of entertainment, news, and sports options.
Moreover, setting up an antenna on your smart TV allows you to enjoy crystal-clear picture quality because digital signals can provide better image and sound quality compared to cable or satellite signals. Additionally, OTA channels are free, so you can save some money by cutting down on your cable or satellite expenses.
So, without further ado, let’s dive into the step-by-step process of setting up an antenna on a smart TV and start exploring the world of free television!
Step 1: Gather the necessary equipment
Before you begin setting up your antenna on a smart TV, it’s important to gather all the required equipment. Here’s a list of the things you’ll need:
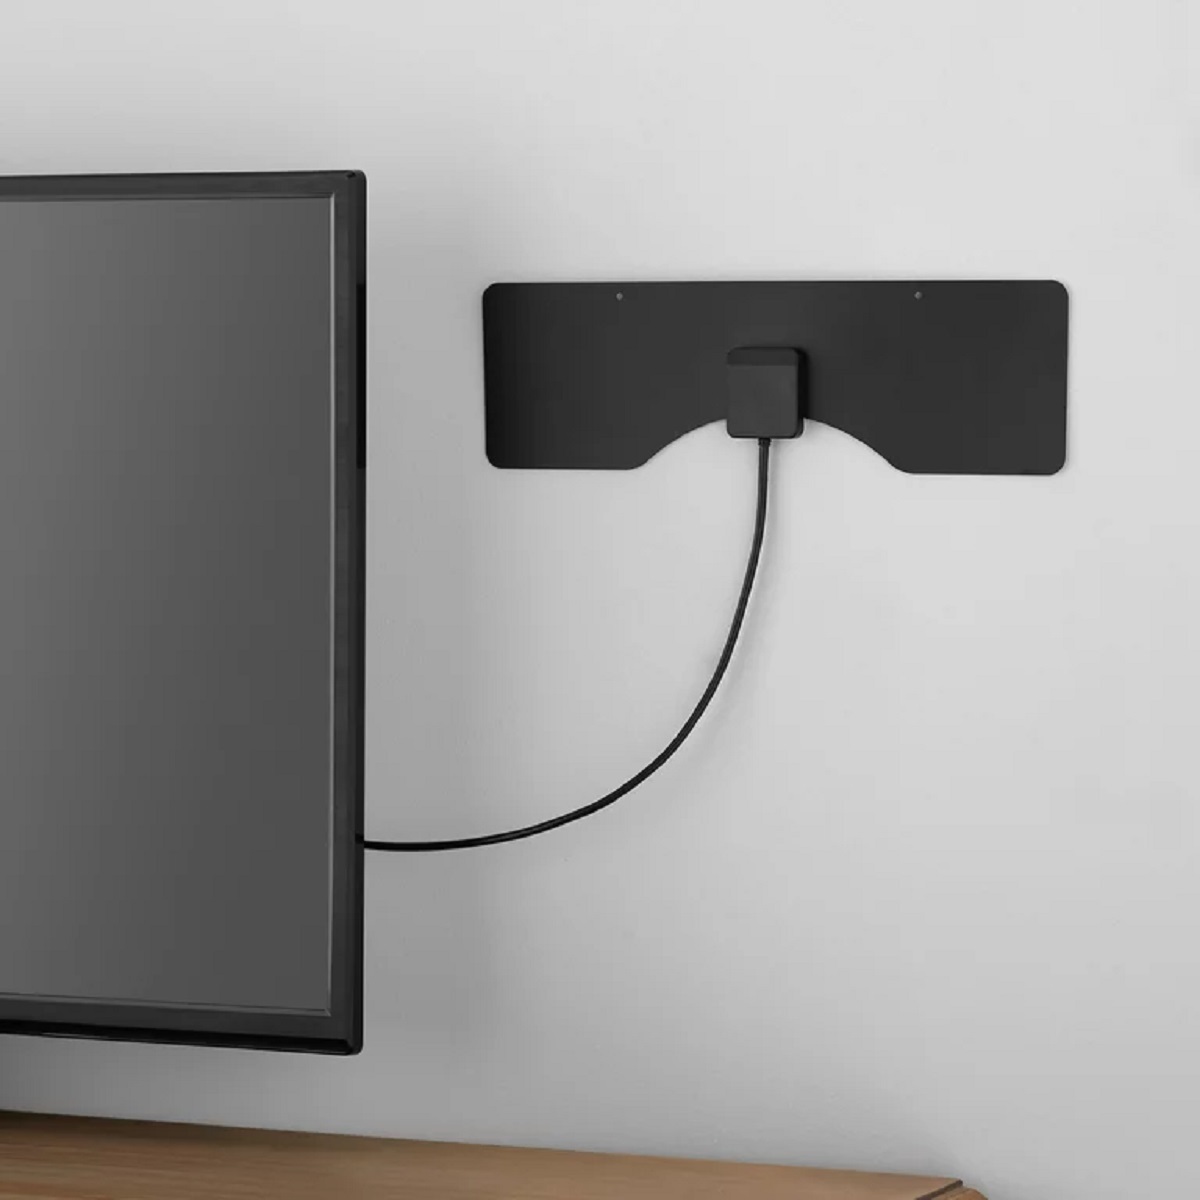
- Antenna: Choose an antenna that suits your needs and location. There are various types available, such as indoor antennas, outdoor antennas, and attic antennas. Consider factors like signal strength in your area and the distance from broadcast towers when selecting an antenna.
- Coaxial cable: You’ll need a coaxial cable to connect the antenna to your smart TV. Ensure that the cable is long enough to reach from the antenna to the TV without any strain.
- Power supply (if applicable): Some outdoor or attic antennas may require a power supply to amplify the signal. Check the specifications of your antenna to determine if a power supply is necessary.
- Mounting hardware (if applicable): If you’re installing an outdoor or attic antenna, you may need mounting hardware like brackets, screws, and a pole. Check the antenna’s instructions to ensure you have the necessary hardware.
Once you have gathered all the required equipment, you’re ready to move on to the next step of the setup process. It’s essential to have everything at hand to avoid interruptions during the installation.
Setting up an antenna may seem daunting at first, but with the right equipment and instructions, it’s a straightforward process. So, gather all the necessary equipment and let’s proceed to the next step!
Step 2: Identify the location for antenna placement
One of the crucial steps in setting up an antenna on a smart TV is to find the optimal location for antenna placement. The placement of the antenna plays a vital role in receiving a strong and clear signal. Here are some tips to help you identify the ideal location:
- Research signal strength: Before deciding on the antenna’s placement, research the signal strength in your area. Websites like AntennaWeb or the Federal Communications Commission (FCC) website provide tools to check signal strength and the direction of the broadcast towers in your vicinity.
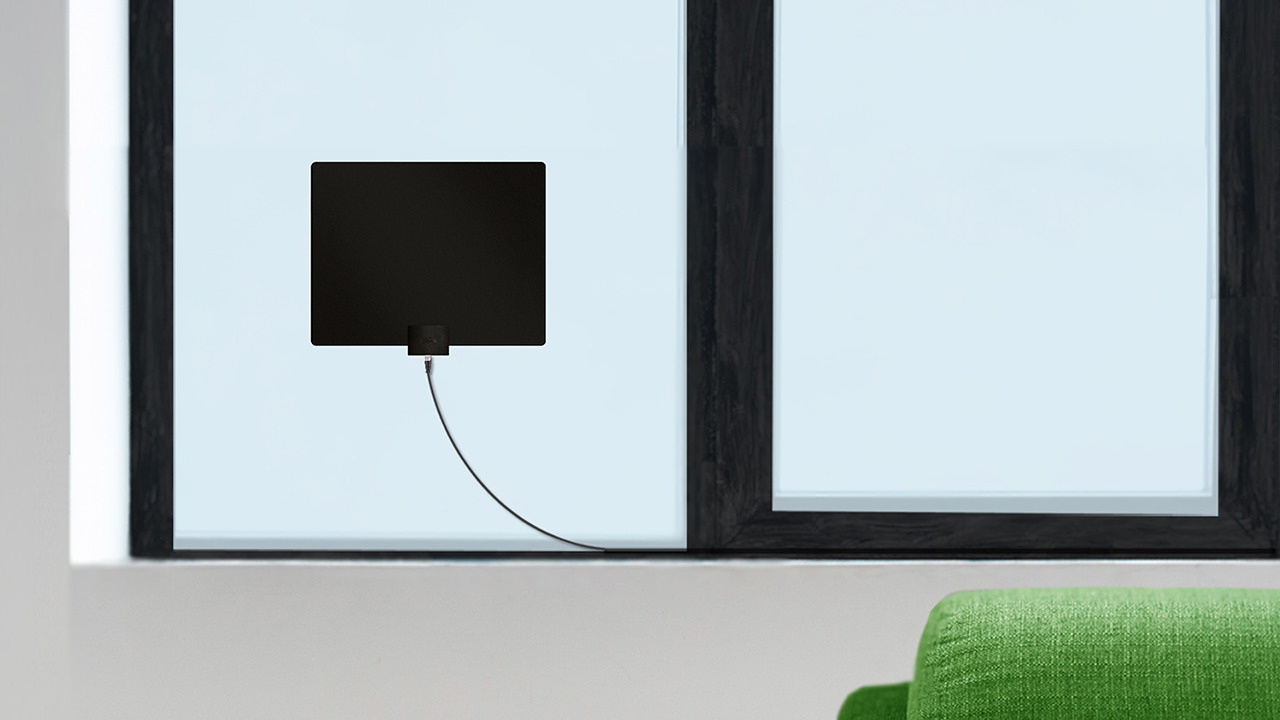
- Elevation: In general, placing the antenna at a higher elevation can improve signal reception. If you’re using an indoor antenna, consider placing it near a window or as high as possible in your living space. For outdoor antennas, mounting them on the rooftop or in the attic could yield better results.
- Avoid obstructions: Make sure the antenna’s placement avoids obstructions like trees, tall buildings, or other objects that may interfere with the signal. Obstructions can weaken the signal strength and result in poor reception.
- Point towards broadcast towers: If possible, aim the antenna towards the direction of the broadcast towers. Remember to take note of the compass direction or the bearing of the towers based on the research you conducted earlier.
- Try different locations: If you’re not getting satisfactory signal reception, don’t hesitate to experiment with different antenna placements. Move the antenna around, reposition it, and test the signal strength after each adjustment to find the optimal location.
Keep in mind that finding the perfect location may require some trial and error. Be patient and willing to make adjustments until you achieve the best possible signal reception.
Once you have identified the ideal location for antenna placement, you’re ready to move on to the next step. So, let’s proceed to connecting the coaxial cable to the antenna.
Step 3: Connect the coaxial cable to the antenna
Now that you have identified the optimal location for antenna placement, it’s time to connect the coaxial cable to the antenna. Follow these steps to ensure a secure and reliable connection:
- Locate the antenna’s coaxial output: On the back of the antenna, you’ll find a coaxial output port. This is where you’ll connect one end of the coaxial cable.
- Prepare the coaxial cable: Strip off a small portion of the outer layer of the coaxial cable to expose the inner wire. Be careful not to damage the inner wire or the insulation around it.
- Attach the coaxial cable: Insert the exposed inner wire into the coaxial output port of the antenna. Ensure a snug fit by twisting it gently in a clockwise direction. The connection should be secure and tight.
- Secure the connection: If your antenna comes with a connector nut, use it to secure the connection further. Twist the connector nut clockwise to tighten it onto the coaxial output port. This will help prevent any loose connections that could impact signal reception.
Once you have successfully connected the coaxial cable to the antenna, you have completed the third step of setting up your antenna on a smart TV. The next step involves connecting the other end of the coaxial cable to the TV itself. Let’s proceed to the next step so that you can continue with the setup process smoothly.
Step 4: Connect the other end of the coaxial cable to the TV
After successfully connecting the coaxial cable to the antenna, it’s time to establish a connection between the other end of the cable and your smart TV. Follow these steps to complete the connection:
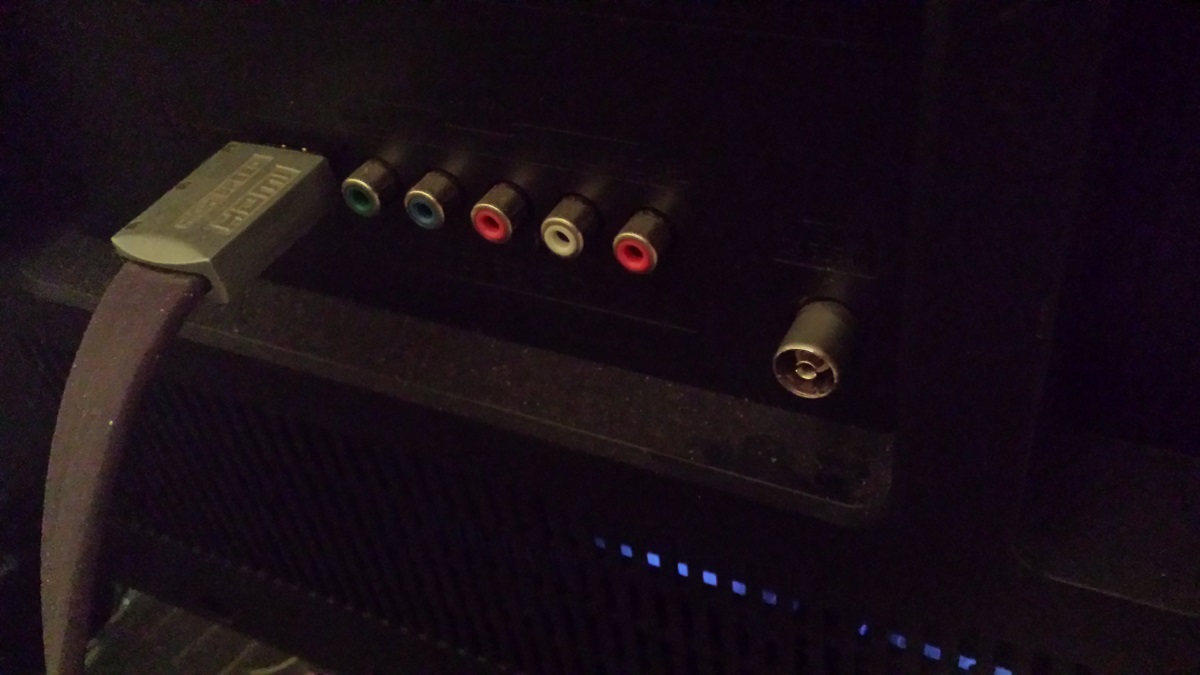
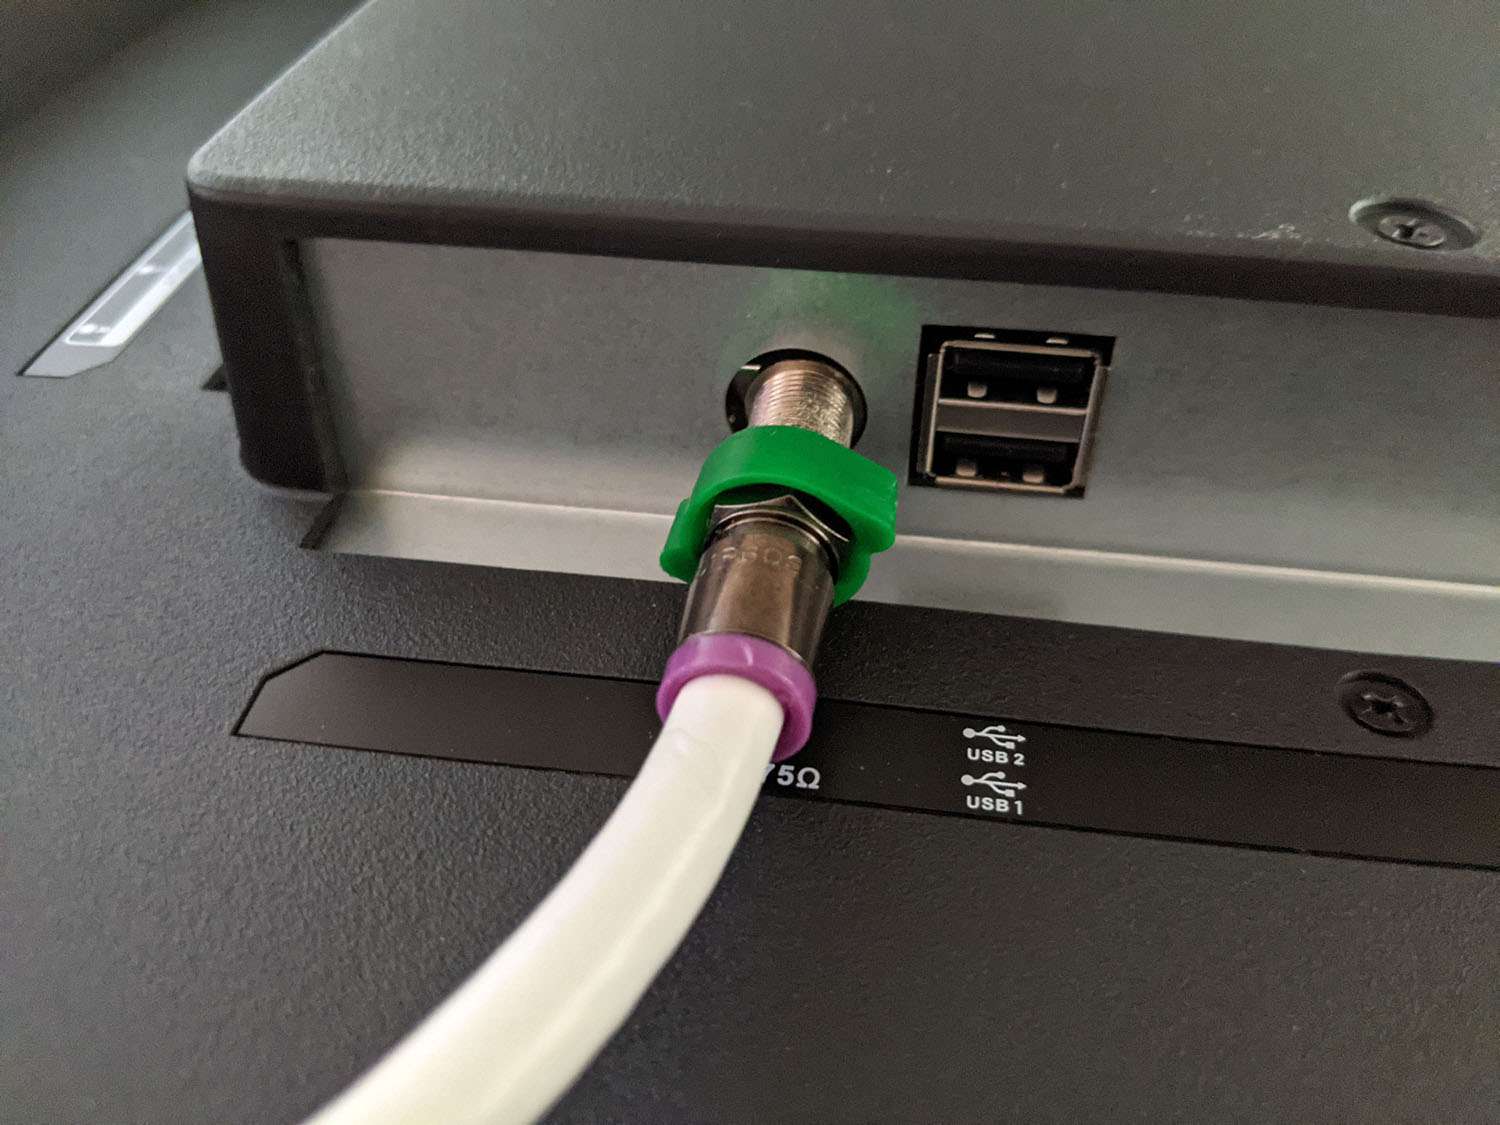
- Locate the antenna input port: Look for the antenna input port on the back of your smart TV. It is usually labeled as “ANT,” “TV IN,” or something similar. The port may be threaded or simply a rectangular jack.
- Insert the coaxial cable: Insert the other end of the coaxial cable into the antenna input port on your smart TV. If the port is threaded, twist the cable clockwise to ensure a secure connection. If it’s a rectangular jack, push the cable in firmly.
- Secure the connection: If the antenna input port on your TV is threaded, use the connector nut provided with the TV to secure the connection. Twist the nut clockwise to tighten it onto the port. This will prevent any loose connections that could result in signal loss.
Once you’ve connected the coaxial cable to the antenna input port on your smart TV and ensured a secure connection, you’ve completed the fourth step of the setup process. The next step involves accessing the TV’s menu settings to configure the antenna input source.
Now that you have successfully connected the cable, you’re a step closer to enjoying free OTA channels on your smart TV. Let’s move on to the next section to continue setting up your antenna.
Step 5: Access the TV’s menu settings
With the coaxial cable successfully connected to your smart TV, the next step is to access the TV’s menu settings. This is where you will configure the antenna input source and prepare your TV for the channel scanning process. Follow these steps to access the menu settings:
- Turn on your smart TV: Use your TV’s remote or power button to turn it on. Make sure it’s connected to a power source and that you’re on the correct input source to see the TV’s display.
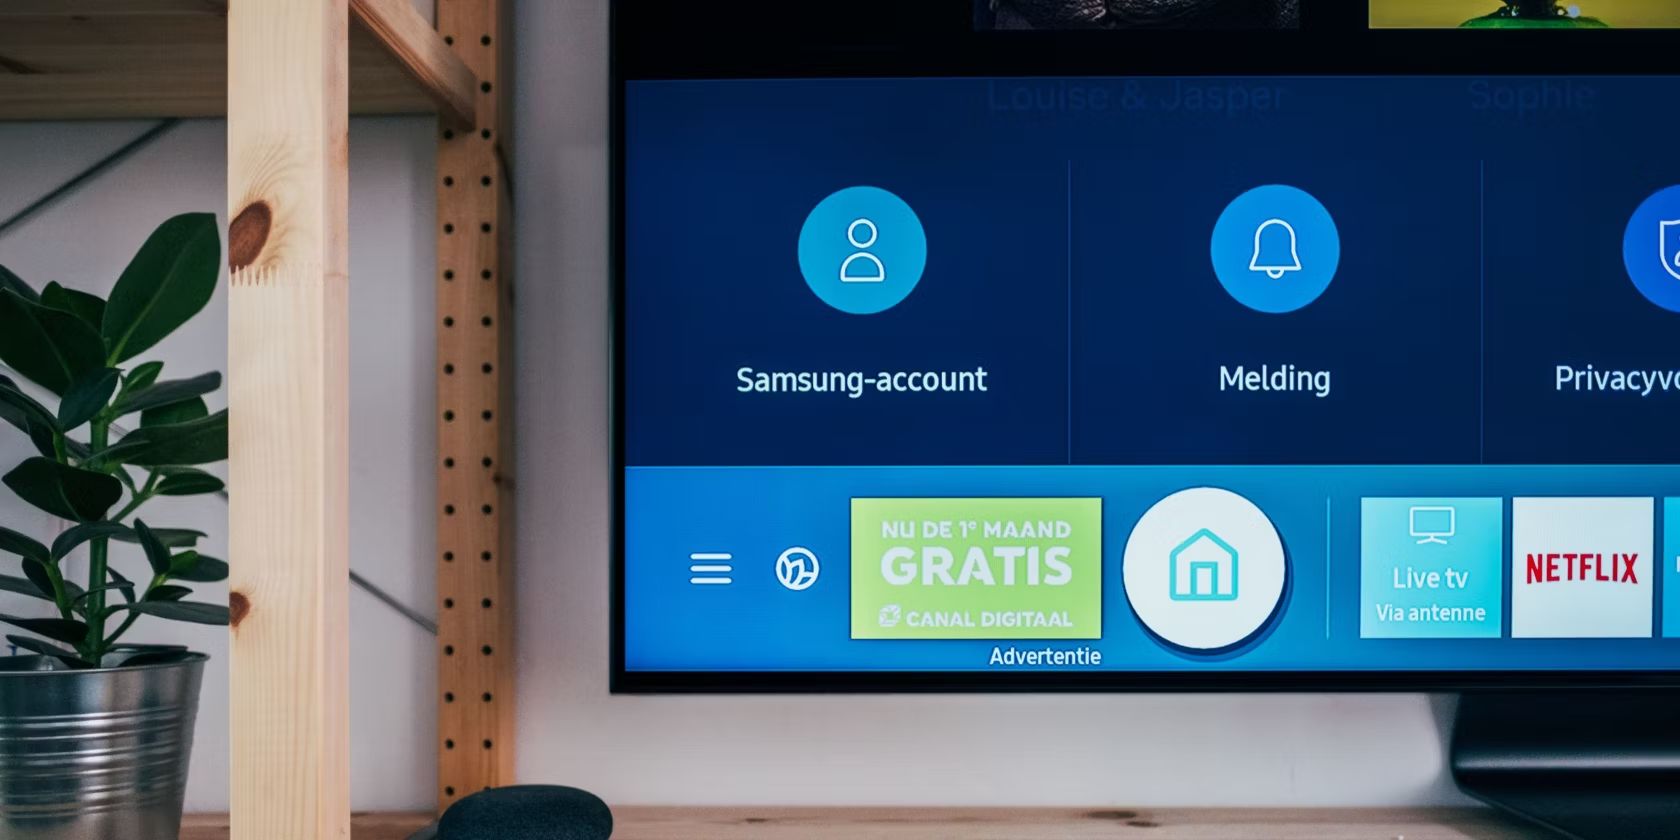
- Access the menu: Most smart TVs have a dedicated menu button on the remote control. Look for a button labeled “Menu” or with an icon that resembles a list or three horizontal lines. Press that button to open the TV’s menu.
- Navigate to the settings: Use the arrow keys or navigation buttons on your remote control to navigate through the TV’s menu. Look for options like “Settings,” “Setup,” or “Configuration.” The exact location of the settings may vary depending on your TV’s brand and model.
- Select the antenna input source: Once you’ve accessed the TV’s settings, locate the option that allows you to select the input source. It may be labeled as “Input,” “Source,” or something similar. Select the option that corresponds to the antenna input source you connected earlier.
By accessing the TV’s menu settings and selecting the antenna input source, you are preparing your smart TV to receive signals from the connected antenna. Once you’ve completed this step, you are ready to proceed to the next step, which involves scanning for channels.
Accessing the menu settings may vary slightly depending on your TV’s interface, but these general guidelines should help you find the necessary options. Refer to your TV’s user manual for specific instructions if needed.
Now that you’ve accessed the menu settings and configured the antenna input source, let’s move on to the next step and begin the channel scanning process.
Step 6: Select the antenna input source on the TV
After accessing the menu settings on your smart TV, the next step is to select the antenna input source. This step ensures that your TV is ready to receive signals from the connected antenna. Follow these steps to select the antenna input source:
- Navigate to the input source options: Within the menu settings, look for the option that allows you to select the input source. It may be labeled as “Input,” “Source,” or something similar. Use the arrow keys or navigation buttons on your remote control to highlight this option.
- Choose the antenna input source: Once you’ve highlighted the input source option, select the one that corresponds to the antenna connection you made earlier. It may be labeled as “Antenna,” “TV,” or something similar. Press the OK or Enter button on your remote control to confirm your selection.
- Exit the menu settings: After selecting the antenna input source, navigate to the option that allows you to exit or close the menu settings. This may be labeled as “Exit,” “Back,” or an icon that resembles an arrow pointing to the left. Press that button to exit the menu settings and return to your TV’s regular viewing mode.
By selecting the correct antenna input source on your smart TV, you are ensuring that the TV is tuned to receive signals specifically from the connected antenna. This step is crucial in preparing your TV for the channel scanning process, which will allow you to discover and save the available OTA channels.
Remember that the process of selecting the antenna input source may vary slightly depending on your TV’s make and model, as well as the interface design. If you encounter any difficulties, refer to your TV’s user manual for specific instructions.
Now that you’ve selected the antenna input source on your TV, you are ready to move on to the next step, which involves beginning the channel scanning process. Let’s proceed and discover the available channels!
Step 7: Begin the channel scanning process
After selecting the antenna input source on your smart TV, it’s time to start the channel scanning process. This step allows your TV to search for available channels and store them for easy access. Follow these steps to begin the channel scanning process:
- Access the TV’s menu settings: Use your TV’s remote control to access the menu settings. Press the “Menu” button or look for the button with an icon that resembles a list or three horizontal lines. This will open the TV’s main menu.
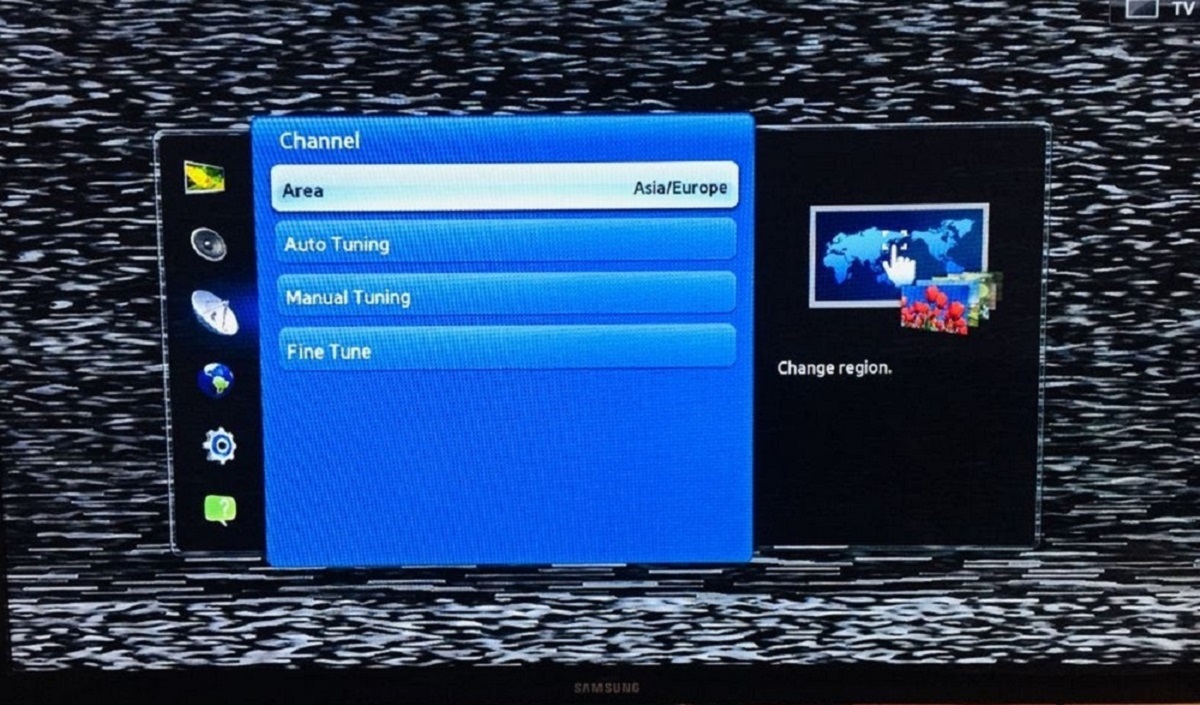
- Navigate to the channel settings: Within the menu settings, navigate to the options related to channels or tuning. Look for options like “Channel Setup,” “Channel Search,” or “Auto Program.” The exact location may vary depending on your TV’s brand and model.
- Select the channel scan option: Once you’ve located the channel settings, select the option that starts the channel scanning process. It may be labeled as “Scan,” “Search,” or “Auto Program.” Press the “OK” or “Enter” button on your remote control to trigger the channel scan.
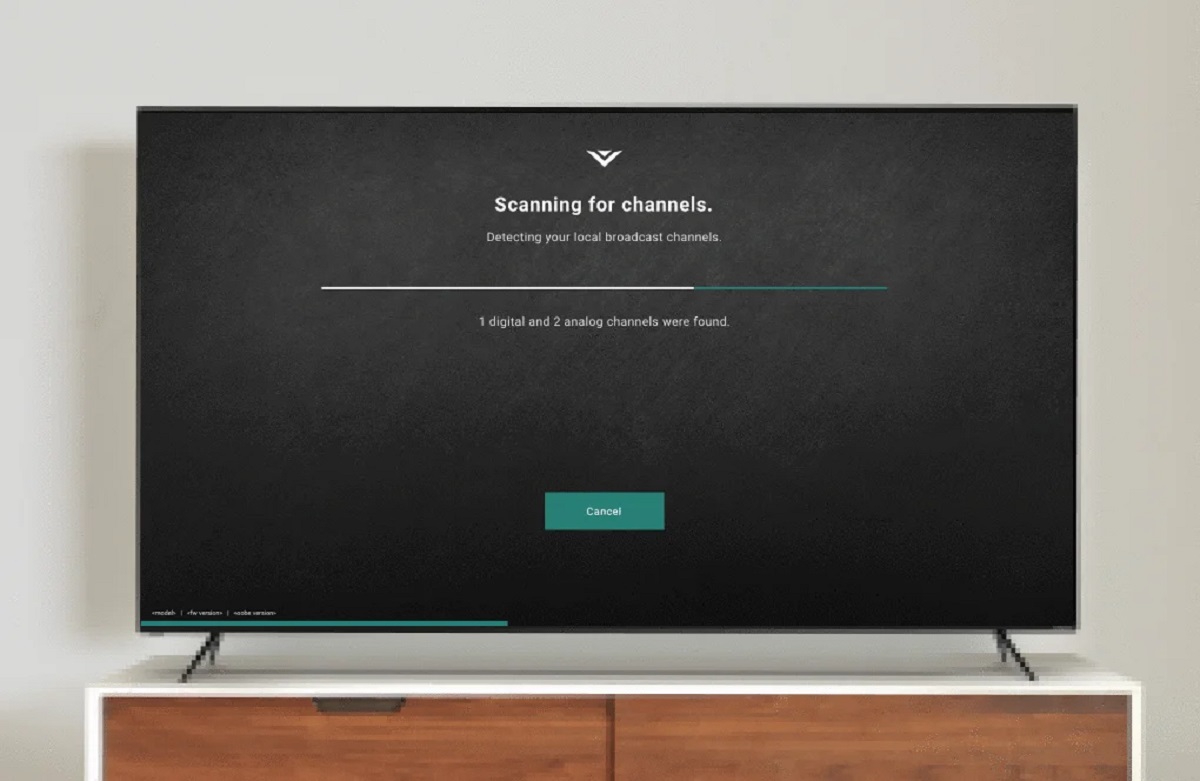
- Wait for the scan to complete: Your TV will now scan for available channels. This process may take a few minutes, so be patient and avoid interrupting the scan. The TV will display a progress indicator or a message indicating that the scan is in progress.
During the channel scanning process, your smart TV will search for digital signals from the connected antenna and automatically detect available OTA channels. It will store these channels in its memory, making them accessible for easy navigation and selection.
Once the channel scan is complete, you are ready to move on to the next step and save the scanned channels on your smart TV.
Note that the specific steps and options may vary based on your TV’s interface and features. Refer to your TV’s user manual for detailed instructions if needed.
Now that you’ve initiated the channel scanning process, let’s proceed to the next step and save the scanned channels on your smart TV!
Step 8: Save the scanned channels
After the channel scanning process is complete, it’s important to save the scanned channels on your smart TV. This step ensures that you can easily access and navigate through the available OTA channels. Follow these steps to save the scanned channels:
- Access the channel settings: Use your TV’s remote control to access the settings related to channels or tuning. Navigate to the options where you initiated the channel scanning process.
- Review the scanned channels: Once you’re in the channel settings, you’ll see a list of the scanned channels. Take a moment to review the list and ensure that all the desired channels have been detected.
- Save the channels: Look for an option that allows you to save the scanned channels. This option may be labeled as “Save,” “Store,” or “Confirm.” Select this option to save the detected channels in your TV’s memory.
- Organize the channel list (optional): Some smart TVs offer the option to organize and customize your channel list. If desired, you can rearrange the order of channels or delete unwanted channels. Refer to your TV’s user manual for instructions on how to customize your channel list.
- Exit the channel settings: Once you’ve saved the scanned channels and made any desired adjustments, exit the channel settings and return to your TV’s regular viewing mode.
By saving the scanned channels, you ensure that they are readily accessible whenever you want to watch your favorite shows or catch up on the latest news and entertainment. Organizing the channel list can further enhance your TV viewing experience by allowing you to arrange the channels based on your preferences.
Remember that the process of saving channels may vary slightly depending on your TV’s make and model, as well as the interface design. If you encounter any difficulties, refer to your TV’s user manual for specific instructions.
Now that you’ve saved the scanned channels on your smart TV, you’re almost done! The final step involves testing the antenna reception to ensure optimal signal quality. Let’s move on to the next step and make sure everything is working smoothly.
Step 9: Test the antenna reception
After saving the scanned channels on your smart TV, it’s important to test the antenna reception to ensure that you are receiving optimal signal quality. This step allows you to check if all the channels are clear and free from any interference or pixelation. Follow these steps to test the antenna reception:
- Select a channel: Use your TV’s remote control to navigate to the channel list or use the channel up/down buttons to select a channel you want to test.
- Observe the signal quality: Tune into the selected channel and carefully observe the picture and sound quality. Look for any signs of interference, pixelation, or poor signal strength.
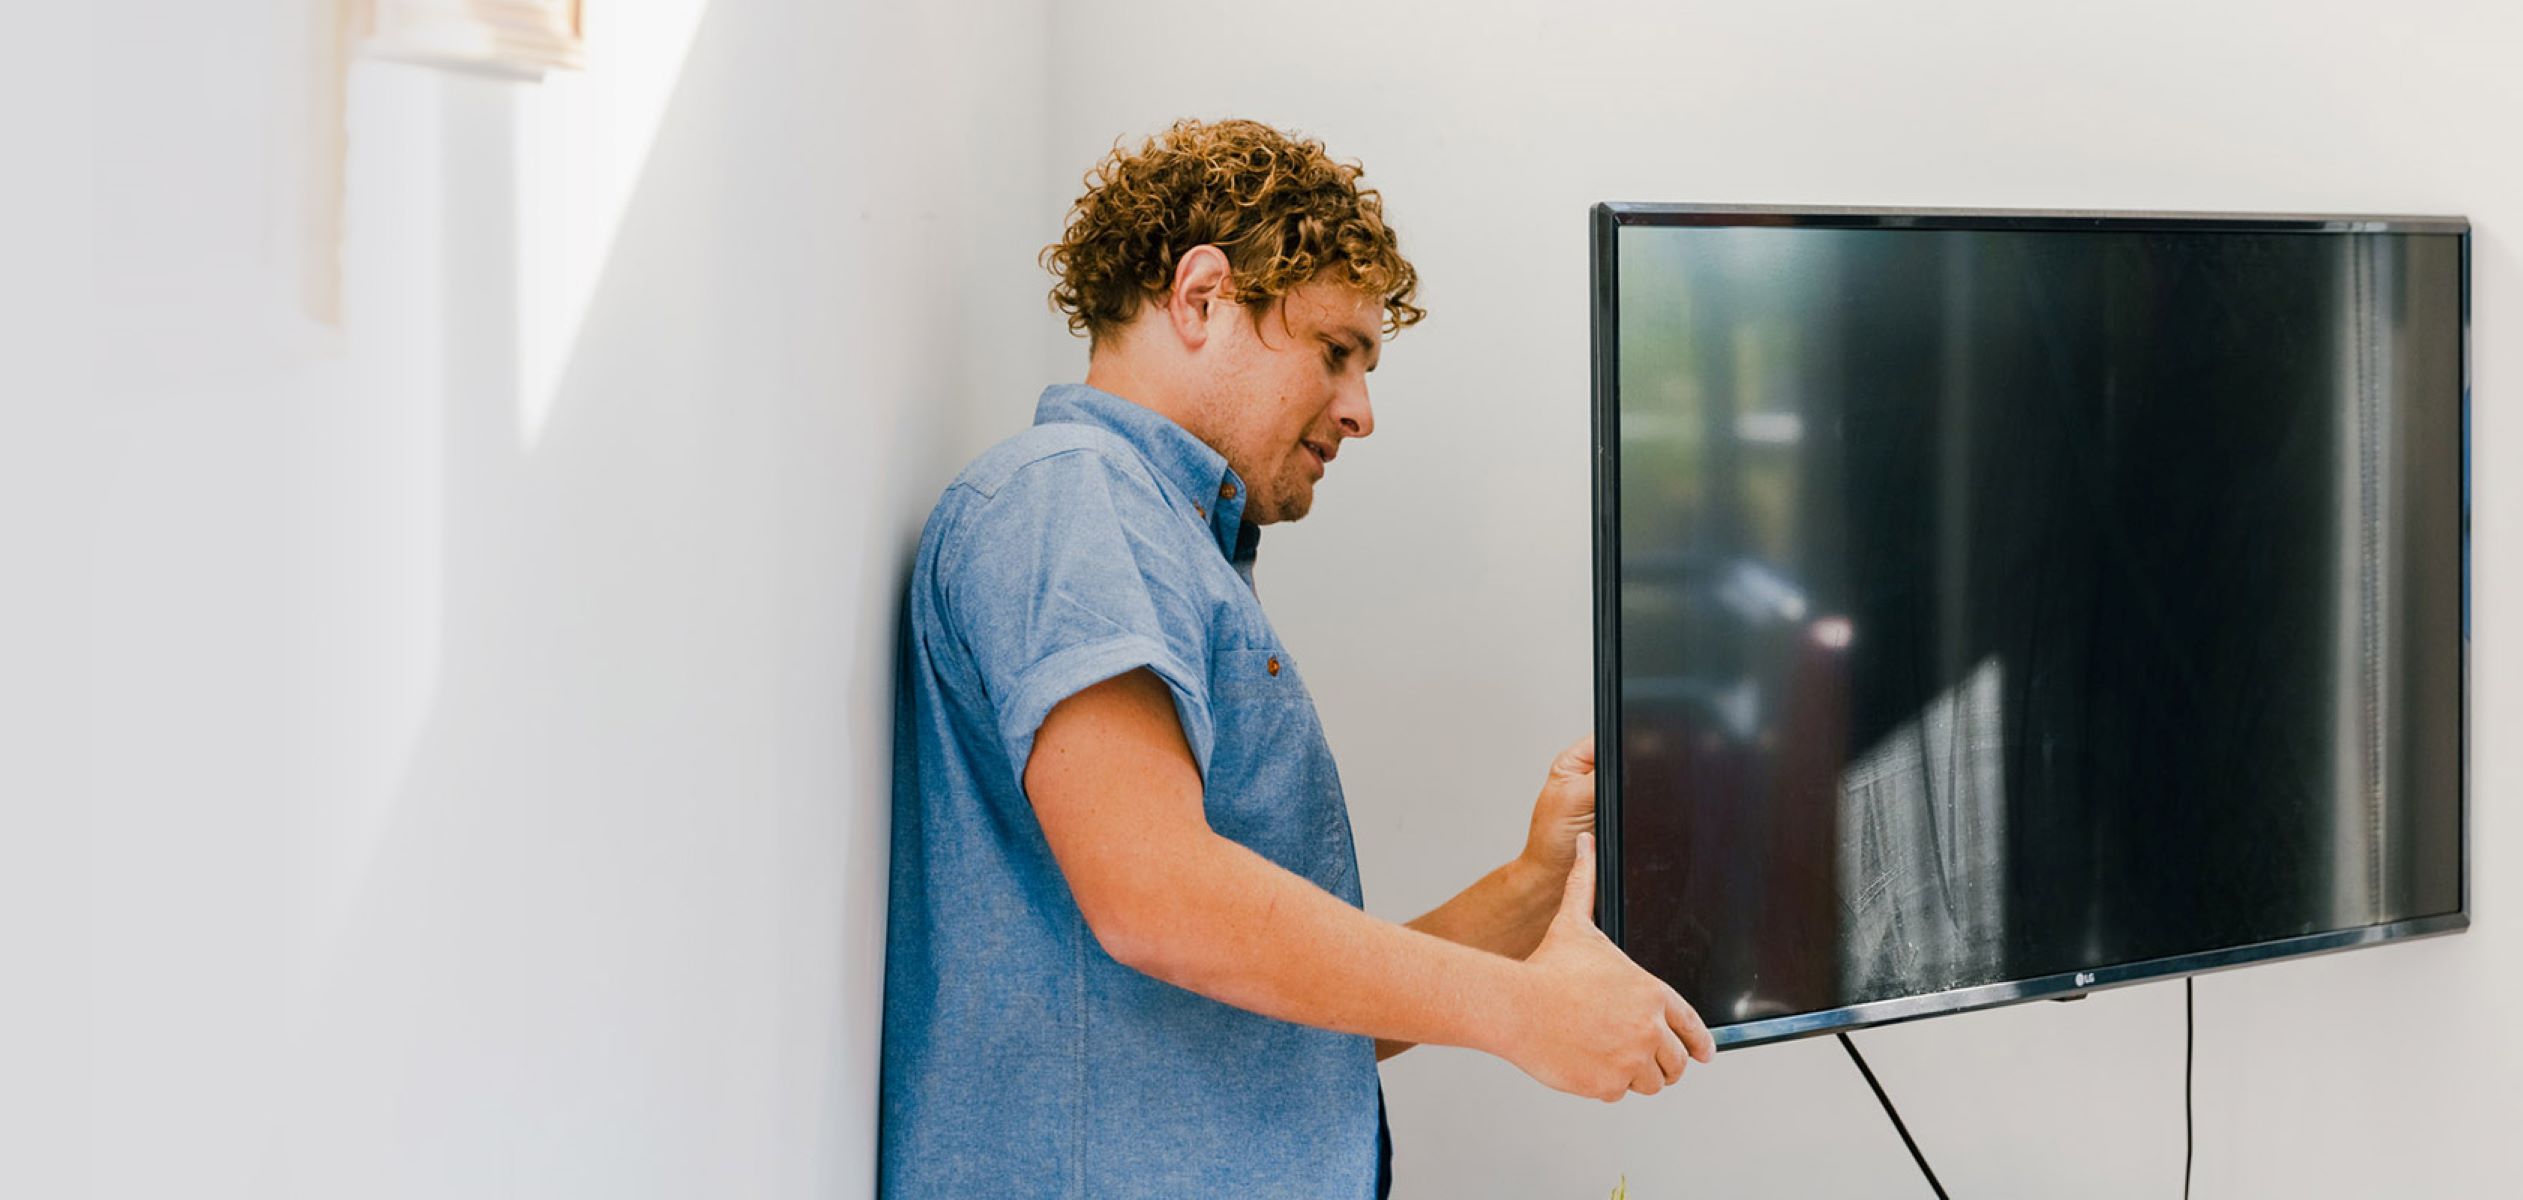
- Rotate or reposition the antenna (if needed): If you notice any issues with the signal quality, consider rotating or repositioning the antenna to improve reception. Small adjustments in antenna placement can sometimes make a significant difference in signal strength.
- Check multiple channels: Test the reception on multiple channels to ensure consistent signal quality across different frequencies. This will help you identify if there are any specific channels or frequencies that may have weaker signals in your area.
- Seek professional help (if necessary): If you’re experiencing persistent issues with signal quality or are unable to receive certain channels despite repositioning the antenna, you may need to seek professional help. An expert can assess your setup, recommend any necessary adjustments, or suggest alternative solutions.
By testing the antenna reception, you can ensure that you are getting the best possible picture and sound quality for the available OTA channels. It’s important to take the time to check the reception on different channels, as signal strength may vary depending on various factors like distance from broadcast towers and local terrain.
If you encounter any issues with reception, don’t get discouraged. Sometimes, small adjustments or enhancements to your setup can greatly improve signal quality. Experiment with different antenna positions and orientations to find the optimal setup for your location.
Now that you’ve tested the antenna reception and ensured that you’re receiving high-quality TV signals, you’re all set to enjoy a wide range of free OTA channels on your smart TV. Sit back, relax, and indulge in your favorite shows, movies, and sports events!
Conclusion
Setting up an antenna on a smart TV can open up a world of free, high-quality OTA channels, giving you access to a wide range of entertainment, news, and sports options. By following the step-by-step process outlined in this guide, you can easily set up your antenna and enjoy a seamless TV viewing experience.
Starting with gathering the necessary equipment, such as the antenna, coaxial cable, and any additional mounting hardware, you ensure that you have everything you need for a successful installation. Identifying the ideal location for antenna placement plays a crucial role in receiving strong signals, so take the time to research the signal strength in your area and avoid obstructions that could impact reception.
Connecting the coaxial cable to both the antenna and your smart TV establishes the vital link for signal transmission. Accessing the TV’s menu settings and selecting the antenna input source prepares your TV for the channel scanning process. Once the scan is complete, remember to save the scanned channels and customize the channel list, if desired.
Lastly, testing the antenna reception allows you to ensure optimal signal quality and make any necessary adjustments to enhance the viewing experience. If you encounter ongoing issues with reception, seeking professional assistance can provide valuable insights and solutions.
With your antenna successfully set up on your smart TV, you can enjoy the benefits of free OTA channels, including crisp picture quality and a diverse range of programming. Whether you’re looking to cut the cord or complement your existing subscription services, an antenna is a valuable addition to your entertainment setup.
So, gather your equipment, find the ideal antenna placement, and start enjoying the world of free television at your fingertips. Happy channel surfing!