Introduction
Welcome to the world of screen recording on your Android tablet! Whether you’re looking to capture gameplay footage for your gaming channel, create tutorial videos to share your expertise, or simply record moments from your favorite apps, screen recording is an incredibly useful tool.
In this article, we will explore the various methods to screen record on your Android tablet. We’ll discuss both the built-in screen recording option and third-party screen recording apps that provide additional features and customization options.
Screen recording allows you to capture everything that happens on your tablet’s screen, including gestures, audio, and video. You can easily create engaging and informative content, share troubleshooting steps, or demonstrate how to use a specific app – the possibilities are endless!
Setting up screen recording on your Android tablet is a straightforward process, and once you’re familiar with the options available, you’ll be able to start recording in no time.
So, whether you’re an avid content creator or simply someone who wants to document their tablet experiences, let’s dive into the world of screen recording on Android tablets and discover how you can unleash your creativity!
Setting Up Screen Recording on Android Tablet
Before you start recording the screen on your Android tablet, you will need to enable the screen recording feature. Fortunately, Android provides two main options to accomplish this: using the built-in screen recorder or utilizing third-party screen recording apps.
Option 1: Using the Built-In Screen Recorder
Many Android devices come equipped with a built-in screen recording feature, making it convenient and simple to start recording without the need for additional apps. To check if your tablet has this feature, follow these steps:
- Swipe down from the top of your tablet’s screen to access the quick settings menu.
- Look for the “Screen Recorder” option. If it’s not visible, swipe left or right to locate it.
- Tap the “Screen Recorder” icon to launch the built-in screen recording tool.
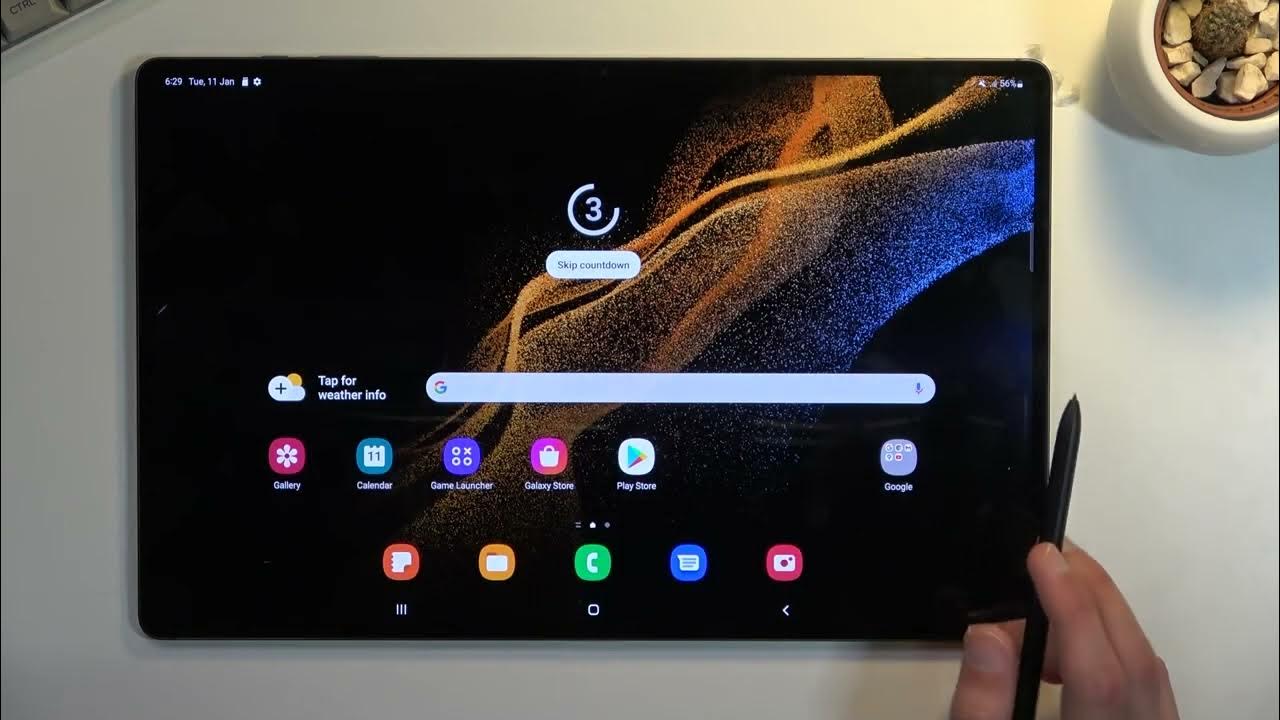
Once activated, you’ll see a countdown timer indicating when the recording will start. You can pause or stop the recording by accessing the quick settings menu again and tapping the appropriate buttons. The recorded video will be saved to your tablet’s gallery.
Option 2: Utilizing Third-Party Screen Recording Apps
If your tablet doesn’t have a built-in screen recording feature or if you’re looking for additional functionality, third-party screen recording apps are an excellent solution. These apps often offer advanced features like customizable resolutions, frame rates, and the ability to record external audio. To get started with a third-party app:
- Open the Google Play Store on your Android tablet.
- Search for “screen recorder” to explore the available options.
- Select a screen recording app that matches your requirements and has positive reviews.
- Install the app and open it to configure your recording settings.
Each app may have a different user interface and settings menu, so familiarize yourself with the app’s features and customize the recording settings according to your needs. After configuring the settings, you can start recording by tapping the record button within the app.
Now that you’re familiar with the two main options for screen recording on your Android tablet, it’s time to choose the one that best suits your needs. Whether you opt for the built-in screen recorder or a third-party app, both options provide a seamless way to capture and share your tablet screen.
Option 1: Using the Built-In Screen Recorder
If your Android tablet has a built-in screen recorder feature, you’re in luck! This option allows you to start recording your screen without the need to download any additional apps. Here’s how to access and use the built-in screen recorder:
- Swipe down from the top of your tablet’s screen to open the quick settings menu.
- Look for the screen recording icon, usually represented by a camera or video camera icon. Note that the placement of the icon may vary depending on your Android tablet’s manufacturer and operating system version.
- Tap on the screen recording icon to launch the built-in screen recorder.
Upon activating the screen recorder, you will typically see a countdown timer, indicating when the recording will begin. You may also be prompted to grant the necessary permissions for screen recording. Once the countdown timer reaches zero, your screen recording will start.
During the recording, you can interact with your tablet as usual, performing various actions, opening apps, or navigating through your device’s interface. The built-in screen recorder will capture both your screen activity and any audio that is played through your device’s speakers.
To control the screen recording, you can access the quick settings menu again by swiping down from the top of the screen or by navigating to the notification panel. From the quick settings menu, you’ll find options to pause, resume, or stop the recording.
Once you’ve finished recording, the video file will be saved to your tablet’s gallery or a designated folder. You can access it using your device’s file manager or the gallery app.
The built-in screen recorder on Android tablets offers a straightforward and accessible way to record your screen activities. It’s a convenient option, especially if you want to capture short clips or showcase quick demonstrations without the need for additional apps. However, if you need more advanced recording features and customization options, you may want to explore third-party screen recording apps.
Option 2: Utilizing Third-Party Screen Recording Apps
If your Android tablet doesn’t have a built-in screen recording feature or if you’re looking for more advanced options, utilizing third-party screen recording apps is an excellent alternative. These apps offer a range of additional functionalities, giving you greater control over your screen recordings. Here’s how you can get started with a third-party screen recording app:
- Open the Google Play Store on your Android tablet.
- Search for “screen recorder” to explore the various screen recording apps available.
- Review the features, ratings, and reviews of different apps to find one that suits your needs.
- Select the app you prefer and tap the “Install” button to download and install it on your tablet.
- Once installed, open the screen recording app to familiarize yourself with its interface and settings.
Each third-party screen recording app may have its own unique features and customization options. These can include the ability to adjust the resolution, frame rate, or audio settings of your recordings. Some apps may even offer options to record external audio using your device’s microphone or other external audio sources.
To initiate a screen recording, open the app and locate the record button or icon, typically displayed prominently on the app’s interface. Tap the record button, and the app will begin capturing your screen and audio as per your chosen settings.
While recording, you can freely navigate your tablet, use various apps, and perform any desired actions. Once you’ve finished recording, look for the option to stop or pause the recording within the app’s interface. After stopping the recording, the app will typically provide you with options to save the video to your device or share it directly on various platforms.
With third-party screen recording apps, you can take advantage of advanced features and tailor your recordings to meet specific requirements. The wide range of apps available means you can find one that suits your preferences and delivers the features you need to create high-quality screen recordings on your Android tablet.
Remember to read app reviews and take note of user ratings to ensure you choose a reliable and well-regarded screen recording app. This way, you can enjoy a smooth recording experience and make the most of the additional tools and features provided by third-party apps.
Best Screen Recording Apps for Android Tablet
When it comes to choosing a screen recording app for your Android tablet, there are several options available in the Google Play Store. These apps offer various features and customization options to enhance your screen recording experience. Here are some of the best screen recording apps for Android tablets:
- AZ Screen Recorder: Known for its user-friendly interface and robust set of features, AZ Screen Recorder offers high-quality screen recording with options for custom resolutions, frame rates, and audio recording. It also provides features like screen drawing, facecam recording, and video editing capabilities.
- ScreenCam: A lightweight and efficient screen recording app, ScreenCam offers smooth recording with adjustable resolutions and frame rates. It comes with an easy-to-use interface, pause/resume functionality, and the option to record audio from your device or the microphone.
- Screen Recorder – No Ads: As the name suggests, this app is ad-free and offers a clutter-free screen recording experience. It supports both video and audio recording, along with the ability to adjust resolution, frame rate, and bit rate. It also includes a floating toolbar for easy access to recording controls.
- Mobizen Screen Recorder: With over 100 million downloads, Mobizen Screen Recorder is a popular choice among Android users. It offers high-quality screen recording, along with features like facecam recording, video editing tools, and the ability to capture external audio using the device’s microphone.
- Du Recorder: Du Recorder provides a simple and intuitive interface for screen recording on Android tablets. It offers adjustable resolutions, frame rates, and bit rates, along with the option to pause and resume recordings. The app also includes video editing capabilities, live streaming functionality, and a built-in video player.
These are just a few examples of the many screen recording apps available for Android tablets. Before making a choice, consider your specific requirements and preferences, and read reviews to ensure the app meets your expectations. Remember to check for compatibility with your tablet model and operating system version.
Experiment with different apps and features to find the one that suits your needs best. Whether you prioritize customization options, ease of use, or additional functionalities, the right screen recording app will empower you to create professional and engaging content on your Android tablet.
Step-by-Step Guide to Screen Recording on Android Tablet
Screen recording on your Android tablet allows you to capture and share your screen activities, creating engaging and informative content. Whether you’re new to screen recording or looking for a refresher, here is a step-by-step guide to help you get started:
- Ensure that you have a screen recording option available on your Android tablet. Refer to the previous sections to determine if your tablet has a built-in screen recorder or if you need to download a third-party app.
- If using a built-in screen recorder, swipe down from the top of your tablet’s screen to access the quick settings menu. Look for the screen recording icon, typically represented by a camera or video camera icon. Tap on it to launch the screen recording tool.
- If using a third-party screen recording app, open the Google Play Store on your tablet, search for a suitable app, and install it. Open the app to familiarize yourself with its interface and settings.
- Configure your screen recording settings. Depending on the chosen method, you may have options to adjust the resolution, frame rate, audio source, or other settings. Customize these settings based on your preferences and recording requirements.
- Ensure that any necessary permissions for screen recording, such as microphone access, are granted if prompted.
- Once your settings are in place, you’re ready to start recording. Tap the record button within the app or the built-in screen recorder to initiate the recording process.
- Perform the actions you want to capture on your tablet’s screen. Open apps, navigate menus, and interact with the device as you normally would. The screen recording tool will capture all your on-screen activities and audio, if enabled.
- During the recording, you can pause or stop the session, depending on your needs. Access the quick settings menu or the app’s interface to find these buttons. Take breaks or make edits to your recording as necessary.
- Once you’ve finished recording, stop the screen recording by tapping the appropriate button. The recorded video will be saved to your device’s gallery or a designated folder, depending on the chosen method.
- Access the recorded video by opening your tablet’s gallery or file manager app. From there, you can preview, edit, and share the recording as desired.
By following these steps, you’ll be able to effortlessly screen record on your Android tablet and capture all the exciting moments you want to share with others.
Tips for Successful Screen Recording on Android Tablet
To ensure successful screen recording on your Android tablet and create professional and engaging content, here are some valuable tips to keep in mind:
- Plan and prepare: Before starting a screen recording session, plan out what you want to showcase or demonstrate on your tablet. This includes preparing any apps, files, or content you want to feature in the recording.
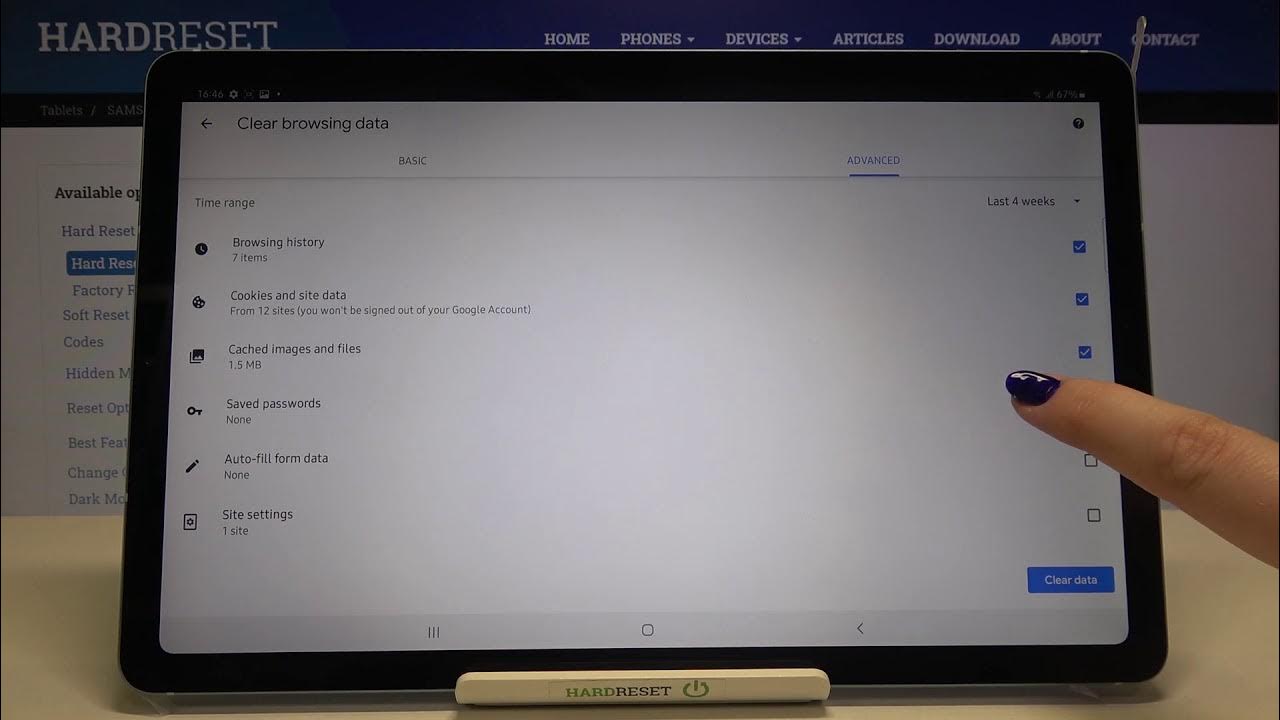
- Clear your tablet’s storage: Screen recordings can take up a significant amount of storage space, so make sure your tablet has enough free space to accommodate the recordings. Clear out unnecessary files or transfer them to an external storage device to ensure you have ample space for your videos.
- Use a stable surface: To avoid shaky footage, place your tablet on a stable surface or use a tripod if available. This helps maintain a steady recording and prevents unintended movement or vibrations.
- Optimize your tablet’s performance: Close unnecessary apps and processes running in the background to optimize your tablet’s performance during the recording. This helps ensure a smooth recording without lag or interruptions.
- Turn off notifications: Notifications can be distracting and disrupt the flow of your screen recording. To minimize interruptions, temporarily disable notifications or put your tablet on Do Not Disturb mode while recording.
- Highlight important actions: When demonstrating an app or navigating through your tablet, make sure to emphasize important actions or elements on the screen. Use gestures, arrow annotations, or voiceovers to guide viewers and provide a clear understanding of the content.
- Test audio settings: If recording audio along with the screen, ensure that your tablet’s microphone or the chosen audio source is working properly. Test the audio levels and adjust them accordingly to avoid audio glitches or low-quality sound.
- Be mindful of copyright and privacy: Respect copyright laws and permission rights when recording content from other apps or websites. Additionally, be cautious of unintentionally capturing personal or sensitive information during your screen recording.
- Edit and enhance: After recording, take advantage of video editing tools to trim, add captions, or enhance the video’s visual appearance. This can help polish your screen recording and make it more engaging for viewers.
- Practice and review: Like any skill, screen recording improves with practice. Take the time to review your recordings, identify areas for improvement, and refine your technique for future recordings. Experiment with different settings, apps, and features to find what works best for you.
By following these tips, you can achieve successful screen recording on your Android tablet, capturing high-quality videos that are informative and visually appealing to your audience.
Conclusion
Screen recording on your Android tablet opens up a world of possibilities for content creation, tutorials, gaming, and more. Whether you choose to utilize the built-in screen recording feature or opt for third-party apps, the ability to capture and share your screen activities is a powerful tool.
In this article, we explored the two main options for screen recording on Android tablets. We discussed how to access and use the built-in screen recorder, as well as the benefits of utilizing third-party screen recording apps for added functionalities and customization options.
We also highlighted some of the best screen recording apps available for Android tablets, each offering its unique set of features and capabilities to enhance your recording experience.
Additionally, we provided a step-by-step guide to help you navigate the screen recording process on your Android tablet, from enabling the feature to saving and sharing your recordings. We also shared invaluable tips to ensure successful screen recording, including planning your content, optimizing performance, and enhancing the audiovisual quality of your recordings.
With the knowledge and tools at your disposal, you can now confidently embark on your screen recording journey and create compelling and informative content on your Android tablet.
So, whether you’re a content creator, educator, or simply someone who enjoys sharing their experiences, start exploring the world of screen recording on your Android tablet and unlock your creative potential.