Introduction
Gelato is a delicious frozen dessert that originates from Italy. It has a smooth and creamy texture and is known for its intense flavors. Making gelato at home using an ice cream maker is a fun and rewarding experience. Not only do you get to experiment with different flavors and ingredients, but you also have the satisfaction of enjoying a homemade treat.
Gelato differs from traditional ice cream in its composition and preparation method. While both are frozen desserts, gelato has a lower fat content and is churned at a slower speed, resulting in a denser and silkier texture. This makes gelato an ideal choice for those who prefer a lighter and more flavorful dessert option.
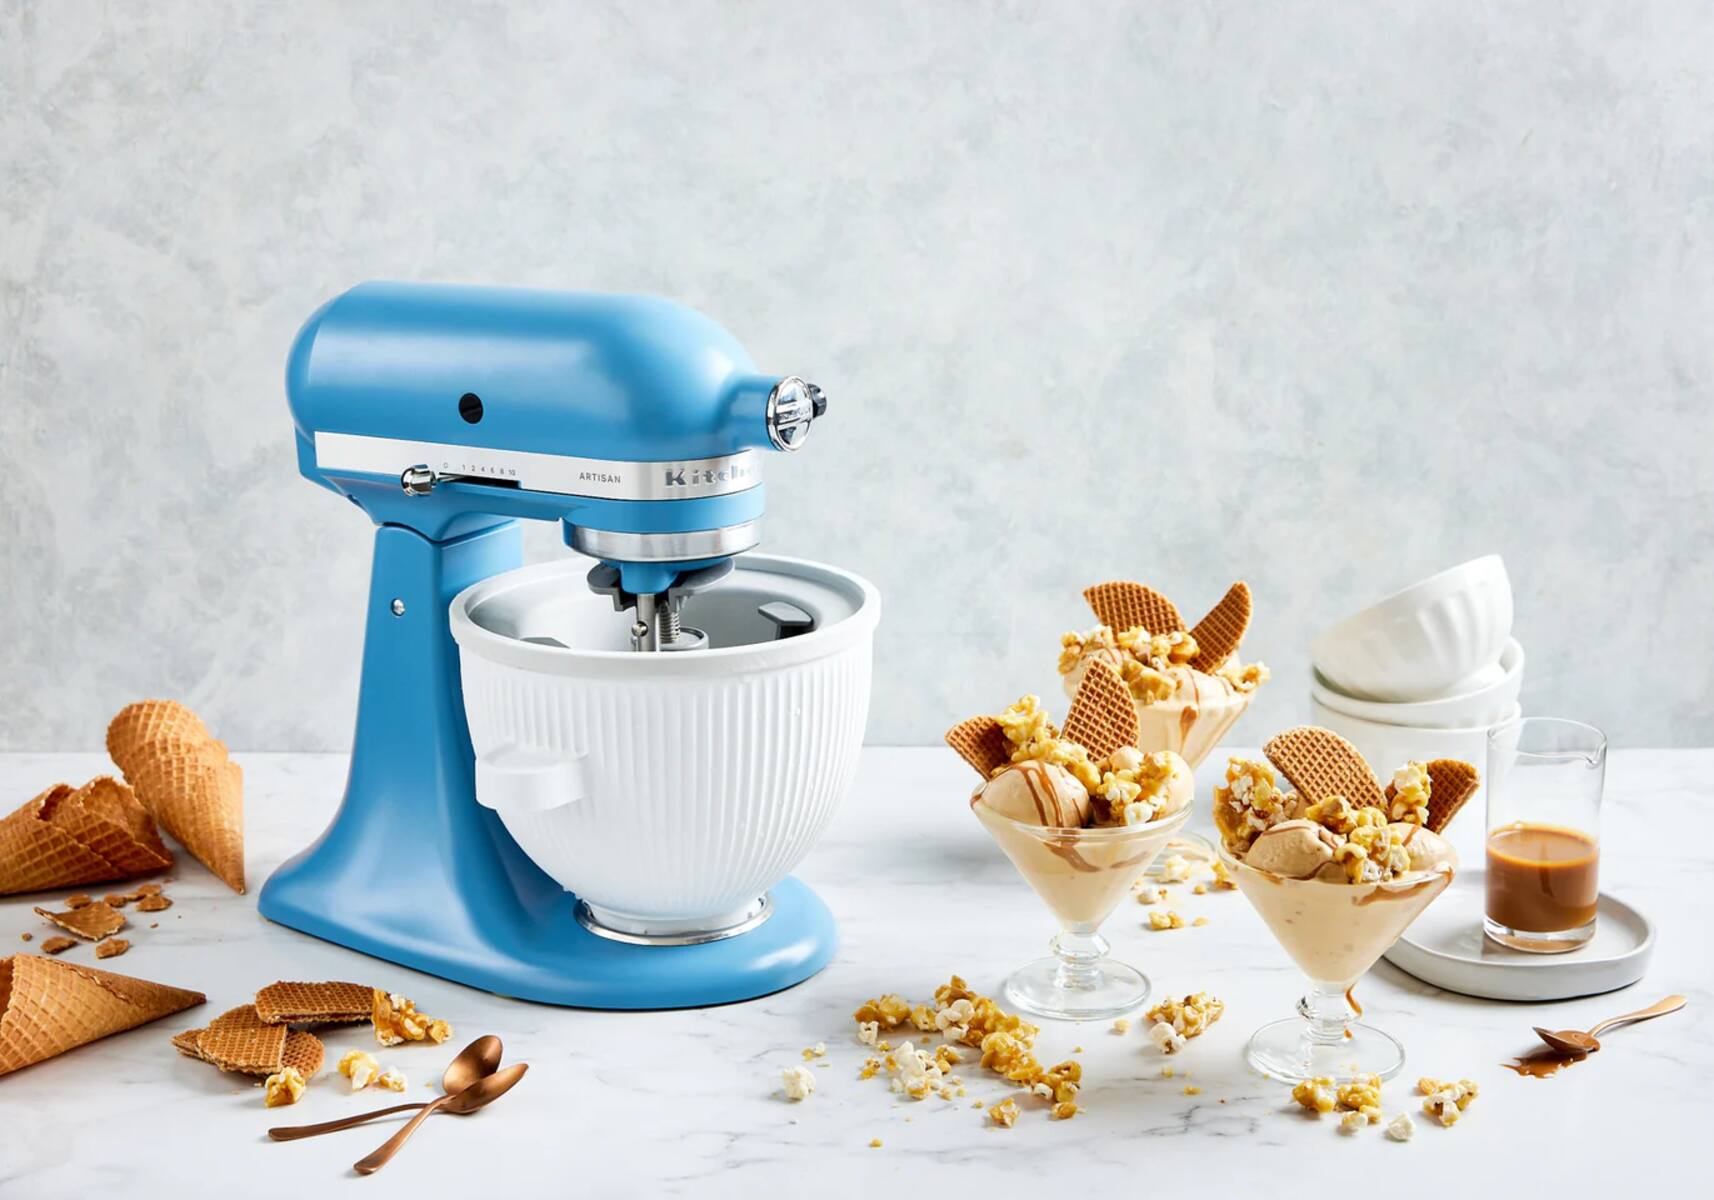
To make gelato with an ice cream maker, you will need a few key ingredients such as milk, cream, sugar, and flavorings of your choice. The process involves preparing the gelato mixture, chilling it, pouring it into the ice cream maker, and churning it until it reaches the desired consistency. With a few simple steps, you can create your own delectable gelato flavors right in the comfort of your kitchen.
In this article, we will guide you through the process of making gelato with an ice cream maker. We will provide a step-by-step breakdown and share some tips and tricks to help you achieve the perfect gelato every time. So, let’s get started and embark on this delicious journey of creating homemade gelato!
What is gelato?
Gelato, meaning “frozen” in Italian, is a traditional frozen dessert that originated in Italy. It is often referred to as Italian ice cream, but it is not exactly the same as traditional ice cream. Gelato is known for its soft and creamy texture, intense flavors, and lower fat content compared to ice cream.
The main ingredients used in gelato are milk, cream, and sugar. Gelato typically has a higher proportion of milk to cream, resulting in a lighter and less fatty dessert. This allows the flavors to shine through more prominently. Additionally, gelato is churned at a slower speed than ice cream, incorporating less air and resulting in a denser, smoother texture.
What sets gelato apart from other frozen desserts is the emphasis on using high-quality and fresh ingredients. Traditional gelato flavors range from classic options like vanilla, chocolate, and strawberry, to more unique and exotic flavors such as pistachio, hazelnut, and lemon. The flavors can be enhanced by using ingredients like fresh fruits, nuts, chocolate chips, or swirls of caramel or fruit sauces.
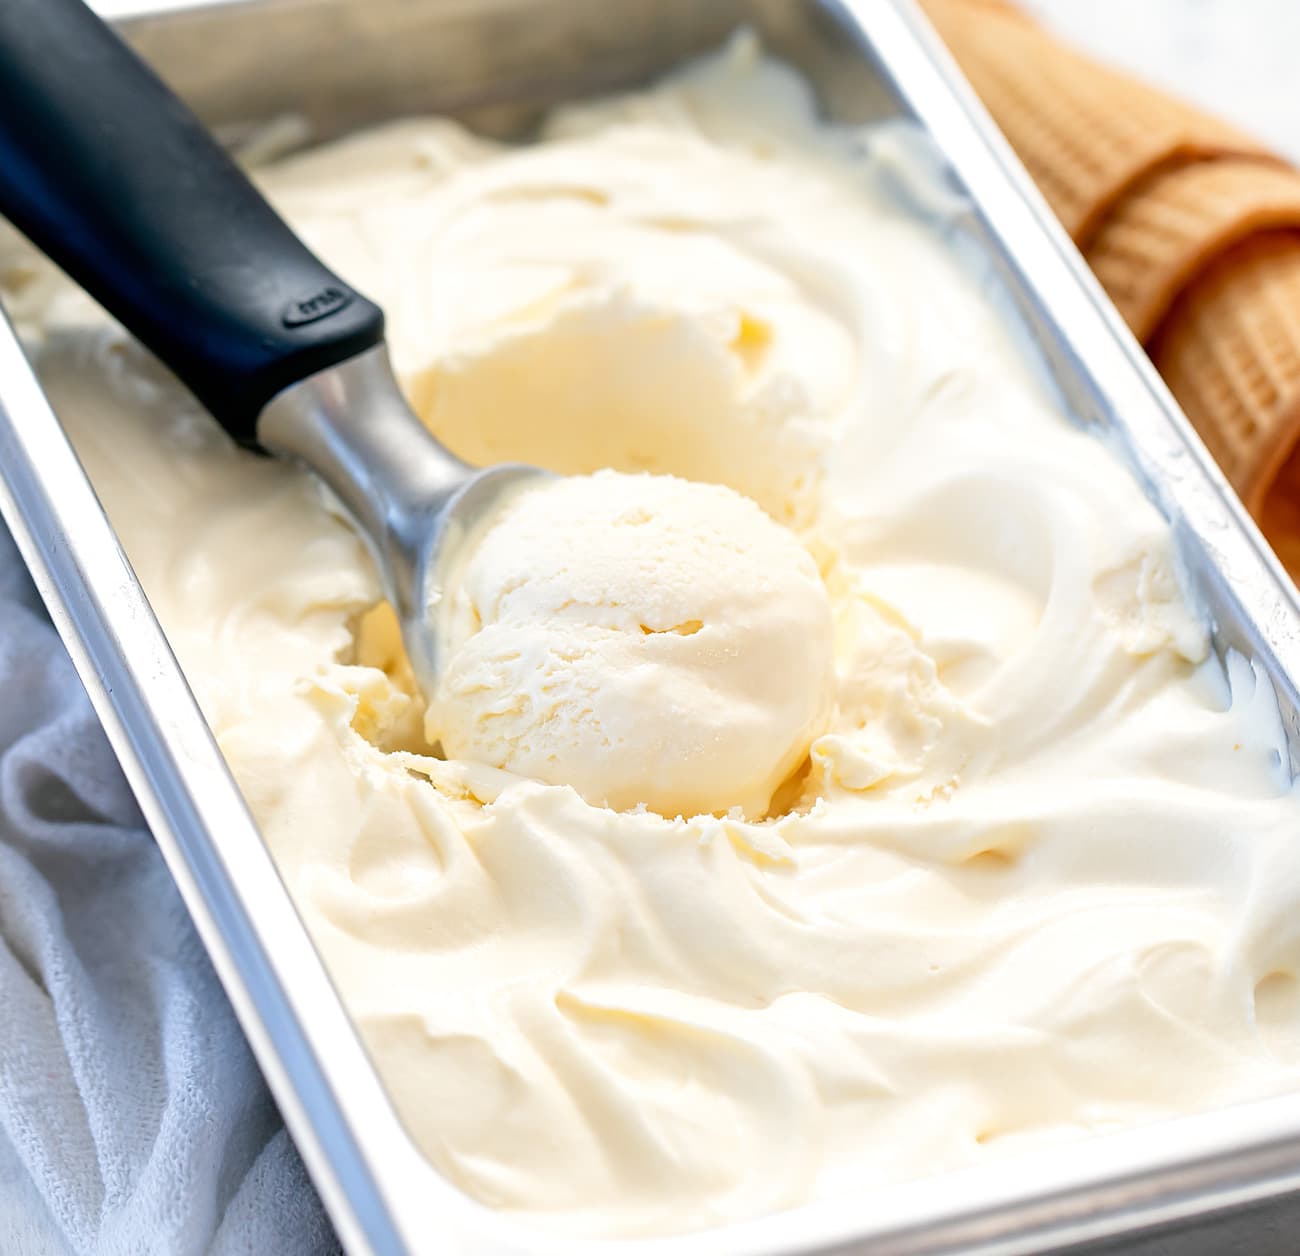
Gelato is best served at a slightly warmer temperature than ice cream, which allows the flavors to be more pronounced and the texture to be smoother. It is traditionally served at around -10°C (14°F) to -8°C (18°F). The consistency of gelato should be soft and easily scoopable, melting in your mouth to deliver a burst of flavor that lingers.
Whether enjoyed in a classic cone or cup, gelato is a delightful treat for people of all ages. Its rich history, artisanal production methods, and distinct flavors make it a beloved dessert worldwide. Making gelato at home with an ice cream maker allows you to experiment with flavors and create a personalized frozen delight that will delight your taste buds.
Ingredients needed
Before making gelato with an ice cream maker, it’s important to gather all the necessary ingredients. The base ingredients for gelato include milk, cream, sugar, and flavorings. Here’s a breakdown of the ingredients you will need:
- Milk: Whole milk is commonly used in gelato recipes as it provides a creamy texture. You can also use low-fat milk or a combination of milk and cream for a lighter version.
- Cream: Heavy cream adds richness and creaminess to gelato. It helps give the dessert its smooth and silky texture. You can adjust the amount of cream depending on your preference for richness.
- Sugar: Granulated sugar is used to sweeten the gelato mixture. The amount of sugar can be adjusted based on your desired level of sweetness.
- Flavorings: Gelato offers endless possibilities for flavorings. You can use pure extracts, such as vanilla or almond extract, or natural ingredients like fresh fruits, nuts, chocolate, or coffee to add unique flavors.
- Additional flavor enhancements: Optional ingredients like chocolate chips, cookie crumbs, caramel sauce, or fruit preserves can be added to enhance the flavor and texture of the gelato.
It’s important to use high-quality ingredients to achieve the best results. Fresh and seasonal fruits will enhance the natural flavors of your gelato. Also, make sure to use pure extracts instead of artificial flavorings for a more authentic taste.
Keep in mind that the proportions of these ingredients may vary depending on the specific gelato recipe you are using. It’s always a good idea to follow a trusted recipe or experiment with your own variations based on personal preference.
By gathering and preparing these ingredients, you are ready to embark on the journey of creating your very own homemade gelato flavors!
Step by Step Process
Making gelato with an ice cream maker involves a series of steps to achieve the perfect texture and flavor. Here is a step-by-step breakdown of the process:
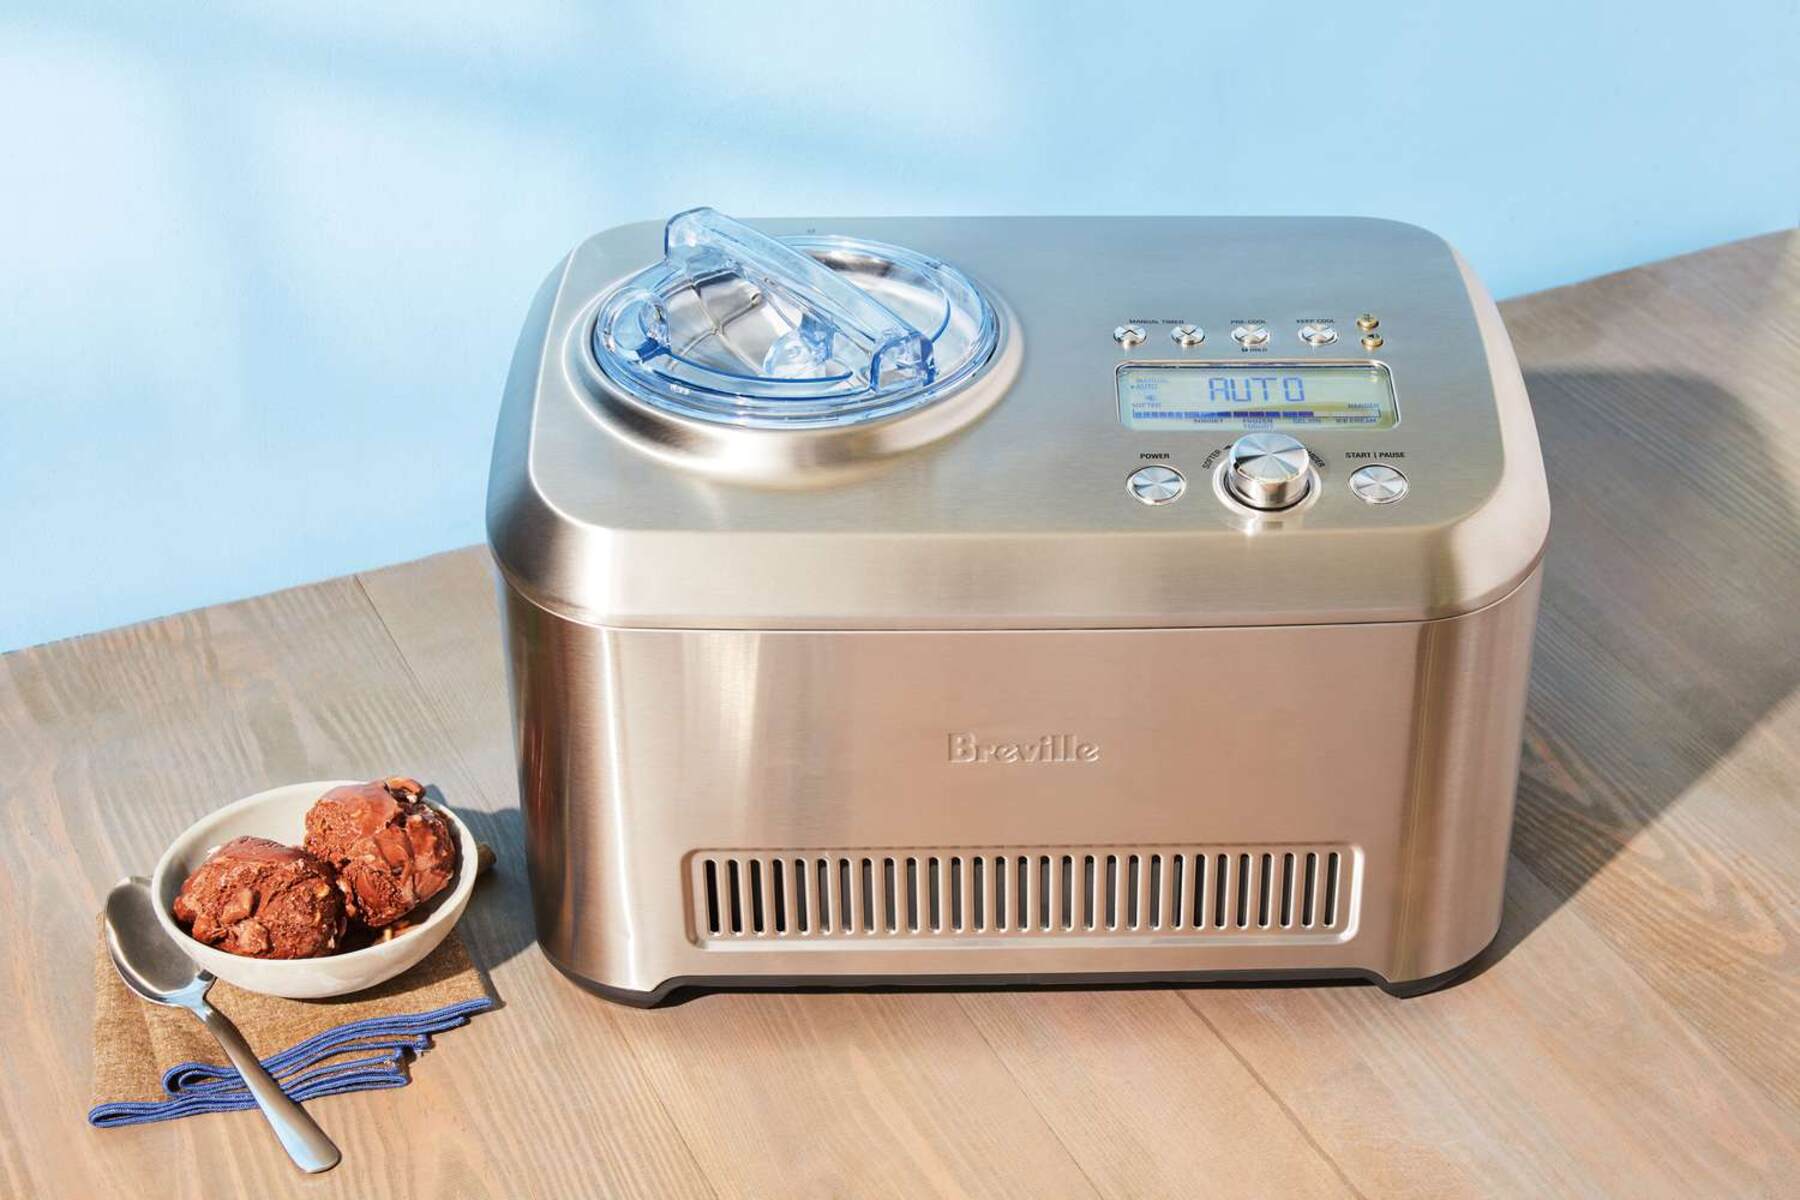
- Set up the ice cream maker: Start by setting up your ice cream maker according to the manufacturer’s instructions. Ensure that the freezer bowl is properly frozen to ensure effective freezing of the gelato mixture.
- Prepare the gelato mixture: In a saucepan, combine milk, cream, and sugar. Place the saucepan over medium heat and stir until the sugar is dissolved and the mixture is heated to a gentle simmer. Do not let it boil.
- Add flavorings: If you’re using extracts or other liquid flavorings, add them to the heated milk mixture. Stir well to incorporate the flavors. You can also add any additional flavor enhancements at this stage, such as chocolate chips or crushed cookies.
- Chill the mixture: Remove the saucepan from the heat and let the mixture cool to room temperature. Once cooled, cover the saucepan and place it in the refrigerator for at least 2 hours or overnight. Chilling the mixture helps develop the flavors and ensures a smooth texture.
- Pour the mixture into the ice cream maker: Take the chilled gelato mixture out of the refrigerator and give it a good stir. Then, pour it into the ice cream maker while it is running. The machine will churn the mixture and freeze it simultaneously.
- Churn the gelato: Allow the ice cream maker to churn the gelato for approximately 20-30 minutes, or until it reaches a soft-serve consistency. The time may vary depending on the specific ice cream maker model. Avoid over-churning, as it can result in a grainy texture.
- Transfer and store: Once the gelato has reached the desired consistency, transfer it to an airtight container. Smooth the surface with a spatula to remove any air pockets. Cover the container and place it in the freezer to allow the gelato to firm up further.
- Serve and enjoy: After the gelato has firmed up in the freezer for a few hours, it is ready to be served. Scoop the gelato into bowls or cones and savor the creamy, flavorful delight.
Remember to follow the specific instructions that come with your ice cream maker, as the process may vary slightly depending on the model. With practice, you’ll become more comfortable and confident in creating your own unique gelato flavors.
Setting up the ice cream maker
Before you begin the gelato-making process, it’s crucial to properly set up your ice cream maker. Follow these steps to ensure your machine is ready to churn out delicious homemade gelato:
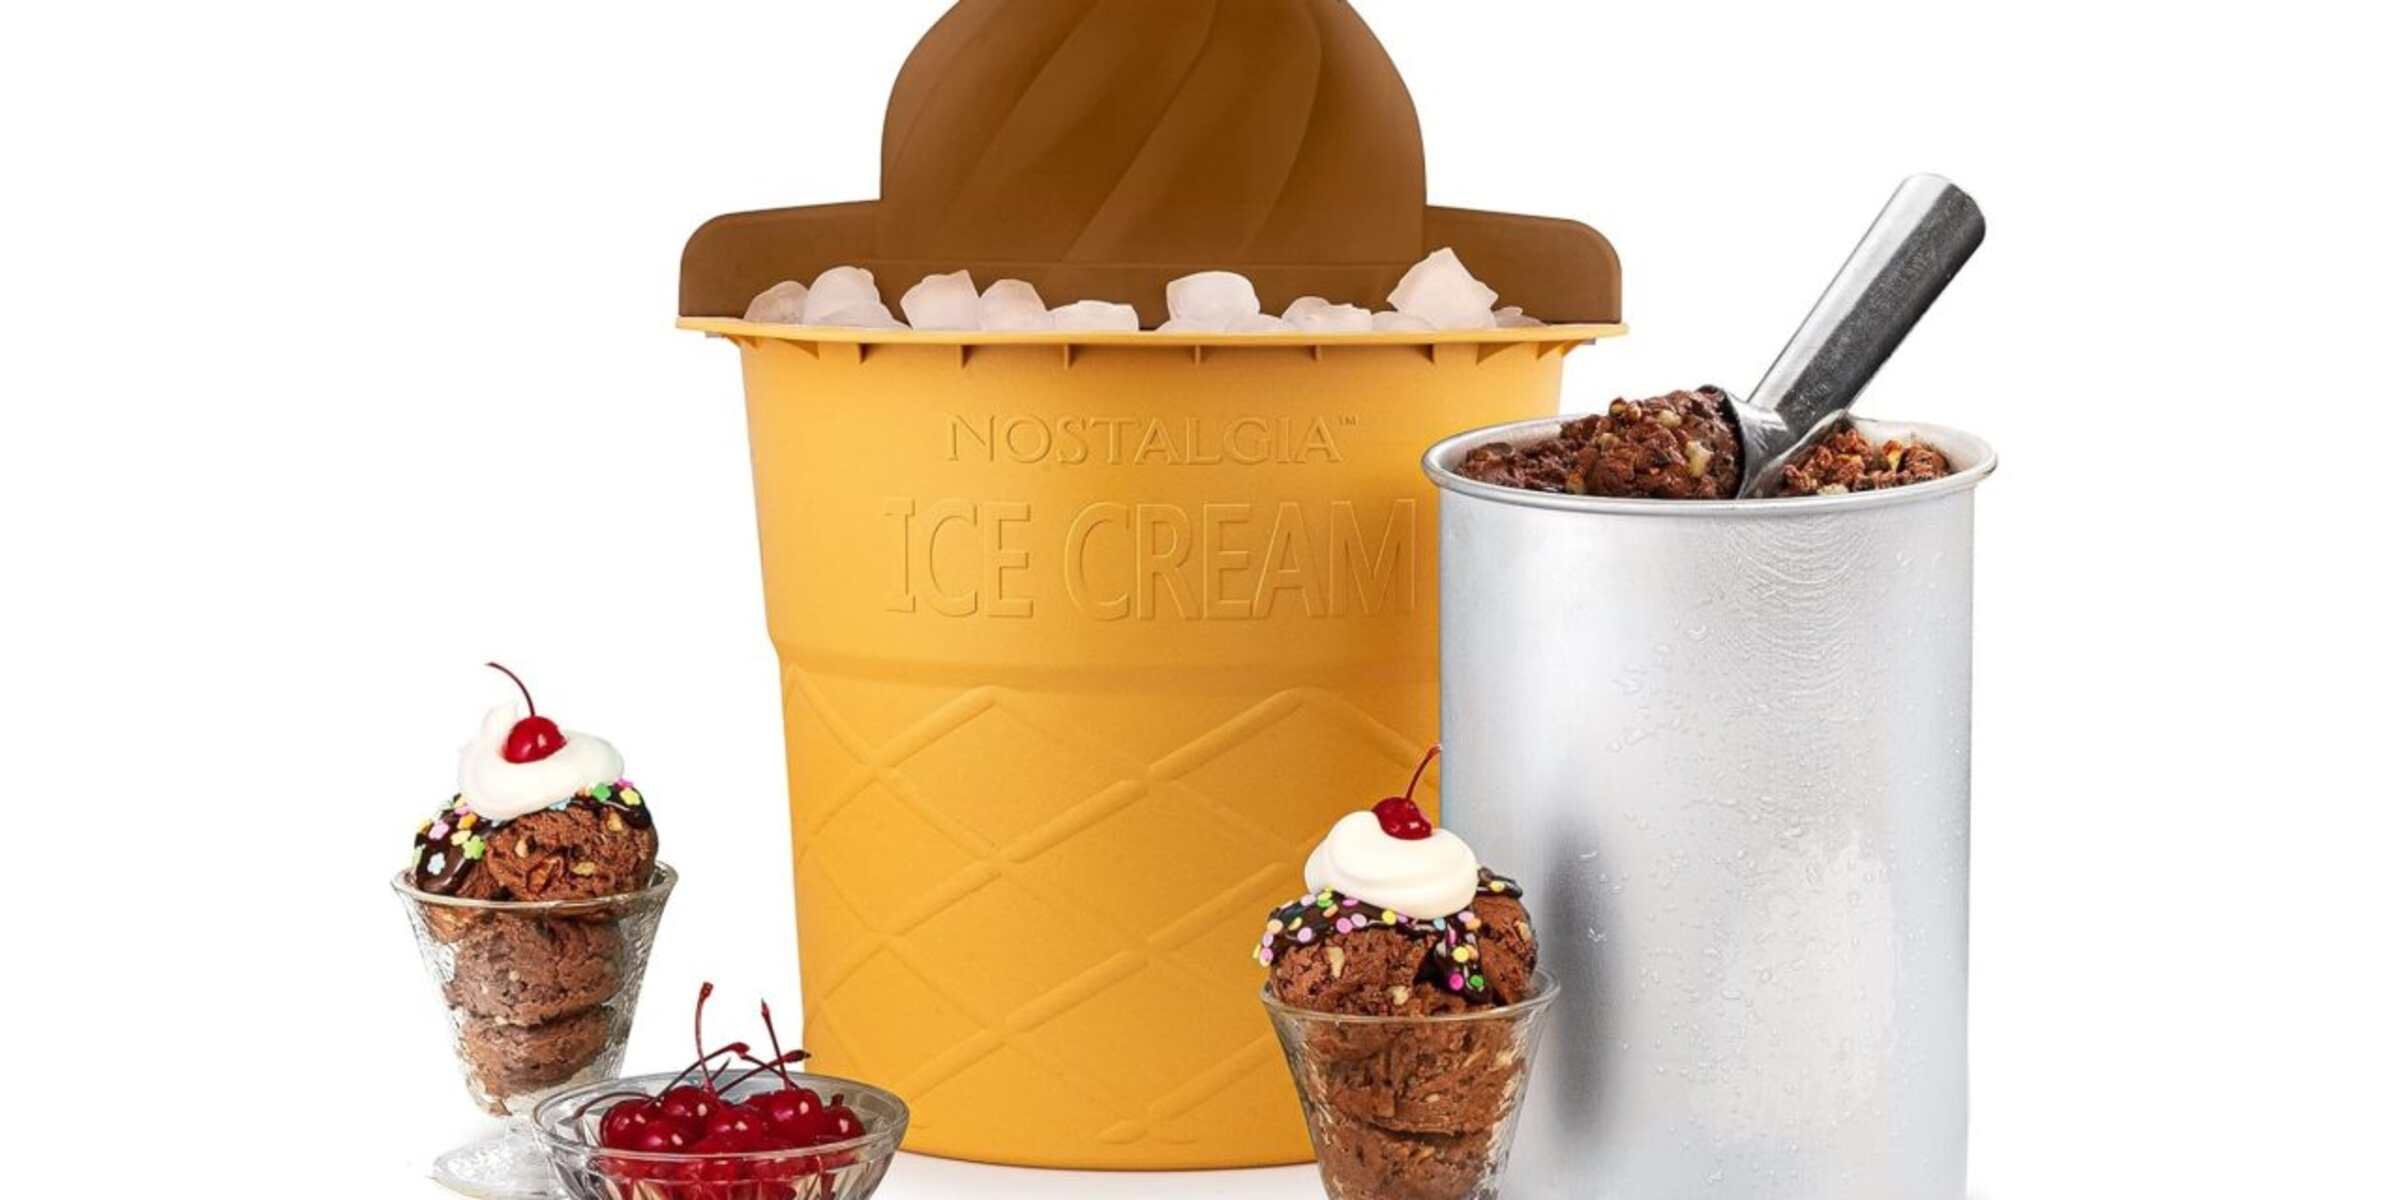
- Freeze the freezer bowl: Most ice cream makers come with a freezer bowl that needs to be pre-frozen. Make sure to place the freezer bowl in the coldest part of your freezer for a minimum of 12 hours before using it. It’s best to keep the bowl in the freezer at all times, so you can whip up gelato whenever you have the craving.
- Assemble the ice cream maker: Take the freezer bowl out of the freezer just before you begin making the gelato. Attach the paddle or dasher to the motor or turn the machine on, depending on the specific model. This ensures that the paddle is in motion before you pour in the gelato mixture.
- Ensure a stable surface: Place your ice cream maker on a sturdy and level surface. The machine tends to vibrate and move while in operation, so it’s important to have a stable foundation to prevent any accidents or spills.
- Prepare your workspace: Before pouring the gelato mixture into the ice cream maker, make sure to have all your ingredients and utensils ready. This includes having a spatula, measuring cups, and a clean container for storing the gelato once it’s done.
- Refrigerate any additional mix-ins: If you plan to add any mix-ins like chocolate chips or crushed cookies to your gelato, it’s a good idea to refrigerate them beforehand. This will help them stay solid and prevent them from melting once added to the partially frozen gelato mixture.
By setting up your ice cream maker properly, you ensure that it is in optimal condition to churn and freeze the gelato mixture effectively. This will result in a creamy and smooth texture for your homemade gelato.
Making the gelato mixture
The gelato mixture is the foundation of your homemade gelato’s flavor and texture. Follow these steps to create a delicious gelato base:
- Measure the ingredients: Start by gathering the ingredients specified in your gelato recipe. Measure the milk, cream, and sugar accurately using measuring cups or a kitchen scale. This ensures the correct proportions and consistency in your gelato.
- Heat the milk and cream: In a saucepan, combine the milk and cream over medium heat. Stir occasionally to prevent scorching until the mixture reaches a gentle simmer. Avoid boiling the mixture as it can affect the final texture.
- Add the sugar: Gradually add the sugar to the simmering milk and cream mixture, stirring continuously until the sugar is completely dissolved. This sweetens the base and gives it a smooth texture.
- Infuse with flavors: If your gelato recipe calls for any flavorings like vanilla extract or cocoa powder, add them to the hot milk and cream mixture. Stir well to evenly distribute the flavors throughout the base. This is the stage where you can get creative and experiment with different flavors to make your gelato truly unique.
- Cool the mixture: Remove the saucepan from the heat and allow the gelato mixture to cool to room temperature. Then, cover the saucepan with plastic wrap and refrigerate it for at least two hours or overnight. This chilling process helps to intensify the flavors and ensures a smoother texture.
Remember, the cooling process is crucial as it allows the flavors to meld and the mixture to thicken. It also ensures that the gelato freezes evenly during the churning process.
Making the gelato mixture is the first step towards creating a delightful frozen dessert. Take your time to measure the ingredients accurately and infuse the mixture with your desired flavors. These steps will lay the foundation for a delectable gelato experience.
Chilling the mixture
After making the gelato mixture, it’s important to chill it thoroughly before pouring it into the ice cream maker. The chilling process enhances the flavors and helps achieve the desired texture. Follow these steps to properly chill the gelato mixture:
- Cover and cool at room temperature: Once the gelato mixture is prepared, remove it from the heat and let it cool at room temperature. Place a sheet of plastic wrap directly on the surface of the mixture to prevent a skin from forming.
- Refrigerate for several hours: After the gelato mixture reaches room temperature, transfer it to the refrigerator and let it chill for a minimum of two hours. For optimal results, refrigerate the mixture overnight. This extended chilling time allows the flavors to develop and meld together.
- Use a cold container: Before pouring the gelato mixture into the ice cream maker, ensure your storage container is also chilled. A cold container helps to maintain the temperature of the gelato mixture during the churning process.
It’s important to note that the gelato mixture should be completely chilled before pouring it into the ice cream maker. Chilling helps the mixture thicken and allows it to freeze evenly during churning. If the mixture is not cold enough, it may result in a less creamy texture and a longer freezing time in the ice cream maker.
Remember, patience is key when it comes to chilling the gelato mixture. Allowing sufficient time for the mixture to cool and develop flavors will ultimately lead to a more satisfying and delicious homemade gelato experience.
Pouring the mixture into the ice cream maker
Once your gelato mixture has been thoroughly chilled, it’s time to pour it into the ice cream maker and begin the churning process. Follow these steps to ensure a smooth and successful pour:
- Retrieve your chilled gelato mixture from the refrigerator. Give it a good stir to ensure that the flavors are evenly distributed and any potential lumps are smoothed out.
- Set up your ice cream maker according to the manufacturer’s instructions. This usually involves attaching the freeze bowl, paddle, and lid.
- Turn on the ice cream maker. Allow it to run for a few seconds before pouring in the gelato mixture. This ensures that the paddle is spinning and ready to churn the gelato.
- Carefully pour the gelato mixture into the ice cream maker through the opening in the lid. It’s important not to overfill the machine, as the mixture will expand while churning.
- After pouring the gelato mixture, close the lid of the ice cream maker tightly. This will prevent any air from entering the machine and help maintain a consistent temperature throughout the churning process.
It’s important to note that different ice cream maker models may have different instructions or capacities. Always refer to the specific guidelines provided by the manufacturer to ensure optimal results.
Once the gelato mixture is poured into the ice cream maker, the churning process will begin. The machine will continuously churn and freeze the mixture, transforming it into a creamy and smooth gelato.
Now that the gelato mixture is in the ice cream maker, you’re one step closer to enjoying your homemade frozen delight. Sit back, relax, and let the machine work its magic!
Churning the gelato
Churning is a crucial step in the gelato-making process as it helps incorporate air into the mixture, resulting in a creamy and smooth texture. Follow these steps to properly churn your gelato in the ice cream maker:
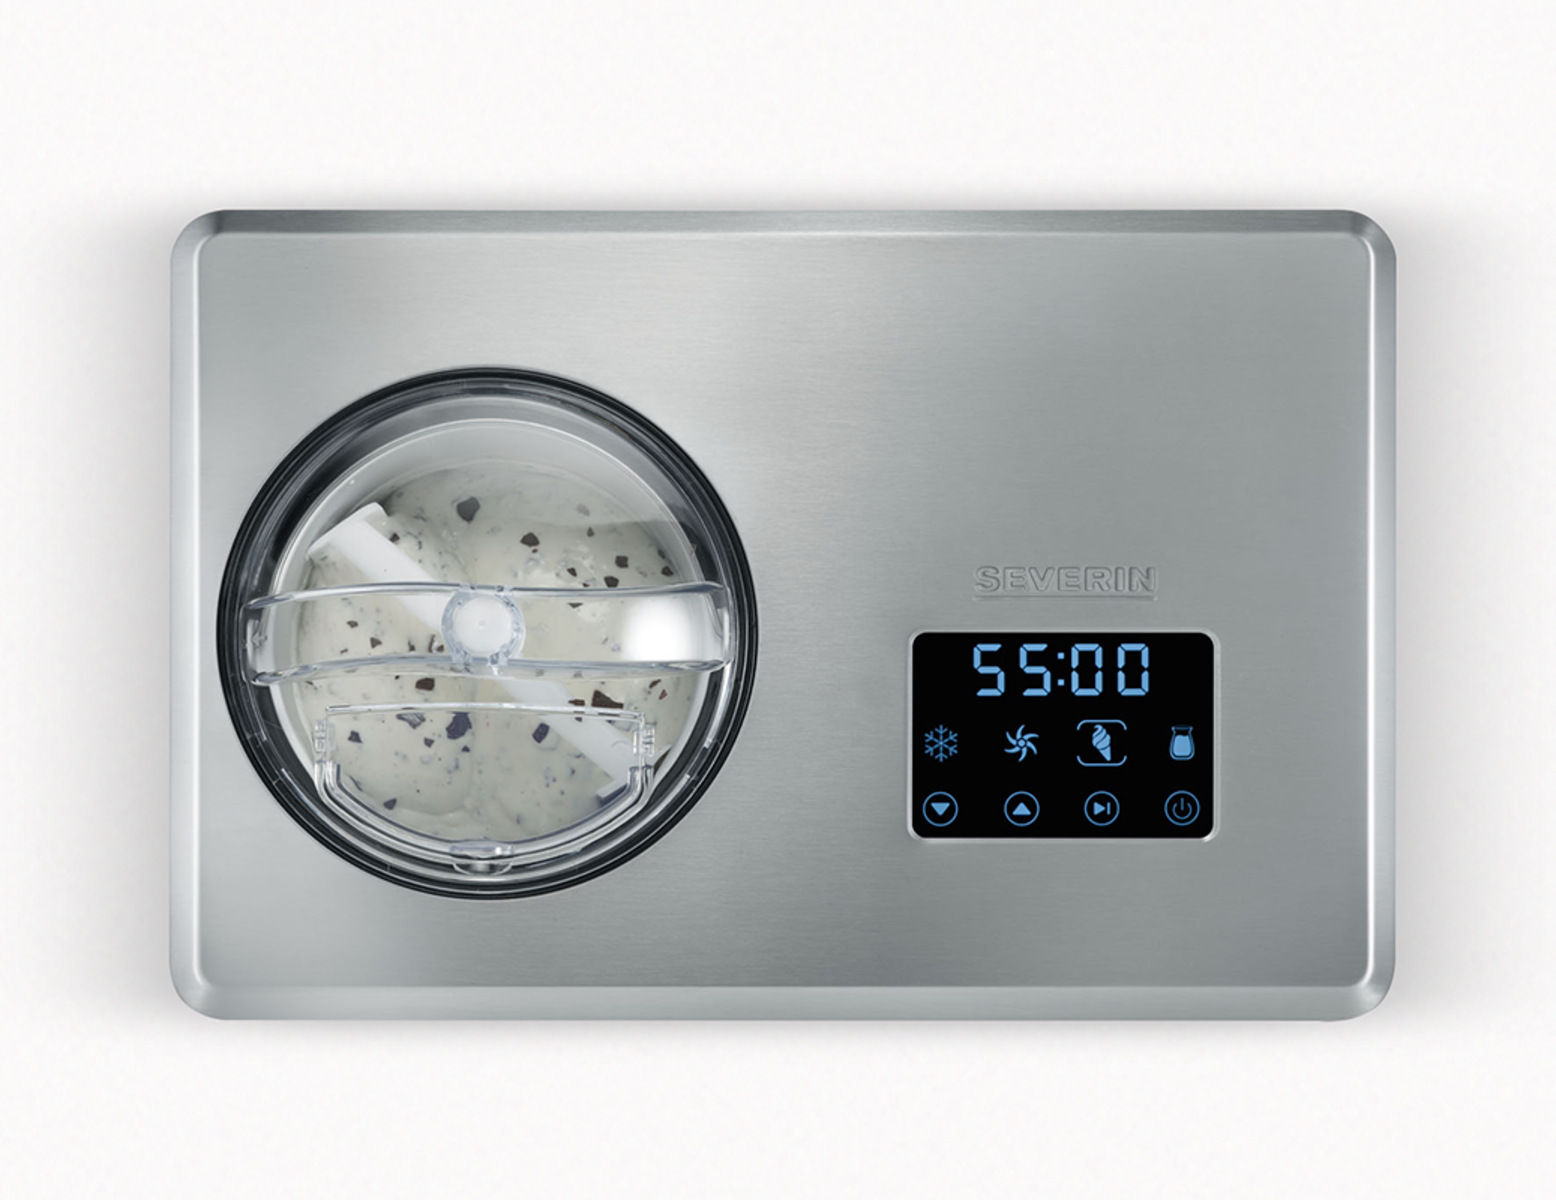
- Turn on the ice cream maker as per the manufacturer’s instructions. The machine will automatically start churning the gelato mixture.
- Allow the ice cream maker to churn the gelato for approximately 20-30 minutes. The exact time may vary depending on your specific ice cream maker model and the desired consistency of your gelato.
- While the gelato is churning, resist the temptation to open the lid frequently. Opening the lid can disrupt the churning process and result in a less creamy texture. Only open the lid if necessary for adding mix-ins during the last few minutes of churning.
- During the churning process, you may notice the mixture increasing in volume and becoming thicker. This is a sign that the gelato is nearing its desired consistency.
- Check for the soft-serve consistency by taking a small spoonful of the partially frozen gelato. It should be smooth and creamy, like soft-serve ice cream. If you prefer a firmer texture, you can continue churning for a few more minutes.
It’s important to avoid over-churning the gelato, as it can result in a grainy texture. Churn just until the gelato reaches the desired consistency, keeping in mind that it will firm up further in the freezer.
Remember that the churning time may vary depending on the specific machine and the temperature of the freezer bowl. Keep an eye on the gelato while it churns to ensure it doesn’t become too firm or icy.
With patience and proper churning, you’ll achieve a velvety smooth gelato with the perfect consistency. The churning process is an integral part of creating a delightful frozen treat that will bring joy to your taste buds.
Storing and serving the gelato
Once the gelato has reached the desired consistency through the churning process, it’s time to store it properly and prepare it for serving. Follow these steps to ensure your gelato stays fresh and ready to be enjoyed:
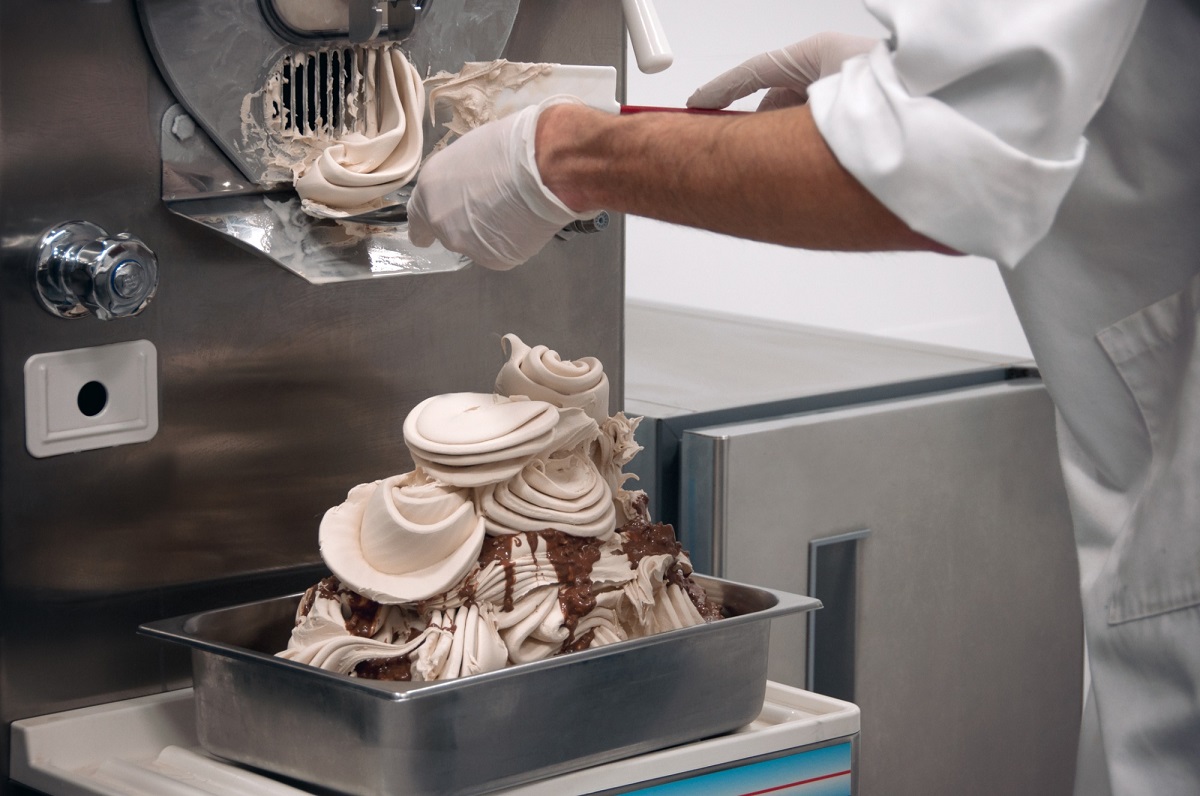
- Transfer the churned gelato to an airtight container. Use a spatula to scrape the gelato from the ice cream maker’s bowl and into the container. Smooth the surface of the gelato with the spatula to remove any air pockets.
- Place a piece of plastic wrap directly on the surface of the gelato to prevent ice crystals from forming. Then, cover the container with the lid and ensure it is tightly sealed.
- Transfer the container to the freezer and allow the gelato to firm up for several hours, or preferably overnight. This additional freezing time helps the gelato develop a firmer texture and enhances the flavors.
- When it’s time to serve the gelato, remove it from the freezer and let it sit at room temperature for a few minutes to soften slightly. This will make it easier to scoop and enhance the creamy consistency.
- Scoop the gelato into bowls, cones, or cups using an ice cream scoop. For an extra touch of elegance, you can use a melon baller to create small gelato spheres.
- Add garnishments or drizzles of chocolate sauce, caramel, or fruit syrups to enhance the flavor and presentation of your gelato. You can also top it with fresh fruits, nuts, or sprinkles for added texture and visual appeal.
- Serve the gelato immediately and enjoy the creamy, flavorful treat. If not serving right away, place the remaining gelato back into the freezer to maintain its optimal texture.
Proper storage and serving techniques will help preserve the freshness and quality of your gelato. When stored correctly, gelato can maintain its flavor and texture for up to a few weeks.
Remember, gelato is best enjoyed when it’s freshly made or shortly after it has been frozen. So, savor the delectable flavors and indulge in the creamy goodness of your homemade gelato masterpiece!
Tips and Tricks for Perfect Gelato
Creating the perfect gelato involves not only following the basic steps but also implementing some tips and tricks to enhance the flavor and texture. Here are some valuable tips to help you achieve gelato perfection:
- Use high-quality ingredients: Opt for fresh and high-quality ingredients, especially when it comes to fruits, extracts, and flavorings. This will ensure that your gelato has the best taste and aroma.
- Balance sweetness: Experiment with the amount of sugar used in your gelato recipe. Adjusting the sugar quantity can help you achieve the perfect balance between sweetness and the flavors of the gelato. Remember, gelato should be slightly less sweet than traditional ice cream.
- Pre-chill ingredients: For fruit-based gelato flavors, consider chilling the fruit mixture before adding it to the gelato base. This will help the gelato to freeze faster and retain the vibrant fruit flavors.
- Get creative with mix-ins: Add some texture and visual appeal to your gelato by incorporating mix-ins such as crushed cookies, toasted nuts, or chocolate chunks during the last few minutes of churning.
- Experiment with flavors: Gelato offers a canvas for creativity, so feel free to experiment with different flavor combinations. Consider incorporating spices, liqueurs, or even herbs to add a unique twist to your gelato.
- Avoid overfilling the ice cream maker: Be mindful not to fill the ice cream maker to its maximum capacity, as the mixture will expand during the churning process. Overfilling can lead to uneven freezing and affect the texture of the gelato.
- Chill your serving dishes: Prior to serving the gelato, place the bowls or cones in the freezer for a few minutes. Chilled serving dishes help maintain the gelato’s temperature and prevent it from melting too quickly.
- Store gelato properly: When storing leftover gelato, press a sheet of plastic wrap directly onto the surface to prevent freezer burn. Additionally, try to consume the gelato within a few weeks to enjoy it at its best quality.
- Allow for a brief softening period: After removing the gelato from the freezer, let it sit at room temperature for a few minutes to soften slightly. This will make it easier to scoop and enhance the eating experience.
- Clean the ice cream maker properly: Properly clean and dry your ice cream maker after each use to ensure the best performance for future batches of gelato. Follow the manufacturer’s instructions for cleaning and maintenance.
By implementing these tips and tricks, you can elevate your gelato-making skills and create delectable frozen treats that will impress family and friends. Have fun experimenting, and let your creativity shine through as you develop your very own signature gelato flavors!
Conclusion
Congratulations! You have now learned the step-by-step process of making gelato with an ice cream maker. From understanding what gelato is to gathering the necessary ingredients, preparing the gelato mixture, and churning it to perfection, you have gained the knowledge to create your own delightful homemade gelato flavors.
Gelato is a unique frozen dessert that offers a creamy and intense flavor experience. With its lower fat content and slower churning process, it provides a lighter and more delicate texture compared to traditional ice cream. Making gelato at home allows you to customize flavors, experiment with different ingredients, and ultimately enjoy a delicious treat that reflects your personal taste preferences.
Remember to use high-quality ingredients, balance sweetness, and get creative with mix-ins and flavors. Properly chilling the mixture and following the specific instructions of your ice cream maker will ensure a smooth and velvety gelato texture. And don’t forget to store and serve your gelato with care to maintain its optimal freshness and taste.
Now it’s time to put your newfound knowledge into practice and embark on the wonderful journey of crafting your own delightful gelato creations. Whether you prefer classic flavors like vanilla and chocolate or want to explore more adventurous combinations, the possibilities are endless.
So, gather your ingredients, set up your ice cream maker, and get ready to indulge in the delightfully creamy and flavorful world of homemade gelato. Enjoy each spoonful and share the joy with friends and family as you savor the satisfaction of creating your own frozen masterpiece!