Introduction
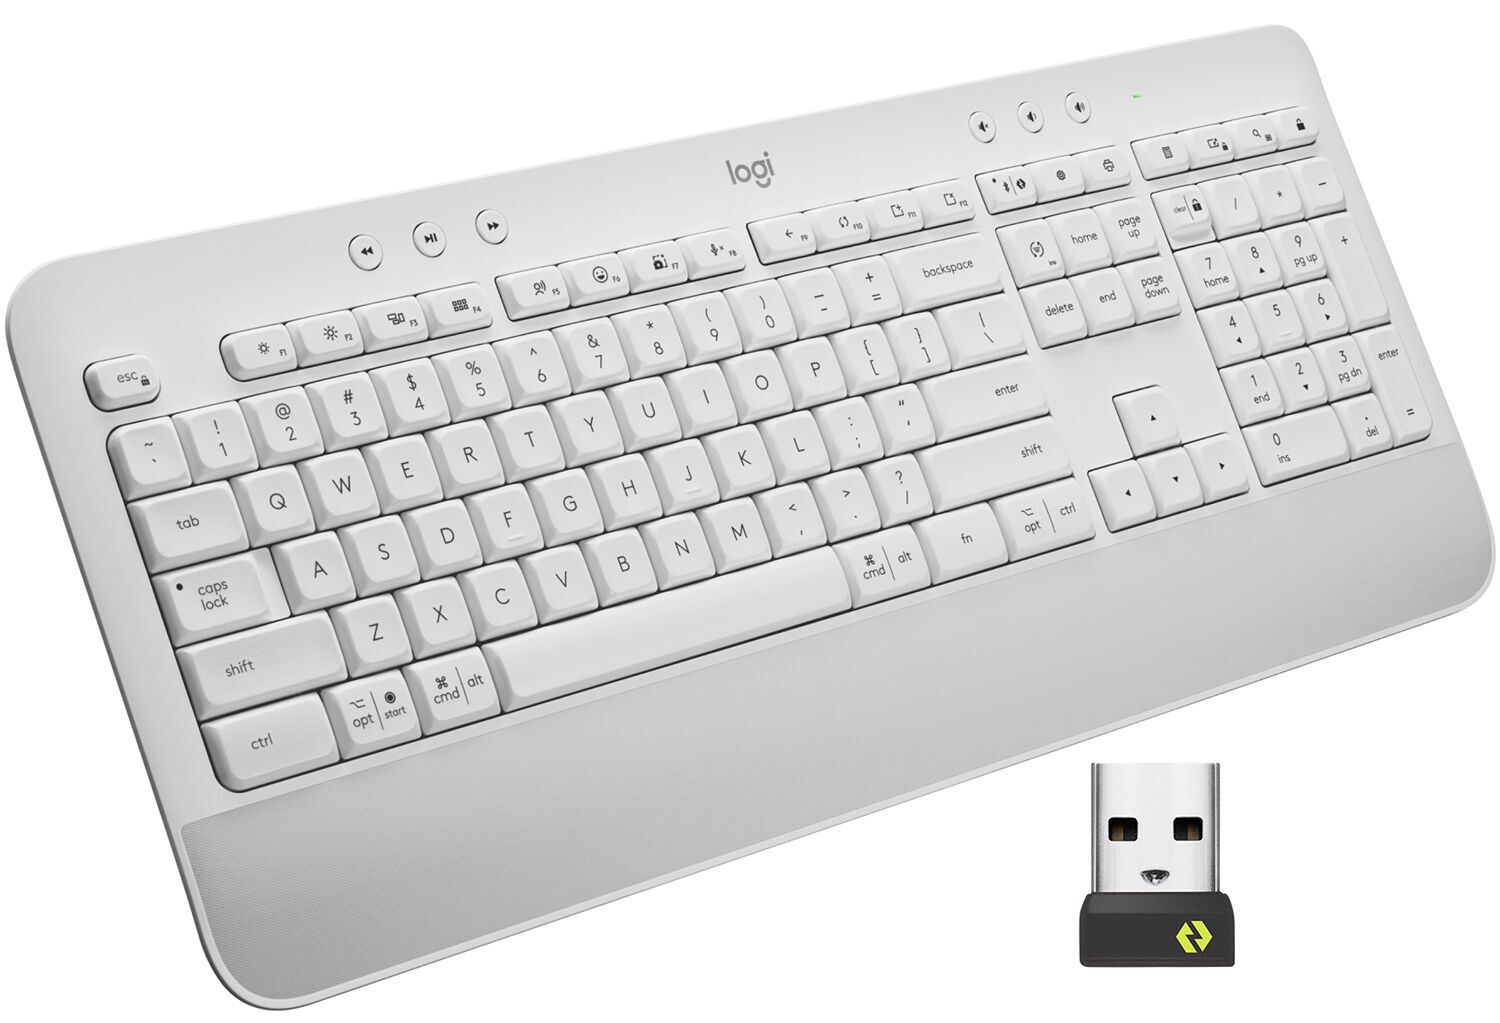
Welcome to our guide on how to reset a wireless keyboard! Wireless keyboards are a convenient and portable option for those who want to work or play without the hassle of wires. However, just like any electronic device, they can sometimes encounter issues that require a reset. Whether your keyboard is unresponsive, experiencing connectivity problems, or simply not functioning as it should, a reset may be the solution you need.
In this article, we will explore the common issues that you may encounter with your wireless keyboard and provide step-by-step instructions on how to reset it. We will walk you through various troubleshooting methods that can help to resolve the problem, from checking the batteries and re-syncing the keyboard to updating the drivers and resetting the settings. By following these techniques, you can save time and get your wireless keyboard back up and running.
Before we delve into the different methods, it’s important to note that the steps may vary slightly depending on the make and model of your wireless keyboard. Therefore, it’s always a good idea to consult the user manual that came with your specific keyboard for any manufacturer-specific instructions. However, the general principles should still apply to most wireless keyboards.
If you’re ready to troubleshoot your wireless keyboard and regain its functionality, let’s get started with the common issues you may encounter and the ways to reset your keyboard.
Common Issues with Wireless Keyboards
Wireless keyboards, like any electronic device, are prone to experiencing issues that can hinder their performance. Understanding the common problems that can arise will help you troubleshoot effectively and determine if a reset is necessary. Here are some of the most frequent issues that users encounter:
- Keyboard Not Responding: One of the main issues users face is when the keyboard becomes unresponsive. Pressing the keys does not result in any input on the computer screen. This can be frustrating and disrupt your workflow.
- Connectivity Problems: Sometimes, the wireless connection between the keyboard and your computer may become unstable or disconnected. This can cause delayed or missed keystrokes, making it difficult to type efficiently.
- Ghost Typing or Sticky Keys: Ghost typing refers to when the keyboard registers keystrokes that were not actually pressed. This can result in random characters appearing on the screen. Sticky keys occur when a key gets stuck or repeatedly registers a keystroke, even when not pressed.
- Non-Functioning Keys: Another issue is when certain keys on the keyboard stop working altogether. This can be problematic, especially if it’s a frequently used key.
- Interference: Wireless keyboards operate using radio frequency technology, which means they can be susceptible to interference from other devices such as cordless phones, wireless routers, or even nearby metal objects. This interference can disrupt the connection and cause issues with the keyboard’s performance.
If you are experiencing any of these issues, it may be time to reset your wireless keyboard. Resetting can help resolve software glitches or re-establish a stable connection between the keyboard and computer. In the following sections, we will guide you through the step-by-step process of resetting your wireless keyboard.
How to Reset a Wireless Keyboard
Resetting a wireless keyboard can help resolve various issues and restore its functionality. Here, we will outline several methods that you can try to reset your keyboard. Follow the steps below to troubleshoot and reset your wireless keyboard:
Method 1: Check the Batteries
The first step in troubleshooting a wireless keyboard is to check the batteries. Sometimes, a depleted battery can cause performance issues. Replace the batteries with fresh ones and see if that resolves the problem. Make sure to follow the battery replacement instructions provided by the manufacturer.
Method 2: Re-sync the Keyboard
If your wireless keyboard is not responding or experiencing connectivity problems, you may need to re-sync it with your computer. Here’s how:
- Turn off the keyboard and computer.
- Turn on the keyboard and put it in discovery or pairing mode. This is usually done by pressing a specific button or a combination of buttons on the keyboard. Refer to the user manual for instructions.
- On your computer, go to the Bluetooth settings and search for available devices.
- Select the wireless keyboard from the list of devices and follow any on-screen prompts to complete the pairing process.
Method 3: Update Keyboard Drivers
If the keyboard is still not functioning correctly, it may be due to outdated or incompatible drivers. To update the keyboard drivers:
- Open the Device Manager on your computer. You can usually access it by right-clicking on the Start menu and selecting “Device Manager”.
- In the Device Manager window, locate the category for “Keyboards” and expand it.
- Right-click on your wireless keyboard and select “Update driver”.
- Choose the option to search automatically for updated driver software. Wait for the computer to search and install any available updates.
- Restart your computer and check if the keyboard is now functioning correctly.
Method 4: Reset the Keyboard Settings
If none of the above methods work, you can try resetting the keyboard settings to their default values:
- Turn off the wireless keyboard.
- Locate the reset button on the keyboard. This is usually a small hole that requires a paperclip or a similar tool to press.
- Press and hold the reset button for a few seconds.
- Release the reset button and turn on the keyboard.
These methods should help you reset your wireless keyboard and resolve any issues you may be experiencing. If the problem persists, it may be necessary to contact the manufacturer’s customer support for further assistance.
Method 1: Check the Batteries
One of the most common reasons for issues with a wireless keyboard is depleted batteries. Before proceeding with any complex troubleshooting methods, it’s essential to check the batteries and ensure they have enough power. Follow these steps to check the batteries of your wireless keyboard:
- Turn off your wireless keyboard.
- Locate the battery compartment on the back or underside of the keyboard.
- Open the battery compartment by sliding or lifting off the cover.
- Inspect the batteries to see if they are still good. Look for signs of corrosion or leaking.
- If the batteries are dead or damaged, replace them with fresh ones. Make sure to use the correct type of batteries recommended by the manufacturer.
- Close the battery compartment and ensure it is securely fastened.
- Turn on the wireless keyboard and check if it is now functioning properly.
If replacing the batteries resolves the problem, then your wireless keyboard should be working normally again. However, if the issue persists even with new batteries, it may be necessary to proceed to other troubleshooting methods.
Remember, it’s important to regularly check the battery life of your wireless keyboard and replace the batteries as needed. This will help prevent unexpected disruptions in your work or play.
Method 2: Re-sync the Keyboard
If your wireless keyboard is unresponsive or experiencing connectivity issues, re-syncing it with your computer can often resolve the problem. Here’s how you can re-sync your wireless keyboard:
- Turn off your computer and wireless keyboard.
- Make sure that there are no other wireless devices nearby that may interfere with the connection.
- Check the user manual or the manufacturer’s website to find the specific instructions for putting your keyboard into discovery or pairing mode.
- Once your keyboard is in pairing mode, turn on your computer.
- Go to the Bluetooth settings on your computer. The process for accessing these settings may vary depending on your operating system.
- Click on “Add Bluetooth or other device” to begin the pairing process.
- Select “Bluetooth” from the available options, then choose your wireless keyboard from the list.
- Follow any on-screen instructions to complete the pairing process.
- Once the pairing is successful, your computer should recognize and connect to the wireless keyboard.
After re-syncing the keyboard, test it by typing on your computer to ensure that the connection is stable and the keystrokes are registering correctly.
If you are still experiencing issues with your wireless keyboard after re-syncing it, it may be necessary to try other troubleshooting methods or contact the keyboard manufacturer for further assistance.
Method 3: Update Keyboard Drivers
If your wireless keyboard is not functioning correctly, outdated or incompatible keyboard drivers may be the culprit. Updating the keyboard drivers can help resolve compatibility issues and ensure proper functionality. Follow the steps below to update your keyboard drivers:
- Press the Windows key + R on your keyboard to open the Run dialog box.
- Type “devmgmt.msc” and press Enter to open the Device Manager.
- In the Device Manager window, expand the “Keyboards” category to display the list of keyboards connected to your computer.
- Right-click on your wireless keyboard and select “Update driver”.
- In the dialog box that appears, select the option to search automatically for updated driver software.
- Wait for your computer to search for and install any available updates for the keyboard drivers.
- Once the update is complete, restart your computer to apply the changes.
After the computer restarts, check if your wireless keyboard is now functioning correctly. Test each key to ensure that they register properly and there are no issues with the input.
If updating the keyboard drivers doesn’t resolve the problem, it’s worth checking the manufacturer’s website for any specific driver updates or additional troubleshooting steps. They may have released updated drivers or firmware to address known issues with the keyboard.
Remember, keeping your keyboard drivers up to date can help maintain compatibility with your operating system and ensure optimal performance. It’s always a good practice to periodically check for updates for all your devices, including your wireless keyboard.
Method 4: Reset the Keyboard Settings
If your wireless keyboard continues to exhibit issues even after trying the previous methods, resetting the keyboard settings to their default values may help resolve the problem. Here’s how you can reset the settings of your wireless keyboard:
- Turn off your wireless keyboard.
- Locate the reset button on the keyboard. This button is typically a small hole that requires a paperclip or a similar tool to press.
- Insert the paperclip or tool into the reset hole and press and hold the button for a few seconds.
- Release the reset button.
- After resetting, turn on your wireless keyboard and wait for it to reconnect to your computer.
By resetting the keyboard settings, you will restore the default configurations, which can help eliminate any software glitches or misconfigurations that may be causing the issues you are experiencing.
After the reset, test your keyboard to ensure that it is functioning correctly. Try typing on your computer to check if all the keys are registering properly and there are no issues with the input.
If the problem persists even after resetting the keyboard settings, it may be necessary to contact the manufacturer’s customer support for further assistance. They may be able to provide additional troubleshooting steps or suggest alternative solutions to fix the issue.
Remember, resetting the keyboard settings should be done as a last resort after trying other troubleshooting methods. It is a step that clears any customizations or personalized settings, so proceed with caution and backup any important configurations if possible.
Troubleshooting Tips
While the methods mentioned earlier can help you reset your wireless keyboard, there are a few additional troubleshooting tips that you can try to resolve any persistent issues. Consider the following suggestions:
- Check for Interference: Make sure there are no devices near your wireless keyboard that could interfere with its signal, such as cordless phones, routers, or other electronic devices. Move your keyboard closer to the receiver or try using it in a different location to minimize any potential interference.
- Clean the Keyboard: Dust, dirt, and debris can accumulate on the keyboard over time, leading to unresponsive keys or erratic behavior. Use compressed air or a soft, lint-free cloth to clean the keys and the surface of the keyboard. Avoid using liquids or harsh cleaning agents, as they can damage the keyboard.
- Check USB Receiver/Cable: If your wireless keyboard uses a USB receiver, ensure that it is securely connected to your computer. Try using a different USB port or a different USB cable if available to rule out any issues with the connection.
- Restart Your Computer: Sometimes, a simple restart can resolve minor software or driver conflicts. Restart your computer and check if the keyboard starts working properly after the reboot.
- Update Operating System: Ensure your computer’s operating system is up to date. System updates can include bug fixes and enhancements that might address compatibility issues with your wireless keyboard.
- Try the Keyboard on Another Computer: To further isolate the issue, try connecting your wireless keyboard to another computer. If it works without any problems on a different computer, it may indicate an issue with your original computer’s settings or drivers.
By following these troubleshooting tips, you can potentially resolve any persistent issues with your wireless keyboard. Remember to be patient and try each tip one at a time to identify the specific cause of the problem.
If you have exhausted all troubleshooting options and the wireless keyboard still does not work as expected, it may be necessary to contact the manufacturer’s customer support for further assistance. They can provide specialized guidance specific to your keyboard model and help resolve any issues that may require professional intervention.
Conclusion
Wireless keyboards offer the convenience and freedom of mobility, but they can occasionally encounter issues that require a reset. By following the methods outlined in this guide, you can troubleshoot and reset your wireless keyboard to restore its functionality effectively.
We explored some of the common issues that you may encounter with your wireless keyboard, such as unresponsiveness, connectivity problems, ghost typing, non-functioning keys, and interference. We then outlined four methods to reset your keyboard:
- Check the batteries to ensure they have enough power.
- Re-sync the keyboard with your computer to establish a stable connection.
- Update the keyboard drivers to resolve compatibility issues.
- Reset the keyboard settings to their default values.
Additionally, we provided troubleshooting tips, including checking for interference, cleaning the keyboard, verifying the USB connection, restarting the computer, updating the operating system, and testing the keyboard on another computer.
Remember to consult the user manual or manufacturer’s website for specific instructions tailored to your wireless keyboard model. If the issue persists, don’t hesitate to reach out to the manufacturer’s customer support for further assistance.
By following these methods, troubleshooting tips, and seeking appropriate support, you can easily reset your wireless keyboard and enjoy uninterrupted typing and productivity.


