Introduction
Welcome to the world of mobile connectivity and convenience! In today’s fast-paced digital era, technology has made it possible to connect our devices seamlessly, including projectors and smartphones. Whether you want to display presentations, videos, or photos on a larger screen or enjoy a movie night with friends, connecting your Miroir projector to your phone opens up a world of possibilities.
In this guide, we will take you through the step-by-step process to connect your Miroir projector to your phone, allowing you to enjoy a bigger and more immersive viewing experience. By following the instructions below, you’ll be able to showcase your content on a larger screen, making it ideal for business presentations, classroom settings, or simply enjoying entertainment at home.
Connecting your Miroir projector to your phone can be done using different methods, depending on the model and capabilities of your projector and phone. For the most part, you have two options: using an HDMI cable or establishing a wireless connection. Both methods have their advantages, so it’s good to know which one suits your needs or preferences.
So, whether you’re a tech enthusiast, a professional presenter, or simply looking to enhance your movie nights, let’s dive in and explore how you can connect your Miroir projector to your phone effortlessly. Ready to enjoy a bigger, better, and more immersive visual experience? Let’s get started!
Step 1: Gather the necessary equipment
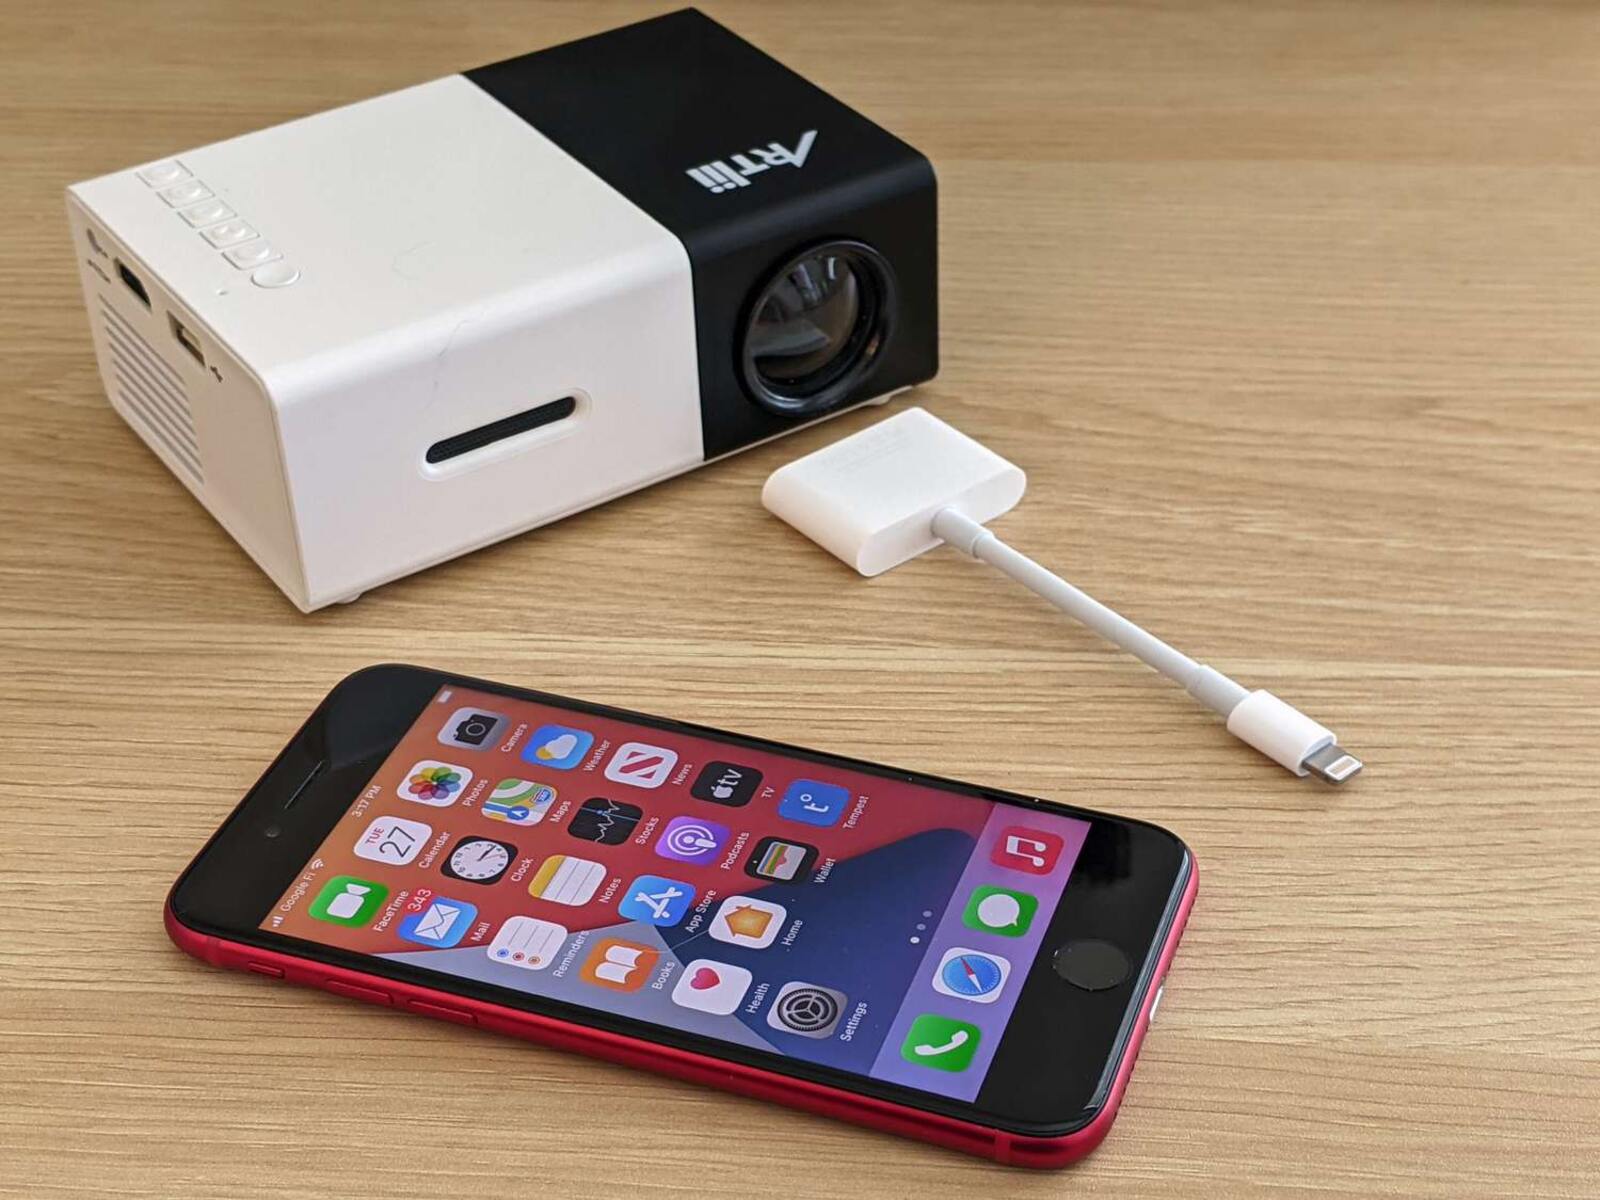
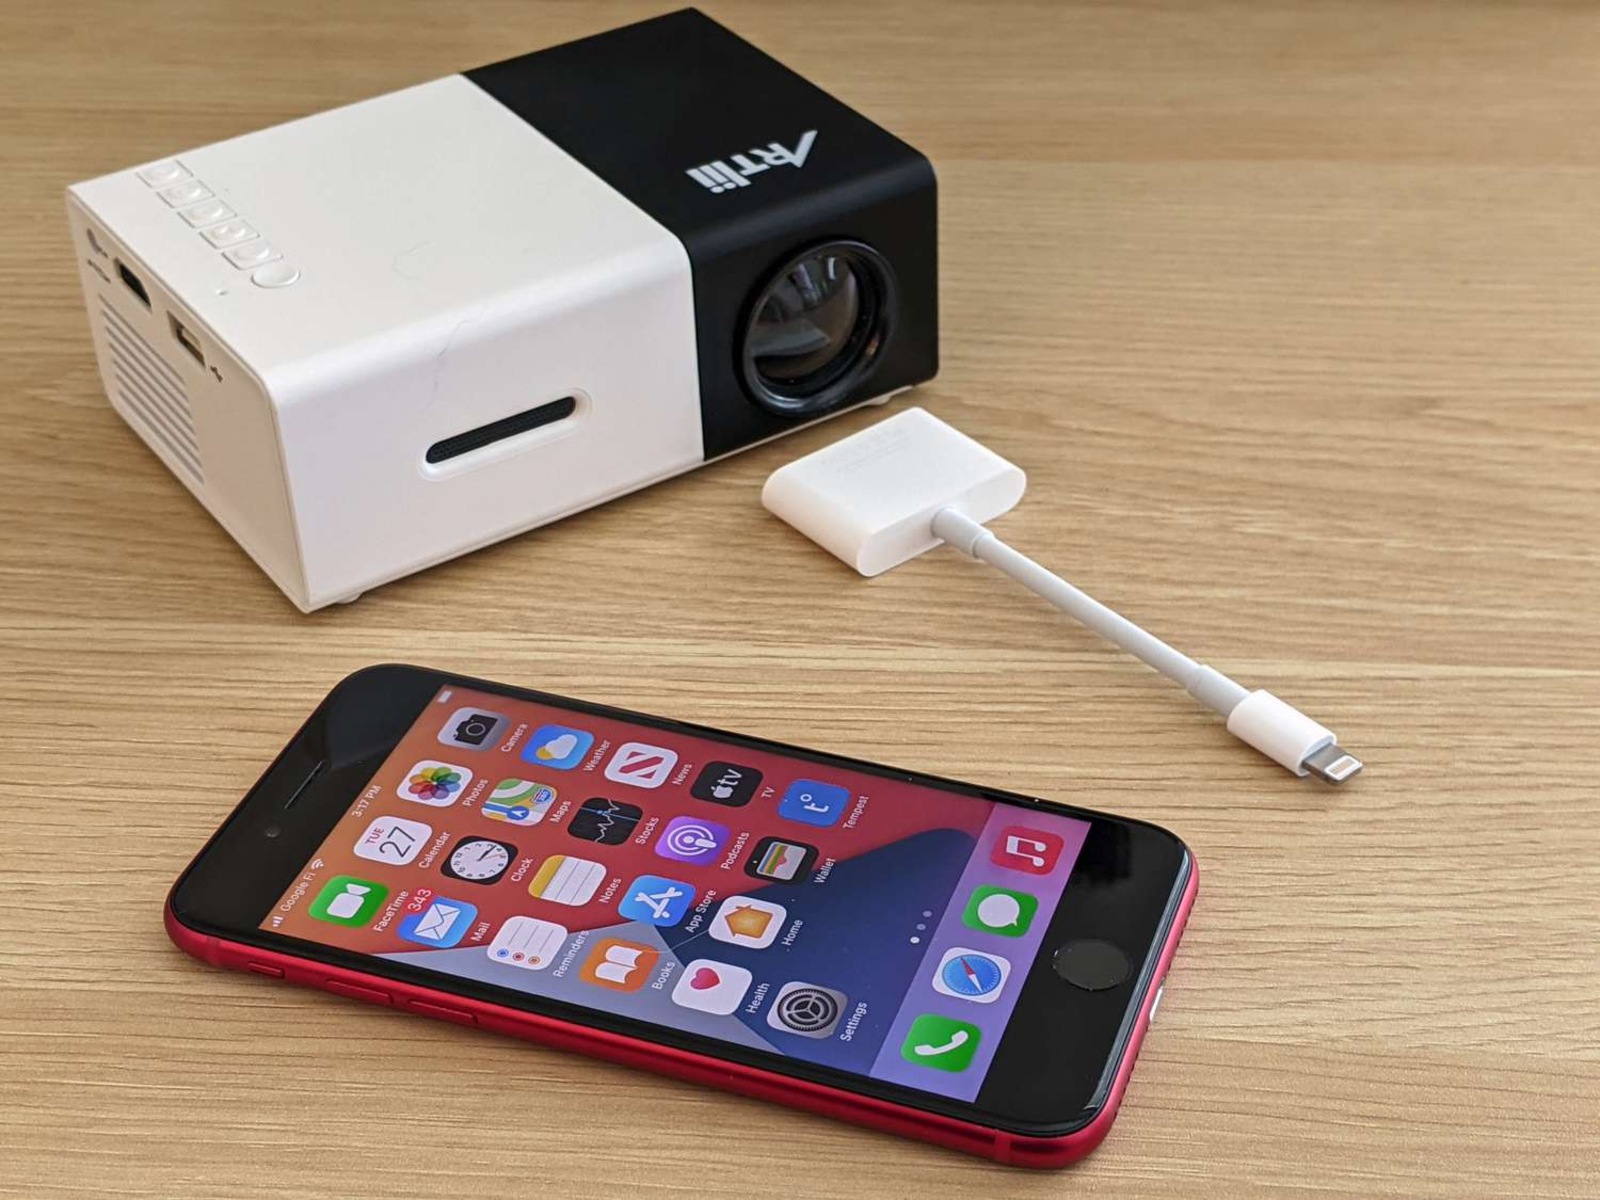
Before you can connect your Miroir projector to your phone, there are a few essential items you need to gather. Here’s a list of the necessary equipment:
- A Miroir projector: Ensure that your projector is compatible with mobile device connectivity. Check the user manual or the manufacturer’s website for specific details.
- A smartphone: Any modern smartphone with a compatible operating system (such as Android or iOS) should work.
- An HDMI cable (if applicable): If your Miroir projector supports a wired connection, you will need an HDMI cable to establish the connection between your phone and the projector.
- A wireless connection option (if applicable): If your Miroir projector supports wireless connectivity, ensure that both your phone and the projector are connected to the same Wi-Fi network.
- An adapter (if necessary): Depending on your phone’s port and the projector’s input options, you may need an adapter to connect the HDMI cable or other necessary connectors.
Once you have gathered all the required equipment, you are ready to proceed to the next step. It’s always a good idea to double-check the compatibility and availability of the necessary items before starting the connection process. Now that you are equipped with the essential gear, let’s move on to the next steps to connect your Miroir projector to your phone.
Step 2: Connect the projector to your phone using an HDMI cable
If your Miroir projector supports a wired connection, you can connect it to your phone using an HDMI cable. Follow the steps below to establish the connection:
- Locate the HDMI port on your Miroir projector. It is usually labeled as “HDMI” or “HDMI In”.
- Check your phone for an HDMI port or a compatible output port. Note that some newer smartphones may require a USB-C to HDMI adapter.
- Connect one end of the HDMI cable to the HDMI port on your Miroir projector.
- If necessary, connect the other end of the HDMI cable to your phone using an adapter or directly to the HDMI port if available.
- Once both ends of the HDMI cable are securely connected, power on your Miroir projector.
- On your phone, go to the Settings menu and look for the Display or Connections options. This may vary depending on your phone’s operating system.
- Select the appropriate display settings, such as “HDMI” or “Projector”, to enable the connection between your phone and the Miroir projector.
- After selecting the suitable display settings, your phone’s screen should be mirrored or displayed on the projector. You can now enjoy your content on the big screen!
Remember to adjust the focus and other image settings on your Miroir projector for the best viewing experience. If you encounter any issues with the connection, double-check your cable connections, phone settings, and ensure that both the projector and the phone are powered on and functioning properly.
Connecting your Miroir projector to your phone using an HDMI cable provides a reliable and stable connection, guaranteeing high-quality audio and video transmission. Now that you’ve successfully connected your phone to the projector using an HDMI cable, you’re one step closer to an immersive visual experience.
Step 3: Connect the projector to your phone using a wireless connection
If your Miroir projector supports wireless connectivity, you have the option to connect it to your phone without the need for cables. Follow the steps below to establish the wireless connection:
- Ensure that both your phone and Miroir projector are connected to the same Wi-Fi network. This is crucial for the wireless connection to work.
- On your Miroir projector, access the settings menu or navigate to the wireless connection option.
- Enable the Wi-Fi or wireless connectivity feature on the projector.
- On your phone, go to the settings menu and look for the Wi-Fi or wireless connectivity options.
- Scan for available networks and select the same Wi-Fi network that the projector is connected to.
- Once your phone is connected to the same Wi-Fi network, use the Miroir projector’s interface to display the wireless connection settings.
- On your phone, open the screen mirroring or wireless display option. This can usually be found in the Display or Connections settings.
- Select the Miroir projector from the list of available devices or scan for nearby devices.
- Once the connection is established, your phone’s screen will be wirelessly mirrored on the Miroir projector.
With the wireless connection established, you can now enjoy a cable-free experience and easily share content from your phone to the Miroir projector. Whether it’s streaming videos, presenting slideshows, or showcasing photos, you’ll have the flexibility to move around without being tethered by cables.
Note that the steps and terminology may vary slightly depending on your specific Miroir projector model and your phone’s operating system. If you encounter any difficulties during the wireless connection process, consult the user manual of your projector or check the manufacturer’s website for detailed instructions.
Now that you’ve successfully connected your Miroir projector to your phone using a wireless connection, you’re ready to immerse yourself in a bigger and more captivating visual experience.
Step 4: Adjust the settings on your phone and projector
Once you have connected your Miroir projector to your phone, it’s important to adjust the settings on both devices for optimal viewing. Follow the steps below to ensure your content looks its best:
- On the Miroir projector, locate the settings menu or options for display and image settings.
- Adjust the brightness, contrast, and sharpness settings according to your preference.
- Explore additional settings such as color temperature, aspect ratio, and keystone correction to fine-tune the image quality.
- On your phone, access the display settings or the settings related to the external display.
- Depending on your phone’s operating system, you may have options for screen mirroring, resolution, or aspect ratio settings.
- Set the appropriate display settings to match the projector’s capabilities and optimize the visual output.
- Experiment with different settings to achieve the desired brightness, color accuracy, and overall image quality.
It’s essential to spend some time adjusting the settings on both the Miroir projector and your phone to ensure the best viewing experience. By fine-tuning these settings, you can enhance the clarity, color accuracy, and overall quality of the projected image.
Additionally, don’t forget to consider the ambient lighting conditions in the room. Dimming the lights or creating a controlled lighting environment can greatly enhance the projected image quality and visibility.
Take your time to explore and experiment with the various settings available on both the Miroir projector and your phone. This will allow you to personalize and optimize the visual output according to your preferences and the specific content being displayed.
Once you have adjusted the settings to your satisfaction, you’re ready to enjoy your content on the big screen with the maximum visual impact!
Step 5: Test the connection
After completing the previous steps to connect your Miroir projector to your phone, it’s crucial to test the connection to ensure everything is working properly. Follow the steps below to test the connection:
- Ensure that both your Miroir projector and your phone are powered on and in a ready state.
- On your phone, open any app or media that you want to display on the projector. It could be a video, presentation, or even a photo slideshow.
- Make sure the content is visible on your phone’s screen.
- If you connected your phone to the projector using an HDMI cable, ensure that the projector’s input source is set to HDMI.
- If you connected your phone wirelessly, make sure the screen mirroring or wireless display is still active.
- After confirming the settings, direct your attention to the projected image on the Miroir projector.
- Verify that the content from your phone is displayed correctly on the projector. Check for resolution, color accuracy, and any potential lag or delays.
- Play a video or slideshow, and monitor the audio to ensure the sound is coming through the projector or any connected external audio devices.
- If everything looks and sounds good, congratulations! Your Miroir projector is successfully connected to your phone.
If you encounter any issues during the testing phase, double-check the connections, settings, and compatibility of your devices. Ensure that your phone and projector are updated to the latest firmware or software versions available.
Consider troubleshooting steps such as restarting both devices, disconnecting and reconnecting the cables, or resetting the wireless connection if necessary. Consult the user manual or the manufacturer’s website for specific troubleshooting instructions related to your Miroir projector model.
With the connection successfully tested and confirmed, you can now enjoy your content on the big screen, whether it’s for business presentations, educational purposes, or entertainment with friends and family.
Conclusion
Connecting your Miroir projector to your phone opens up a world of possibilities, allowing you to enjoy a bigger and more immersive visual experience. In this guide, we’ve explored two methods to connect your phone to the projector: using an HDMI cable or establishing a wireless connection.
By following the step-by-step instructions, you can easily connect your Miroir projector to your phone and showcase your content on a larger screen. Whether you’re presenting in a professional setting, sharing photos with friends, or enjoying movies at home, the connection between your phone and the projector brings convenience and enhances visual impact.
Remember to gather the necessary equipment, such as the Miroir projector, your smartphone, and any required cables or adapters before starting the connection process. Adjusting the settings on both devices allows you to optimize the visual output and personalize the viewing experience to your preferences.
Lastly, don’t forget to test the connection to ensure everything is working correctly. By troubleshooting any potential issues and verifying the quality of the projected image and audio, you can confidently use your Miroir projector with your phone.
Now that you have mastered the process of connecting your Miroir projector to your phone, it’s time to sit back, relax, and enjoy your favorite content on the big screen. Whether it’s for work or leisure, this connection opens up endless possibilities for enhancing your visual experience.
Embrace the power of technology and let your imagination run wild as you explore the vast potential of connecting your Miroir projector to your phone!