Introduction
Welcome to the world of Miroir micro projectors! These innovative devices allow you to bring the big screen experience wherever you go. Whether you want to watch movies, give presentations, or share photos with friends and family, Miroir micro projectors provide a convenient and portable solution.
One challenge that users may encounter is connecting the Miroir micro projector to an Android device without the remote control. While the remote control offers a simple and straightforward way to navigate the projector’s settings, it is not always available or may have been misplaced.
But fear not! In this guide, we will show you how to connect your Miroir micro projector to your Android device even without the remote control. You’ll be able to control the projector’s settings and enjoy your favorite content on the big screen with just a few simple steps.
Before we dive into the steps, let’s first ensure that your Android device and Miroir micro projector are compatible. It’s crucial to have a compatible device to establish a successful connection.
So, let’s get started and learn how to connect your Miroir micro projector to your Android device without the remote control. By the end of this guide, you’ll be able to enjoy a seamless projection experience from your Android device to the big screen!
Step 1: Check the Compatibility Between Your Android Device and the Miroir Micro Projector
Before attempting to connect your Android device to the Miroir micro projector, it’s important to ensure that both devices are compatible. This will ensure a smooth and successful connection between the two.
Start by checking the specifications of your Android device. Look for the operating system version and the required ports for video output. Most Miroir micro projectors support Android devices with operating system version 4.4 or later. However, it’s always best to verify the specific requirements mentioned in the projector’s user manual or on the manufacturer’s website.
Next, check the available ports on your Android device. The Miroir micro projector can be connected to an Android device using various methods, such as HDMI, USB-C, or wireless connection. Make sure your Android device has the necessary ports to establish a physical connection, or the Wi-Fi capabilities to connect wirelessly.
If your Android device meets the compatibility requirements, you’re ready to move on to the next step. However, if your Android device falls short of the requirements, you may need to consider alternative options or upgrade your device to ensure a seamless connection.
Checking the compatibility between your Android device and the Miroir micro projector is crucial to ensure that the connection process runs smoothly. By verifying these compatibility requirements, you can avoid any potential issues or frustration that may arise during the connection process.
Step 2: Download the Necessary App for Controlling the Projector
Once you have confirmed the compatibility between your Android device and the Miroir micro projector, the next step is to download the app that will allow you to control the projector without a remote.
Start by opening the Google Play Store on your Android device. Use the search function to look for the app specifically designed for controlling the Miroir micro projector. It’s important to find the official app developed by the manufacturer to ensure compatibility and a secure connection.
If you already know the name of the app, type it into the search bar and select it from the search results. Alternatively, you can search for “Miroir micro projector control app” to explore available options.
Once you have found the app, click on the ‘Install’ button to begin the download. Make sure you have a stable internet connection to prevent any interruptions during the downloading process. The app should install automatically once the download is complete.
After the installation is complete, you will find the app on your Android device’s home screen or in the app drawer. Tap on the app icon to open it and proceed to the next step.
Downloading the necessary app for controlling the Miroir micro projector is a crucial step in establishing a connection without a remote. This app will serve as your virtual remote control and allow you to navigate the projector’s settings conveniently from your Android device.
Now that you have downloaded the app, let’s move on to the next step and connect your Miroir micro projector to your Android device.
Step 3: Connect the Miroir Micro Projector and Your Android Device via the Same Wi-Fi Network
Now that you have downloaded the necessary app, it’s time to establish a connection between your Miroir micro projector and your Android device. To do this, both devices need to be connected to the same Wi-Fi network.
Start by ensuring that your Miroir micro projector is powered on and connected to a power source. Once the projector is powered on, it will search for available Wi-Fi networks. Use the projector’s built-in interface or the control buttons on the device itself to connect it to your Wi-Fi network. Refer to the user manual for specific instructions on how to connect your particular model to Wi-Fi.
On your Android device, navigate to the Wi-Fi settings menu. Look for available Wi-Fi networks and select the same network that your Miroir micro projector is connected to. Once connected, your Android device and the projector will be on the same network, allowing them to communicate with each other.
It’s essential to note that some Miroir micro projectors may support direct Wi-Fi connection or have their own Wi-Fi hotspot functionality. In such a case, you may need to connect your Android device directly to the projector’s Wi-Fi network. Again, refer to the user manual for your specific model to understand the correct method for establishing a Wi-Fi connection.
By connecting both your Miroir micro projector and your Android device to the same Wi-Fi network, you are paving the way for seamless communication between the two devices. Now, let’s move on to the next step and open the app on your Android device to control the projector.
Step 4: Open the App and Select the Projector Model
With your Miroir micro projector and Android device connected to the same Wi-Fi network, it’s time to open the app you downloaded in step 2 and select the projector model.
Locate the app on your Android device’s home screen or app drawer, and tap on the icon to open it. Once the app launches, you will be presented with a user-friendly interface that allows you to control various aspects of your Miroir micro projector.
Before you can begin controlling the projector, you need to select the specific model you have. The app should provide a list of Miroir micro projector models to choose from. Navigate through the list and find the model that matches your projector.
Once you have identified the correct model, tap on it to select it. The app will then establish a connection between your Android device and the projector, allowing you to control it remotely.
Depending on the app and the specific features of your Miroir micro projector model, you may have access to a wide range of control options. These options can include adjusting image settings, changing the projection mode, accessing media files, and more.
It’s worth exploring the various features and functionalities offered by the app to make the most out of your projection experience. The app interface should be user-friendly, making it easy for you to navigate and customize the projector settings according to your preferences.
Now that you have selected your projector model in the app, you are ready to move on to the final step and control the projector using your Android device.
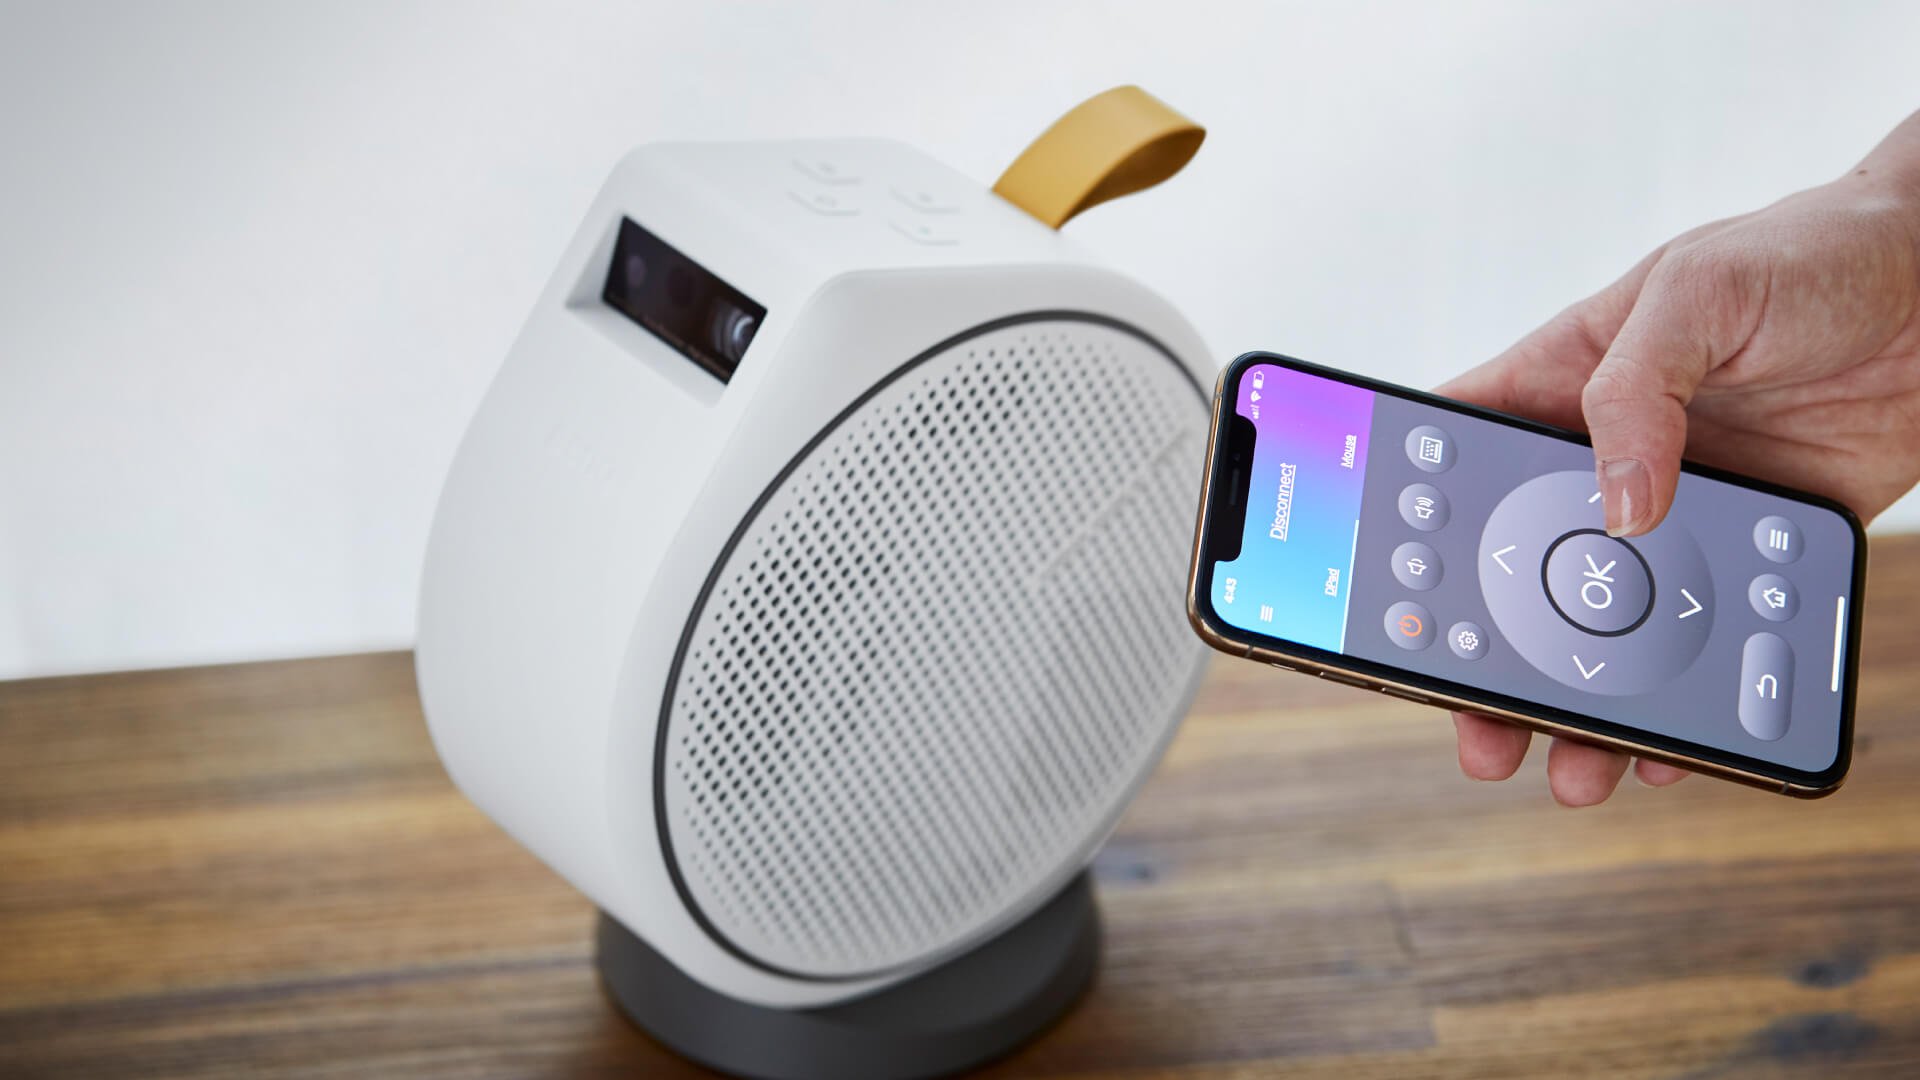
Step 5: Control the Projector Using the App on Your Android Device
Now that you have selected the projector model in the app, you are ready to take control of your Miroir micro projector using your Android device. The app interface should provide you with a range of controls and settings to customize your projection experience.
Start by familiarizing yourself with the different options available on the app. Depending on your projector model and the capabilities of the app, you may have access to features such as adjusting brightness, contrast, and sharpness, changing the projection mode (e.g., landscape or portrait), and even streaming media wirelessly.
To adjust the settings, simply navigate through the app’s interface and locate the relevant sections or menus. Tap on the desired option to make changes, and the projector will respond accordingly. You should see the adjustments reflected on the projected image in real-time.
In addition to image settings, the app may also have controls for audio settings. You can adjust the volume, switch between different audio sources, and optimize the sound output according to your preferences.
Some apps may also provide additional features like screen mirroring, which allows you to display the contents of your Android device’s screen directly onto the projector. This can be useful for presentations, gaming, or sharing videos and photos with others.
It’s important to note that each app may have a slightly different interface and layout, but the basic functionalities should be similar. Take some time to explore the app and experiment with the different features to find the settings that work best for you.
Remember to refer to the app’s user guide or in-app instructions for more detailed information on how to navigate and utilize all the available controls.
With the app on your Android device, you now have full control over your Miroir micro projector without the need for a physical remote control. Enjoy the convenience and flexibility of adjusting settings, streaming media, and customizing your projection experience.
Now that you know how to control the projector using the app, you can make the most out of your Miroir micro projector and immerse yourself in an enhanced viewing experience.
Conclusion
Connecting your Miroir micro projector to your Android device without the remote control is easier than you might think. By following these simple steps, you can effortlessly control your projector using the app on your Android device, allowing you to enjoy your favorite content on the big screen.
Firstly, ensure the compatibility between your Android device and the Miroir micro projector. Verify the operating system version and the required ports for video output on your Android device and check the specifications of your projector.
Next, download the official app for controlling the projector from the Google Play Store. Install the app on your Android device and make sure you have a stable internet connection during the process.
Connect the Miroir micro projector and your Android device to the same Wi-Fi network. Use the projector’s interface or control buttons to connect it to your Wi-Fi, and then navigate to the Wi-Fi settings menu on your Android device to select the same network.
Open the app on your Android device and select the specific model of your Miroir micro projector. This will establish a connection between the two devices, enabling you to control the projector remotely.
Finally, utilize the features and settings available in the app to customize your projection experience. Adjust image and audio settings, explore screen mirroring options, and make the most out of your projector’s capabilities.
With these steps, you can seamlessly connect and control your Miroir micro projector using your Android device, even without the remote control. Enjoy the convenience and versatility of projecting content on the big screen with ease.
Always refer to the user manual of your specific Miroir micro projector and the instructions provided by the app for more detailed information on the connection and control process.
Now that you have all the necessary knowledge, go ahead and make the most of your Miroir micro projector with your Android device. Get ready for an immersive and enjoyable viewing experience wherever you go!