Introduction
Welcome to the digital age, where cyber threats are ever-present, and securing your online accounts is of utmost importance. One way to enhance the security of your online presence is by using Google Authenticator, a two-factor authentication app developed by Google. Google Authenticator adds an extra layer of protection to your accounts by requiring you to enter a time-based one-time password (TOTP) along with your username and password.
While Google Authenticator is highly secure and reliable, there is still a risk of losing access to your accounts if you lose or damage your device that has Google Authenticator installed. This is where backing up Google Authenticator becomes crucial. By backing up your Google Authenticator codes, you can easily regain access to your accounts even if you lose your device.
In this article, we will explore various methods to backup and safeguard your Google Authenticator codes. We will discuss enabling cloud backup for Google Authenticator, manually backing up your codes, using third-party authenticator apps, leveraging password managers, and using physical backup devices.
But before we delve into the backup methods, let us first understand what Google Authenticator is and why it is essential to secure your accounts with it.
What is Google Authenticator?
Google Authenticator is a free app developed by Google that provides two-factor authentication (2FA) to protect your online accounts. It adds an additional layer of security by requiring you to enter a generated code along with your username and password, making it more difficult for unauthorized individuals to gain access to your accounts.
The app generates time-based one-time passwords (TOTP) that are unique to each account you have enabled with Google Authenticator. These passwords are generated every 30 seconds and are used only once. When logging in to a supported website or service, you enter the TOTP generated by Google Authenticator to verify your identity.
What sets Google Authenticator apart from other 2FA methods is that it works offline without relying on network connectivity or SMS messages. Instead, it uses your device’s internal clock and a shared secret key to generate the code. This feature makes it a more secure option than SMS-based codes, which can be intercepted or delayed. Additionally, Google Authenticator supports multiple accounts, allowing you to consolidate all your 2FA codes into a single app.
Google Authenticator is compatible with various online services, including popular platforms like Google, Facebook, Twitter, Dropbox, and many more. It has become a widely adopted 2FA solution due to its simplicity, effectiveness, and trustworthiness.
Using Google Authenticator significantly strengthens the security of your online accounts. However, it’s important to have a backup plan in case you lose or replace your device. In the next sections, we will explore different methods to backup your Google Authenticator codes, thereby ensuring access to your accounts even in unforeseen circumstances.
Why should you backup Google Authenticator?
Google Authenticator provides an added layer of security to your online accounts, but what happens if you lose your device or accidentally uninstall the app? That’s where the importance of backing up your Google Authenticator codes comes into play.
Here are a few reasons why you should consider backing up your Google Authenticator:
- Device loss or damage: Losing your device or damaging it beyond repair can result in losing access to your accounts. By backing up your Google Authenticator codes, you can restore them to a new device and continue using 2FA without any hassle.
- Device replacement or upgrade: When you upgrade your device or switch to a new one, you might need to reinstall Google Authenticator. By having a backup, you can easily transfer your codes to the new device without having to disable 2FA or contact each service individually to regain access.
- Syncing across multiple devices: While Google Authenticator primarily operates on a single device, having a backup allows you to sync your codes across multiple devices. This is particularly useful if you regularly switch between devices or use multiple devices simultaneously.
- Protection against accidental uninstallation: It’s not uncommon to accidentally uninstall an app, especially when cleaning up your device or managing storage space. If you accidentally uninstall Google Authenticator without a backup, you may face difficulties in regaining access to your accounts.
- Preventing potential downtime: When you rely on Google Authenticator for 2FA, not having a backup can result in downtime if your device is lost, damaged, or inaccessible. This downtime can be avoided by having a backup plan.
By backing up your Google Authenticator codes, you ensure that your accounts remain secure and accessible even in unexpected situations. Now that we understand the importance of backing up, let’s explore various methods to accomplish this task.
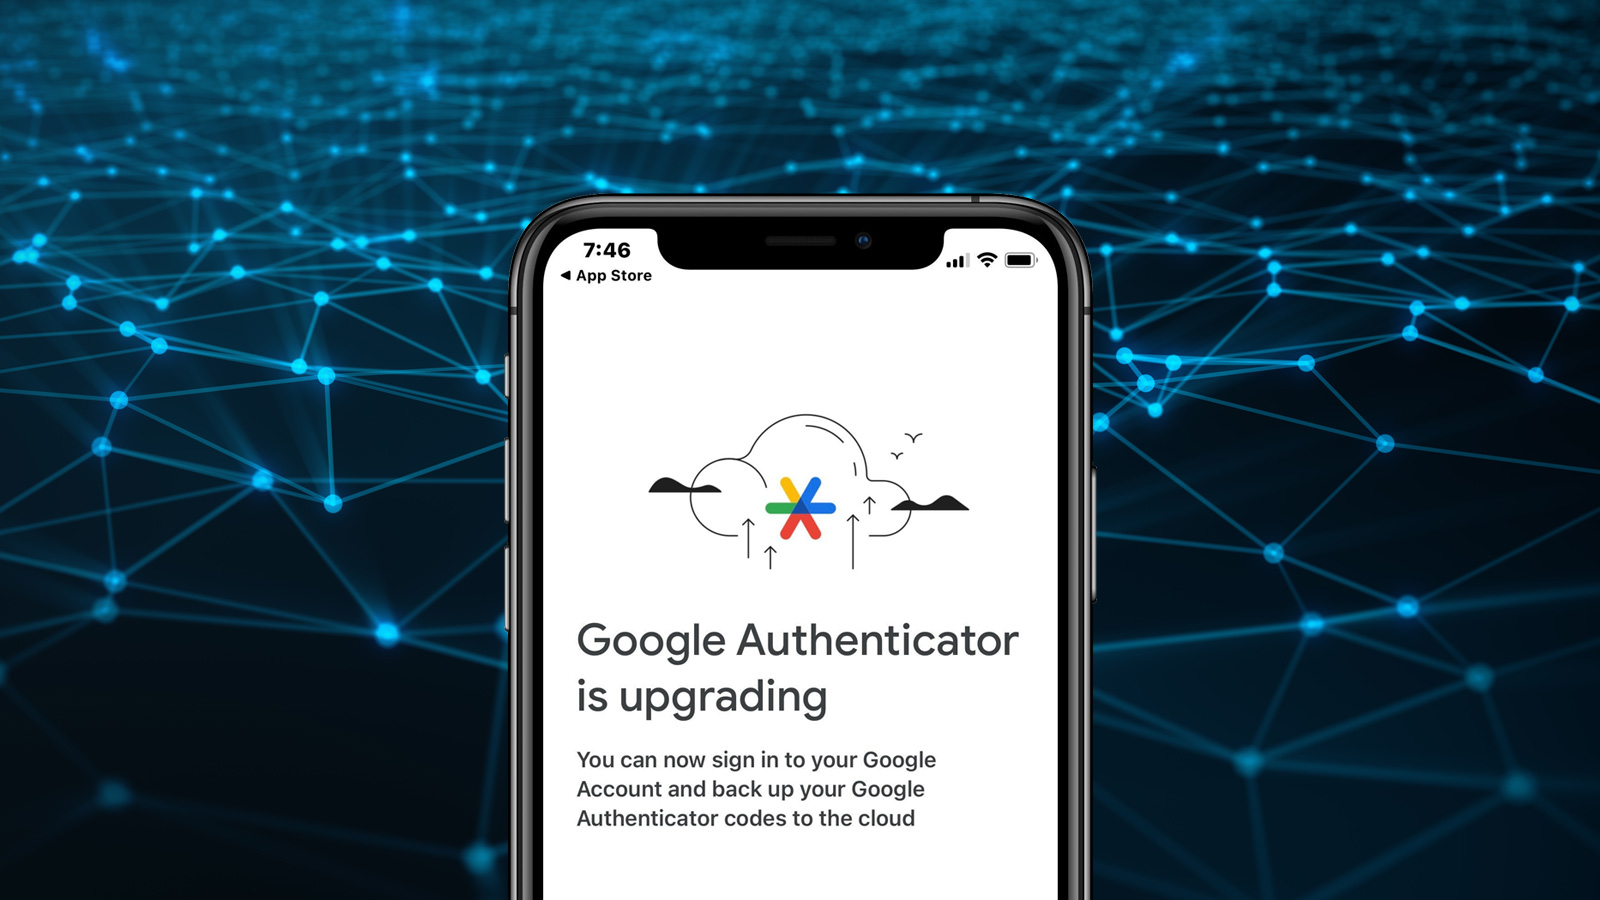
Method 1: Enable cloud backup for Google Authenticator
Enabling cloud backup for Google Authenticator is one of the most convenient and reliable methods to backup your Google Authenticator codes. It allows you to store your 2FA codes securely in the cloud, ensuring that you can easily restore them whenever needed. Here’s how you can enable cloud backup:
- Create a Google account: If you don’t have one already, create a Google account or use an existing account.
- Go to the Google Authenticator settings: Open the Google Authenticator app on your device and navigate to the settings menu. This can usually be accessed through the app’s main screen or by tapping on the three-dot menu icon.
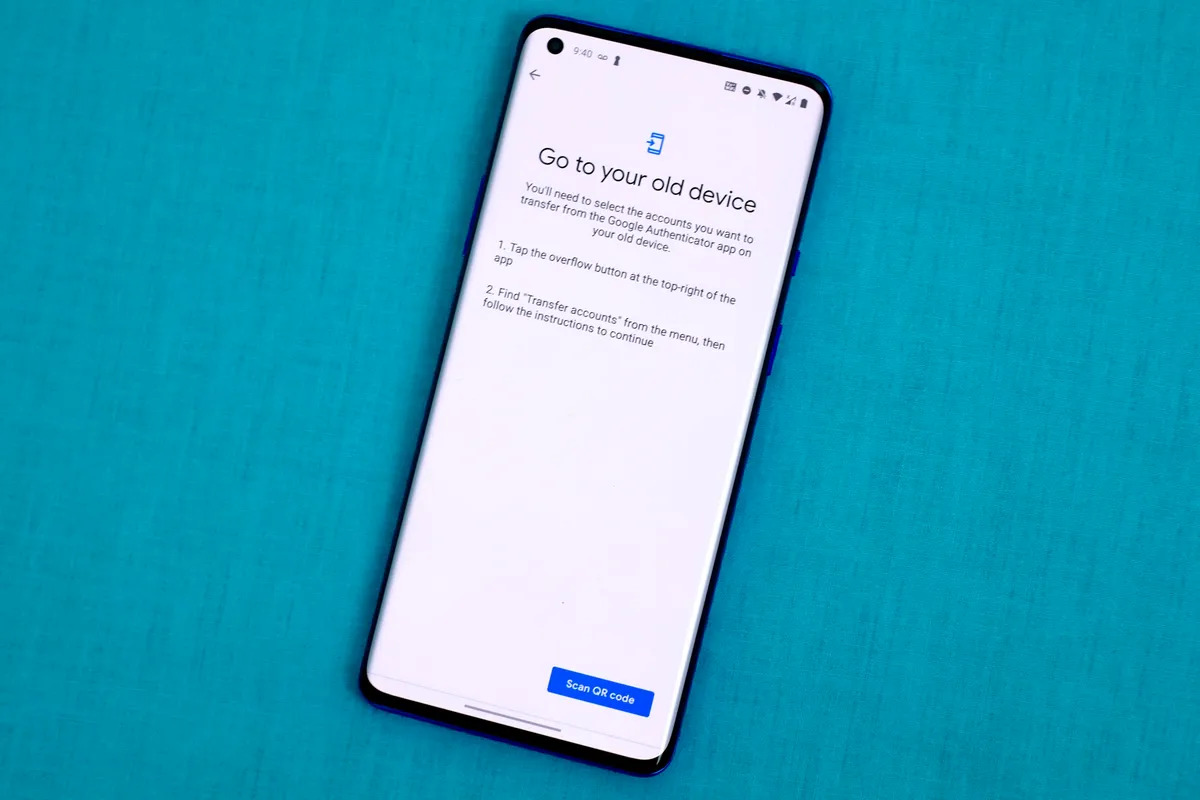
- Find the backup and restore option: Look for the “Backup and restore” or “Transfer accounts” option in the settings menu. The exact wording may vary depending on the version of the app you’re using.
- Select the cloud backup option: In the backup and restore menu, you should see an option to enable cloud backup. Tap on this option to proceed.
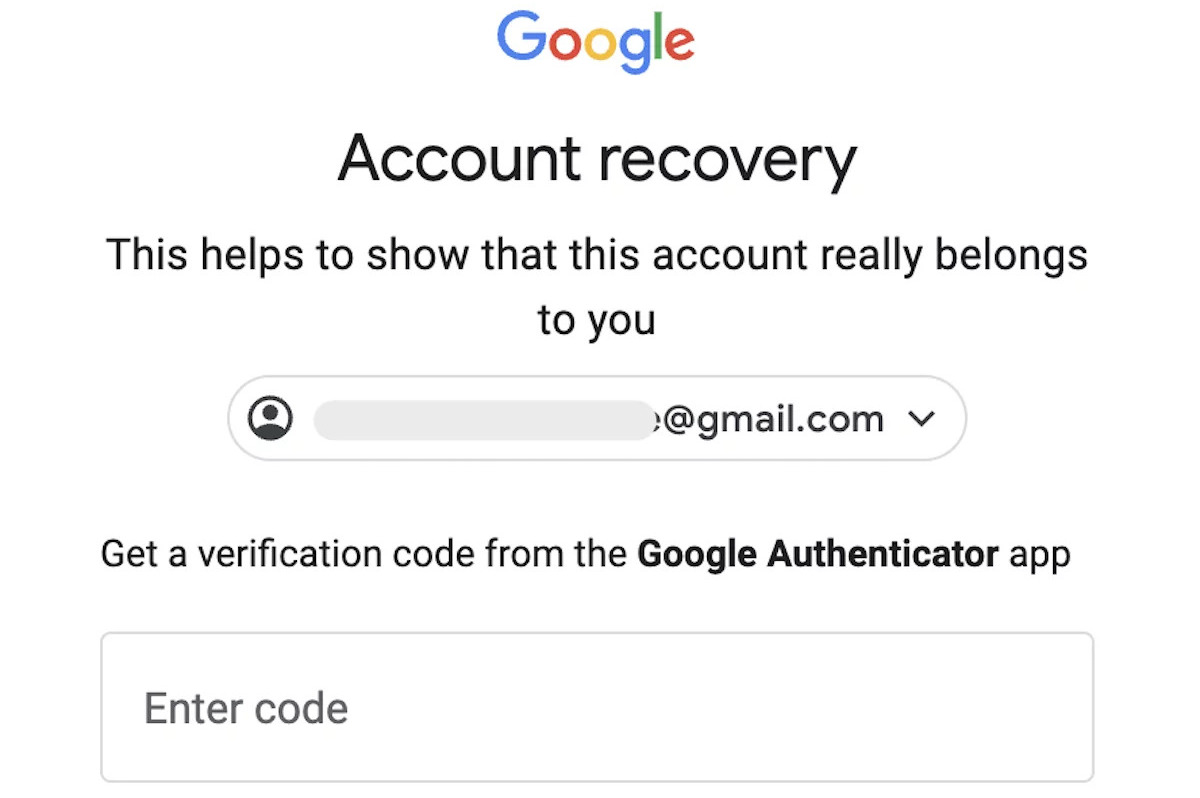
- Link your Google account: The app will prompt you to sign in to your Google account. Follow the instructions to link your Google account to the app.
- Complete the setup: Once your account is linked, you may need to follow additional prompts to finalize the cloud backup setup. This may include setting a security PIN or providing additional verification.
- Verify your backup: After the setup is complete, you can verify that your Google Authenticator codes are backed up in the cloud. You can do this by installing the Google Authenticator app on another device and signing in with the same Google account.
Enabling cloud backup for Google Authenticator provides an additional layer of protection for your codes. Even if you lose your device or need to switch to a new one, you can easily restore your 2FA codes by signing in to the app with your Google account.
It’s important to note that not all versions of Google Authenticator support cloud backup. Make sure you’re using the latest version of the app and check if the cloud backup option is available in the settings menu. If the option is not available, you can explore alternative backup methods, which we will discuss in the following sections.
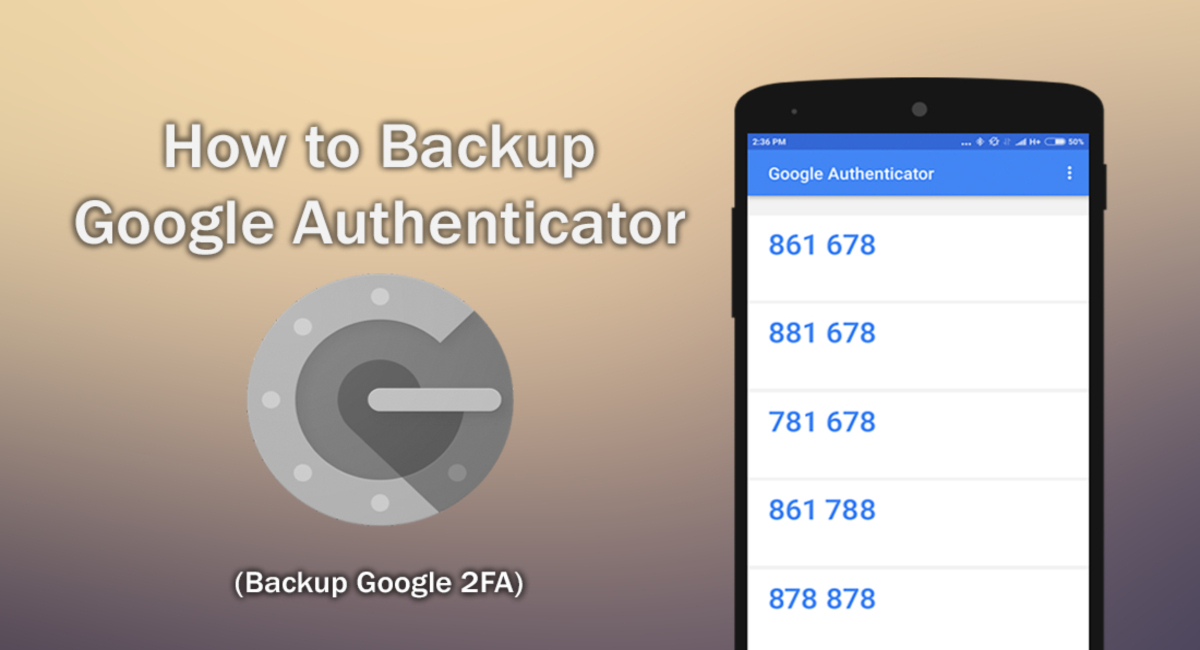
Method 2: Manually backup Google Authenticator codes
If cloud backup is not available or not suitable for your needs, you can manually backup your Google Authenticator codes. This method involves saving the secret keys or QR codes associated with each account to a secure location. Here’s how you can manually backup your Google Authenticator codes:
- Open the Google Authenticator app: Launch the Google Authenticator app on your device.
- Access the account details: Tap on the desired account for which you want to backup the code.
- Find the account info: Look for options like “Account info”, “Account details”, or a similar option that provides access to the secret key or QR code.
- Save the secret key or QR code: Take note of the secret key provided or capture a screenshot of the QR code. Ensure that you store this information in a secure location like a password-protected document or encrypted storage.
- Repeat for each account: Repeat the above steps for each account you have configured in Google Authenticator.
- Verify the backup: After saving the necessary information, you can verify the backup by installing Google Authenticator on another device and manually entering the secret keys or scanning the QR codes to restore your accounts.
By manually backing up your Google Authenticator codes, you have complete control over the security and accessibility of your codes. However, it’s important to store the backup in a secure manner to avoid unauthorized access. Make sure to keep your backup updated whenever you add new accounts to Google Authenticator.
Keep in mind that if you choose to manually backup your codes, it’s crucial to secure the backup information properly, as anyone with access to the secret keys or QR codes can potentially gain unauthorized access to your accounts. Use encryption or password protection for any digital backups and store physical copies in a secure location.
In the next section, we will explore another method to backup your Google Authenticator codes using a third-party authenticator app.
Method 3: Use a third-party authenticator app to backup codes
If you’re looking for an alternative to cloud backup or manual backup, using a third-party authenticator app can be a viable solution to backup your Google Authenticator codes. These apps offer features specifically designed to securely store and transfer your 2FA codes between devices. Here’s how you can use a third-party authenticator app to backup your codes:
- Research and choose a third-party authenticator app: There are several reputable third-party authenticator apps available, such as Authy, LastPass Authenticator, and Microsoft Authenticator. Research and select an app based on your specific requirements.
- Install the chosen app: Go to your device’s app store and install the third-party authenticator app of your choice.
- Follow the setup process: Open the app and follow the provided instructions to set it up. This usually includes creating an account and verifying your identity.
- Add your accounts: Once the setup is complete, add your accounts by scanning the QR codes or manually entering the secret keys provided by each service.
- Verify the backup: Double-check that all your accounts and respective 2FA codes are successfully transferred to the third-party authenticator app. Test the codes to ensure they work as expected.
- Secure your third-party authenticator app: Protect your third-party authenticator app with a strong password, PIN, or biometric authentication for an added layer of security.
Using a third-party authenticator app allows you to have a centralized and secure backup of your Google Authenticator codes. The app securely stores your codes and can easily be transferred to a new device if needed. Additionally, most third-party authenticator apps offer features like encrypted backups, multi-device sync, and secure account recovery options.
Remember to choose a reputable and trusted third-party authenticator app from reliable sources. Research and read reviews to ensure the app has a good track record of security and functionality.
In the next section, we will explore another method to backup your Google Authenticator codes using a password manager.
Method 4: Backup codes through a password manager
A password manager is a convenient tool that securely stores your passwords and other sensitive information. Many password managers also offer the capability to store and manage your Google Authenticator codes, providing an additional layer of convenience and security. Here’s how you can backup your Google Authenticator codes through a password manager:
- Choose a password manager: Research and select a reputable password manager that offers support for storing Google Authenticator codes. Popular password managers like LastPass, Dashlane, and 1Password often include this feature.
- Install and set up the password manager: Install the selected password manager app or browser extension and follow the setup instructions, including creating an account and setting a strong master password.
- Add your accounts and Google Authenticator codes: Once the password manager is set up, look for the option to add or import accounts. Add your accounts with associated 2FA codes by either manually entering the details or scanning QR codes.
- Verify the backup: Double-check that all your accounts and their respective Google Authenticator codes are successfully stored in the password manager. Test the codes to ensure they work as expected.
- Secure your password manager: Protect your password manager with a strong master password and consider enabling additional security measures like two-factor authentication.
- Synchronize and backup your password manager: Most password managers provide sync and backup options to ensure your data is securely stored and accessible across devices. Enable these features to have a backup of your Google Authenticator codes.
Backing up your Google Authenticator codes through a password manager offers the advantage of having all your login credentials and 2FA codes in a single, secure location. It eliminates the need to switch between different apps or services to access your accounts. Additionally, password managers often employ strong encryption and other security measures to protect your data.
When choosing a password manager, opt for a reputable and trustworthy option with robust security features. Be sure to create a strong master password and regularly backup your password manager data to prevent any potential data loss.
In the next section, we will explore another method to backup your Google Authenticator codes using a physical device.
Method 5: Backup codes using a physical device
If you prefer a more tangible and offline approach to backup your Google Authenticator codes, using a physical device can be a reliable option. This method involves storing your codes on a separate physical device, such as a USB drive or a dedicated hardware token. Here’s how you can backup your Google Authenticator codes using a physical device:
- Select a physical device: Choose a device that you will dedicate for storing your Google Authenticator codes. This can be a USB drive, a hardware token, or any other secure physical device that can store information.
- Generate QR codes or secret keys: Open the Google Authenticator app on your device and access the account details for each account you want to backup. Generate the QR codes or note down the secret keys associated with each account.
- Transfer the codes to the physical device: Use a QR code generator or a secure transfer method to move the codes from your device to the physical device. If using a USB drive, you can save an image file of the QR codes or a text file containing the secret keys.
- Secure the physical device: Keep the physical device in a safe and secure location. Consider using encryption or password protection to further secure the stored codes.
- Verify the backup: Periodically verify the backup by accessing the Google Authenticator app on another device and manually entering the codes from the physical device. Ensure that the codes work correctly.
Backing up your Google Authenticator codes using a physical device provides an offline and tangible backup solution. It ensures that even if your primary device is lost or inaccessible, you can retrieve your codes from the physical backup. Additionally, using a physical device adds an extra layer of security as it reduces the reliance on digital means.
Remember to keep the physical device in a secure location, away from unauthorized access. It’s important to have a backup physical device or make regular copies of the codes to avoid any potential loss.
In the next section, we will conclude our exploration of various methods to backup Google Authenticator codes.
Conclusion
Securing your online accounts is paramount in today’s digital landscape, and Google Authenticator is an effective tool for adding an extra layer of protection. However, it’s essential to have a backup plan in place to ensure uninterrupted access to your accounts. In this article, we explored five different methods to backup your Google Authenticator codes.
We discussed the importance of backing up Google Authenticator and the potential risks of losing access to your accounts without a backup. We covered various backup methods, including enabling cloud backup, manually saving codes, using third-party authenticator apps, leveraging password managers, and backing up through physical devices.
Enabling cloud backup offers convenience and ease of use, allowing you to store your codes securely in the cloud and easily restore them to a new device when needed. Alternatively, manually backing up your codes by saving the secret keys or QR codes provides complete control over the security and accessibility of your backup.
Third-party authenticator apps and password managers offer additional backup options, providing a centralized and secure solution for storing your codes. They often come with advanced features like syncing across devices and encrypted backups that enhance the overall security of your accounts.
If you value an offline and tangible approach, using a physical device like a USB drive or a hardware token allows you to store your codes offline and minimize dependence on digital means. This method adds an extra layer of security and provides peace of mind knowing that your backup is physically controlled.
Consider your specific needs and preferences when choosing the right backup method for your Google Authenticator codes. It’s always recommended to have multiple backup options in place to ensure redundancy and maximize the chances of accessing your accounts.
With a robust backup strategy, you can confidently use Google Authenticator to protect your online accounts while maintaining peace of mind knowing that you have a backup plan in case of unexpected device loss or damage.